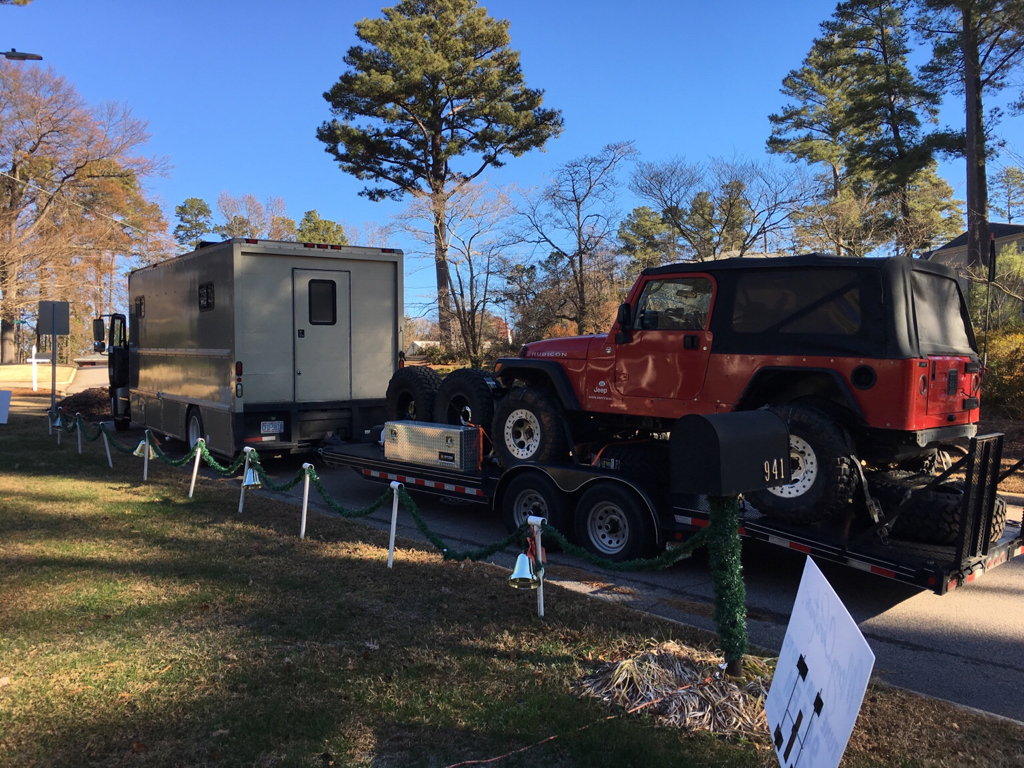
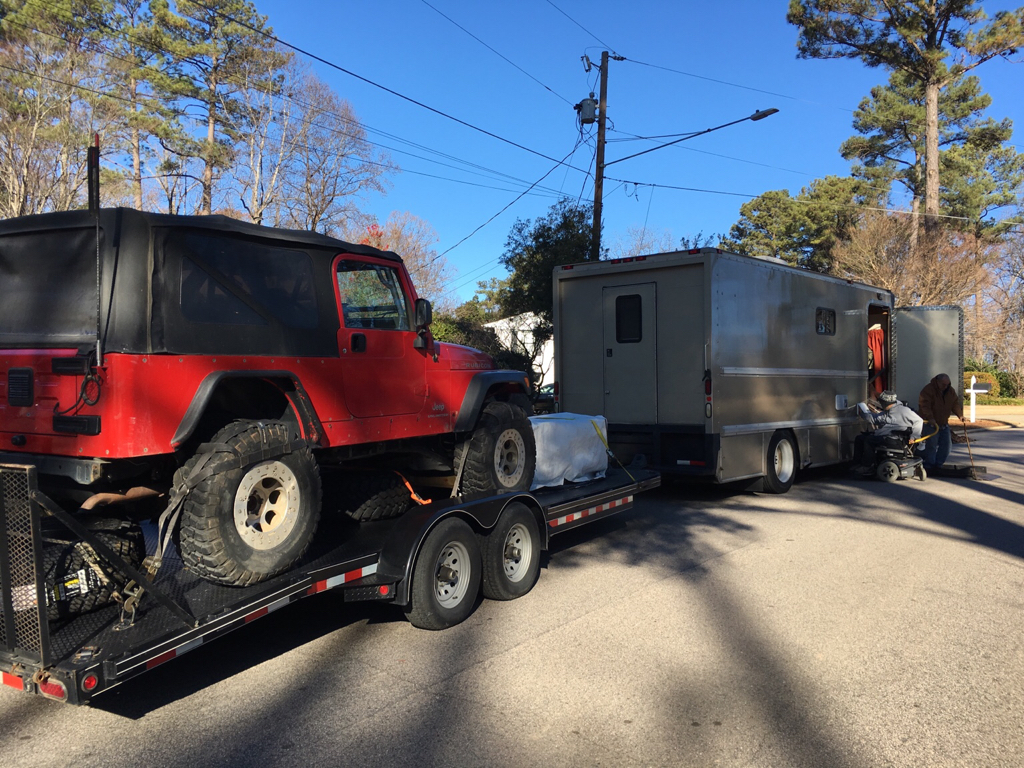
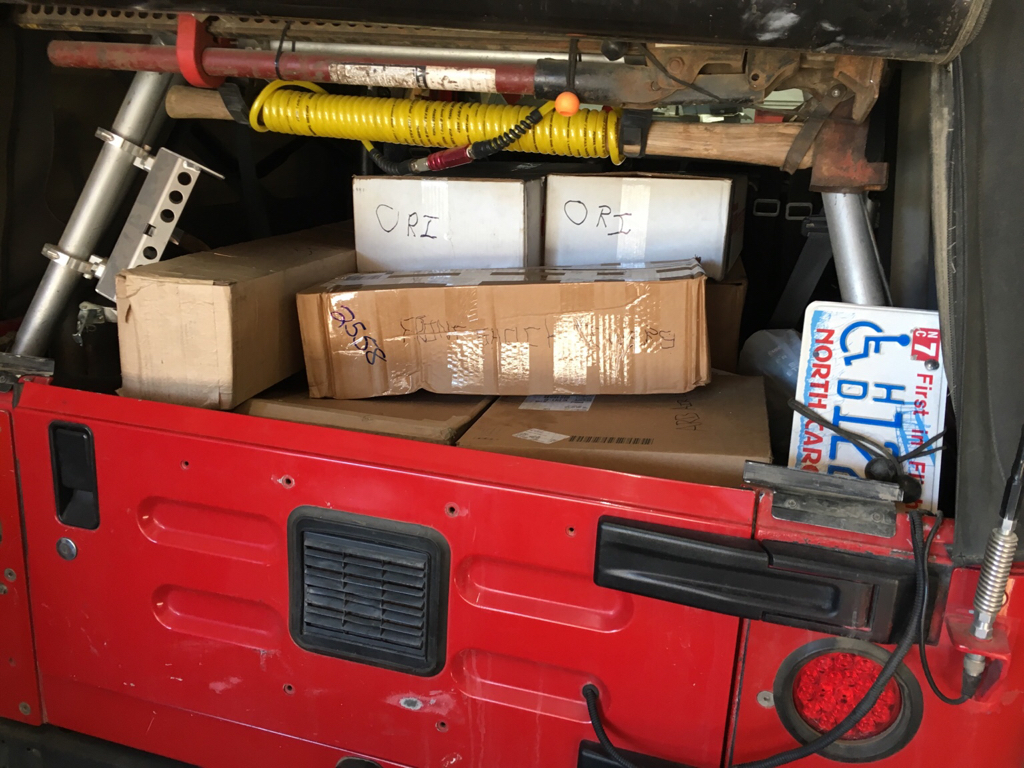
because you cant ever have enough pics.. Here are some that Jack took sunday.. and a much better writeup then I do
")
Sunday, January 16, 2017
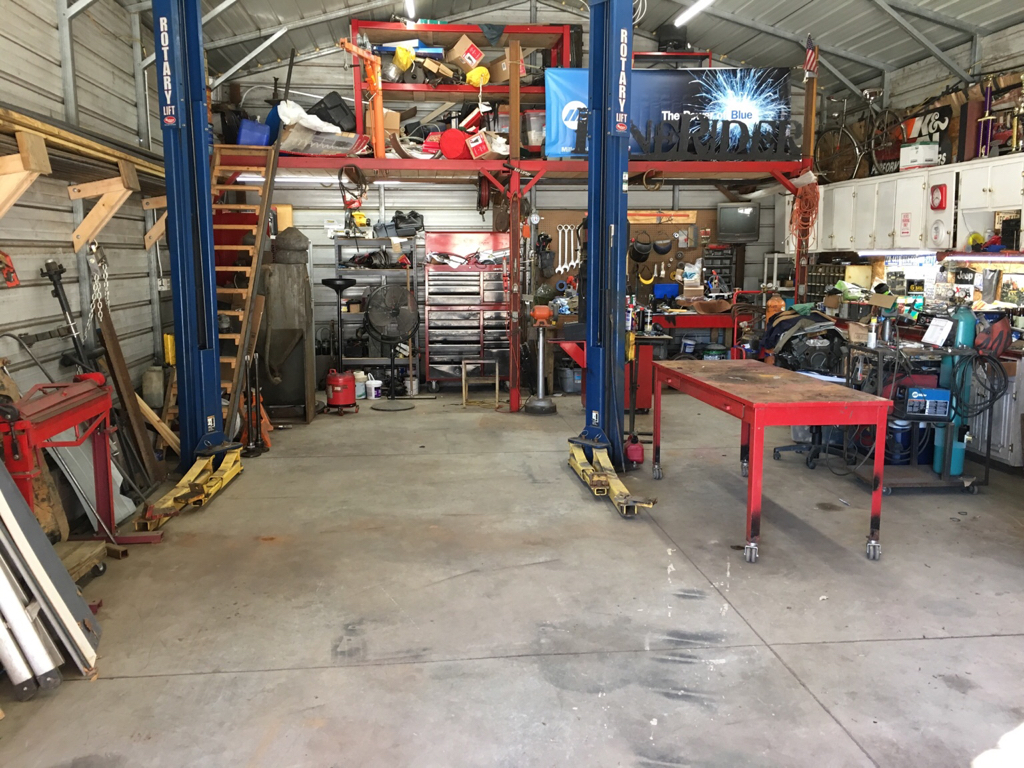
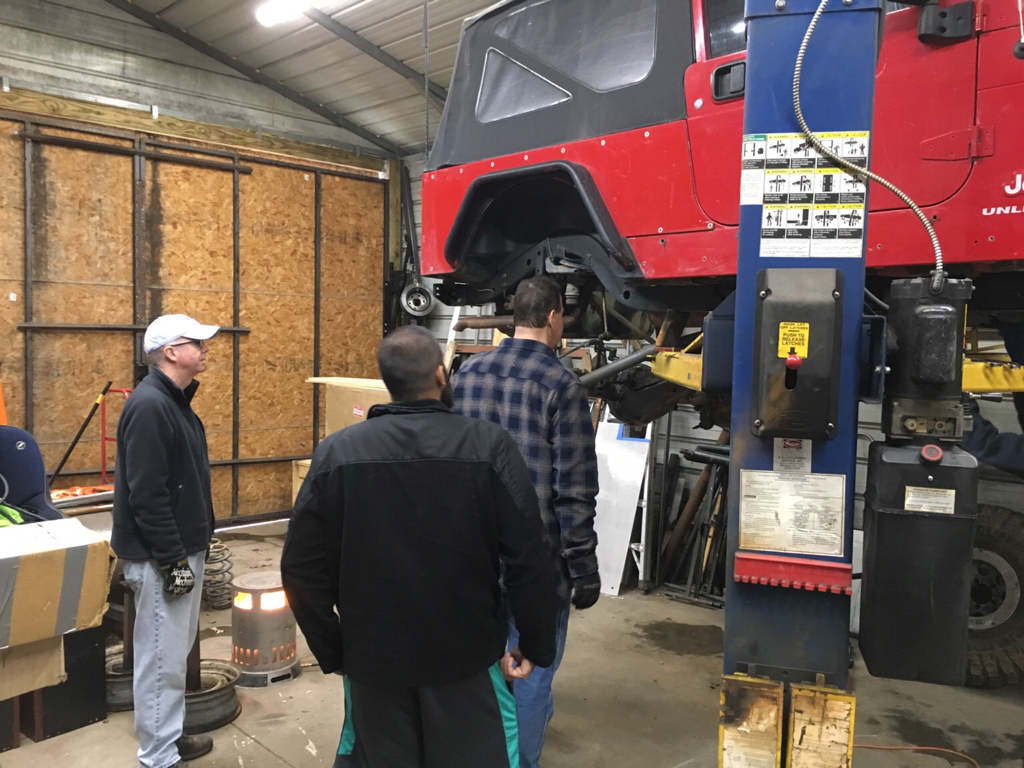
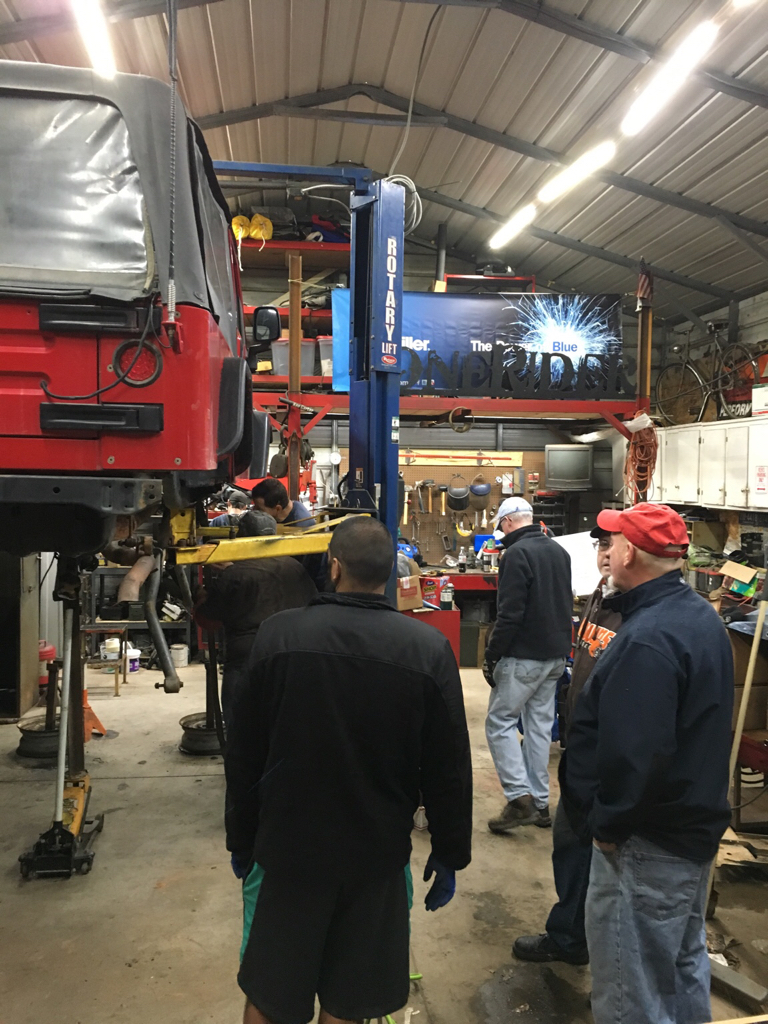
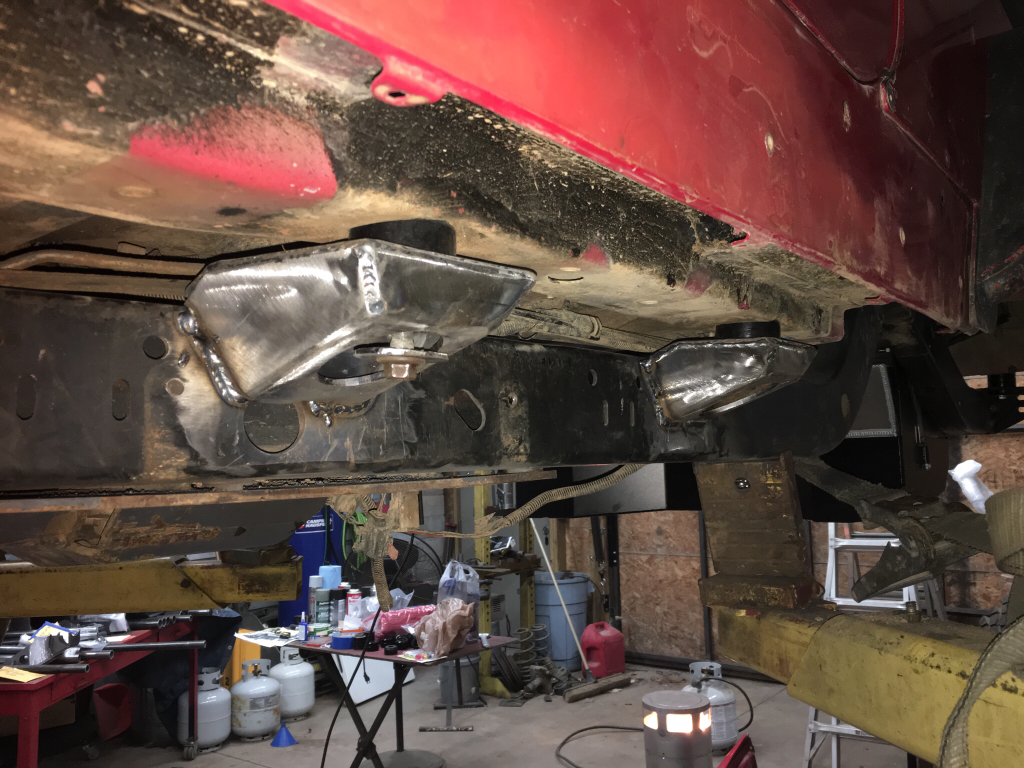
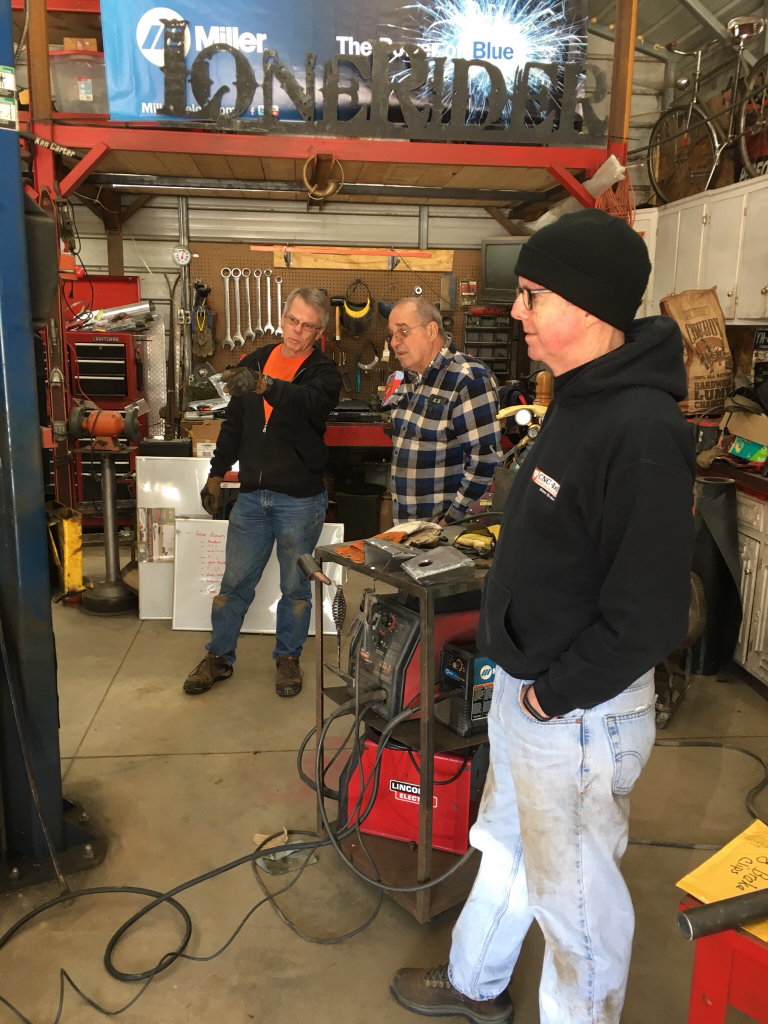
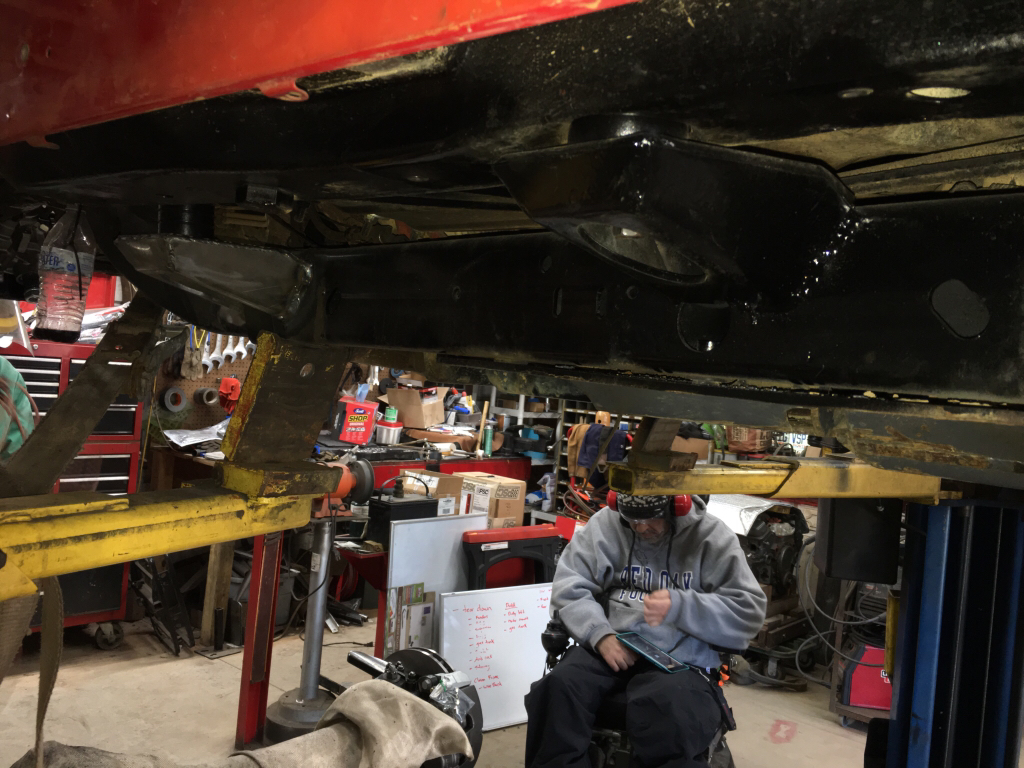
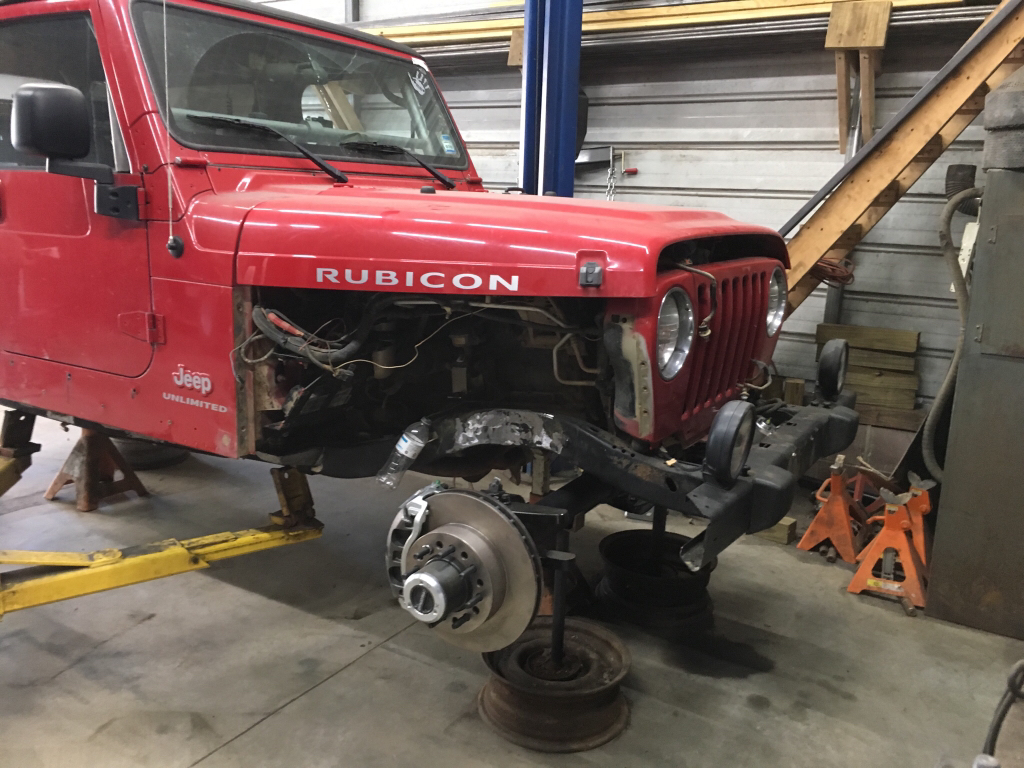
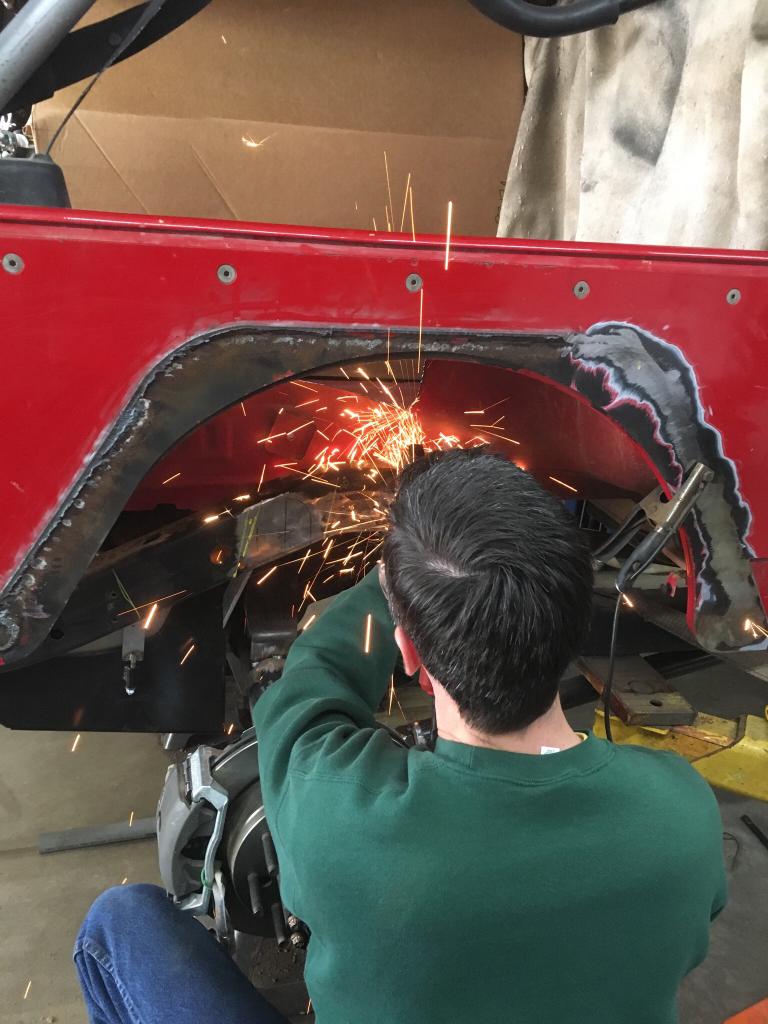
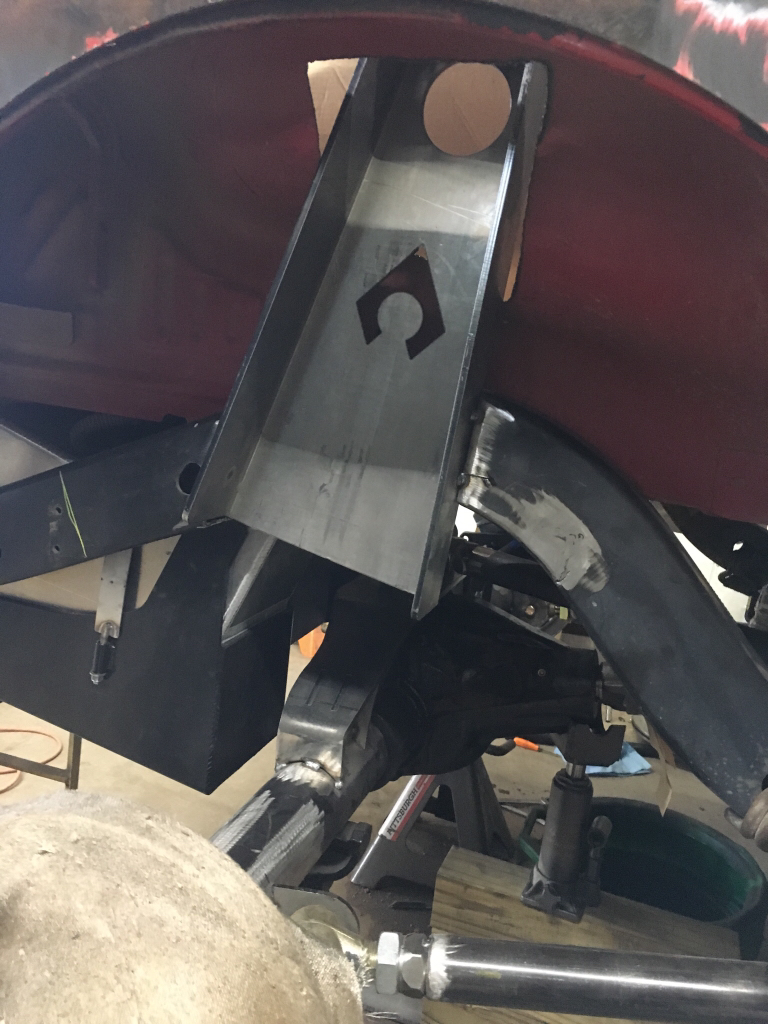
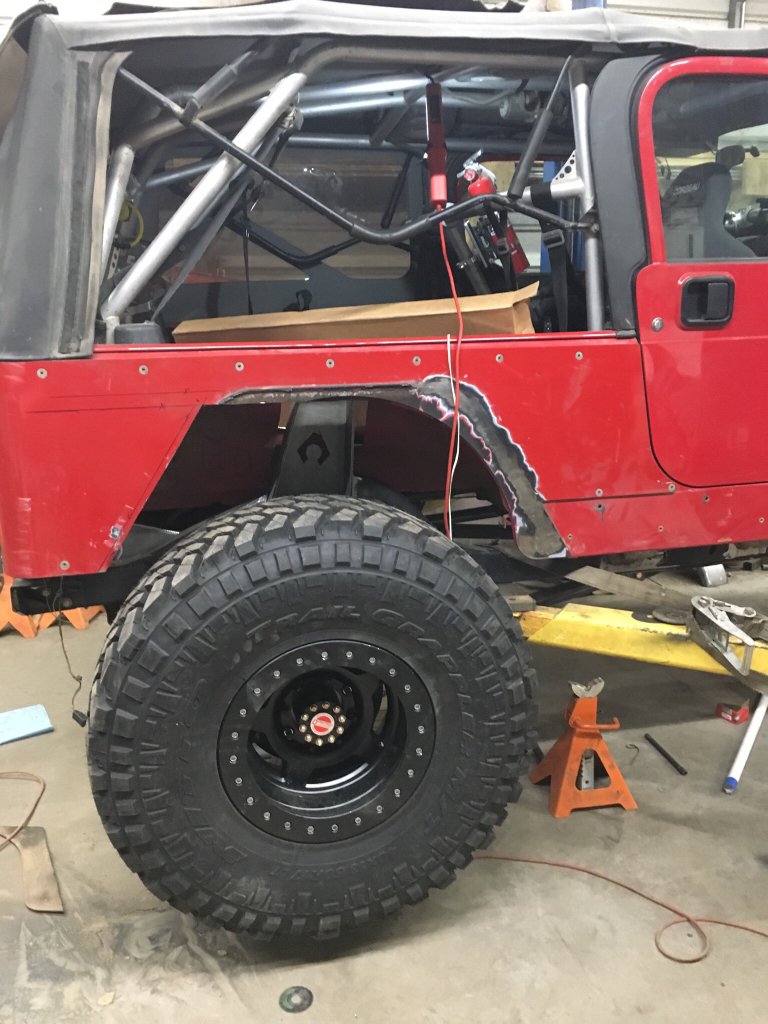
This was “officially” the second build day on the Jeep. Work started promptly at 9AM. The plan for the day was to remove all unnecessary suspension brackets and mounts, smooth out the frame, install the body lift, bolt in the new gas tank, and possibly remove the front fenders.
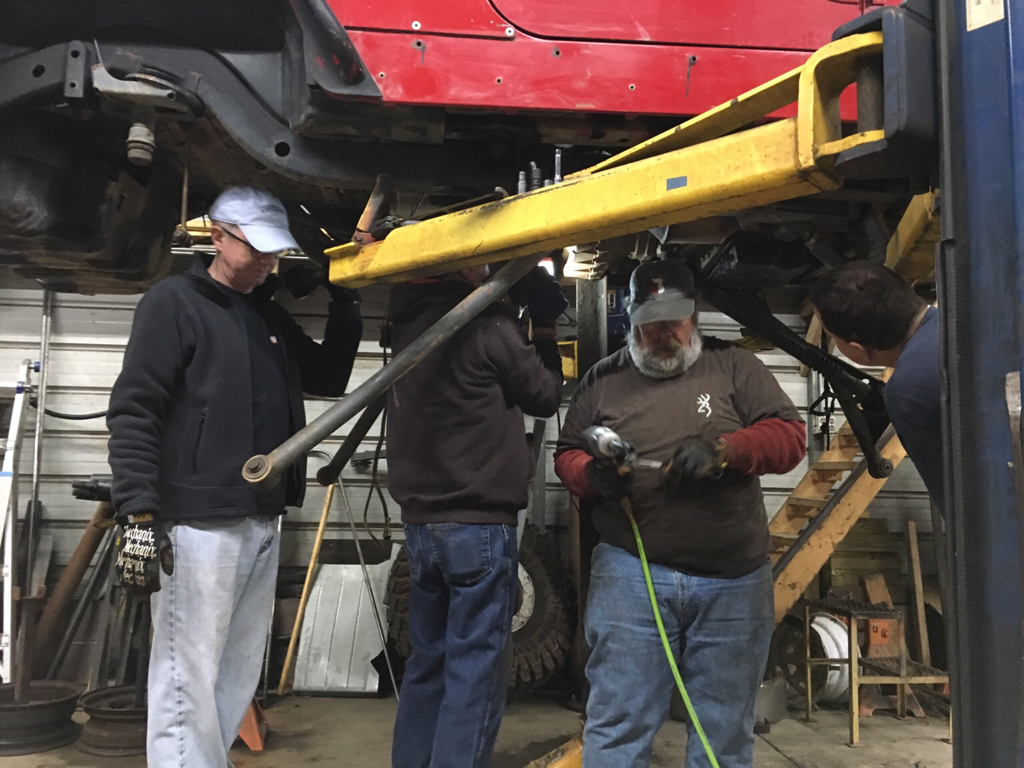
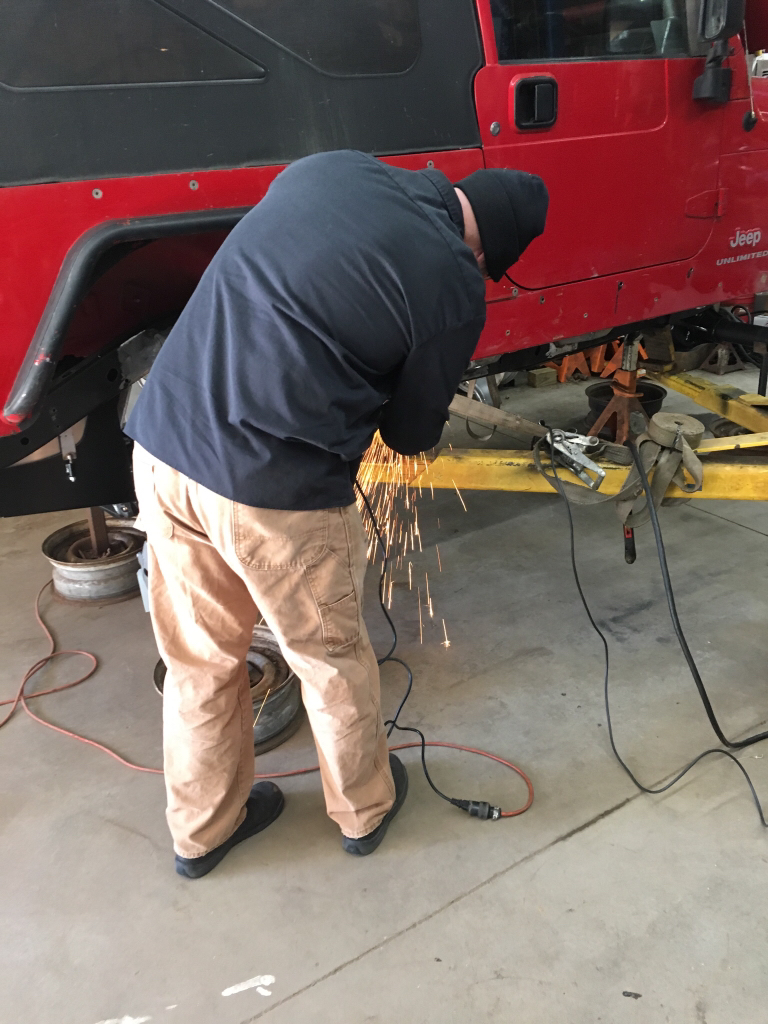
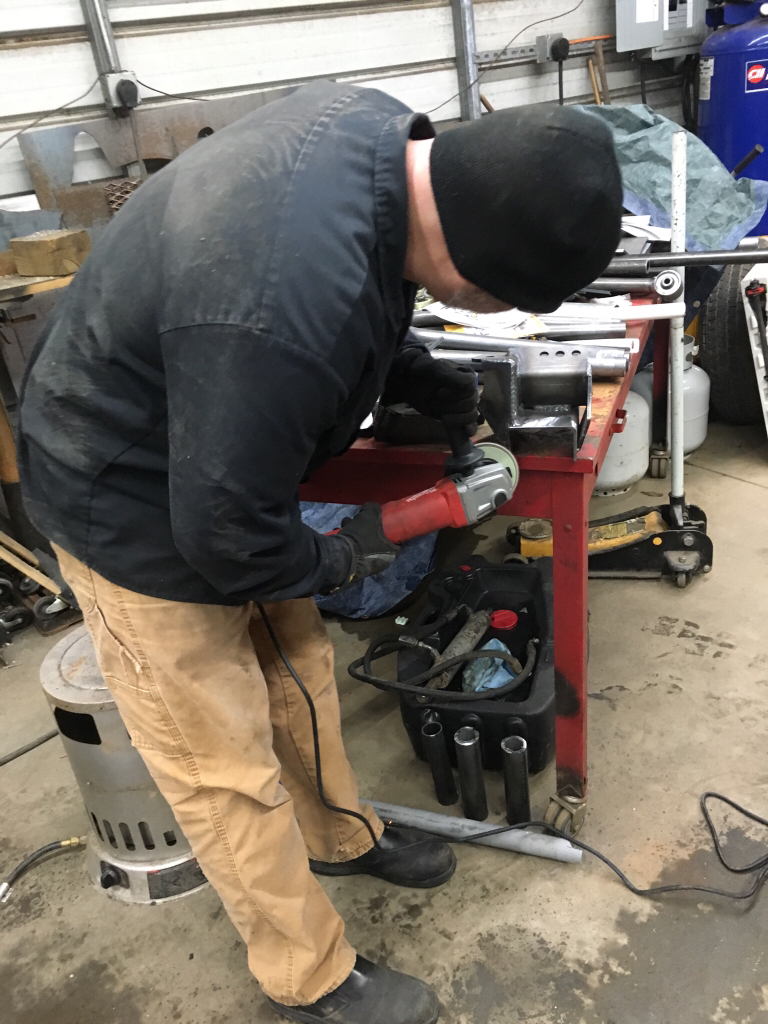
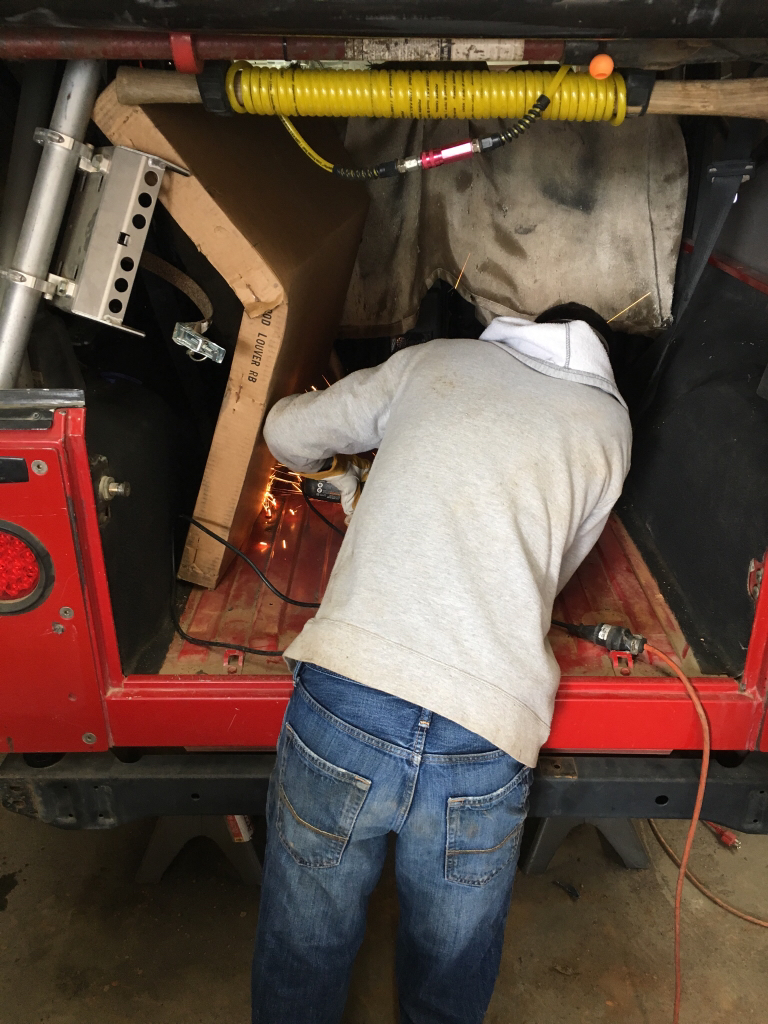
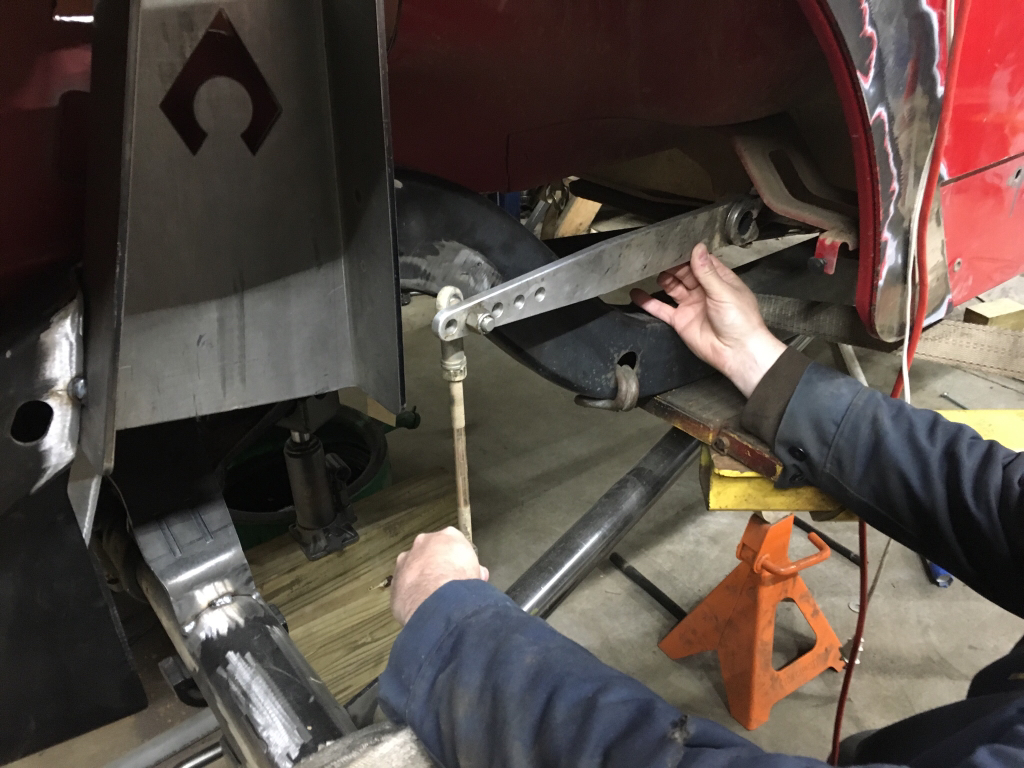
The first lesson of the day came early. As Ken was using the plasma cutter to remove old suspension parts, Jack Sr was using the air grinder to wire brush the frame. Well, the air compressor could not keep up with both tools at the same time. So, Jack Sr proceeded to remove the Anti-Rock sway bar.
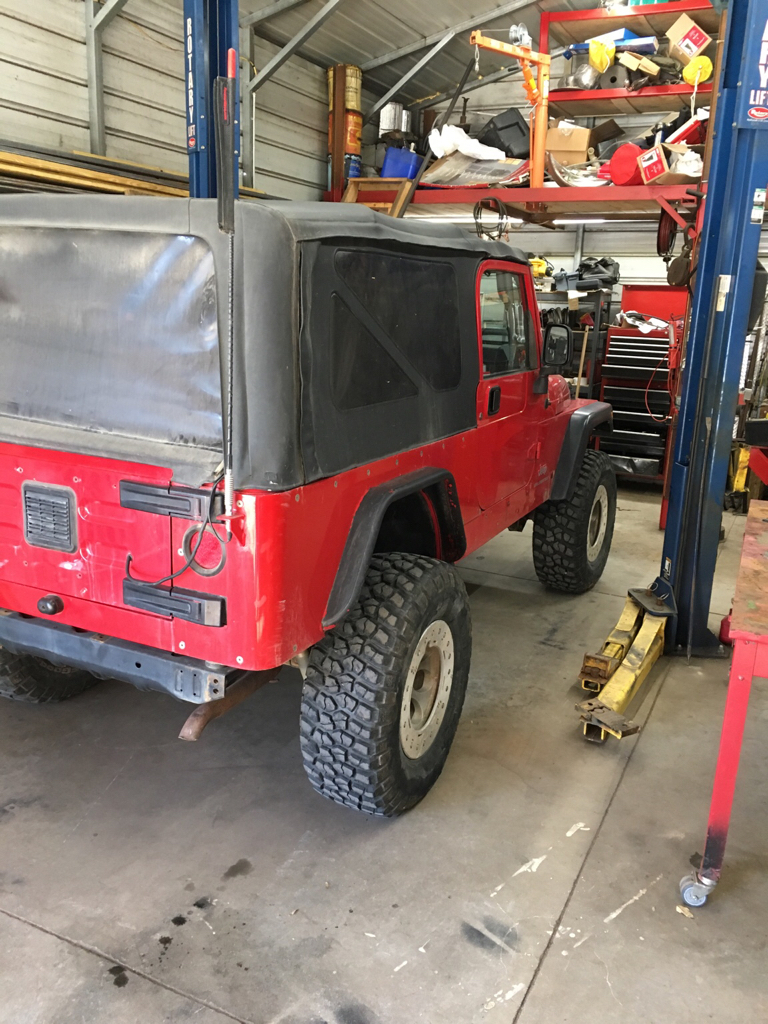
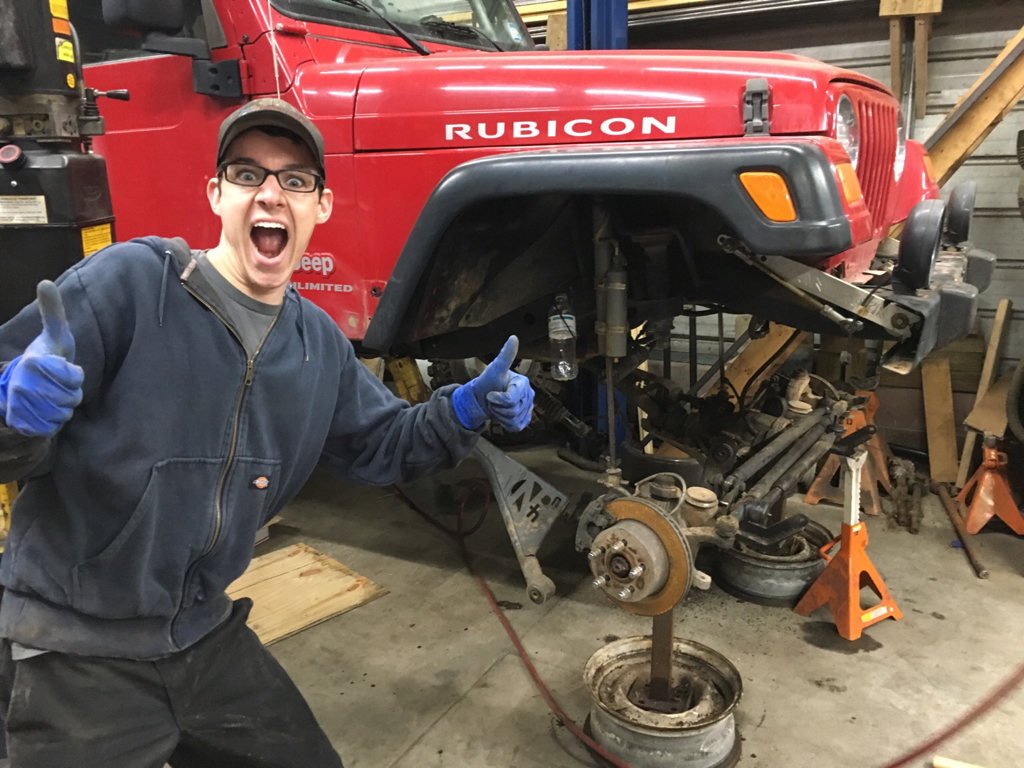
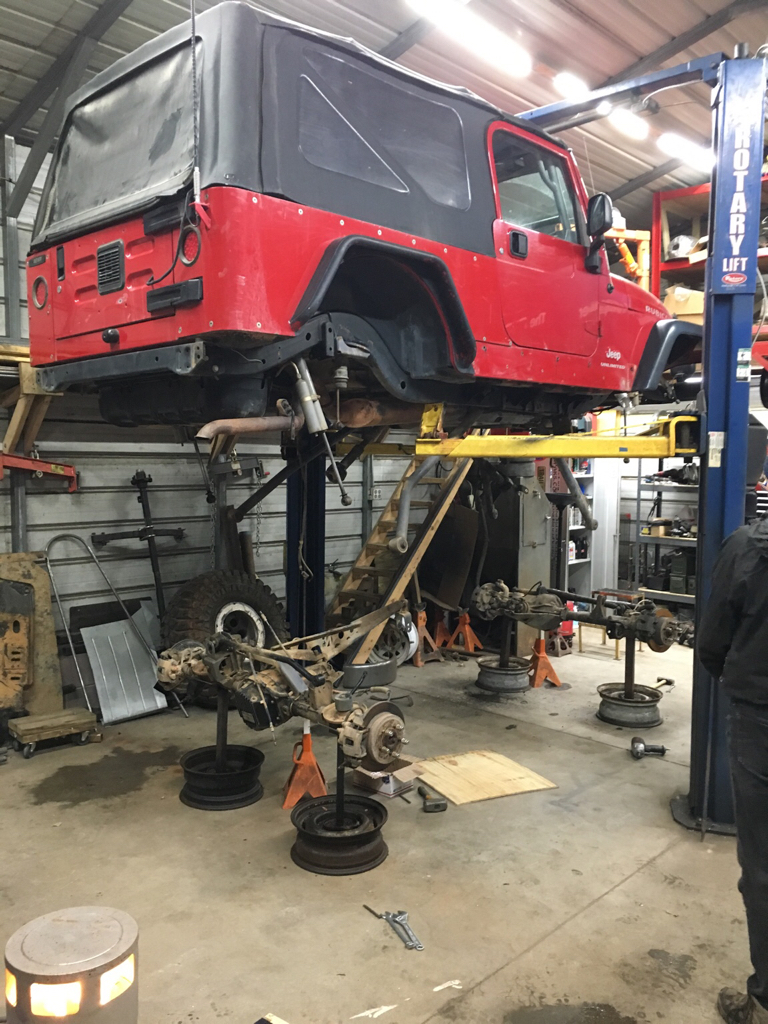
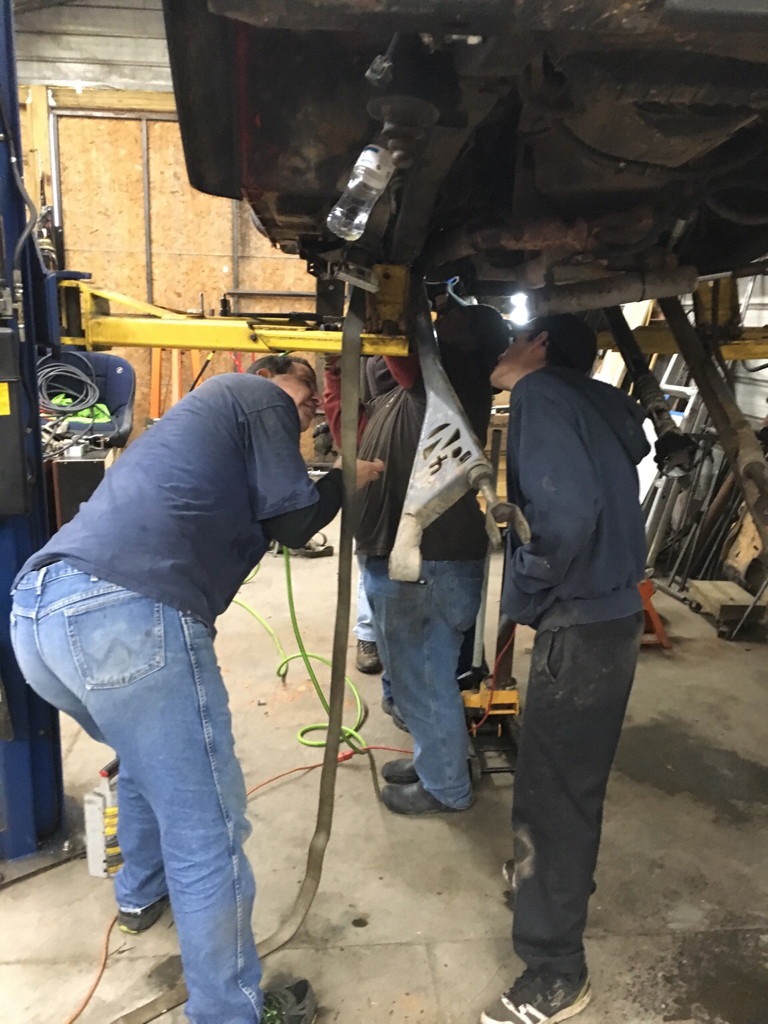
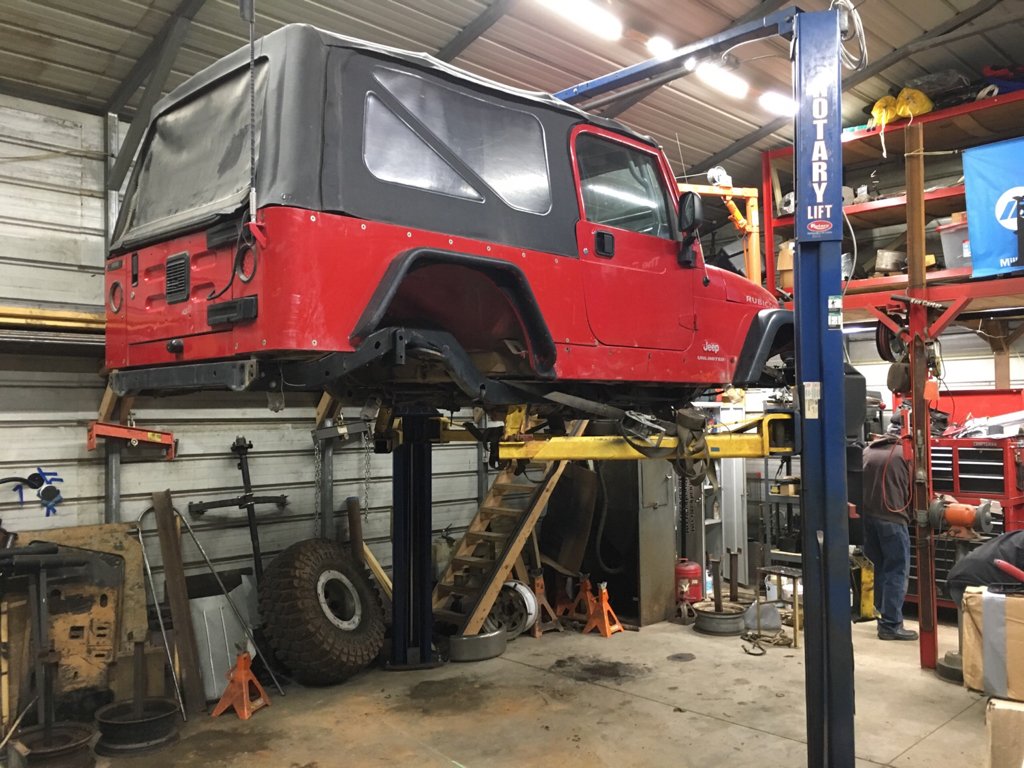
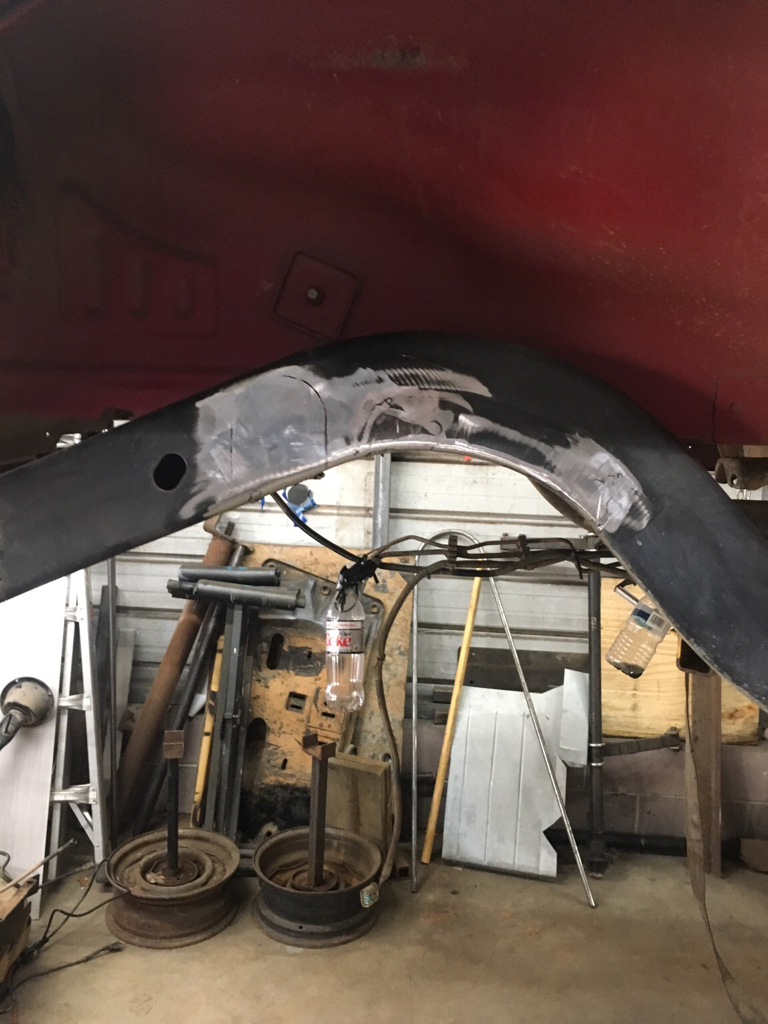
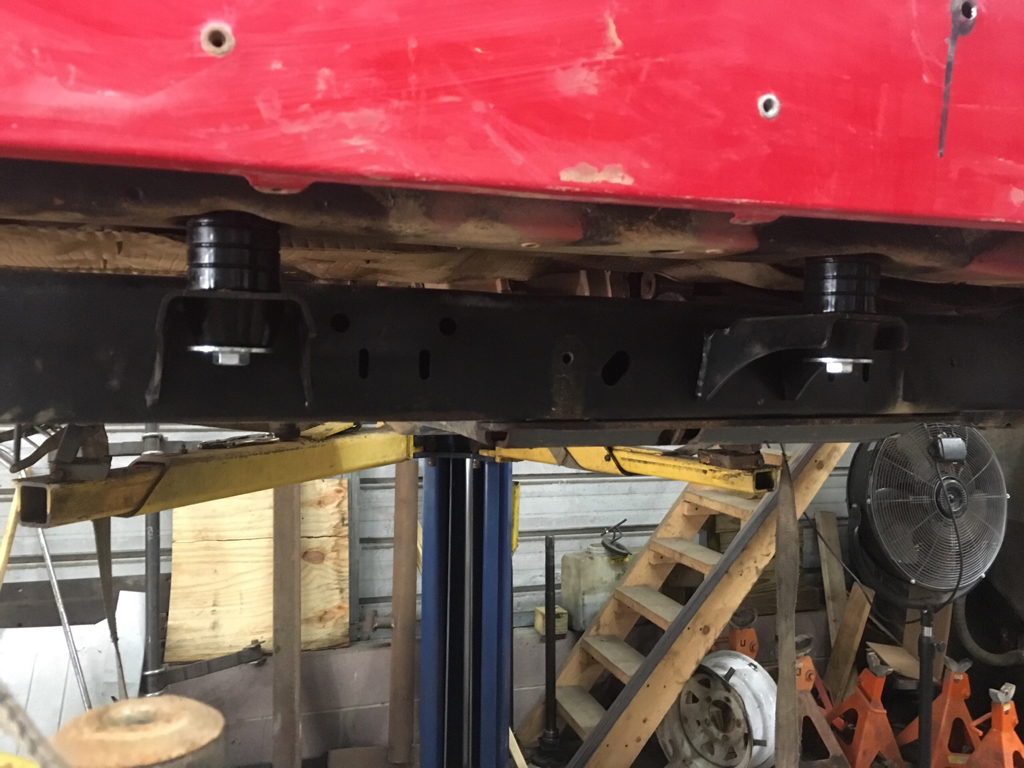
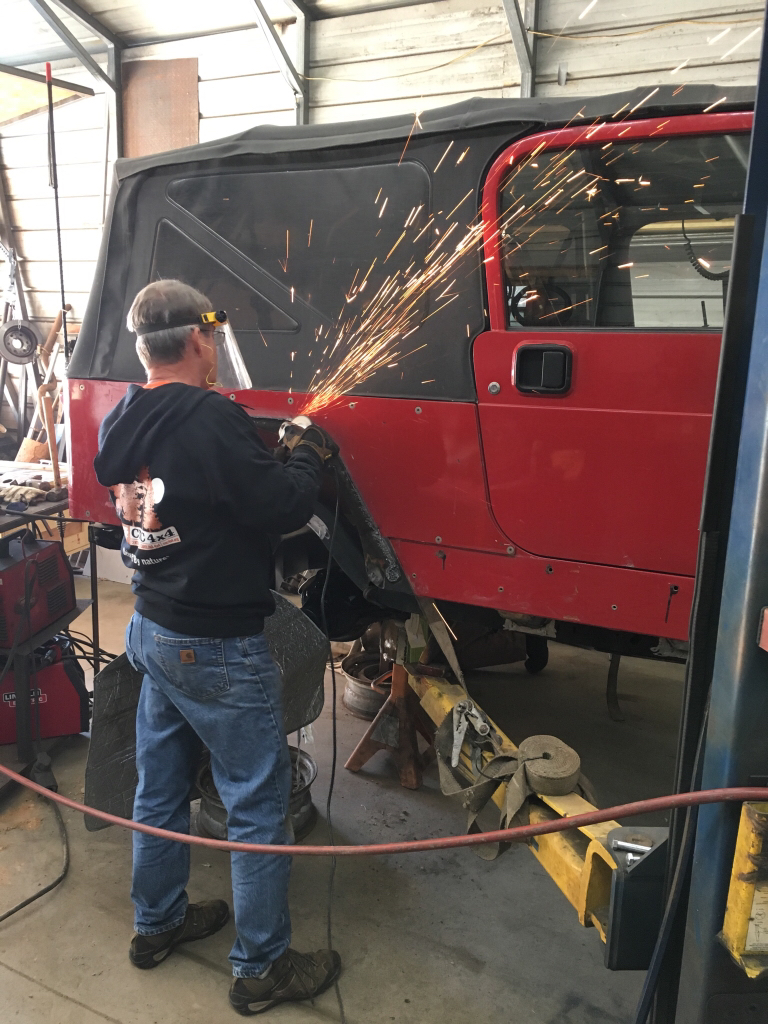
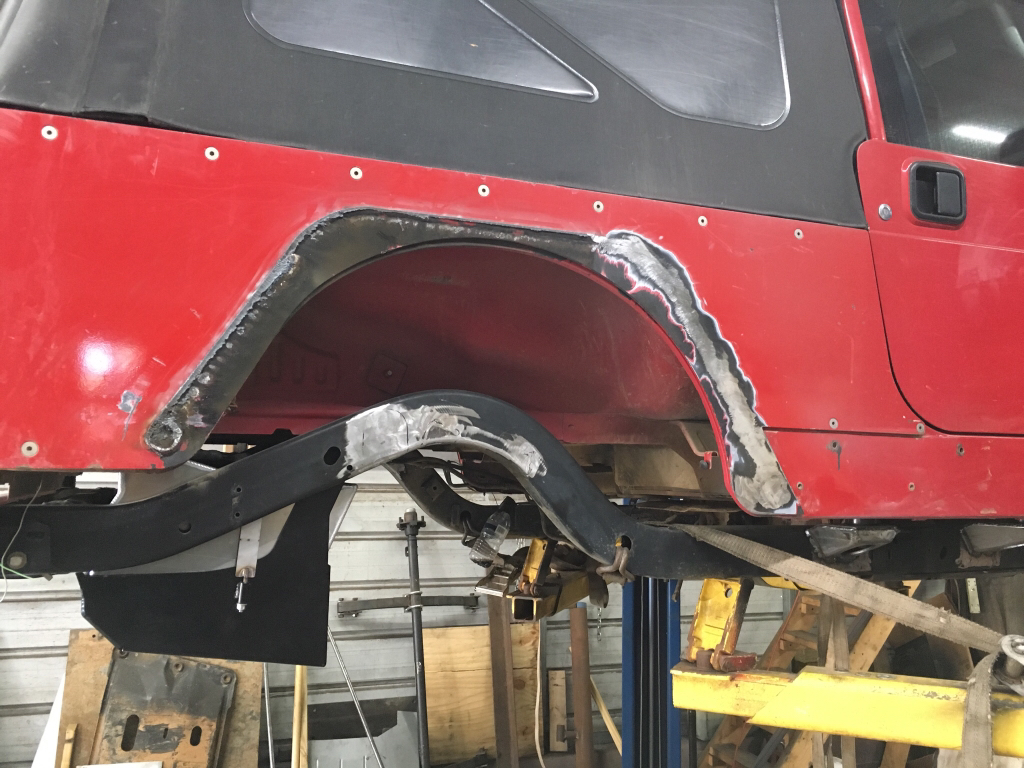
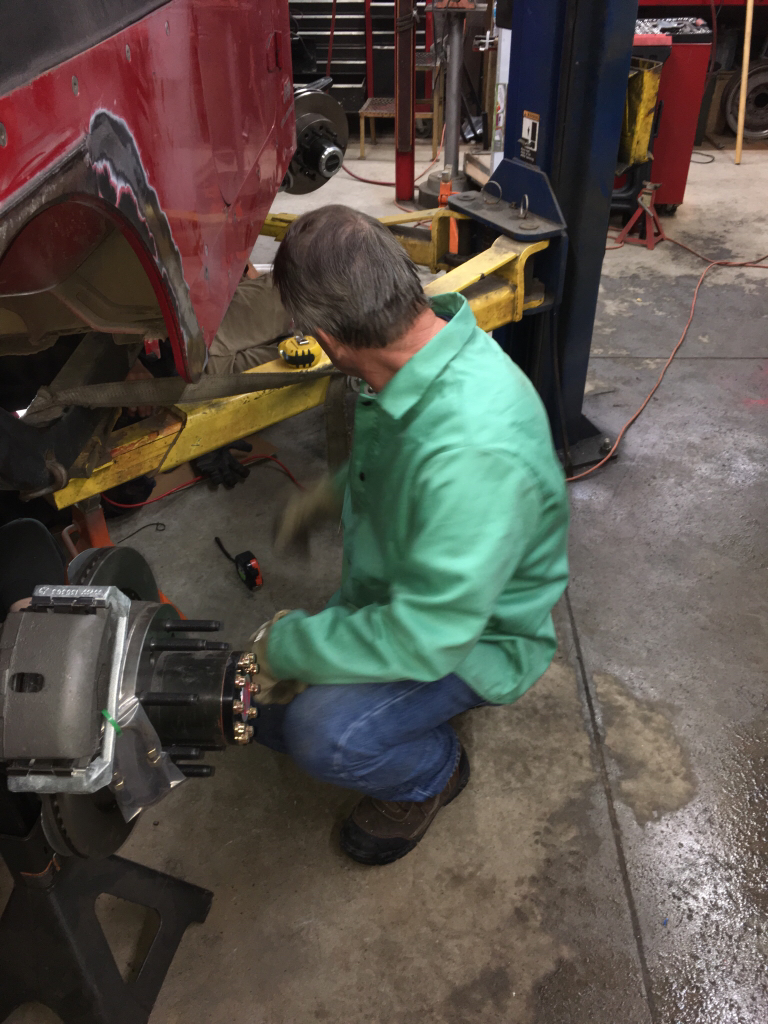
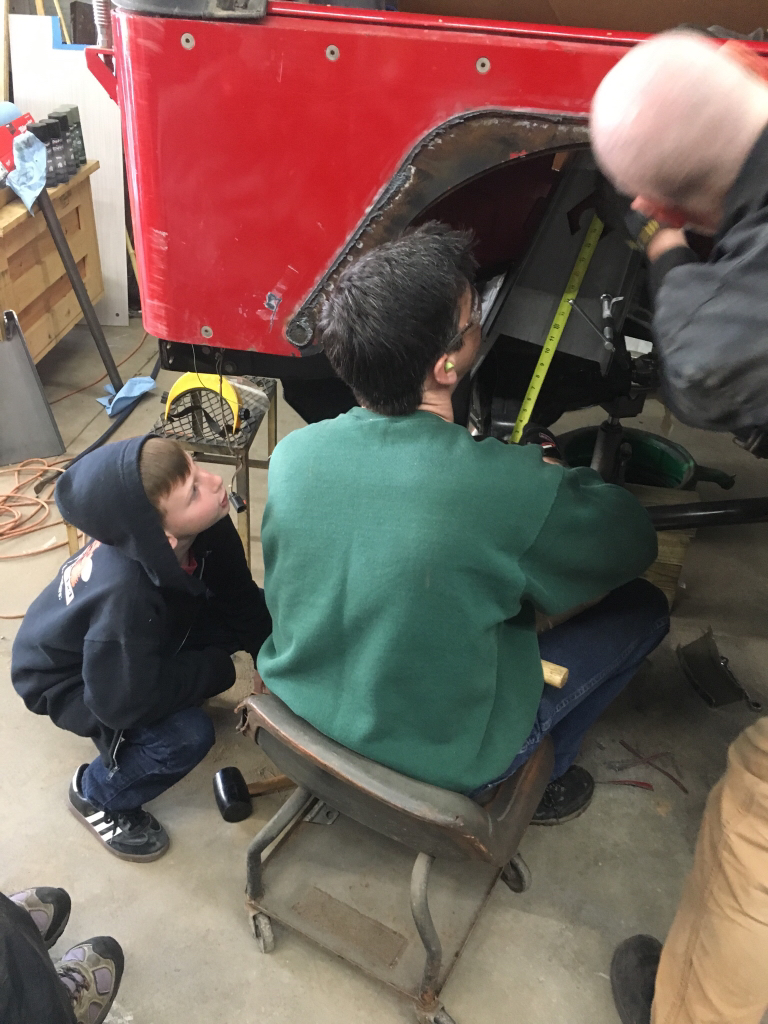
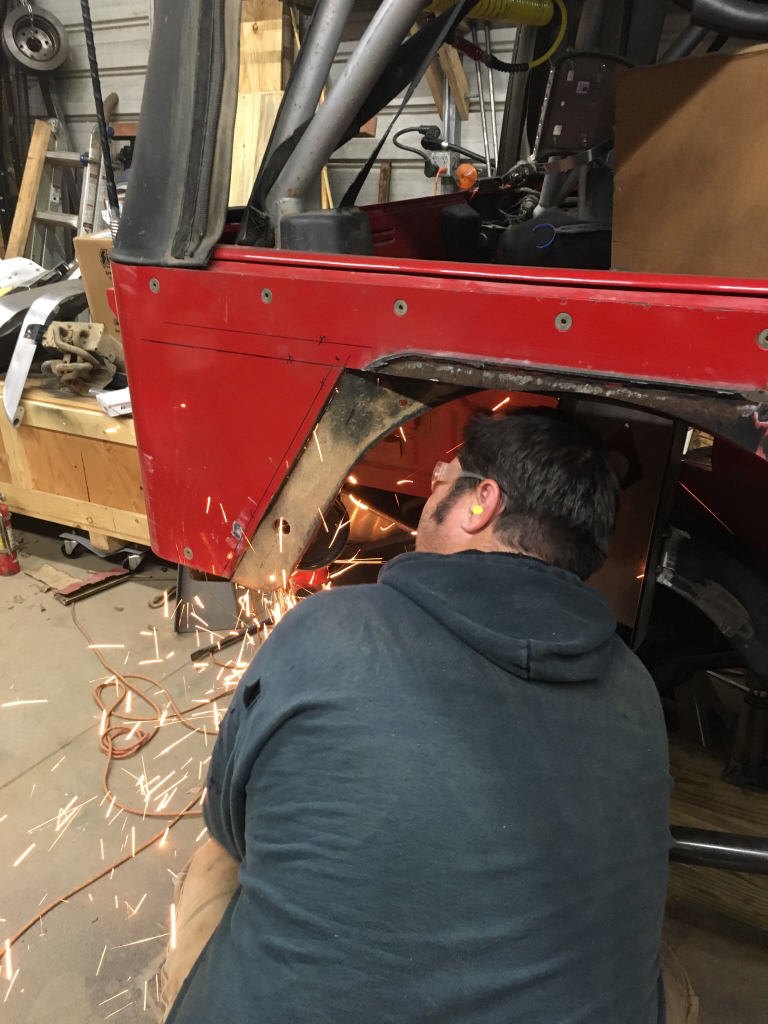
Lucas showed up and took to smoothing the frame with the electric drill and sanding disks. The cutting and smoothing process took several hours. Next, we unpacked the SWAG weld-on body mounts. Since the build calls for a 1” body lift for the gas tank install, we decided to unbolt the body from the frame and insert the body lift blocks. The plan is to cut off the existing mounts one at a time and weld on the new mounts one inch higher. Lesson number two: it's easier to lift the body off the frame when you unbolt all the body mount bolts. We missed the two bolts on the rear crossmember. Lesson number three: the back half of a stripped down Jeep, on a frame style lift, is very light! Tie/strap the body down before lifting the body to insert the taller blocks.
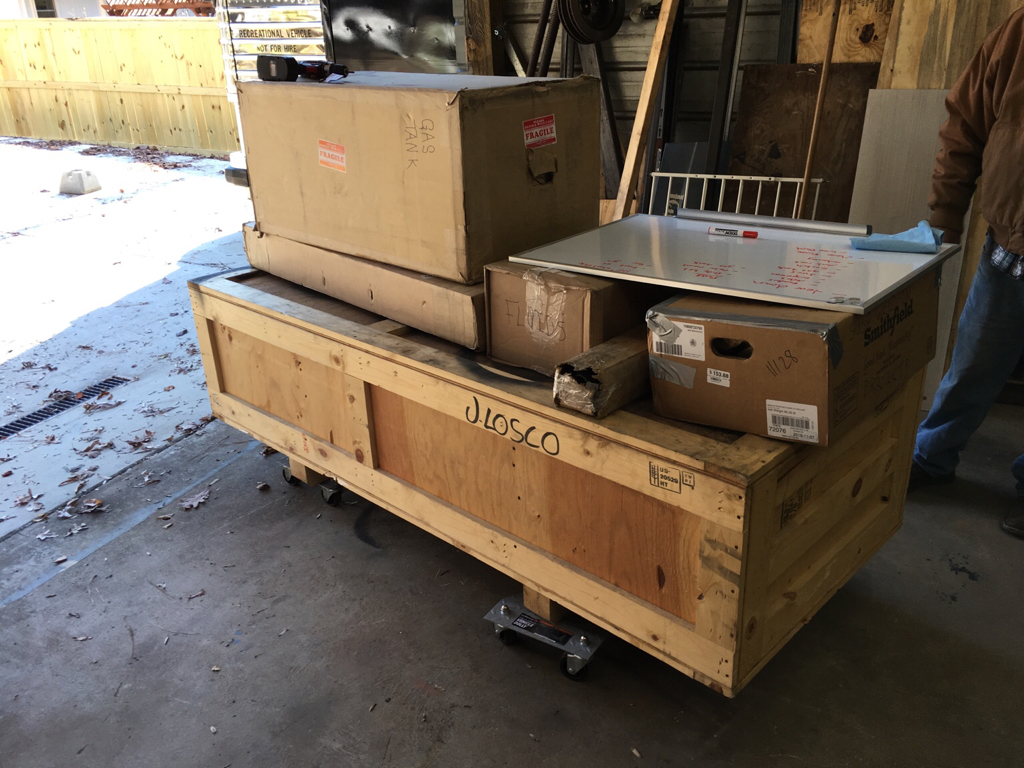
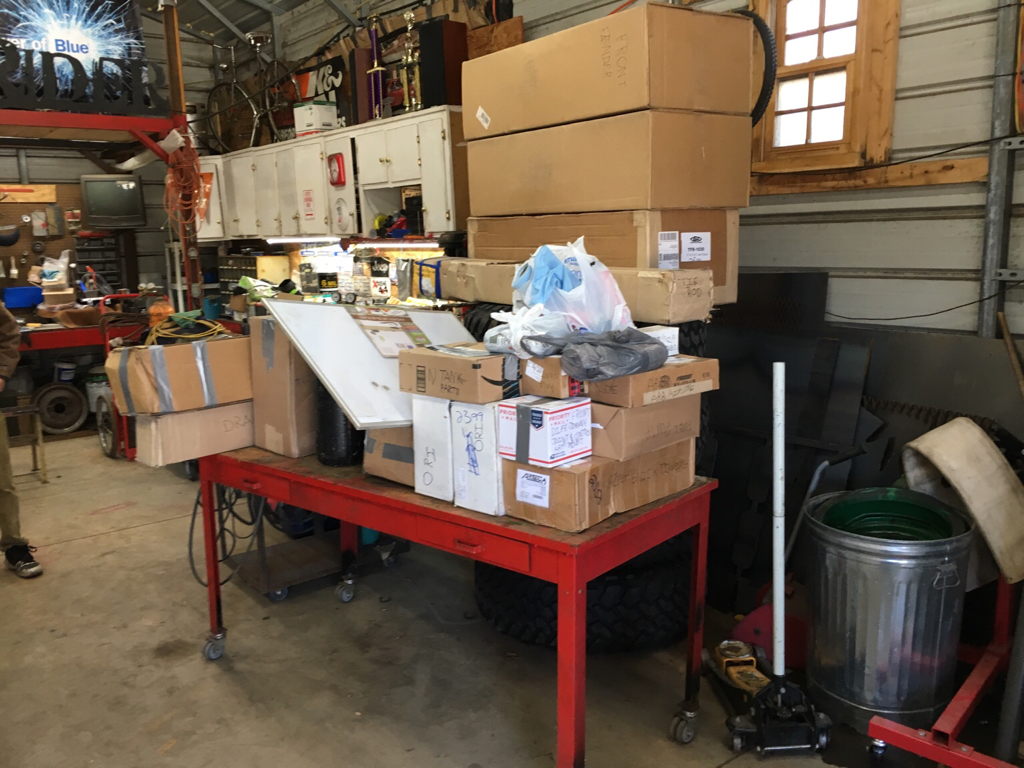
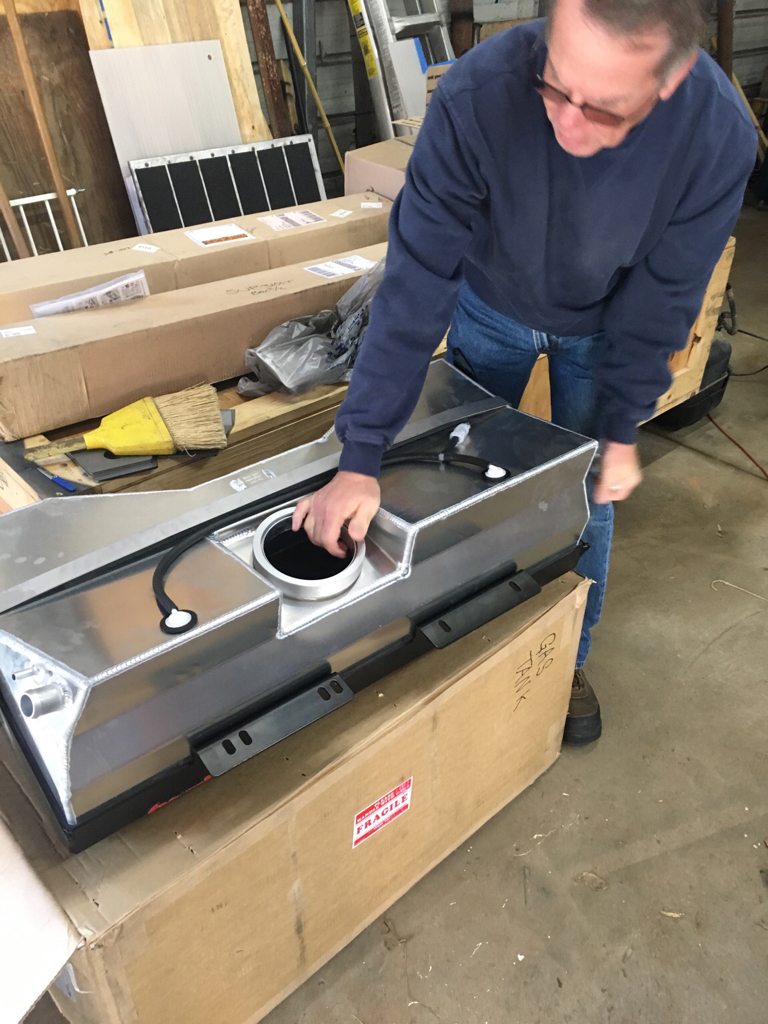
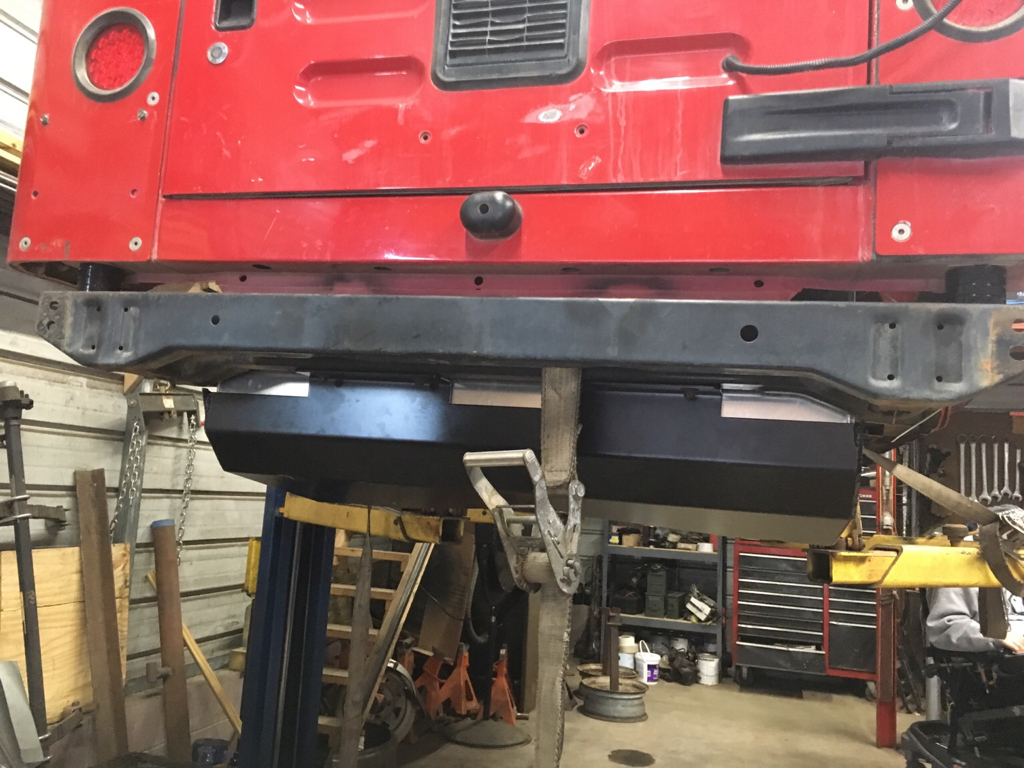
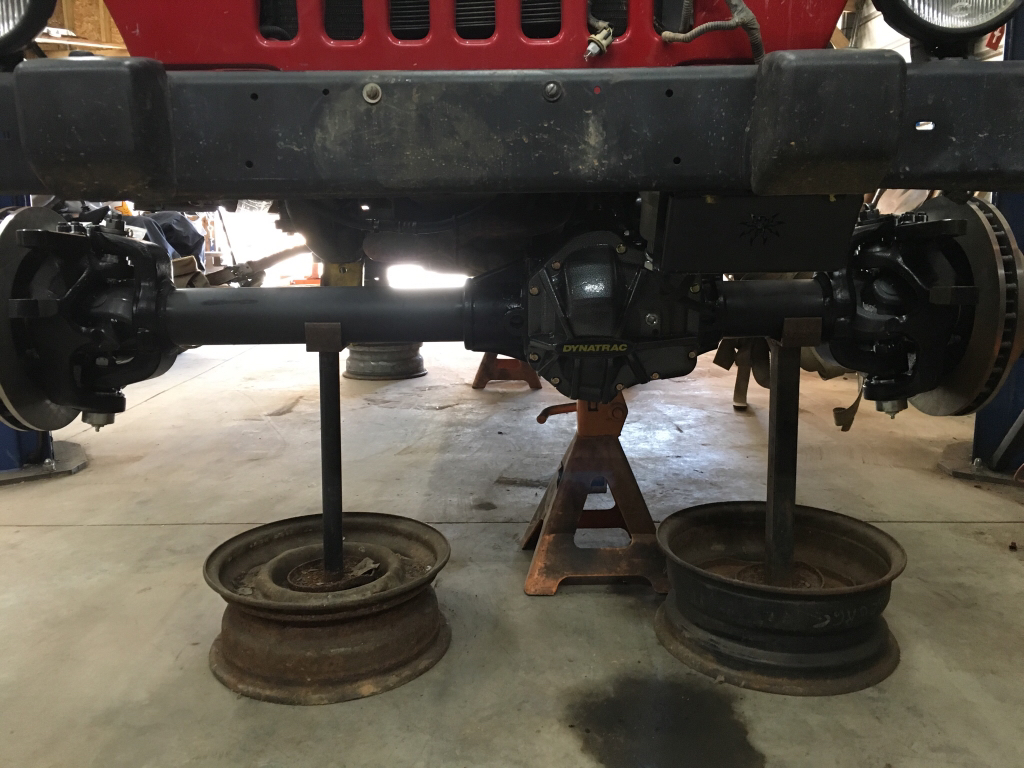
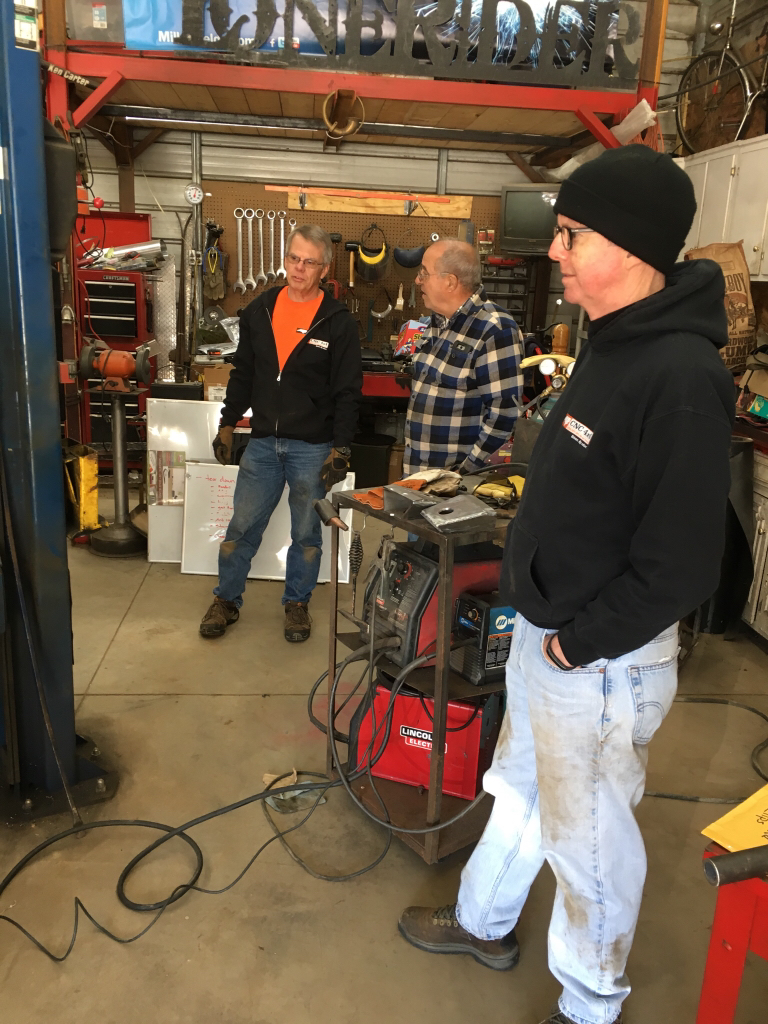
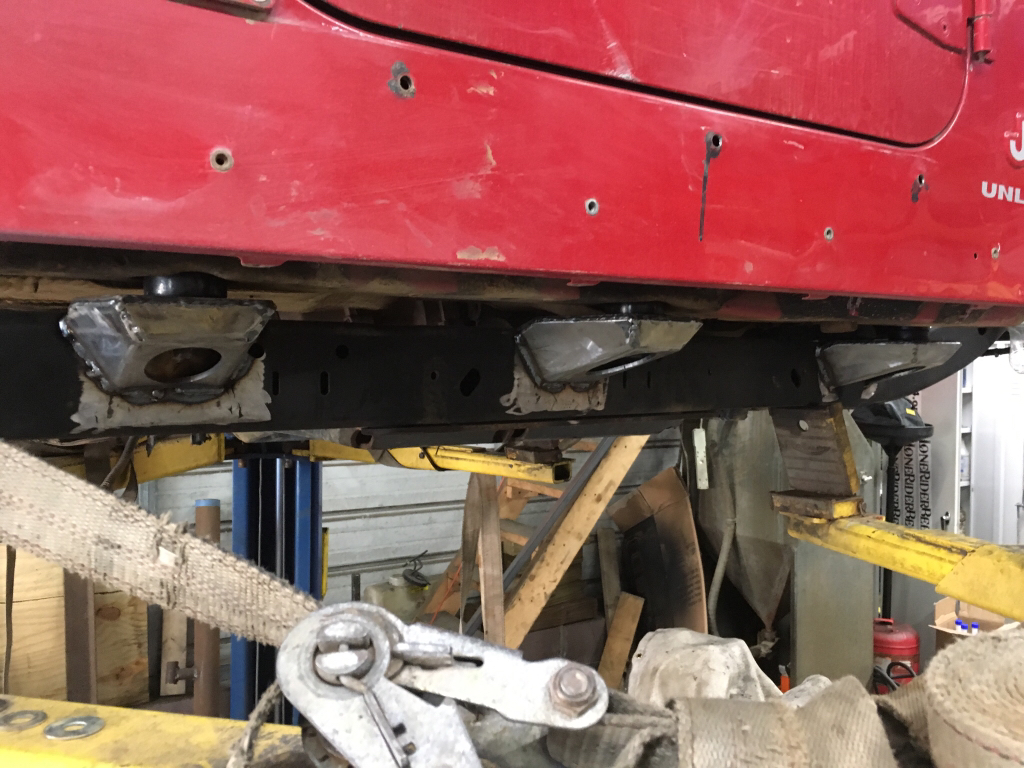
Just before lunch, Ron joined the forces. After lunch – pizza from Salvio’s. Good stuff! We unpacked the new gas tank, which will allow the Dana 60 rear axle to be pushed back 5”, and installed fuel pump.
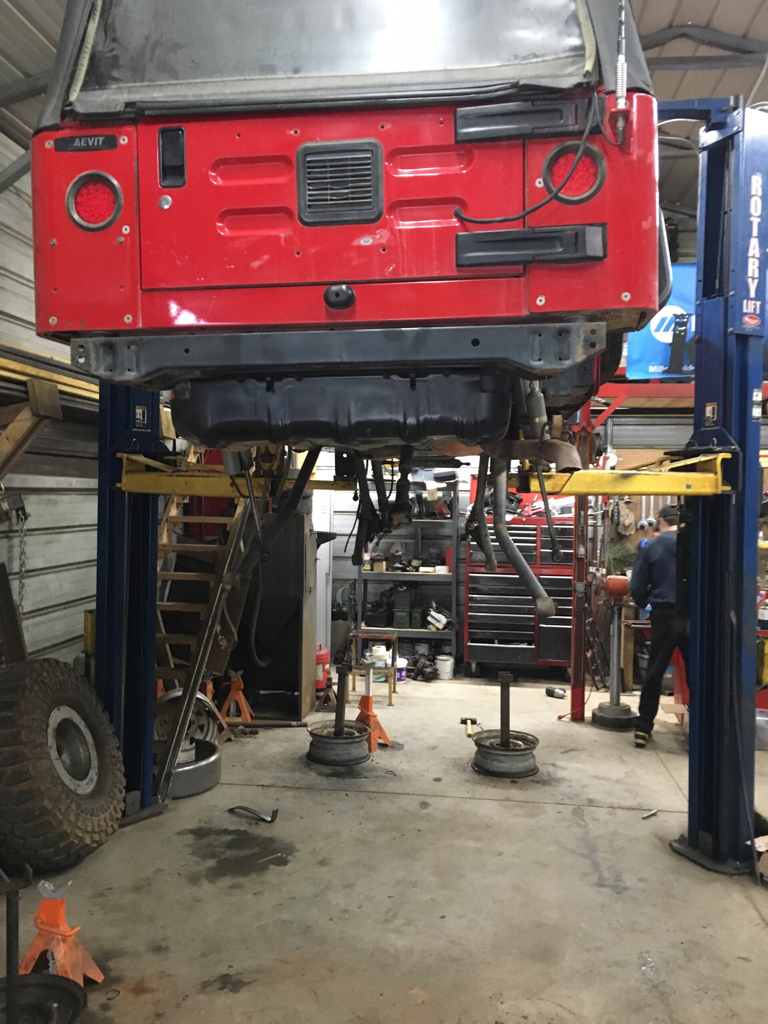
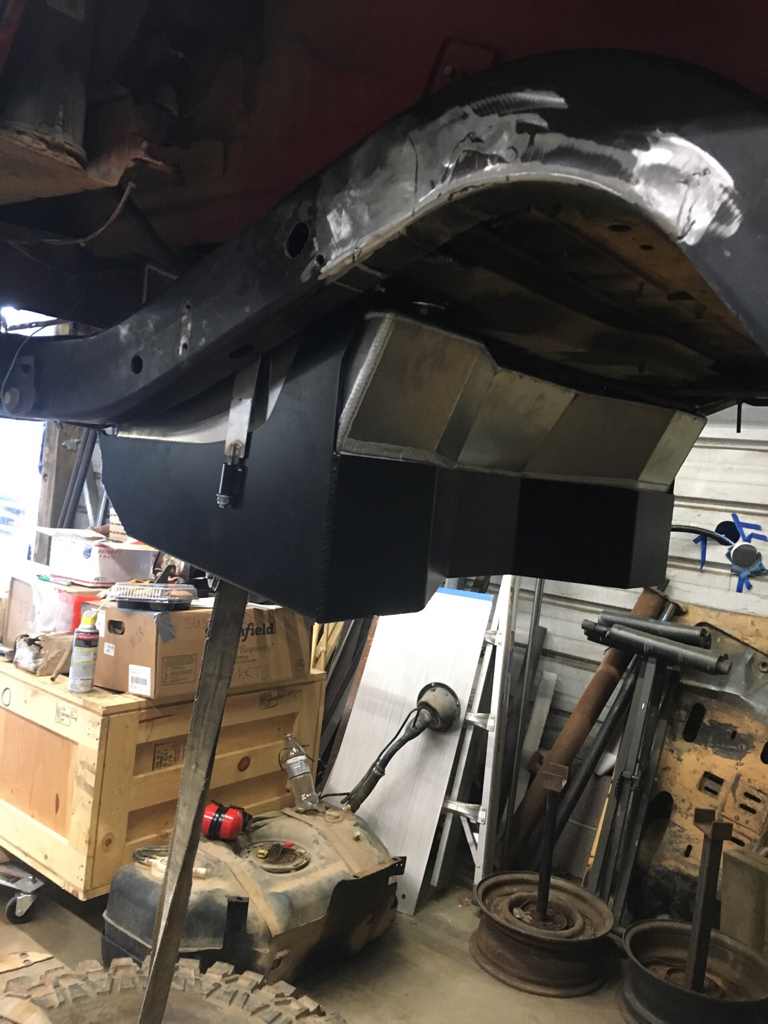
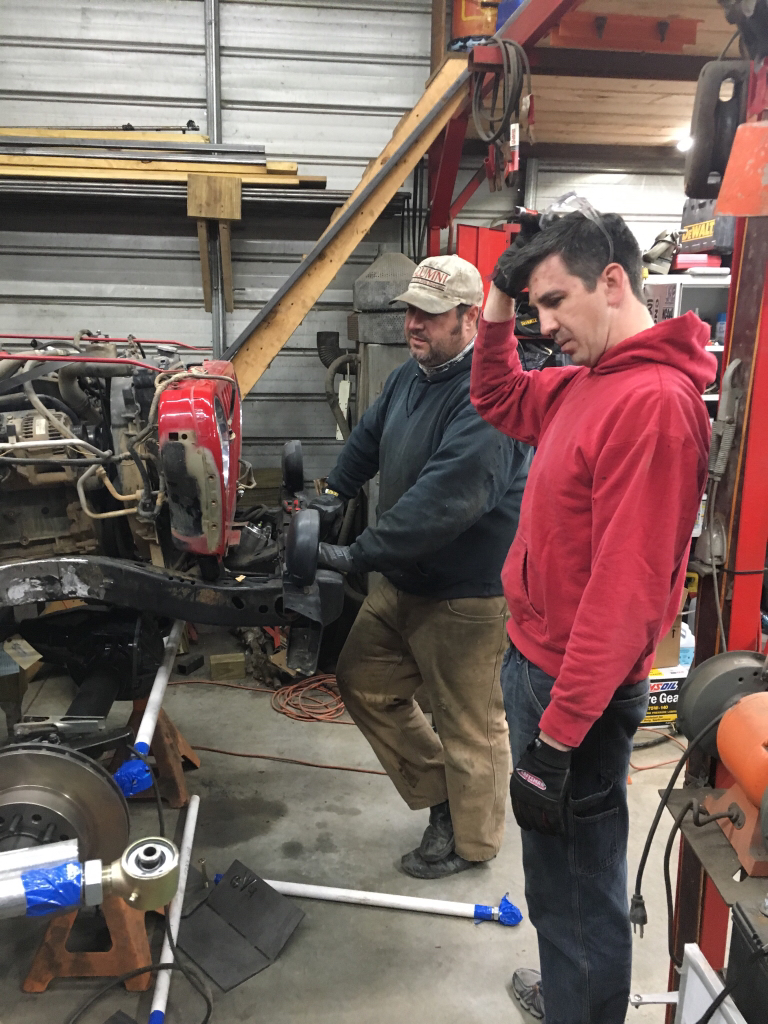
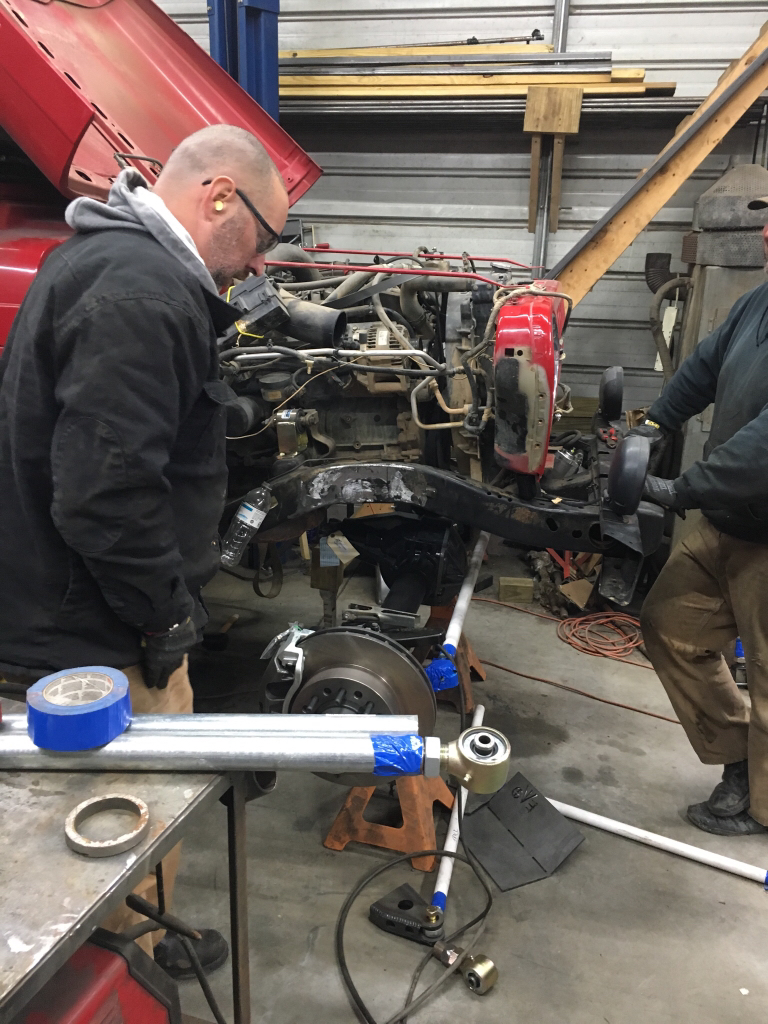
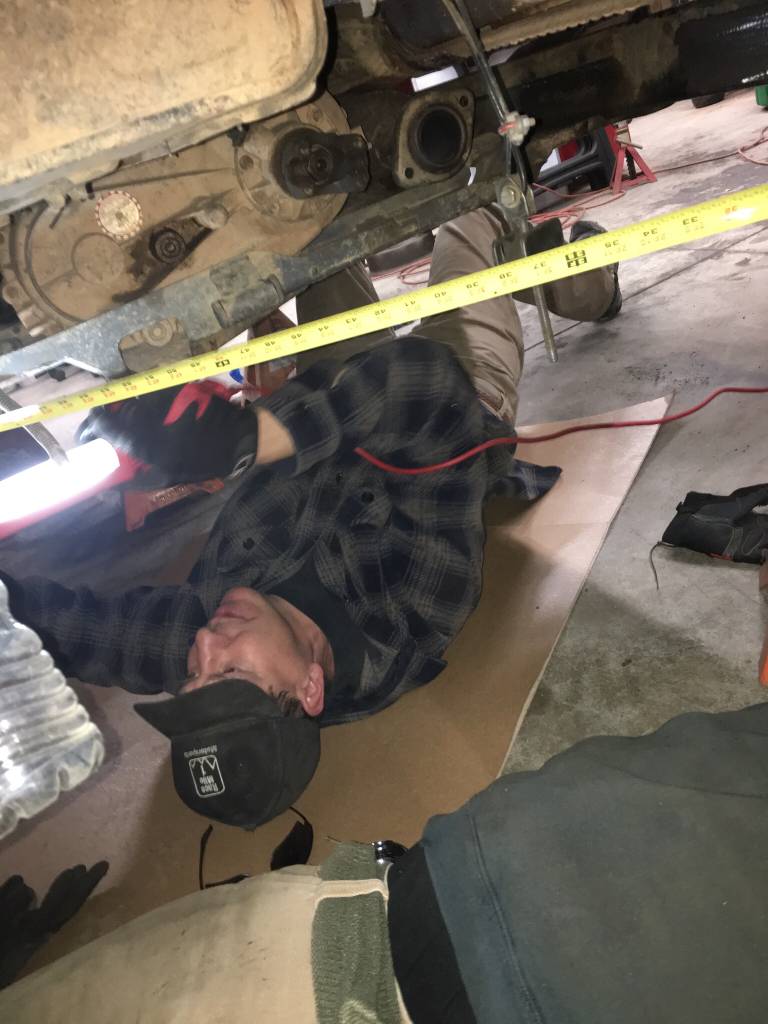
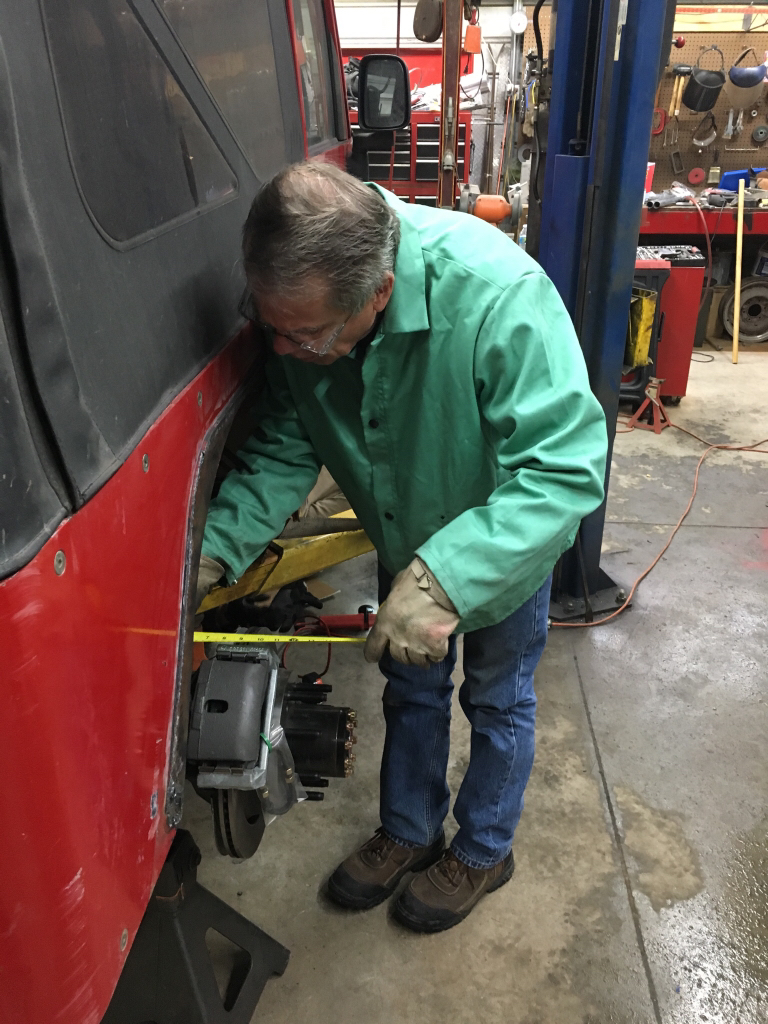
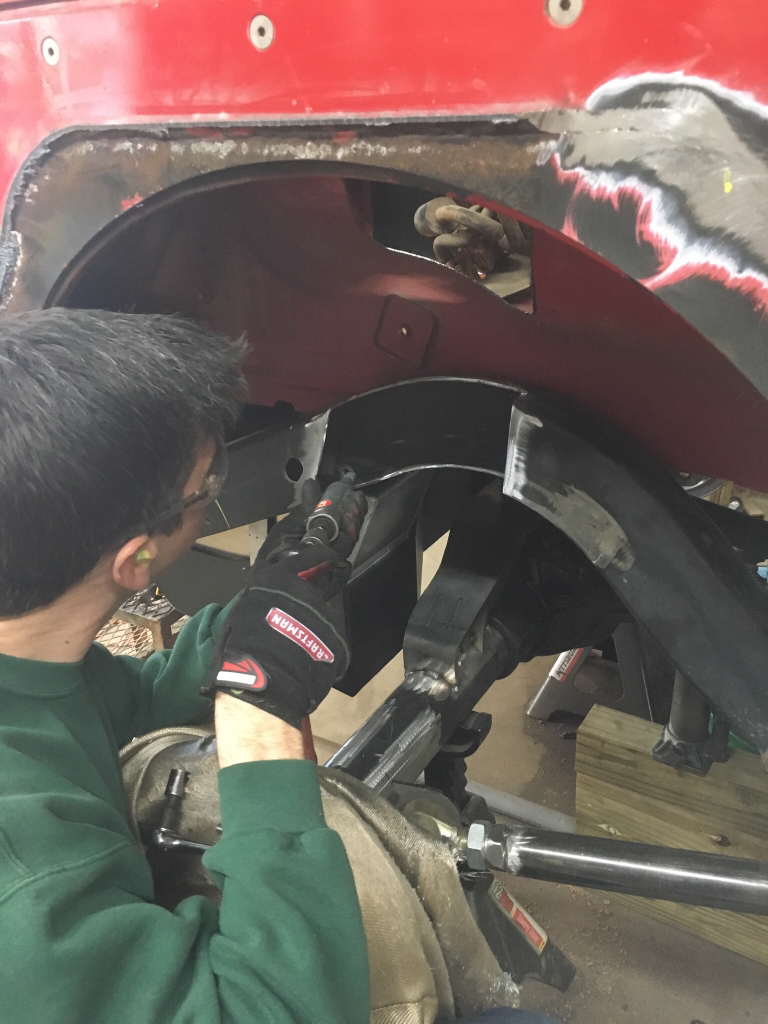
Lesson number four: what seems simple and straightforward isn't always so. The tank install appeared to be a direct bolt in. Not the case. The front mounting tabs required drilling the frame at the location of a crossmember. Drilling from the inside of the frame to the outside of the frame was not an option. First, we had to transfer the mark from the inside to the outside of the frame. Next, the challenge was to drill straight through the frame and hit the mark on the inside. Not so easy. The passenger side was slightly off the mark and took some time to lineup the holes. Lessons learned from the passenger side were applied to the driver side and we found success on the first try!
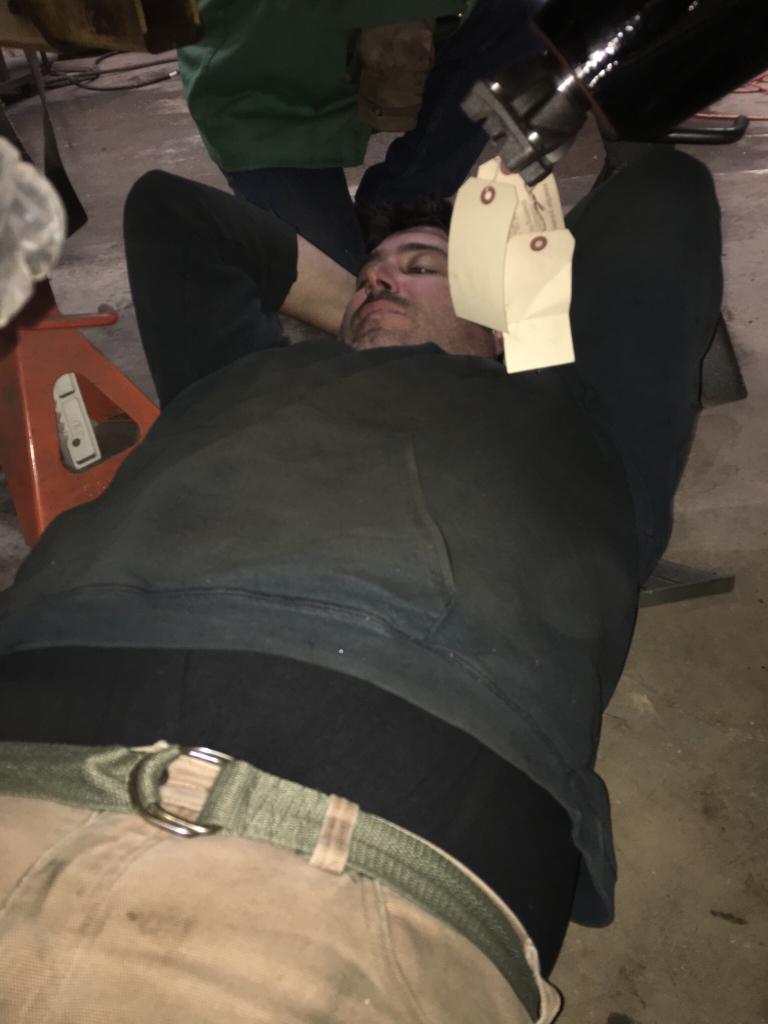
Holding the tank up and bolting it in place sounds easy; especially with four guys. Well, not so much, this took us the rest of the afternoon. The back of the tank lines up on the factory studs and the original nuts were used to secure the back of the tank, no problem. The next hour plus was spent devising ways to fish the supplied bolt through the newly drilled hole. Existing holes were used to assist in the process. Success was achieved by taping some welding wire to the bolt and pulling the bolt through the hole with the wire. Home free now, right? Wrong! We must have used every combination of tools in Ken’s toolbox. We had swivels, extensions, crows foot wrenches, off-set wrenches, shorty wrenches, and every other combination of ratchet and wrench we could think of. Finally, a combination that worked was discovered! The other side took ten minutes.
Lesson five: pay attention to hang wires and hoses. In hast to bolt the tank in place, we neglected to attach all of the electrical connections and hoses to the top of the tank. So, we had to partially unbolt the tank and drop it down. Luckily for us, Lucas has skinny arms. He was able to reach up over the tank and connect the unattended wires and hoses. We did have to spend some extra time on the one electrical connection. Over time, the plug has become brittle and the safety latch was broke on one side. The connection did not want to stay together. Ken used a zip tie to hold the latch in place. When then retighten all the bolts on the gas tank, put away tools, and called it a day.
View attachment 240271 View attachment 240272 View attachment 240273 View attachment 240274 View attachment 240275 View attachment 240276 View attachment 240277