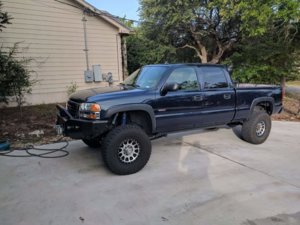
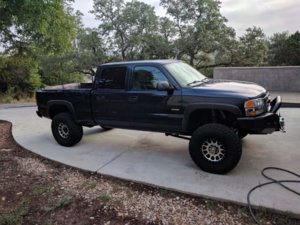
2002 2500HD - Solid Axle Tow Rig

Croatan_Kid

How's your hammer hangin'?
Joined
Nov 4, 2007
Location
New Bern
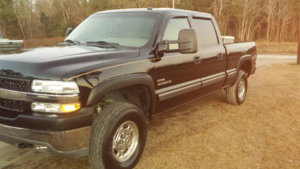
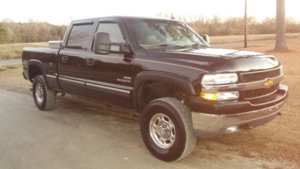
The first truck I ever bought and built was my old CUCV. A few years later I put a solid axle under my 99 Silverado 1500 along with a slew of other mods. I didn't need another truck, but I had ALWAYS wanted a 2500HD with a Duramax and I've loved the 01-02 Silverado HD front end since they came out. I was 11 in 2001, so it seemed like an impossibility.

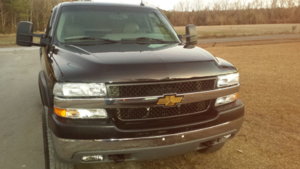
Fast forward to November of 2015. I'm about to change jobs and get a 9 dollar an hour raise...so it wasn't much longer before I came home with this :D
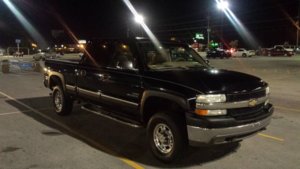
20151115_185821.jpg

The following January, the LB7 got a set of 30% over Exergy injectors and over the course of the next year I added a toolbox, front and rear rotors/pads, shocks, rear hub seals, an AirDog 4G lift pump, gauges, EFI Live from Diesel Addiction with DSP5, an S&B intake, turbo inlet horn, and a new FPR.

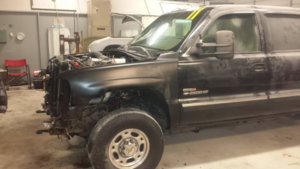
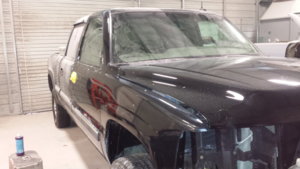
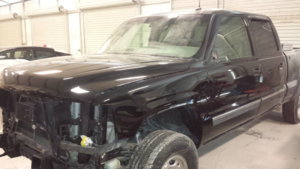
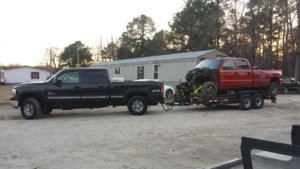
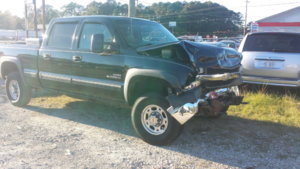
The hood and tops of the front fenders were cracking/snowflaking and I wanted to have them repainted, but this wasn't how I wanted to go about it....fast forward one year to the day after I bought it.
20161110_155429.jpg

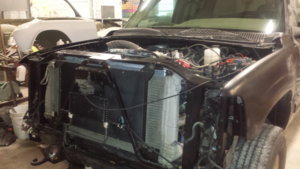
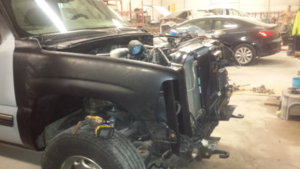
For the record, the ass end of a Suburban is very tough. Luckily, it wasn't totaled and it helps to have a friend that runs a body shop. It's also good to be handy with finding parts when you need them. Thank you Craigslist!
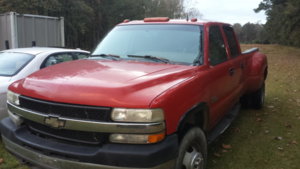
20161114_165949.jpg

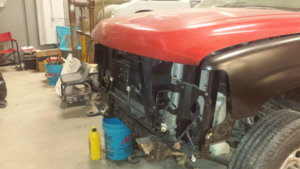
I found that jewel for 1600 bucks! Nothing fits quite like factory sheet metal.
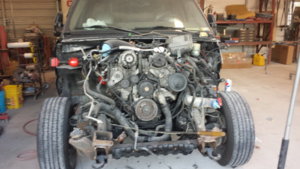
20161201_161930.jpg

It sat like that for a week or two while we were assessing damages. I discovered broken motor mounts, but luckily no transmissions, transfer cases, or driveshafts were harmed in the wrecking of this truck!
 
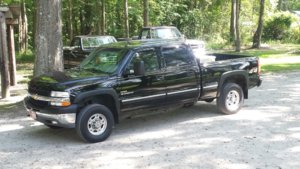
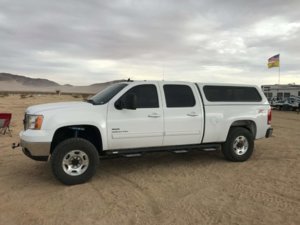
It was finally done!
20170112_172955.jpg
20170112_172932.jpg
20170112_172941.jpg
20170131_171816.jpg

Sold the dually for 2500 after I robbed the front clip off of it!

20170618_163201.jpg

Sure does clean up good, but as much as it rains in Eastern NC, it's short lived...even with a good coat of wax.
 
So, that was mid January. Let's jump to April. I rotated the tires and noticed that the upper ball joints are shot...so, being that my birthday is in April, I got myself a present!

20170413_184303.jpg

20170526_173839.jpg

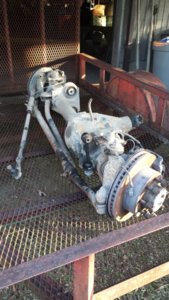
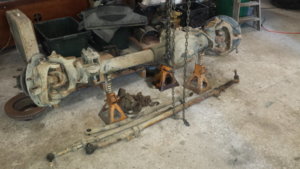
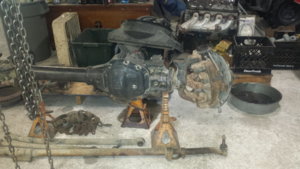
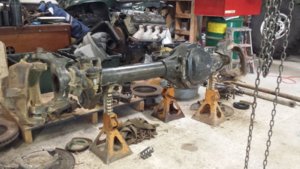
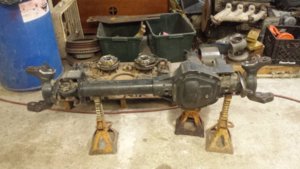
Came out of a 2006 F250 with about 200k on it. Everything external was worn out except the wheel bearings...they were surprisingly tight, luckily. 3.73 gears, so no changes needed.

20170530_162014.jpg

Started cleaning it a little bit.

20170609_173225.jpg

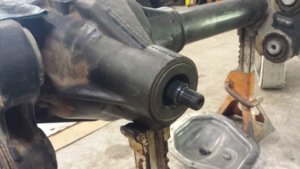
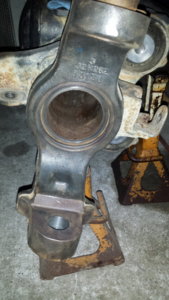
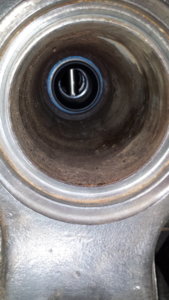
I didn't take any other pictures of the disassembly process. I learned a lot about these Super Duty axles. The snap rings on the stub shafts can burn in hell where they belong and the knuckle seals are definitely interesting. I bought the special install tool for those though, so reassembly should go smoothly.
 
Last edited:
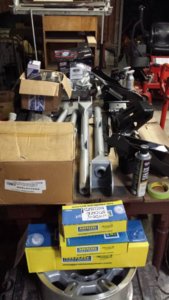
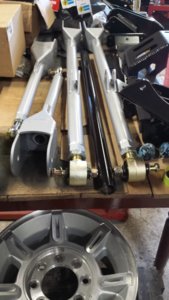
I think next up I've got some pictures of things being cleaned and painted. There's also a few shots of the WFO 3" radius arm kit. It's a very nice kit. VERY heavy also. The crossmember is freaking sweet too! It's the same ones they use for 4 link stuff, so if you decide to go taller later, that's one less thing you have to do.

20170913_031057.jpg

20170913_031002.jpg

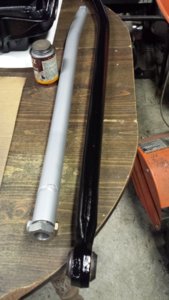
That's the new drag link from WFO in gray. The black piece is the factory Ford panhard bar that the 3" kit retains.

20170912_140642.jpg

20170904_181536_1.jpg

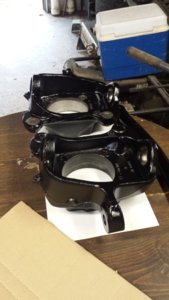
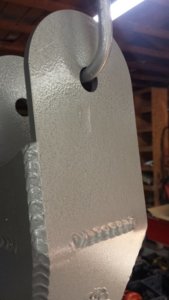
All of the pieces done in gray are coated with Rustoleum's "Universal" hammered finish silver. It's a pretty awesome product, especially to come out of a spray can. The paint and primer in one is very nice also. Everything in black is also Rustoleum "Universal", but in gloss black. Once that stuff finally dries, it's very hard and has a damn good finish!
 
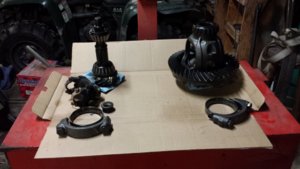
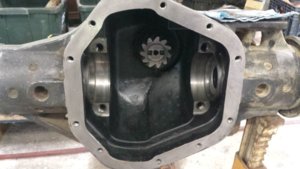
Whoops...I did have some other disassembly. I pulled the carrier and pinion out so I could change the diff seals and pinion seal. No sense in not replacing EVERYTHING while it's apart....right?

20170913_031031.jpg

The gears and bearings were in great shape. I didn't want to get in to any of that stuff and thankfully I didn't have to!

20170913_031042.jpg

I knocked out the u joints today too. Only two caps out of the 8 were dry and crusty inside.

I'm going to keep the rotor sheilds to give it that more complete and factory look, they got cleaned up and a fresh coat of paint as well. Next order of business will probably be putting the ball joints in the knuckles, finish cleaning the inner Cs and close proximity to them, shoot some paint, and then bolt the knuckles back on. The stubs and inner shafts also need to be cleaned, painted, and the joints put in them. The pinion can go back in with a new seal, the carrier can go back in, and then I should be able to bolt the cover back on. Then axles, knuckle seals, wheel bearings, rotors, calipers...you get the idea.
 
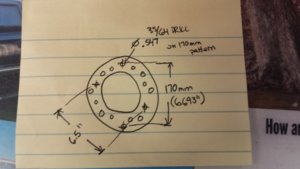
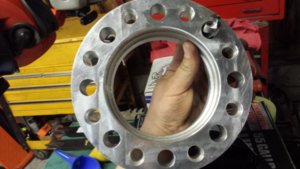
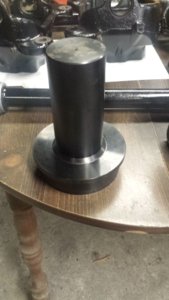
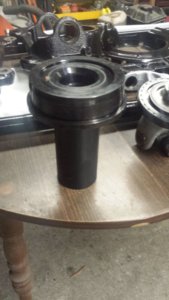
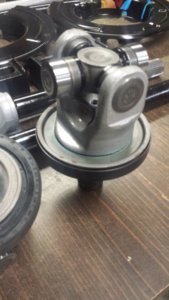
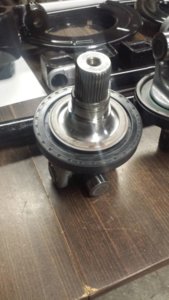
Speaking of wheel bearings...I came up with a handy little fixture for drilling the unit bearings to 8x6.5 and had a buddy make me one.

20170602_131951.jpg

20170602_131959.jpg

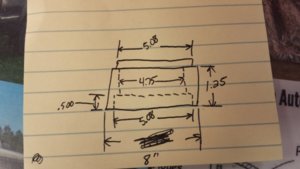
I drew this rig up off the top of my head and made a few tweaks after it was roughed out.

20170609_173237.jpg

20170609_173246.jpg

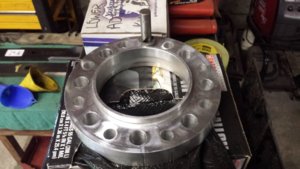
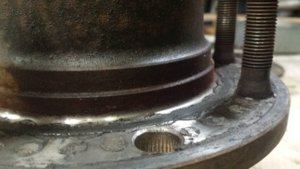
The idea to add the drill bushing was pretty much there from the start, but I figured instead of making 8 of them and pressing them in...why not make one that's a slip fit and you just move it to the next hole as you're drilling. I also tossed it up in the lathe and opened up the back side to clear the steps and radii at the "bottom" of the mounting flange. The lowest shoulder locates the rotor, which is also what locates the fixture, and the one above it locates a factory Ford rim that is hub-centric. I'm going to run H2s, so when I got done drilling the flanges, I chucked them up in the lathe and turned the 4.900 shoulder down to 4.585 so a GM wheel will fit. They're 4.600 center bores and I figured it would need a little room for paint. Good news, the studs are already 14x1.5, so I can use factory GM lugnuts and they'll match the rear ones also.

20170607_161554.jpg

I knock out all but two of the studs from the 8x170mm pattern, hold it down with two lug nuts, hold it in a vice on a Bridgeport, drill a hole, and spin the bearing to the next one. It actually worked very well!

The lip you see sticking up on the fixture was deisgned so you can also fasten it to the rotor to redrill those as well. However, I'm just going to drop them off with a buddy and let him draw up a little program and drill them for me. That will take care of all the machine work I need to do. I do plan to have a spare set of wheel bearings already drilled and turned in case I ever need one in a hurry. I could also keep these factory ones as spares and get a new set and run them. We'll see.
 
Last edited:
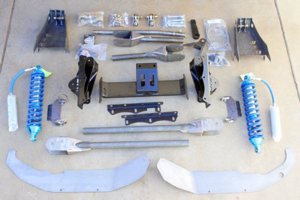
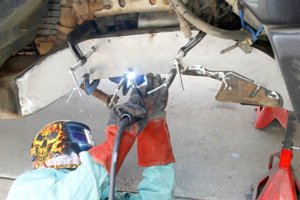
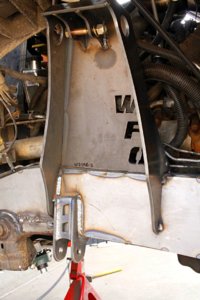
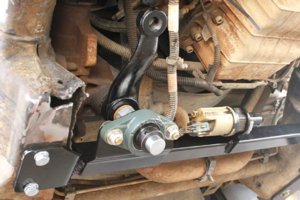
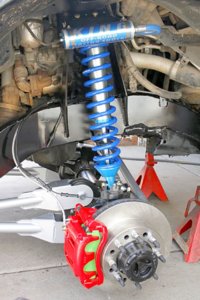
While I have not yet started the tear down on my truck, I do have several pictures of the install process and finished products for you guys. I know we're all picture hungry, but besides that, it really helps you get a feel for what you're going to be doing before you do it. Enjoy!

003-wfo-chevy-2500-d60-solid-axle-swap-kit.jpg

There's the full kit. I'll be running their 8" travel Kings as well.

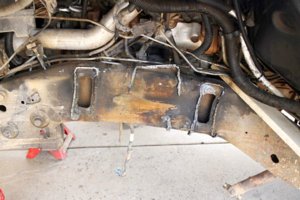
013-wfo-chevy-2500-d60-solid-axle-swap-framerail.jpg

014-wfo-chevy-2500-d60-solid-axle-swap-frame-plates.jpg

015-wfo-chevy-2500-d60-solid-axle-swap-shock-mount.jpg

012-wfo-chevy-2500-d60-solid-axle-swap-steering-pitman.jpg

I'll be picking up a steering box brace as well. My plan is to see how it feels with the stock steering box at first, just for shits and giggles. Then, since it needs a new box anyway, I'll get one of the new PSC XD series boxes. They offer them drilled and undrilled for hydro assist. Hopefully, trying it out with the stock box for a little while first will help me decide if I really need hydro assist or not. If I do go that route, I'll be forced to add a locker to the front axle because...why not, right? I'll use a 1.5x8 PSC ram also.

wfo-chevy-2500-d60-solid-axle.jpg

And...boom...a representation of the finished product!

wfo-chevy-2500-d60-solid-axle-swap-lead.jpg

All of those install pictures were from a writeup on that particular truck in FourWheeler magazine. I wouldn't mind a nice front bumper on mine....I'll have to see if I can make that happen one day.
 
Last edited:
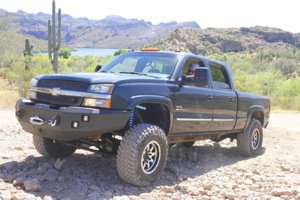
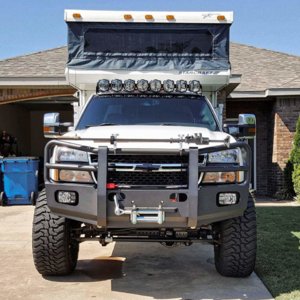
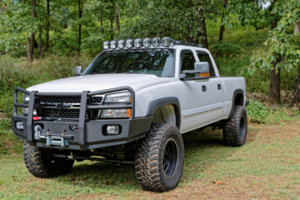
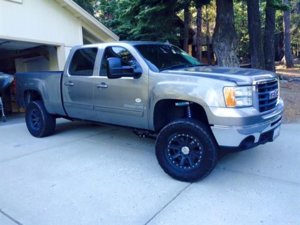
Here are a few others that I like to drool over for motivation.

FB_IMG_1480278633323.jpg

XY3A0644_DxO-1.jpg

I can't get over how badass that rig looks! Not to mention that the guy designed AND built the solid axle kit and front bumper. He literally drew it up in a CAD program and made it come to life. He had so many requests that he even sells a weld it yourself setup of the same radius arm kit. He's got a sweet ass build thread on Pirate. He stretched the front a little more than usual and snuck 37s under it with about 3 or 4 inches of lift on the front. The rear was about 2.5".

Trevors-Truck_in-Tahoe.jpg

There's the WFO truck. 3" kit, some bumper trimming, and 35s.

received_1409788445748376.jpeg

That's a customer truck that Trevor from WFO sent me. It's the 3" setup, stock 17" rims, and 285 or 295s. I'm thinking that's the route I'll go until I wear out the 285s on the H2 rims I have. I might trim and go to 35s after that.

FB_IMG_1500916657957.jpg

FB_IMG_1500916691621.jpg

I'm pretty sure that's a 6" and 37s. I actually found that one for sale on a Facebook Duramax group's page.
 
Obviously I know it'll look badass. I'll be sure to keep this updated with more pictures as I move along. I'm hoping to have it done before the end of the year, but I'm really in no hurry. I have until my current tires wear out or I get too worried about the upper ball joints failing!
 
That basically sums up my feelings about it as well. I'm about to head over and get to work on it in a few minutes, as a matter of fact.
 
There's a handful. We're in between to Marine Corp bases...so there's plenty of imported ones!
 
Got a few more things done today...not as much as I wanted to over the weekend, but good forward progress anyway.

20170917_141936.jpg

Put the pinion back in when I got there.

20170917_141958.jpg

A lovely new seal.

20170917_142419.jpg

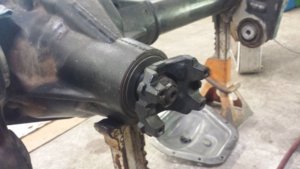
A little yoke action.

20170917_141940.jpg

20170917_141947.jpg

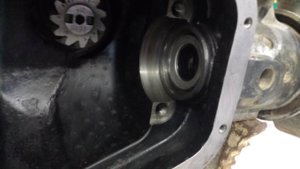
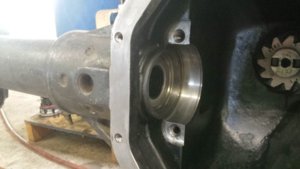
Put the new inner seals in there too. Luckily, they didn't put up much of a fight and I paid very careful attention not to drive them in too far.

20170917_145743.jpg

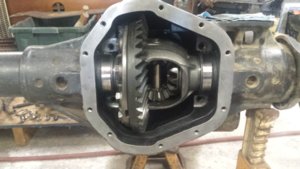
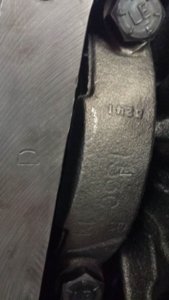
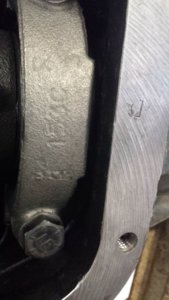
Bolted the carrier back in and torqued the caps down. I also had an interesting little discovery before I pulled everything apart last week.

20170917_150816.jpg

20170917_150805.jpg

You'll probably have to click on the pictures to see it, but each cap is marked from the factory. These have a "D" stamped in them, albeit a little lightly on the caps, but you just put them back on with the stamping in the same orientation. Nice, right?
 
Last edited:
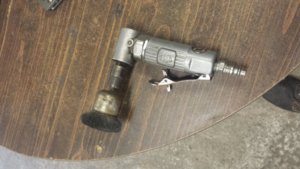
I also kept cleaning some stuff with this little guy. I don't think I could have done it without it!

20170917_142205.jpg

20170917_160148.jpg

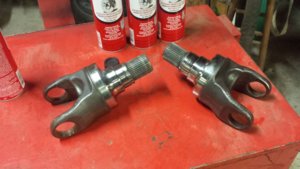
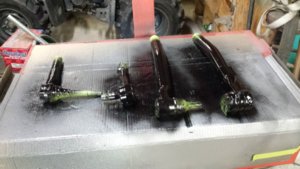
Got those jewels taped up and shot some paint on them.

20170917_172139.jpg

I also cleaned the inner Cs and the inside of the axle tubes in preparation for the new axle tube seals and further painting and assembly.

20170917_173056.jpg

20170917_173113.jpg

Next up...clean/pain the inner axle shafts, put the ball joints in the knuckles, paint the inner Cs, and change the panhard bar joint. I will basically be done with the axle at that point. I figured I would wait to assembly the wheel bearings and brakes until after the axle is inder the truck and I'll paint the rest of the center section and axle tube too, to avoid a bunch of scratched up paint and smashed rotor guards.
 
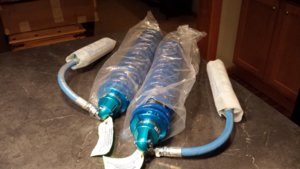
I did forget to mention that the King coilovers and steering box brace are on their way from WFO. There was a small misunderstanding with my order...but we'll get it resolved.

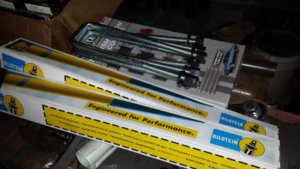
The rear lift is also on the way. It consists of a 2" factory style (fits the sonewhat rounded spring perches) lift block with new u bolts and a pair of Bilstein 5100 shocks. Since the rear is already higher than the front, this should level it out. If the rear needs more height, I've got some already made zero rates I can mill to a different thickness and bolt to the leaf pack to dial in the proper height. I'll probably add some air bags once I get my new gooseneck trailer.

In addition, I ordered a decent sized (5x12x3/4 thick) DeRale transmission cooler to use as a power steering cooler. Just with hydroboost and steering duties, I've noticed how hot the power steering system gets. If I tow any decent distance I can feel the heat on my legs from the hydroboost. No lie! The brake pedal itself gets pretty warm too. I find it odd that my 1500 has a factory power steering cooler, but not the 2500. So, it will now have one and I can only imagine that it will help everything last longer. Not to mention, if I add hydro assist later, it'll have WAY more fluid capacity.

More cleaning, painting, assembly, and parts acquisition to come. Stay tuned!
 
Got called in to work 4 hours early today because they were feeding us :D So, I also got to leave 4 hours early and to the shop I went!

20170918_220622.jpg

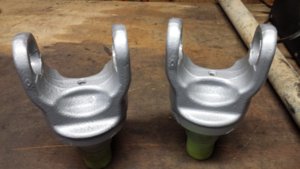
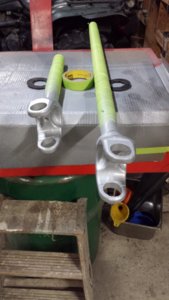
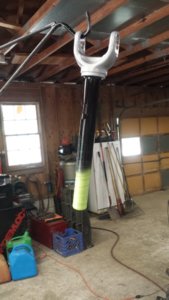
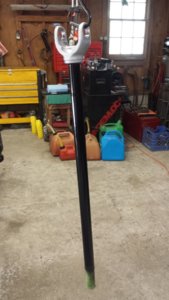
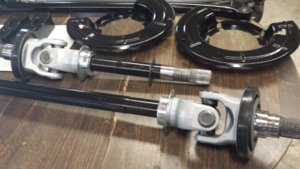
I got the inners all cleaned up and painted the yokes. I'm going to paint the shafts themselves black, just to try and keep them from getting so rusty while they're just hanging out in the axle tubes.

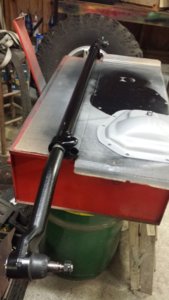
The only other parts I have to paint are the tie rod, tie rod ends, and the drag link end. Then I just have the axle housing itself to take care of....I'm almost there! It's been a very tedious journey, but I feel like it'll be worth it in the end.
 
Fyi, I have a factory steering box from a first gen 2500 duramax truck with 25k on it. Not sure if you will keep the factory one or not. It came from a dana 60 swap years ago.
 
Mine needs a new box anyway, so now is the time to upgrade. PSC finally came out with a box with a MUCH bigger sector shaft and I'm going to run one of those...they're proud of them, but I feel like it'll be worth it.

99-06 GM 2500/3500 4x4 XD Steering Gear Box

Summt Racing carries them for about 50 bucks less than advertised price and with free shipping. I'm going to opt for the SG039R which is already drilled and tapped for hydro assist.

However, I'm thinking that right to start with I may leave the factory box on it because I'm curious to see how it will feel.
 
The Kings were here when I got home from work tonight! They sure are sexy...it's a shame they don't get bolted to the hood so everybody can see them.

20170922_230640.jpg

I'm really hoping to get started on the assembly process tomorrow. I've got a metric f^ck ton of parts stacked up for this thing and I'm running out of places to put it all!

20170920_141322.jpg

20170920_141333.jpg

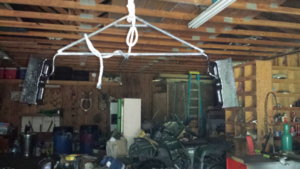
Gambrels aren't just for skinning deer! :D
 
The last of the painting, finally. Also got the ends in the arms and measured center to center according to the instructions. 43" for the lowers and 25.125 for the uppers.

20170923_135346.jpg

20170923_135341.jpg

20170923_135410.jpg

20170923_135426.jpg
 
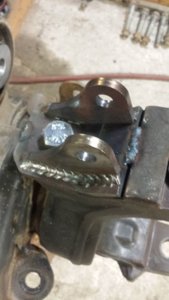
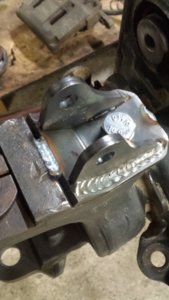
Slowly, but surely. I did a little bit more cleaning, shot some more paint on the steering parts, and got the lower coilover mounts bolted down and then welded so they can't rotate. Oh, and I knocked the panhard bar joint out of the axle mount. I really need to get my hands on a ball joint press.

20170924_023324.jpg

20170924_023311.jpg

20170924_023255.jpg
 
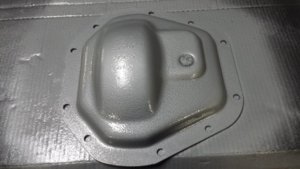
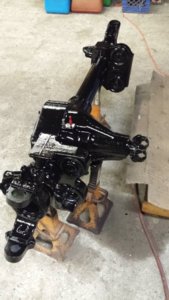
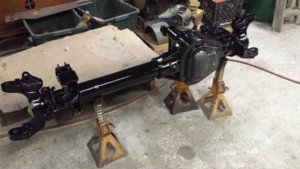
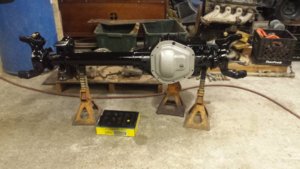
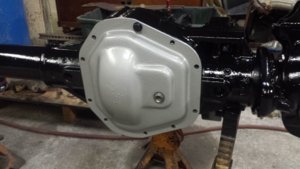
Finally got some time and energy to get back in the shop and knock out some more odds and ends. Had a handful of smaller things to paint, put the grease fittings in all the draglink and tie rod ends, then finished cleaning and painted the axle and diff cover. It's finally starting to look like something now and I like it!

20170928_022841.jpg

20170928_015503.jpg

20170928_015516.jpg

20170928_015449.jpg


That's some good looking stuff to have come out of a spray can! I'm planning to get the u joints in, put the knuckle seals on the stub shafts, and get all 5 ball joints in over the weekend. I'm on the home stretch :driver:
 
I'll get right on that :huggy:
 
Had to swing by Walmart on my way home from work and grab some more paint. Got the u joints in the stub shafts and got the knuckle seals knocked on them too. I then got the tie rod clamps, tie rod, and tie rod ends all put together and ready to install. Have I mentioned how much I like this paint? I couldn't be happier with it and the hammered silver and gloss black go together better than I originally thought they would!

20170929_015616.jpg

20170929_015542.jpg

20170929_021310.jpg

This little guy here was totally worth the 75 bucks it cost me. It makes installing the knuckle seals a breeze. It's also not very little..about 8.5" long and the seal driver is about 5". It's beefy! Not only do you need it to press the seals on the stub shafts, it also sets the proper depth when they're installed in to the knuckles.

20170929_013853.jpg

20170929_013820.jpg

20170929_013840.jpg

20170929_013829.jpg
 
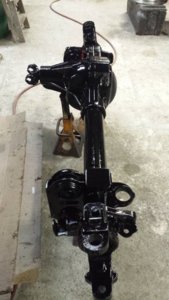
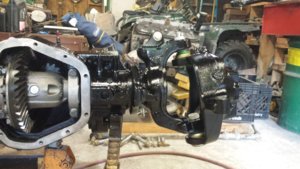
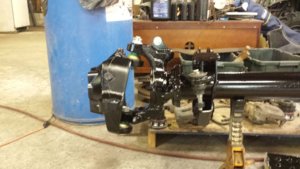
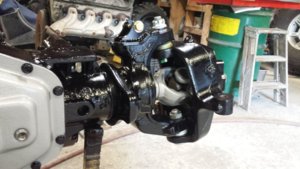
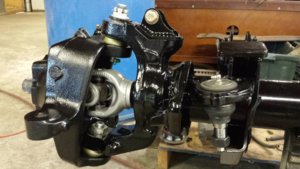
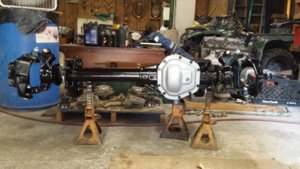
Finally put all 5 ball joints in today, bolted the knuckles on, and slid the axles in with new axle tube seals. Oh, and put the diff cover on for good. It's pretty much done until after it goes under the truck. I'm not going to put the wheel bearings in because the rotor shields go behind them and they'll get bent all to shit if they go on now. I guess next I'll go ahead and put the crossmember under the truck and do the rear lift just before I start tearing the front end apart. Things are moving right along!

20170930_152125.jpg

20170930_152112.jpg

20170930_165114.jpg

20170930_165122.jpg

20170930_152135.jpg

20170930_162900.jpg
 
Last edited:
Back
Top