2nd Gen 4Runner Redo

JDaniel85

Well-Known Member
Joined
Jul 17, 2015
Location
Nashville NC
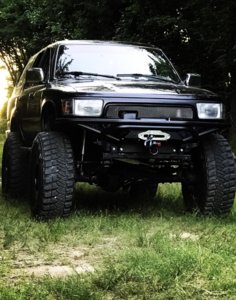
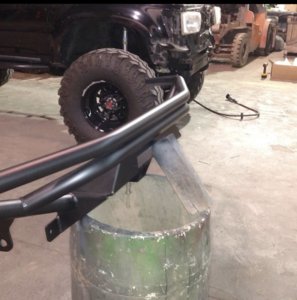
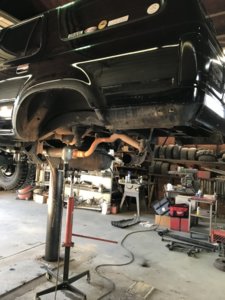
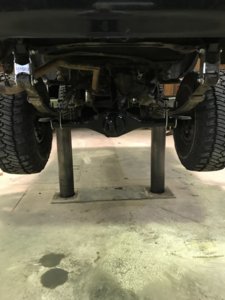
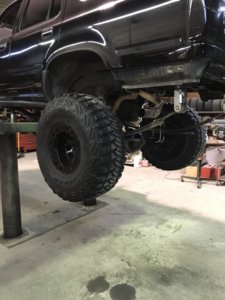
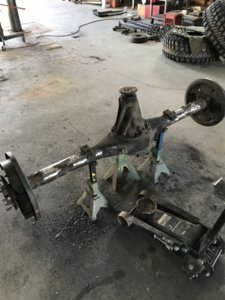
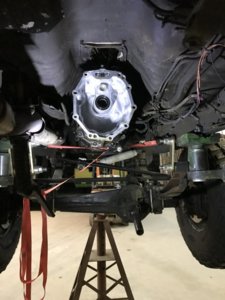
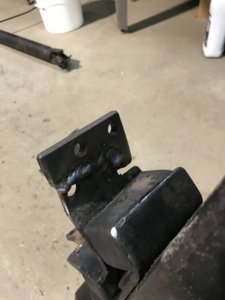
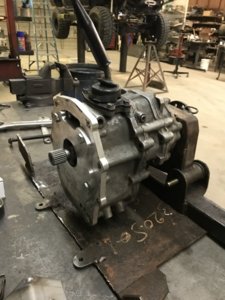
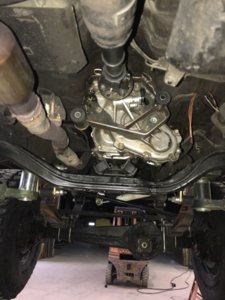
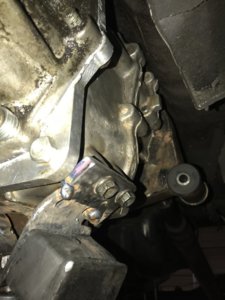
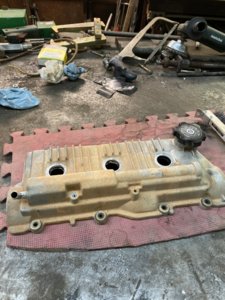
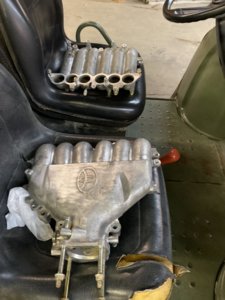
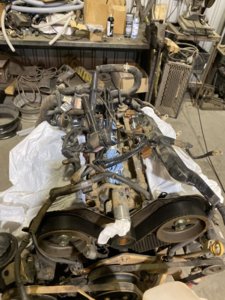
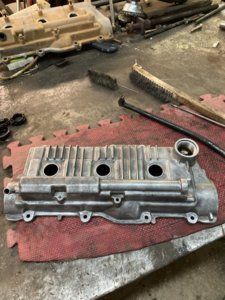
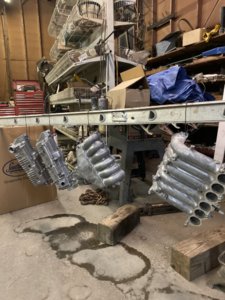
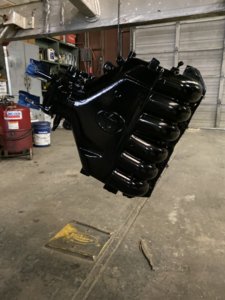
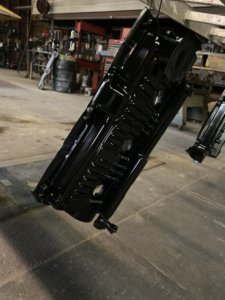
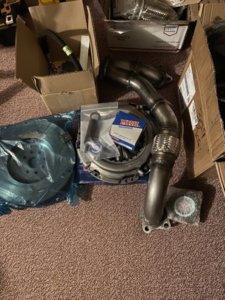
Well I have had this vehicle for a while, bought it a few years ago and been changing things as time and funds allow. Bought it from a fella in Virginia, came with some old MT mtz’s and extra parts in the back seat including gears. Truck has been manual swapped and was rust free. Already had a SAS but was lacking on things like shocks up front and had a home brew lift in the back with extended upper link arms to get the pinion angle right. And a track bar mount that was pretty ugly. Truck has the 3.0 V6 that I have been babying for the last 4 years and a 3.4 swap is coming in the next few weeks. I’ll be updating this thread as I go along and showing some stuff from the past and thing going on with it currently.
 

Attachments

  • 56F259B9-0977-4919-8301-6072CFEF853E.jpeg
    56F259B9-0977-4919-8301-6072CFEF853E.jpeg
    210 KB · Views: 437
  • 002CF72F-7FF0-460C-81D7-1779344A3EF7.jpeg
    002CF72F-7FF0-460C-81D7-1779344A3EF7.jpeg
    113.2 KB · Views: 450
So once I got the truck home I knew what I had in mind for this thing. I light wheeler that I could haul the family around in but still be able to take on some moderate rides when time allowed. I knew I wanted a winch and some bumpers so I waited for a sale and bought a smitty built 9500 lb winch with synthetic rope and a trail gear front bumper for starters. Did some horse trading and got a pair of 63” leaves for the rear along with a Low Range Off-road Chevy spring swap kit. Replaced the home brew front packs with OME medium duty leaf springs and longer shackles. Jumped on a deal for a Toyota gear drive single Tcase with a 4.7 low range gear set with the adapter already installed.
 

Attachments

  • B8015D1E-0B9F-4B82-A28D-2AD7CABF1026.jpeg
    B8015D1E-0B9F-4B82-A28D-2AD7CABF1026.jpeg
    131.4 KB · Views: 453
  • CE035FF9-8803-4AE1-A0CF-B32EE912F75F.jpeg
    CE035FF9-8803-4AE1-A0CF-B32EE912F75F.jpeg
    148.3 KB · Views: 489
  • 3F0A01C1-CD67-4201-9D4B-5D42505EB0F8.jpeg
    3F0A01C1-CD67-4201-9D4B-5D42505EB0F8.jpeg
    117 KB · Views: 445
  • 3BECEF5C-C876-43B1-8B69-5EF96F2AA8B5.jpeg
    3BECEF5C-C876-43B1-8B69-5EF96F2AA8B5.jpeg
    123.7 KB · Views: 509
  • C2FF06C3-F666-43BF-9BE7-01AF38C20633.jpeg
    C2FF06C3-F666-43BF-9BE7-01AF38C20633.jpeg
    175 KB · Views: 428
  • 4B0340D2-5939-4EC5-902F-A4850046BFB5.jpeg
    4B0340D2-5939-4EC5-902F-A4850046BFB5.jpeg
    117.9 KB · Views: 451
  • BFA515AA-76ED-4275-AC37-821AC1436AC6.jpeg
    BFA515AA-76ED-4275-AC37-821AC1436AC6.jpeg
    70.8 KB · Views: 423
  • 7DE600F7-856D-439C-B5AA-5BD2C428E42D.jpeg
    7DE600F7-856D-439C-B5AA-5BD2C428E42D.jpeg
    134 KB · Views: 438
  • 6E1F08FA-2E9F-4379-95CC-269FDF82007A.jpeg
    6E1F08FA-2E9F-4379-95CC-269FDF82007A.jpeg
    122.8 KB · Views: 417
  • 6E7D8A9C-432B-4C57-AEE6-BB5181FDA817.jpeg
    6E7D8A9C-432B-4C57-AEE6-BB5181FDA817.jpeg
    118.3 KB · Views: 420
Getting ready for my 3.4 swap, and trying to get this engine a little cleaner. All the belts and top end gaskets are going to be replaced. Took the intake and calve covers off yesterday, cam loves look good and nothing abnormal looking. Took a wire wheel on a drill and cleaned things up primed and painted them gloss black.
 

Attachments

  • 0EF24A2E-9C83-47BD-AED7-8ACFAF8D5A9F.jpeg
    0EF24A2E-9C83-47BD-AED7-8ACFAF8D5A9F.jpeg
    197.4 KB · Views: 485
  • DB095EB9-27E9-41CD-A27B-4F535AEF422C.jpeg
    DB095EB9-27E9-41CD-A27B-4F535AEF422C.jpeg
    133 KB · Views: 428
  • ED0907C6-1713-45E6-9E95-918B57619199.jpeg
    ED0907C6-1713-45E6-9E95-918B57619199.jpeg
    185.6 KB · Views: 408
  • C9CB710C-D5A1-4840-8799-B5415C6C3F2B.jpeg
    C9CB710C-D5A1-4840-8799-B5415C6C3F2B.jpeg
    211 KB · Views: 457
  • 824F20A2-5D09-4D4E-A8F4-11E623B2C327.jpeg
    824F20A2-5D09-4D4E-A8F4-11E623B2C327.jpeg
    183.6 KB · Views: 411
  • 53D4A785-FB0B-491E-8FE0-1232D1F8214D.jpeg
    53D4A785-FB0B-491E-8FE0-1232D1F8214D.jpeg
    130.6 KB · Views: 450
  • 474FE35F-2ADC-4DDF-A046-D47E7E7B83EE.jpeg
    474FE35F-2ADC-4DDF-A046-D47E7E7B83EE.jpeg
    158.3 KB · Views: 437
  • 65A06A27-E452-408D-BA0E-976A8900048B.jpeg
    65A06A27-E452-408D-BA0E-976A8900048B.jpeg
    122.4 KB · Views: 424
Ok been working on this motor a little at a time. Got a new water pump and timing belt on. After a few rotations I notice that the marks on the belt for timing do not line up on the cogs any longer. Is this normal? They seem to move over a tooth on the crank and the cams after several rotations. Everything is in place and tightened as it should be. This is the first overhead cam engine I have worked on so I’m a little unfamiliar with how this is supposed to go.
 
Yes, marks on the belt will only align on install. The marks on the sprockets should still align with the ones cast/stamped into the head/block/cover/etc.
 
looks great man, you have any more pictures post 63' leaf spring swap?
 
Back
Top