Bondota

SHINTON

Well-Known Member
Joined
Mar 17, 2005
Location
Triad area of NC
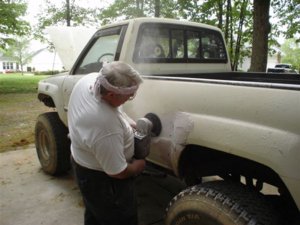
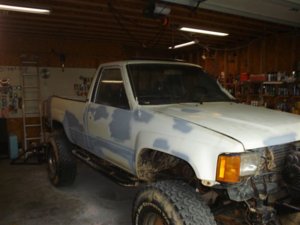
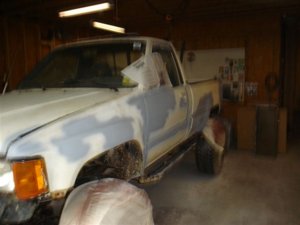
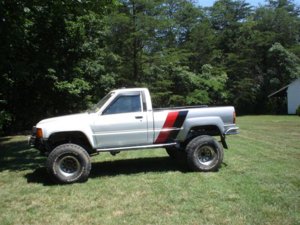
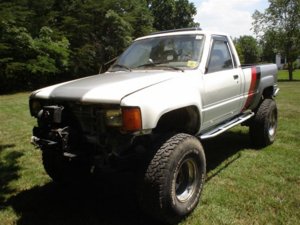
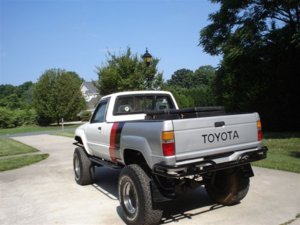
As much as this goes against everything we normally do, Dad and I did some "back alley" work this weekend on my 85 Toyota.
Why? Because it really does not make sense to fab up lots of new metal for every rust hole on a trail rig that I am gonna end up putting against a tree or on its side anyway!

Another reason it...we want to see how well it DOES hold up when I do hit the proverbial tree. Bondo gets a really bad rap at times but the stuff is pretty incredible, and after the 46 Willys rebuild, it literally holds up over 30-50 YEARS in some cases!!

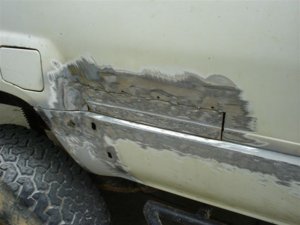
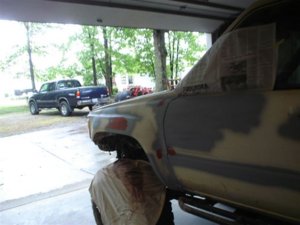
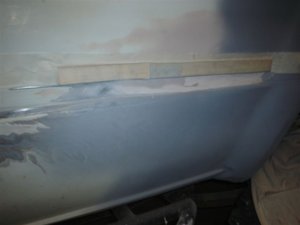
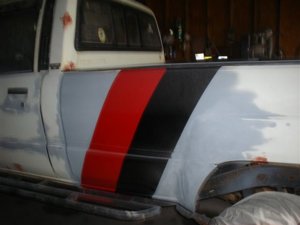
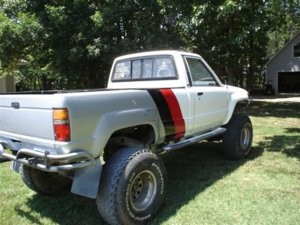
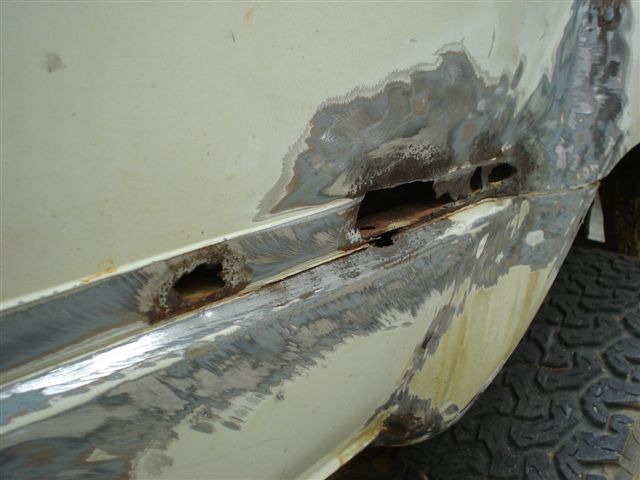
So here is the concept. Yotas all seem to rust out along the body seams on the beds, mine is no exception.

attachment.php


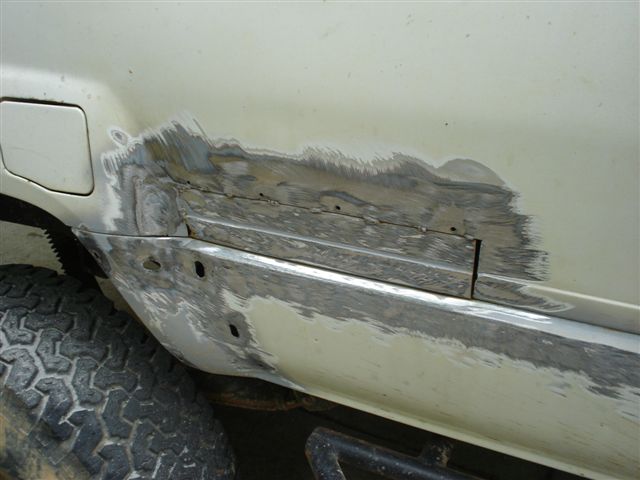
S104u spent a bit of time and really did a killer job on replacing and welding in a panel on the passenger side. He also did a bang up job welding the shortened bed on the rear, those welds were BEAUTIFUL!

attachment.php


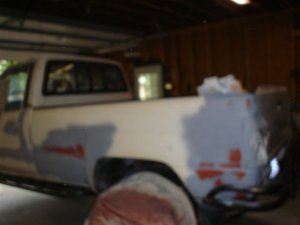
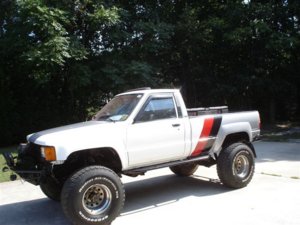
I am trying to get this truck ready to paint...and quickly and see other excuses above.

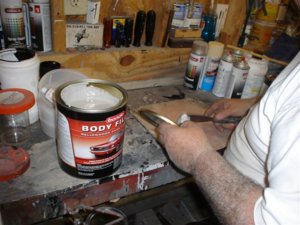
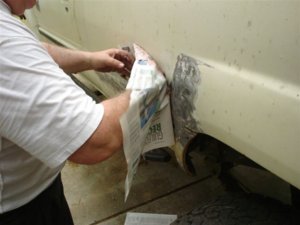
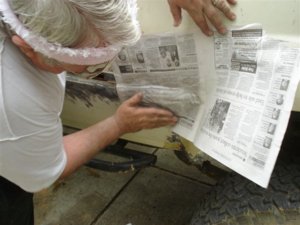
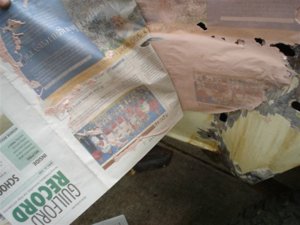
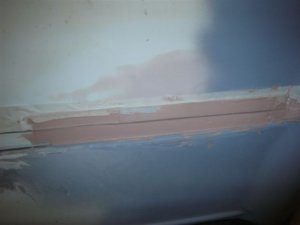
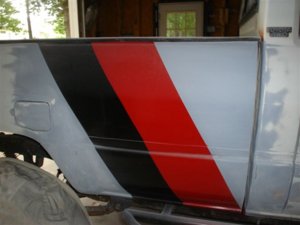
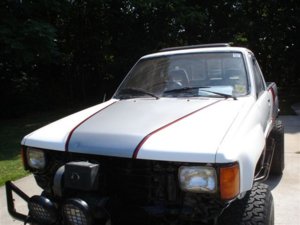
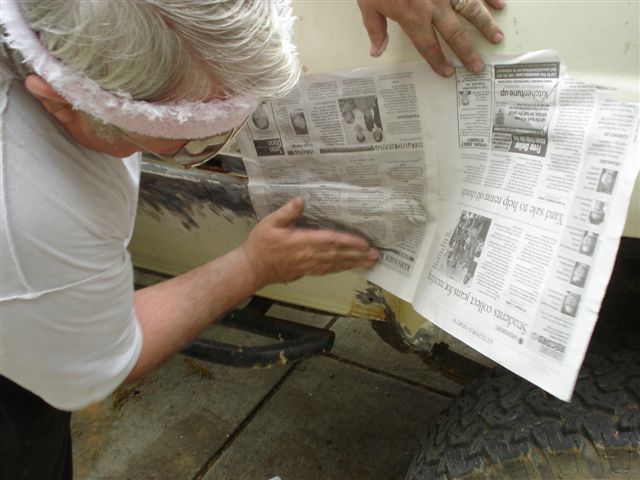
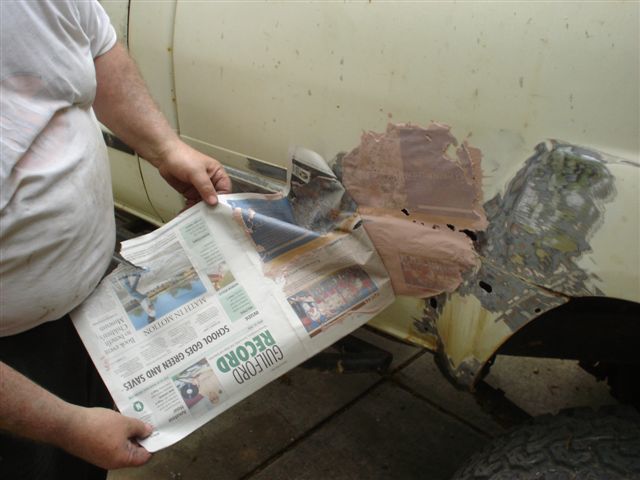
You will see we spread the bondo onto a piece of newspaper, and applied that to the large holes. We allowed it to setup for a few minutes and then peeled it off.

attachment.php

attachment.php


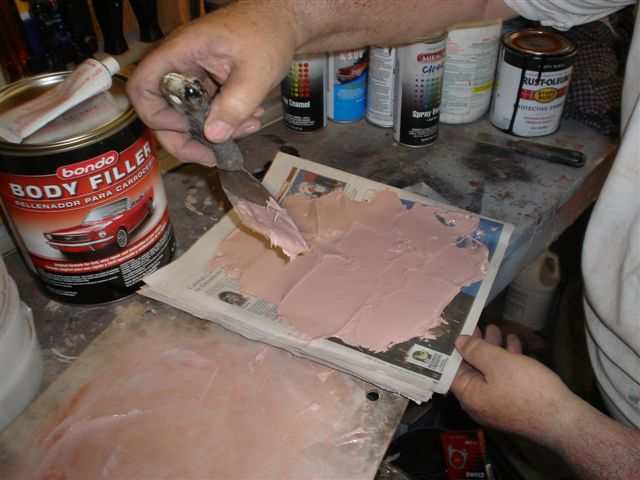
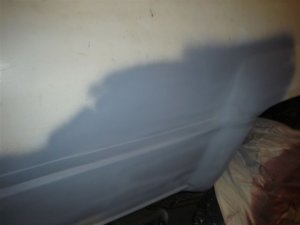
We kept applying the bondo to the smaller holes (using cardboard a few times for small holes to keep it in there) until everything was filled in.

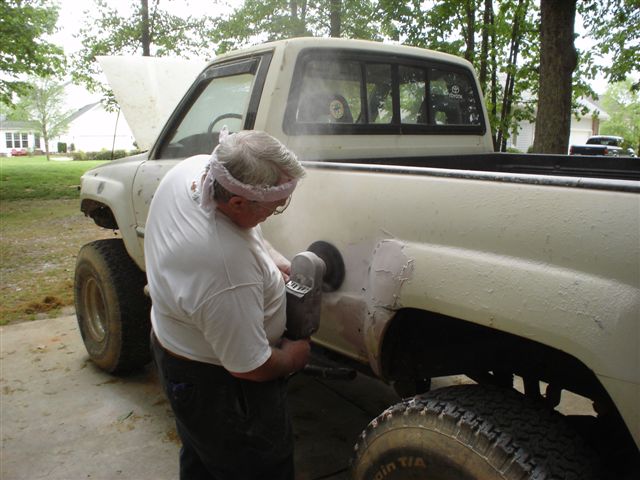
We kept filing it all back down, and shaping it with our sander, etc. Dad will be doing the final shaping this week - re-adding the crease on the body and prepping / putting it all in primer.

Paint job should be in the next week - will update this thread then!
attachment.php

attachment.php
 

Attachments

  • DSC02220.jpg
    DSC02220.jpg
    54.1 KB · Views: 1,365
  • DSC02226.jpg
    DSC02226.jpg
    50.9 KB · Views: 1,351
  • DSC02227.jpg
    DSC02227.jpg
    79.1 KB · Views: 385
More pictures of the process...
 

Attachments

  • DSC02234.jpg
    DSC02234.jpg
    46.9 KB · Views: 470
  • DSC02233.jpg
    DSC02233.jpg
    67.4 KB · Views: 1,347
  • DSC02238.jpg
    DSC02238.jpg
    60.9 KB · Views: 1,318
And more
 

Attachments

  • DSC02239.jpg
    DSC02239.jpg
    54.6 KB · Views: 1,331
  • DSC02241.jpg
    DSC02241.jpg
    72.9 KB · Views: 1,367
  • DSC02240.jpg
    DSC02240.jpg
    62.8 KB · Views: 426
That is a cool trick, but I have used the stuff that is fiberglass gel with the hair in it. Man does it work good at clinging onto the holes and is very quick when filling in large spots. Another good idea is to por-15 behind the iner bed panels to keep the rust away.
 
The ol'grump with the gray hair says

Yup!!! The fiberglass with the hair + some rust inhibitor probably works just as well as "welding in a metal patch." It is just that "we CRAFTSMEN" can not bring ourselves to admit that we would ever do sucha thing - I have fixed holes bigenough to put your head through and saw the car 3 years later and it looked good AND the owner (who knwe how I fixed it ) was very happy.
 
I use duraglass and rage body filler religously on projects at work. I dont do bodywork but fiberglass kickpanels, doorpanels, speakerboxes ect. Rage brand body filler will sand a billion times smoother than bondo brand in my experiences. Its not that much more money either. Using fiberglass mat would have been another solution on those holes as well, and that stuff is tough as nails. As long as the rust has been treated...ie gone, it should hold up for a very long time. Cant wait to see the final product.
 
Some more updated pictures - all the holes are filled in and primed! At some point in my near future, lots of sanding, priming the whole truck and then painting!!

To recreate the body crease, a piece of wood is taped in place and then the body filler layers are "built up" to it, creating that little ledge!

attachment.php


attachment.php
 

Attachments

  • DSC02267.jpg
    DSC02267.jpg
    56.2 KB · Views: 1,126
  • DSC02266.jpg
    DSC02266.jpg
    32.6 KB · Views: 385
  • DSC02253.jpg
    DSC02253.jpg
    28.3 KB · Views: 1,097
More pictures

attachment.php


attachment.php


Matches the original crease, NOT "show/perfect" but certainly gives the right illusion. You will notice the crease / "body line" where the two parts of the bed meet goes all the way to the lip of the wheel well. That too is just a mark inserted into the filler and then a bit of sanding.

Those little touches makes it look closer to normal, less likely to "see" it and know it is filled in with bondo.
 

Attachments

  • DSC02263.jpg
    DSC02263.jpg
    25.9 KB · Views: 1,103
  • DSC02255.jpg
    DSC02255.jpg
    25.7 KB · Views: 1,103
Ready for final sanding and then painting!

attachment.php


attachment.php
 

Attachments

  • DSC02261.jpg
    DSC02261.jpg
    53 KB · Views: 1,114
  • DSC02262.jpg
    DSC02262.jpg
    45.2 KB · Views: 1,132
More sanding and the first set of stripes on there!

Behind the stripes on the rear of the bed will be silver. In front of the stripes / the cab, etc will be white.

Have not done it yet but the "bulge" in the hood will be silver as well with thin red/black stripes around it.

attachment.php


attachment.php


attachment.php
 

Attachments

  • DSC02269.jpg
    DSC02269.jpg
    46.6 KB · Views: 1,132
  • DSC02270.jpg
    DSC02270.jpg
    42 KB · Views: 1,066
  • DSC02274.jpg
    DSC02274.jpg
    46.2 KB · Views: 1,052
A few little items to finish it!

Thin red/black stripes down the hood and repaint bumpers / rails black. Finally TRD Offroad stickers going on the rear.

But otherwise she is about done!

Sure came a long way from the dirty white & rust motif.

attachment.php


attachment.php


attachment.php
 

Attachments

  • DSC02287.jpg
    DSC02287.jpg
    93.6 KB · Views: 1,023
  • DSC02290.jpg
    DSC02290.jpg
    77.5 KB · Views: 1,022
  • DSC02289.jpg
    DSC02289.jpg
    93.8 KB · Views: 984
More pictures with the front stripes finished, bumpers repainted and the TOYOTA repainted on the rear.

attachment.php


attachment.php


attachment.php
 

Attachments

  • DSC02291.jpg
    DSC02291.jpg
    73 KB · Views: 764
  • DSC02292.jpg
    DSC02292.jpg
    57.3 KB · Views: 767
  • DSC02293.jpg
    DSC02293.jpg
    69.7 KB · Views: 806
The truck looks great Sam!
 
dude! that's what that truck needed! looks new now
 
Some Before / After pictures!!

aimg229.imageshack.us_img229_7395_beforeafter1.jpg


aimg229.imageshack.us_img229_3113_beforeafter2.jpg


Thanks for the compliments!! This is alot like BUG in that when you get real close you can see the flaws, but man does it look pretty in the pictures!!

(We call it a 10 foot paint job, looks REALLY good from 10 feet away)

Sam Jr
 
Is anyone actually ON dial up anymore...if so I apologize...

Drove it home Saturday, got the grill mounted, added some diamond plate on the front bumper, installed the toolbox, etc.

aimg26.imageshack.us_img26_1336_ecors021.jpg


As far as beating up off road, that is not really an issue, would have spent a LOT more time on it if I was worried about dents!
 
Back
Top