Commando Build

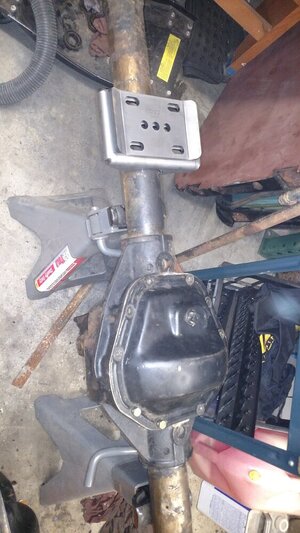
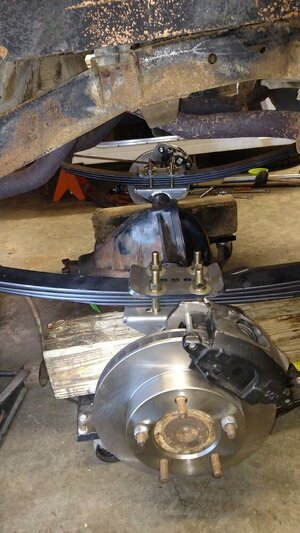
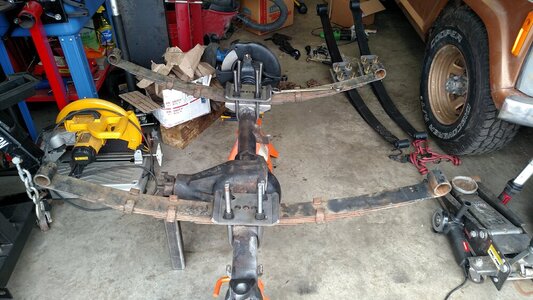
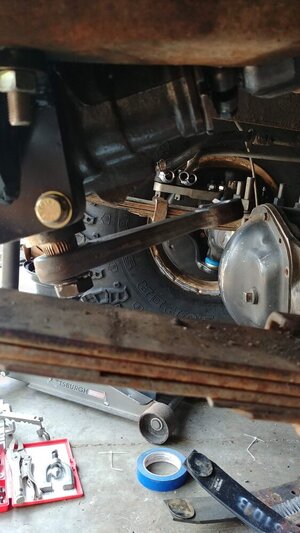
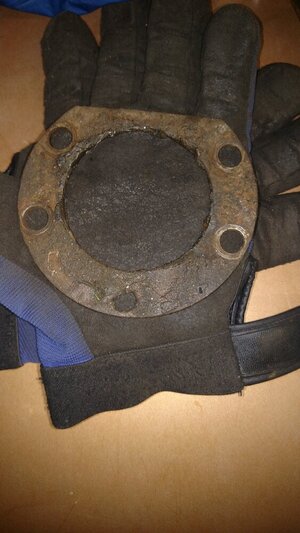
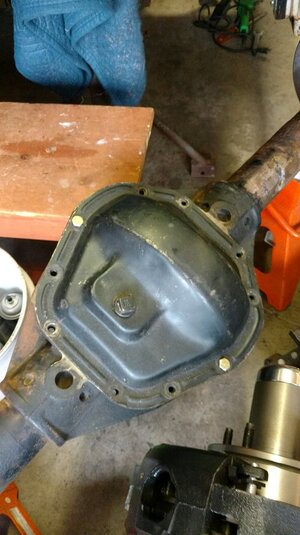
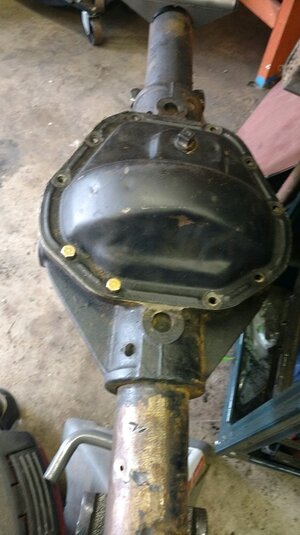
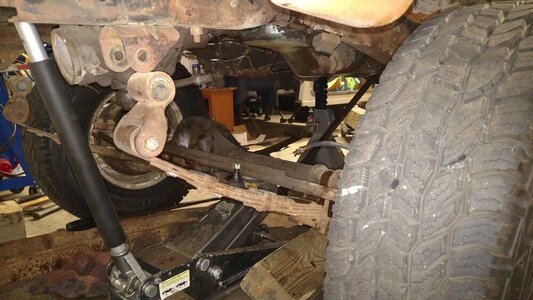
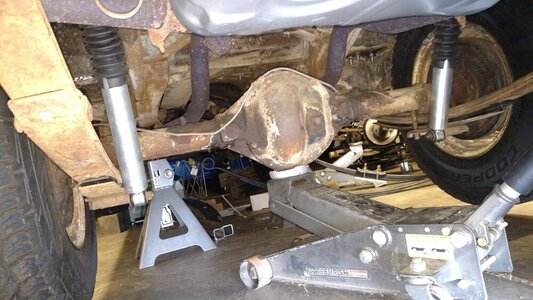
Well for the most part the rear Dana 60 I’m using doesn’t look its best. Looks like a kindergartener used a grinder to remove the old mounts before I got it. Not really sure what it was from as all the markings and BOM numbers are gone. Have a few clues from the casting on the center chunk. The outer axle ends (MOPAR DANA 60). Not sure if the PO even put the correct bearing on the axle themselves. Everything looks very worn. Axles are set up for a 5x5.5 lug pattern. There were no brakes as well.


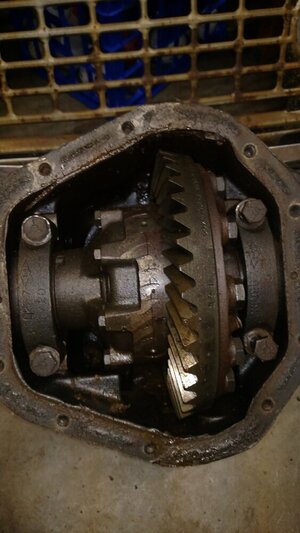
There were a few positives even after a bunch of bad news with the rear disassembly;

DANA 60

Detroit Locker

35 Spline shafts

4.56 gears


For the front;
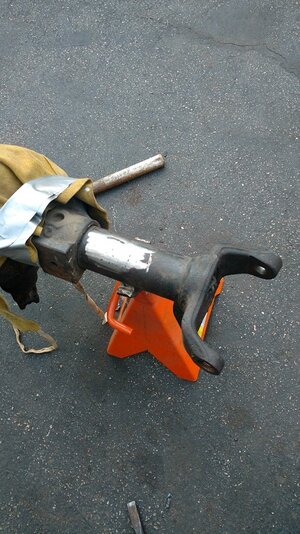
I blame myself for not asking more question on this one as well. It’s a GM dana 44 axle from a 77. It was shortened a few inches on the long tube side. It uses an earlier 74-79 wagoneer LH inner axle shaft.


It was converted from 6 lug to 5x5.5 lug pattern. Now for the bad for me. During disassembly I discovered it was converted using international scout outer parts (hub, rotor, outer axle shafts and brakes), the less than desirable parts to do this swap. As with the rear everything looked like it sat in a mud hole and not maintained.


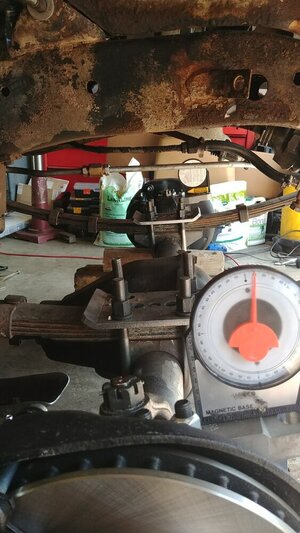
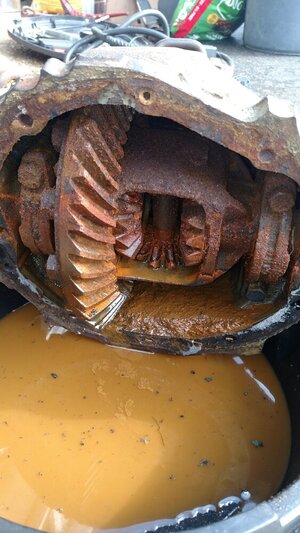
Continued disassembly and discovered even more bad news on the inside. The “confirmed” 4.56 gears it had were totally shot. It had chunks of teeth missing off both the ring and pinion. Later learned that the carrier was warped and not useable. Rather than order the correct axle shaft for the shortened side it was hacked up as well. The spindles were shot as well.


I’m not really sure of any good news with the front axle other than it was a gm dana 44 I was looking for and it was already shortened on the long tube side. Everything will need to be replaced. Also need to source some more parts to complete the front axle as I wanted it to be.


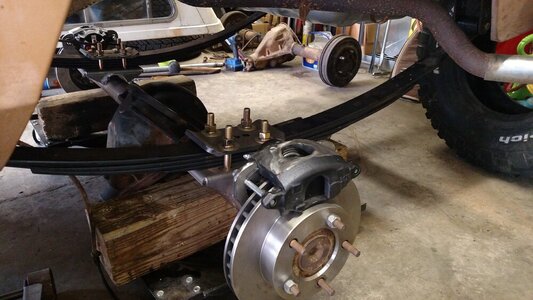
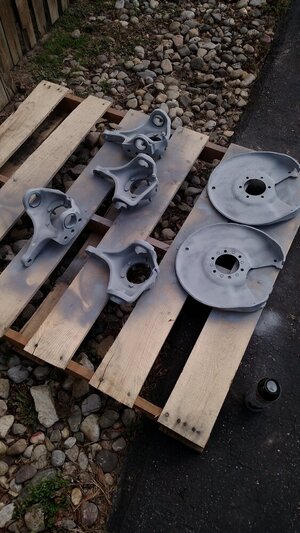
To start on what I needed I did a little research. I wanted to keep the 5x5.5 wheel pattern.


This was the plan:

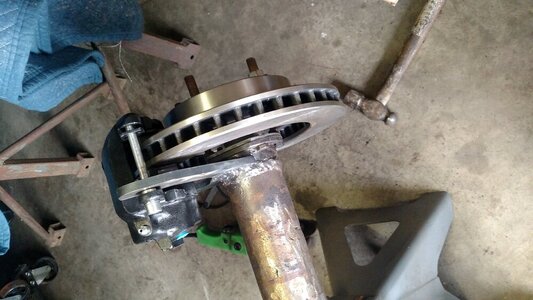
Ford 5x5.5 hubs and rotors

Chevrolet dana 44 brake backing plates and calipers

Dana 44 19 spline outer axle shafts

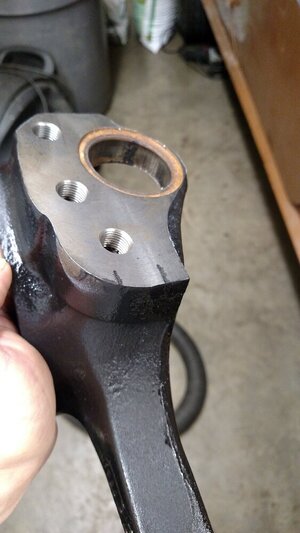
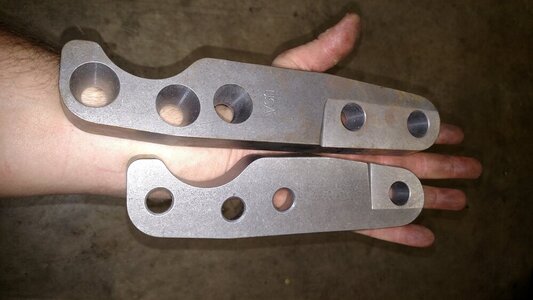
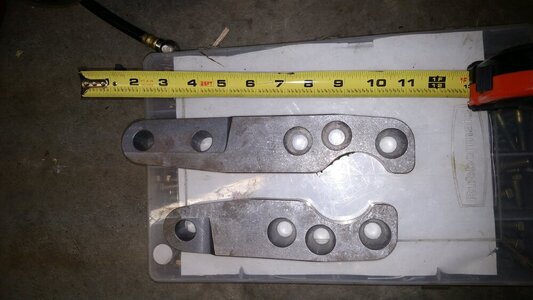
Chevrolet dana 44 knuckles

GM small bearing spindles


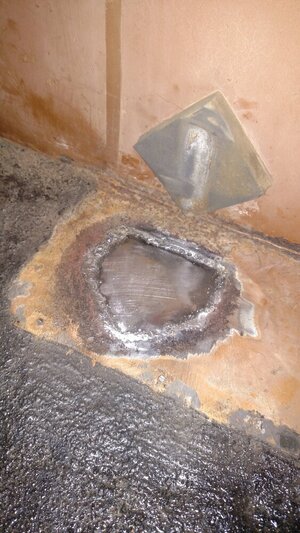
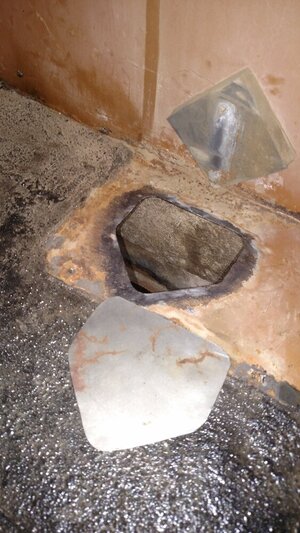
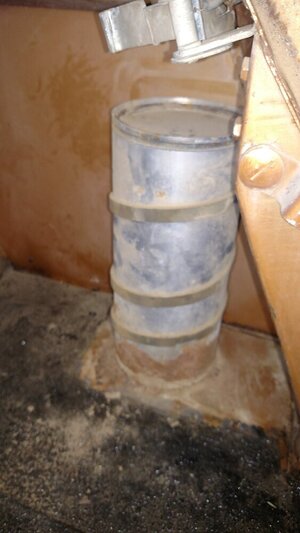
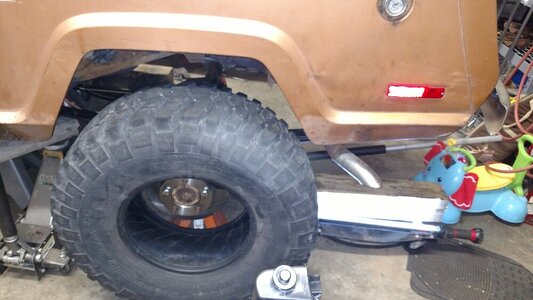
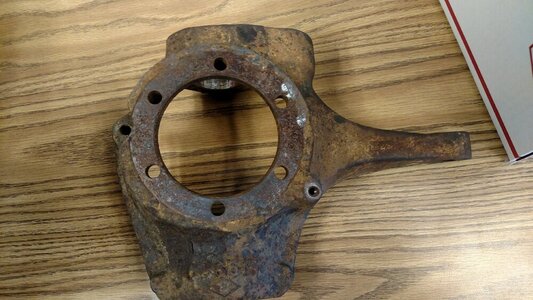
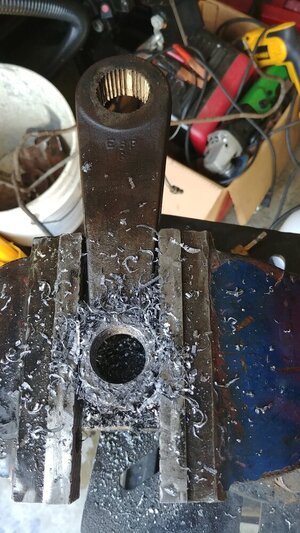
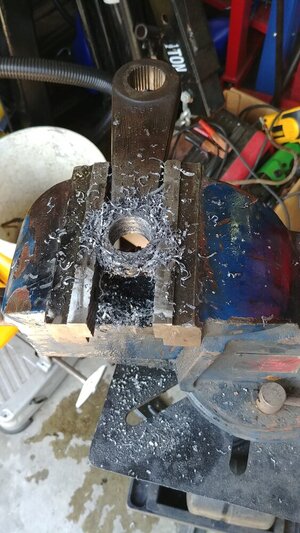
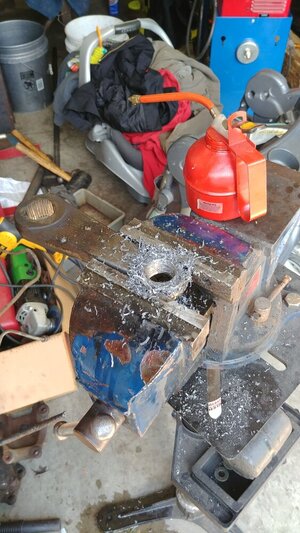
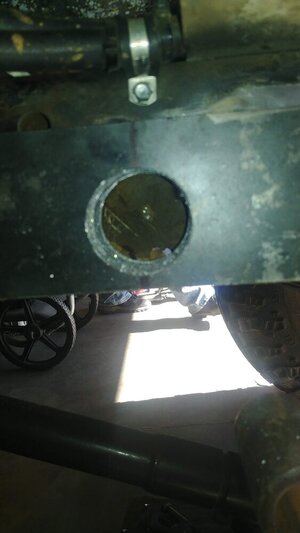
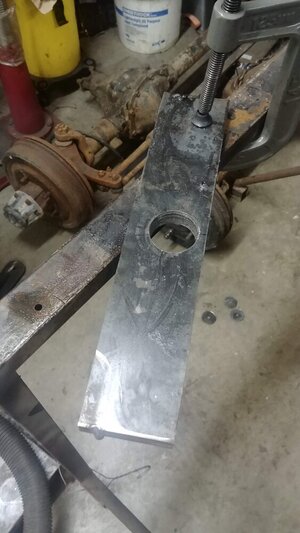
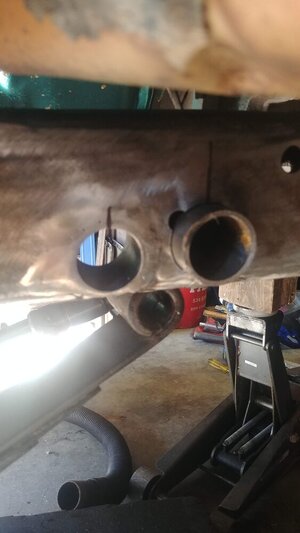
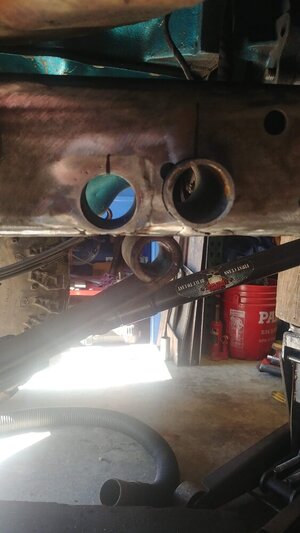
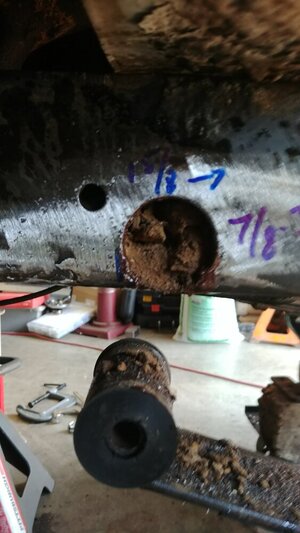
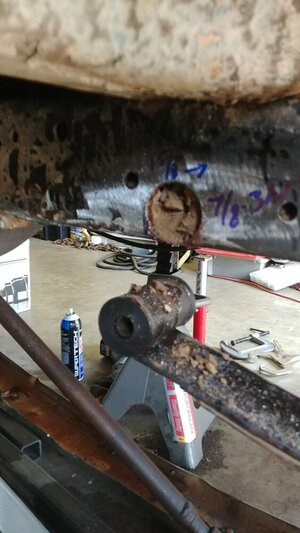
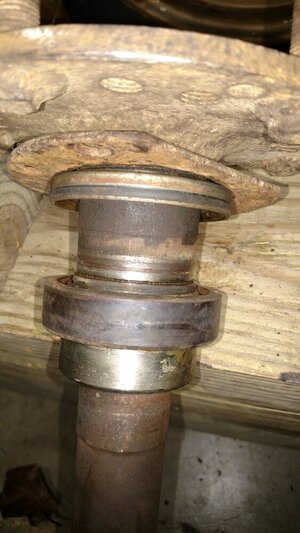
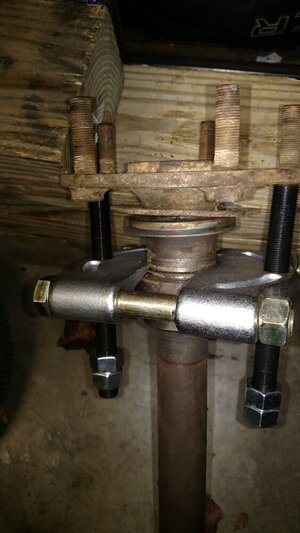
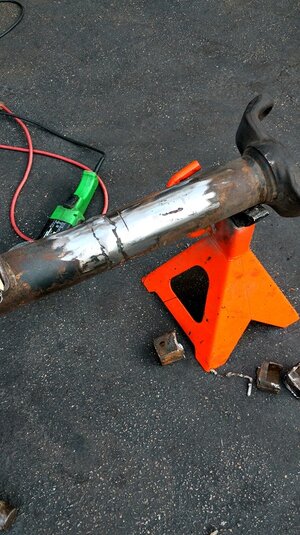
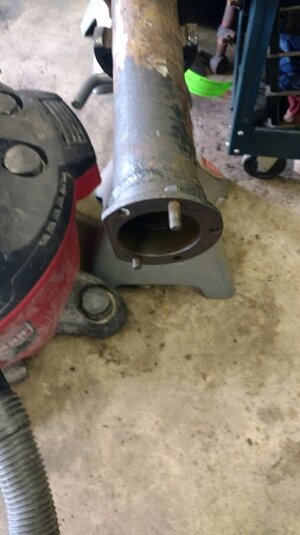
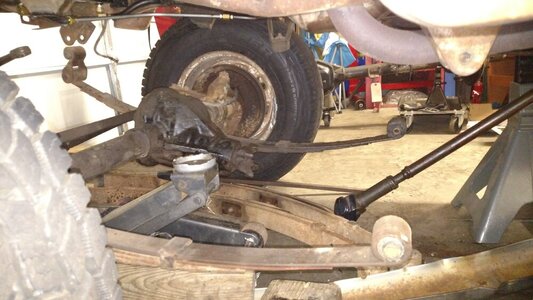
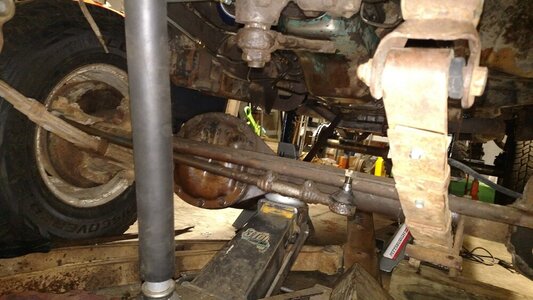
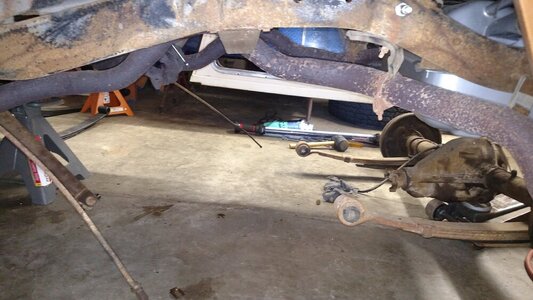
I ended up finding two 10 bolt front axles to source parts from. Basically need the outer 19 spline axle shafts, spindles and knuckles. As far as the knuckles the differences are that the tie rod goes up or down (depending on the year) and flat top or not. The drivers side is already flat top. The passenger side ones I had, one was flat top and the other was not. I never measured the spindles and I had an assumed they were small bearing, they weren’t. One of the 10 bolt axles had big bearing spindles and the other had small bearing spindles but it one good and bad spindle. Luck really wasn’t on my side with these axles.

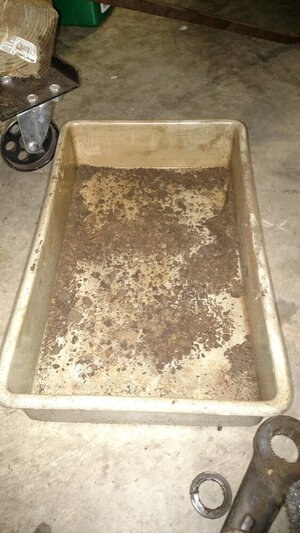
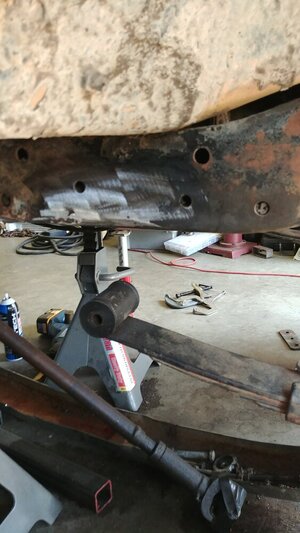
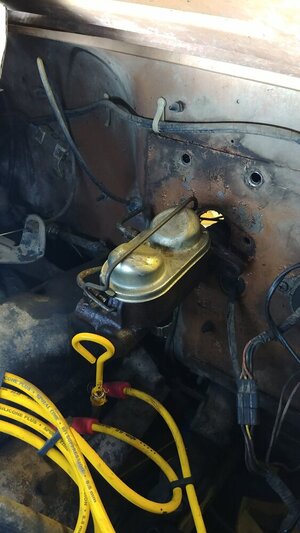
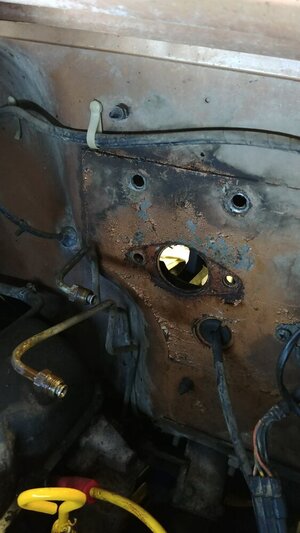
The watery rusty axle pic is one of the extra axles for parts.
 

Attachments

  • IMG_20171208_210310543.jpg
    IMG_20171208_210310543.jpg
    91.5 KB · Views: 58
  • IMG_20171219_201212172.jpg
    IMG_20171219_201212172.jpg
    104.6 KB · Views: 52
  • IMG_20171219_202503716.jpg
    IMG_20171219_202503716.jpg
    92.4 KB · Views: 49
  • IMG_20180104_203918307.jpg
    IMG_20180104_203918307.jpg
    105.2 KB · Views: 51
  • IMG_20180220_102927101.jpg
    IMG_20180220_102927101.jpg
    126.7 KB · Views: 50
Working space for the project is also a "Two Car Garage" lol...
 

Attachments

  • IMG_20170413_144500527.jpg
    IMG_20170413_144500527.jpg
    119.4 KB · Views: 64
  • IMG_20180221_100301956.jpg
    IMG_20180221_100301956.jpg
    173.7 KB · Views: 52
  • IMG_20180416_141845442.jpg
    IMG_20180416_141845442.jpg
    120.4 KB · Views: 62
  • IMG_20180221_100310208_HDR.jpg
    IMG_20180221_100310208_HDR.jpg
    182.9 KB · Views: 56
  • IMG_20180221_100427258.jpg
    IMG_20180221_100427258.jpg
    111.3 KB · Views: 69
  • IMG_20180221_100430719.jpg
    IMG_20180221_100430719.jpg
    95.1 KB · Views: 67
I started on my shopping list of parts for the front axle just to get started:

-ball joints NAPA# NCP 2601343 (upper), NCP 2601342 (lower)

-u-joints NAPA# 5760X

-calipers (gm dana 44) NAPA# LE4597 (left) and LE4596 (right)

-brake pads NAPA# TS-728A-M

-hub and rotor (ford dana 44) NAPA# NB 4886297

-4wd hubs (WARN) NAPA#209903 (warn # 745-3114)

-lug nuts 1/2x20

-spindle bearing kit NAPA# BRG-BK1

-front axle shaft, long tube side (Wagoneer) RockAuto# ZAW39339 (USA Standard Gear)

-GM small bearing spindles Spicer # 708528X

-gm small bearings inner set 37 outer set 45

-ball joint tool NAPA# NCP 2782030
 
Disassembly has started.......
 

Attachments

  • IMG_20180418_213054677.jpg
    IMG_20180418_213054677.jpg
    113.1 KB · Views: 56
  • IMG_20180418_213037722.jpg
    IMG_20180418_213037722.jpg
    118.2 KB · Views: 51
  • IMG_20180418_213030772.jpg
    IMG_20180418_213030772.jpg
    125.8 KB · Views: 49
  • IMG_20180415_213143635.jpg
    IMG_20180415_213143635.jpg
    112.4 KB · Views: 47
  • IMG_20180415_201613866.jpg
    IMG_20180415_201613866.jpg
    134.2 KB · Views: 48
I would agree but... they wont work with RCV's should that become an option later
I would run Yukon alloy's then. I ran them with no issues on the D44 with 36's. Well except the lock outs. Is there not a lockout besides Warn's that will work with RCV's?
 
RCV's require the 19 spline "coupler" inside the hub to be swapped to their 30 spline. It only fits warn hubs. otherwise I beleive you'd have to run drive slugs instead of selectable hubs, which is something I dont want to run.
Ah I was not aware. I see it replaces the Warn hub gear. I know they have "fuses" in them I wonder where this falls? Got curious. Looks like Yukon makes a 30 spline hub.

 
Yukon super joints and alloys from Yukon branik or Dutchman (there are some “alloy” axles that are poorly made from companies that sound reputable) are what I’d do. The rcv for trad 44’s are a super pain to install (worse than the already painful install on other axles) and not worth the increased cost to me unless you are roosting the tires on rocks fully locked with hydraulic assist ram. At which point you should consider super duty 60 which is stronger in stock form than a 44 with rcv. Just wheel with the weak links in mind and pull cable when you should. I’ve seen videos of d44 with 40s on a loaded rig be fine (dirt lifestyle and muddy beards) and d70 big bell rcv snap like a twig with a similar setup.

I’m using warn hubs because I found 5 sets at a u pull it yard near me from mid 90s f150s $10 each that all appear to be in good shape and appreciate the value of a fuse for when something does happen. They fail at the outer aluminum piece that engages the inside of the hub from my research.

Nothing is unbreakable, but sensible driving and understanding limitations/ not trying to find the bleeding edge has its advantages in the back pocket area
 
Also be careful mixing between ford and Chevy hubs (I did on mine) there are 2 different stub axle lengths and the longer was required to use the warm premium, but the shorter would work with a std warn or Chevy auto locking hub. Luckily I was able to return 1 to east coast gear before I installed it, but damaged the other short hammering out the u joint and took a $100 educational loss of funds
 
Ah I was not aware. I see it replaces the Warn hub gear. I know they have "fuses" in them I wonder where this falls? Got curious. Looks like Yukon makes a 30 spline hub.

Based on my old setup on the Ranger with a Waggy 44 front, the locker becomes the weak link.
I split an ARB in half after swapping in RCVs. Gears held up fine (naturally 😉).
Installing them was a complete pain in the taint. Had to remove the knuckle, install inner, place bell behind knuckle, line up splines and also the ball joints to install.
 
Just working on multiple projects all at once... but the suspension part of that is coming along ... also did a couple other minor small things


-removed the rear this rear "can" and filled the hole
-made some seat mounts for the drivers side and added some low bucket seats that I hadIMG_20180218_144855350.jpg
 

Attachments

  • IMG_20180324_212357220.jpg
    IMG_20180324_212357220.jpg
    148.4 KB · Views: 57
  • IMG_20180324_212350026.jpg
    IMG_20180324_212350026.jpg
    102.3 KB · Views: 43
  • IMG_20180218_160103058.jpg
    IMG_20180218_160103058.jpg
    145.4 KB · Views: 43
  • IMG_20180218_151650371.jpg
    IMG_20180218_151650371.jpg
    128.4 KB · Views: 41
  • IMG_20180218_144902732.jpg
    IMG_20180218_144902732.jpg
    74.1 KB · Views: 43
I used a Barnes4wd Ubolt eliminator kit for the rear, some boomerang shackles, and an add a leaf for the rear suspension for the stock springs. All new bushings will be added. I also used a ruffstuff specialties weld on disc brake bracket.

I figured I'd try the ubolt eliminators instead of U bolts to hold the springs to the axle. They used 5/8" bolts.

The rotors are ford 5 lug (same as front) and the caliper is a GM (same as front)
 

Attachments

  • IMG_20180404_124405219.jpg
    IMG_20180404_124405219.jpg
    108.4 KB · Views: 58
  • IMG_20180404_122631832.jpg
    IMG_20180404_122631832.jpg
    91.7 KB · Views: 50
  • IMG_20180321_160949505.jpg
    IMG_20180321_160949505.jpg
    116.8 KB · Views: 47
  • IMG_20180321_160945902.jpg
    IMG_20180321_160945902.jpg
    91.9 KB · Views: 46
  • IMG_20180217_213531659.jpg
    IMG_20180217_213531659.jpg
    115.2 KB · Views: 49
  • 0516180734a.jpg
    0516180734a.jpg
    106.5 KB · Views: 52
  • 0516180734.jpg
    0516180734.jpg
    123.4 KB · Views: 51
mocking things up in the rear
 

Attachments

  • IMG_20180416_161220736.jpg
    IMG_20180416_161220736.jpg
    117.6 KB · Views: 47
  • IMG_20180416_165311137.jpg
    IMG_20180416_165311137.jpg
    133.3 KB · Views: 47
  • IMG_20180416_165318688.jpg
    IMG_20180416_165318688.jpg
    83.9 KB · Views: 46
  • IMG_20180416_201657828.jpg
    IMG_20180416_201657828.jpg
    78.6 KB · Views: 41
  • IMG_20180416_201715856.jpg
    IMG_20180416_201715856.jpg
    123 KB · Views: 43
  • IMG_20180416_201856234.jpg
    IMG_20180416_201856234.jpg
    95.2 KB · Views: 46
Sent the passenger side knuckle out to me machined for the Barnes4wd hi steer arms. Removed the steering box to get all the grime off of it. Steering parts came in for a "1 ton" swap.
 

Attachments

  • IMG_20180322_092850204.jpg
    IMG_20180322_092850204.jpg
    134.7 KB · Views: 49
  • IMG_20180405_212331477.jpg
    IMG_20180405_212331477.jpg
    79.3 KB · Views: 40
  • IMG_20180416_210035311.jpg
    IMG_20180416_210035311.jpg
    83.8 KB · Views: 46
  • IMG_20180416_210035311.jpg
    IMG_20180416_210035311.jpg
    83.8 KB · Views: 52
  • IMG_20180416_210212699.jpg
    IMG_20180416_210212699.jpg
    99 KB · Views: 46
  • IMG_20180424_210826580.jpg
    IMG_20180424_210826580.jpg
    79.9 KB · Views: 47
  • IMG_20180425_212150447.jpg
    IMG_20180425_212150447.jpg
    116.8 KB · Views: 35
  • IMG_20180425_212201079.jpg
    IMG_20180425_212201079.jpg
    124.6 KB · Views: 36
Found an astro van pitman arm at the junkyard and received some steering parts

Also started cleaning and prepping other parts..
 

Attachments

  • 0527181445a.jpg
    0527181445a.jpg
    126.8 KB · Views: 49
  • 0527181429a_HDR.jpg
    0527181429a_HDR.jpg
    156.8 KB · Views: 45
  • 0527181429_HDR.jpg
    0527181429_HDR.jpg
    143.9 KB · Views: 42
  • 0527181429.jpg
    0527181429.jpg
    139.8 KB · Views: 42
I started some work on the front end.... small mistake was made but I was able to fix it. i cut some frame plates to help the fix and strengthen the frame some. I'm using a mixture of Ruffstuff and Barnes4wd brackets . The front axle perch on the passenger side is already cast into the housing and for the drivers side I welded the perch level with the cast side. The front springs are a bastard pack I made.
 

Attachments

  • IMG_20180411_212654383.jpg
    IMG_20180411_212654383.jpg
    72.7 KB · Views: 50
  • IMG_20180321_155642434.jpg
    IMG_20180321_155642434.jpg
    149.3 KB · Views: 36
  • IMG_20180320_211827403.jpg
    IMG_20180320_211827403.jpg
    84.9 KB · Views: 34
  • 1018191150.jpg
    1018191150.jpg
    56.1 KB · Views: 40
  • 1017192015a.jpg
    1017192015a.jpg
    56.5 KB · Views: 51
  • 1017192015.jpg
    1017192015.jpg
    89.5 KB · Views: 39
As you can see I cut a hole in the wrong spot but the frame plate will cover that. It will also be sleeved with a piece of DOM for the shackle bushing. The mistake was trying to figure out the shackle angle and caster angle. Also found out that the frame was packed with dirt. After cleaning it out I didnt notice any other issues inside.
 

Attachments

  • 0514181049_HDR.jpg
    0514181049_HDR.jpg
    123.8 KB · Views: 41
  • 1018191148.jpg
    1018191148.jpg
    67.8 KB · Views: 40
  • 1018191147_HDR.jpg
    1018191147_HDR.jpg
    78.7 KB · Views: 42
  • 0514181241.jpg
    0514181241.jpg
    113.7 KB · Views: 41
  • 0514181226a.jpg
    0514181226a.jpg
    86.4 KB · Views: 45
  • 0514181226.jpg
    0514181226.jpg
    94.3 KB · Views: 45
  • 0514181049a.jpg
    0514181049a.jpg
    94.9 KB · Views: 49
Once satisfied with the shackle and caster angle, I put the tierods in. I'll cut some DOM for the steering. So far it looks like everything will clear.
 

Attachments

  • 0527181506.jpg
    0527181506.jpg
    96.2 KB · Views: 44
  • 0527181506_HDR.jpg
    0527181506_HDR.jpg
    99 KB · Views: 50
  • 0527181506a_HDR.jpg
    0527181506a_HDR.jpg
    108.9 KB · Views: 49
  • 0527181506b_HDR.jpg
    0527181506b_HDR.jpg
    105 KB · Views: 40
Decided to go ahead and replace the manual brake master cylinder with power brakes. Almost a direct bolt in swap.
 

Attachments

  • 0607182034.jpg
    0607182034.jpg
    103.1 KB · Views: 32
  • 0606182116a.jpg
    0606182116a.jpg
    60.8 KB · Views: 42
  • 0227191707c.jpg
    0227191707c.jpg
    88.8 KB · Views: 51
  • 0227191707b.jpg
    0227191707b.jpg
    91.5 KB · Views: 34
  • 0607182038a.jpg
    0607182038a.jpg
    90.7 KB · Views: 34
  • 0518182041.jpg
    0518182041.jpg
    98 KB · Views: 43
  • 0518182042.jpg
    0518182042.jpg
    85.4 KB · Views: 36
  • 0606182116b.jpg
    0606182116b.jpg
    76.1 KB · Views: 35
Back
Top