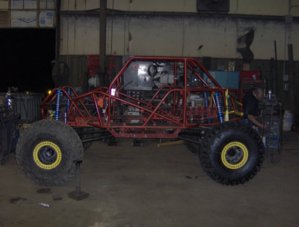
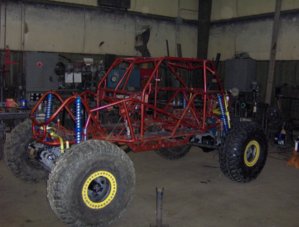
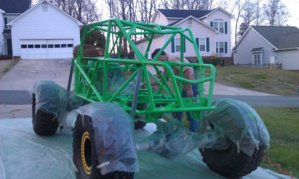
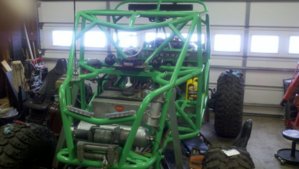
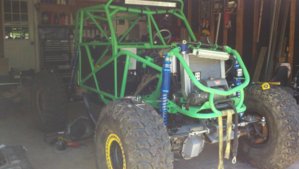
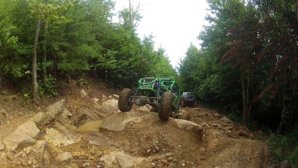
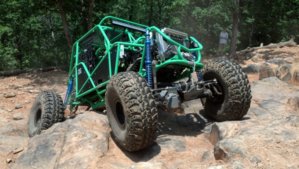
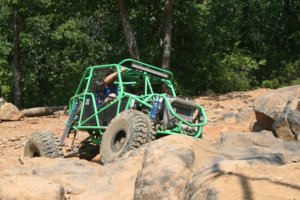
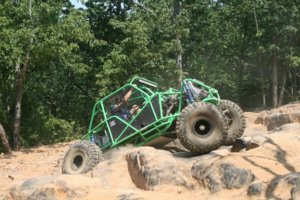
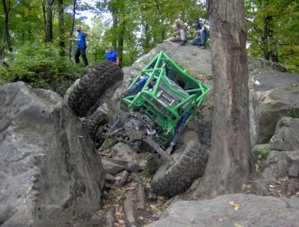
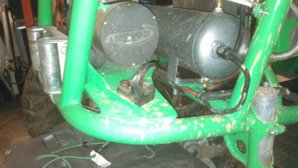
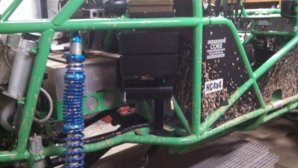
Finally...I've built my buggy...'Craig-the-Crawler'

off_road2

Well-Known Member
Joined
Jan 16, 2006
Location
Hickory
I've finally finished my buggy and wanted to wait until the build was finished to post it on the board.

The buggy is unofficially named "Craig-the-Crawler". Reason being is a lot of the items used on the buggy was bought from years of Craigslist searching (some NC4x4 and Ebay as well). I was striving for a well-built, 'no corners cut' buggy as cheap as I could get it. Here are the final specs and see the follwing posts for the build history:

Tire/Wheel:
Super Swamper IROK’s 42x14x16.5
32-Bolt DIY Beadlocks

Engine:
4.3 V6 Vortec
Howell EFI Harness and PCM
Aluminum Racing Radiator
K&N Air Filter
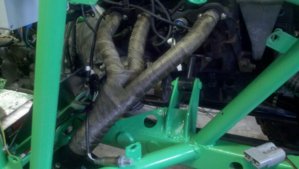
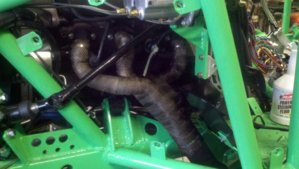
Custom Headers
PSC Hydraulic Pump
110-amp Alternator
16” SPAL Electric Fan
18” Aluminum Oil Cooler

Transmission/Transfer Case:
TH350 Transmission
TCI Saturday Night Special Torque Converter
TCI Full Manual Reverse-shift Valve Body
Remote SPAL Transmission Cooler
B&M Trans Shifter
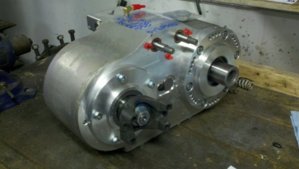
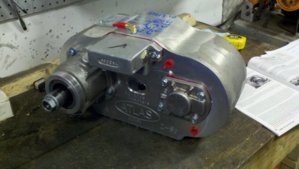
Atlas 2.0 Transfer Case, 32-Spline output, 3.8:1
Atlas Transfer Case Parking Brake
Atlas Twin Sticks

Front Axle:
Chevy Dana 60 35-spline
5.38:1 Ring and Pinion
Detroit Locker
Yukon 35-spline Chromoly Stub Shafts
RPM Offroad Drive Flanges
BTF Axle Truss/Steering Mount/Link Mount/Diff Cover

Rear Axle:
Chevy 14-bolt full float
Rear Disc Brake Conversion
5.38:1 Ring and Pinion
Detroit Locker
Solid Diff Cover
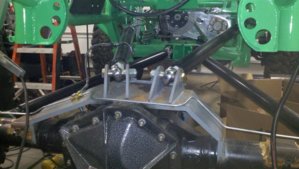
BTF Axle Truss/ Link Mount/Pinion Guard

Front Suspension/Steering:
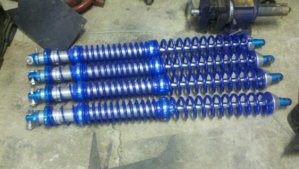
16” Triple-rate King Coilovers
2” Fox Air Bumps
PSC Double-Ended Steering Ram
Fully Hydraulic Steering

Rear Suspension:
16” Triple-rate King Coilovers
2” Fox Air Bumps

Misc. Equipment:
Onboard Air Cobra CB
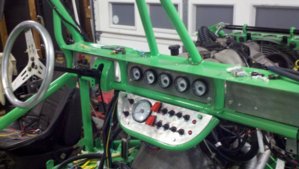
VDO Marine Gauges
Custom Aluminum Toolboxes
4-Point Harnesses
Racing Seats
Racing Safety Netting
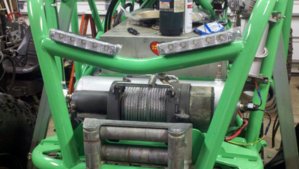
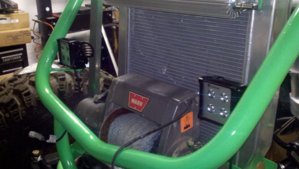
Warn xd9000i Front Winch with Synthetic Line
Ramsey REP 5000 Rear Winch
Front LED Headlight
Rear LED Reverse Lights
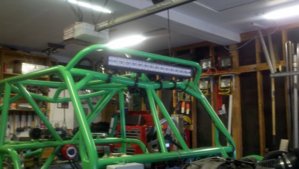
30” LED Light Bar
Underbody LED Ligh
1350 Universal Joints Throughout
 
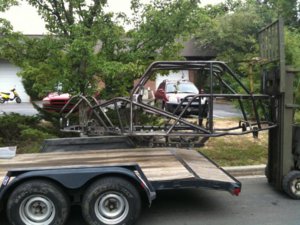
The chassis has been purchased...

HPIM2011.jpg IMG_0782.jpg
 
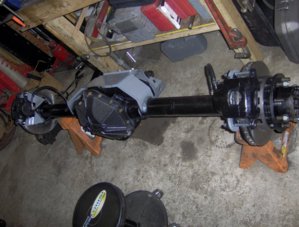
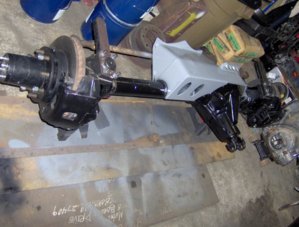
The front Dana 60 has been fully rebuilt with a Detroit locker, 5.38 gears, ARP studs, High steer arms, PSC double-ended steering ram, 35-spline chromoly stub shafts, chromoly drive flanges and BTF link mount truss and PSC ram mount.

The 14 bolt has be rebuilt with 5.38 G-2 gears, a Detroit locker, BTF link mount truss and pinion guard, rear disc conversion, and Solid diff cover

HPIM1709.JPG HPIM1710.JPG
 
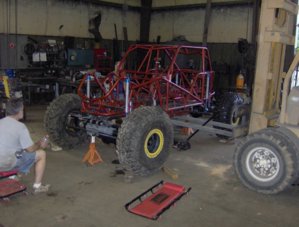
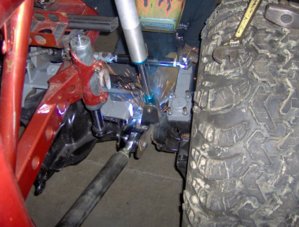
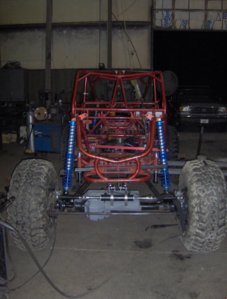
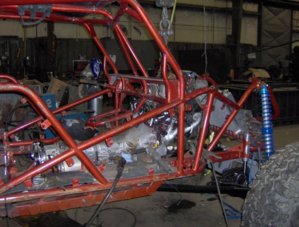
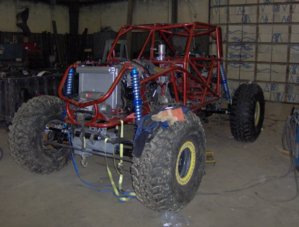
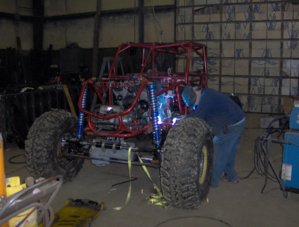
This Saturday it was time to transform the chassis into a rolling chassis. All the four-link chromoly joints arrived, I purchased the King Coilovers and Fox air bumps, and picked up the DOM tubing for the links. Brandon Rummage, my dad, and myself worked from 8am Saturday until 3am Sunday, solid. Below are pictures showing the workday progress...

HPIM1732.JPG HPIM1752.JPG HPIM1762.JPG HPIM1765.JPG HPIM1766.JPG HPIM1767.JPG
 
Well, we got the motor cranked on the stand this weekend. We encountered some issues, but we got it too run and the engine seems to be mechanically sound. On to the next step. The Atlas transfer case finally arrived after waiting on it for three months!!!

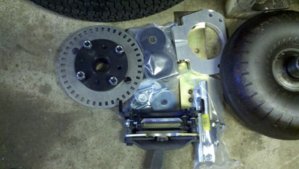
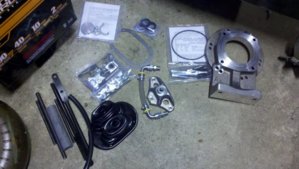
atlas1.jpg atlas2.jpg atlas3.jpg atlas4.jpg
 
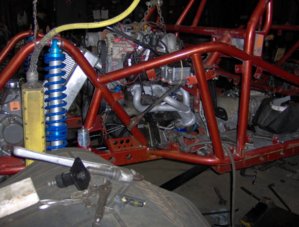
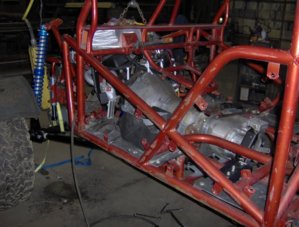
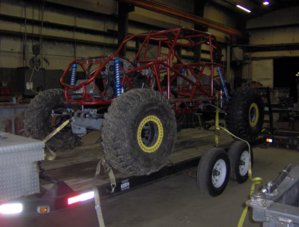
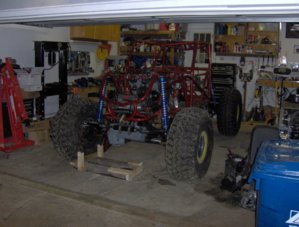
Once the Atlas arrived and all the options were verified correct, the engine, transmission, Atlas, and about every other part in my position was loaded up in the back of the Powerstroke. The 4Runner was put on the trailer and off to Hickory I went to my father's shop. I had to take the 4Runner to Hickory to provide space in my garage in Charlotte to bring the buggy back down once the driveline was mounted. My father, Rummage, and myself worked 26 hours once weekend installing the driveline and making mounts for as many other pieces of equipment as possible. All the equipment was not installed yet because the chassis will be painted soon. After much deliberation the colors of a neon green chassis with jet black skins was decided on. The pictures of the work performed are below and the last picture is the buggy in the garage in Charlotte. Hopefully some steady progress can now me made. Time to start sanding the chassis.
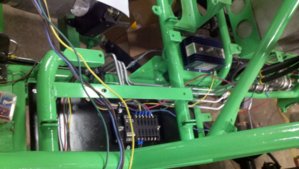
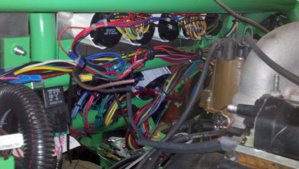
HPIM1837.JPG HPIM1838.JPG HPIM1839.JPG HPIM1842.JPG HPIM1843.JPG HPIM1850.JPG HPIM1851.JPG
 
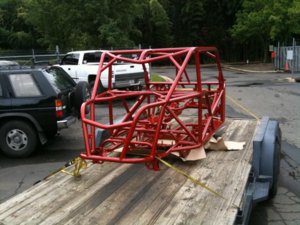
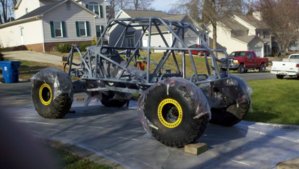
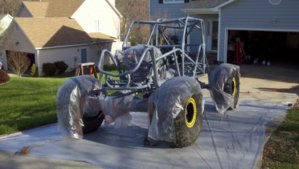
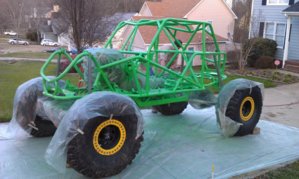
The chassis is finally prepared for painting after two weeks of sanding. The chassis was primed with Epoxy primer and Sherwin-Williams Automotive custom mixed some neon green paint...

2012-02-03_14-58-49_204.jpg 2012-02-03_14-59-04_482.jpg IMAG0180.jpg IMAG0183.jpg
 
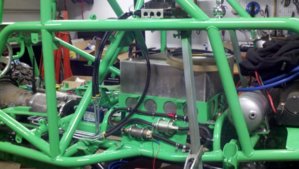
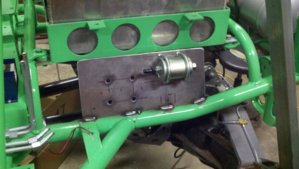
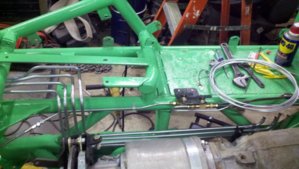
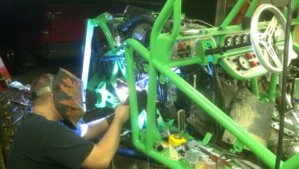
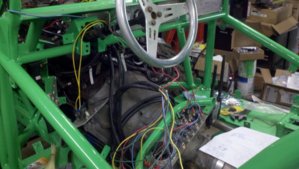
After the chassis was painted, it was time to start the never ending detail work. I have began the long process of fabricating hard lines, brake lines, fuel delivery components, etc. Work has been slow and steady over the last few weeks. Mounts for accessories have been installed, the wiring has been roughed in, and the dash has been completed.

2012-02-17_22-48-03_757.jpg 2012-03-01_21-15-29_854.jpg 2012-03-14_22-04-06_991.jpg 2012-03-23_16-28-09_716.jpg fuel area.jpg fuel mount.jpg hard lines.jpg headlights.jpg rear view 2.jpg
 
wiring.jpg wiring2.jpg wiring3.jpg
 
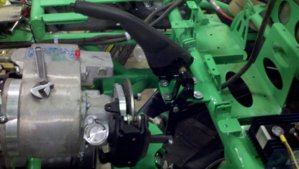
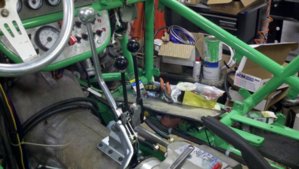
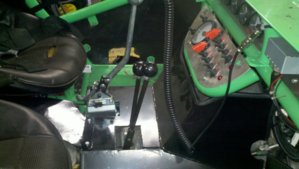
The parking brake mechanism was finally figured out. Thanks to one from a Mitsubishi Eclipse and the shifters were installed

2012-03-14_22-04-25_18.jpg 2012-03-14_22-04-35_564(2).jpg
 
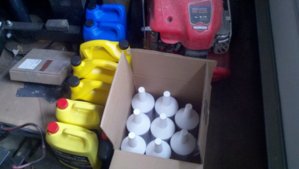
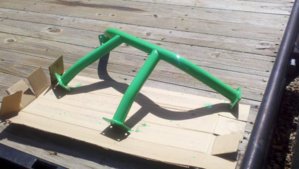
Motor air intake filter supports and headers were fabricated and this is what $300 worth of fluids looks like. The protection cage for the exhaust was also fabricated.

2012-03-15_17-47-38_137.jpg 2012-03-16_21-25-21_11.jpg 2012-03-16_22-06-54_877.jpg 2012-03-16_22-07-00_140.jpg 2012-03-23_16-28-23_679.jpg 2012-03-23_16-28-40_464.jpg exhaust guard.jpg
 
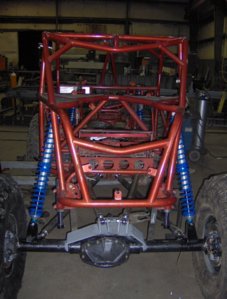
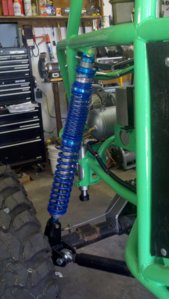
Well after a long period of assembling the buggy to a point that I felt confident enough to get corner weights to send to King for spring sizing....the coils are finally here...and installed. I "restroked" the Fox air bumps to have a 2" stroke and installed them when I put the coilovers on. Notice the ABS plastic skins are also installed

coilover1.jpg coilover2.jpg installed coilovers.jpg
 
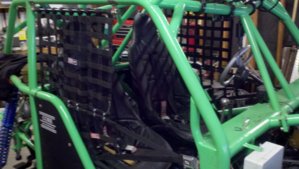
The interior was assembled finally. The window safety netting was installed and the transmission tunnel was fabricated and installed. A ‘hood’ was also fabricated to protect the engine in case of a rollover

2012-04-06_14-44-12_332.jpg 2012-04-18_17-59-40_286.jpg 2012-04-18_17-59-50_258.jpg
 
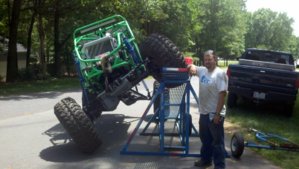
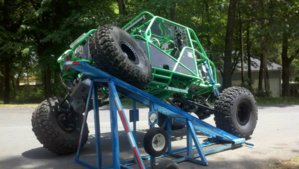
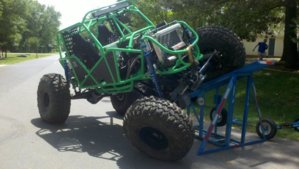
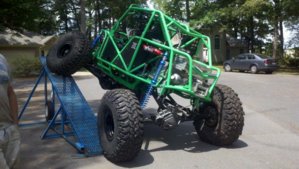
Well, the last thing to do was bolt in the driveshafts and take it for a run around the neighborhood. Rummage brought over the RTI ramp and we flexed it out and tuned the suspension. That’s 48” vertical height on the ramp and the suspension still had more in it but the rear tire started climbing the ramp as well. I believe it’s time for the first shakedown run.

2012-05-05_13-53-37_620.jpg 2012-05-05_13-53-58_333.jpg 2012-05-05_13-54-12_585.jpg 2012-05-05_14-08-25_386.jpg
 
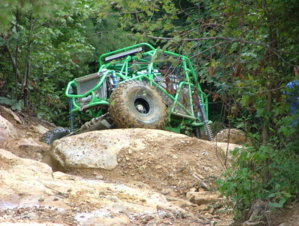
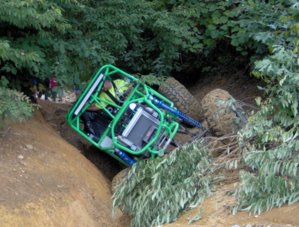
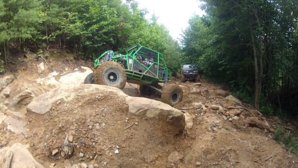
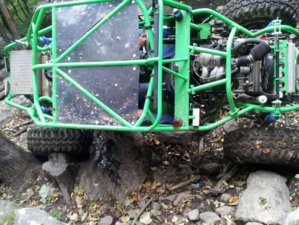
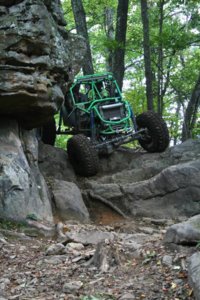
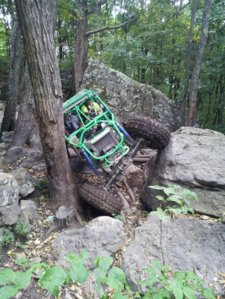
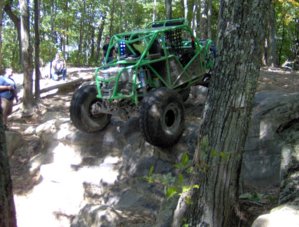
Lastly, here are a few pics of it in action. Feel free to see the 'Past Event' tab on our club webpage (linked in my signature) for more video and pictures of it in action. Also, see our club thread on NC4x4 in the 4WD Club section for more pics and video of trips.

DSCF5213.JPG HPIM1864.JPG uvs120905-002.jpg uvs120905-004.jpg 2012-05-26_13-23-19_142.jpg Uwharrie July 402.JPG Uwharrie July 406.JPG
 
I had no Idea this was Brandon Moretz until I looked at those pictures and realized it was setting at Bethlehem Manufacturing. So this is the buggy LB was talking about. Good job on the parts collecting and assymbly.
 
Looks like all the "Craig" came together nicely. Congrats on getting it done. :beer:
 
Thanks man, it's performed well on our Harlan trip too...i'm really please with how it turned out


qVOTi.jpg Harlan,_KY_-_Black_Mountain_ORV_Park_134.JPG HI4jz.jpg HPIM1959.JPG HPIM1982.JPG
 
I thought my lower links were pretty stout...but one got bent at Harlan...2.25x.375 DOM...oh well

I also learned that the rollover valve in my fuel cell will pour fuel out if I'm almost, but not quite, on my side...I ran the vent hose higher
 
not much has changed...i did decide to add some rear tow hooks...using the rear hooks combined with the brake lines lock allows the buggy to serve as a good anchor for those of our group who need to winch up something

tow hooks.jpg

Also, i determined the single small rear toolbox didn't have enough storage capacity, so i filled a void in the buggy with some more storage and a accessible place to store the air hose...

ammo can storage.jpg
 
All the build pics (a lot more than shown above) were put together in a short video including the clips of cranking the engine on the stand...

 
Back
Top