NP273 Rebuild and Duramax Swap

Croatan_Kid

How's your hammer hangin'?
Joined
Nov 4, 2007
Location
New Bern
My intent with this thread is to gather, document, and photograph information about rebuilding a Ford NP273 transfer case and adapting it to an Allison transmission. It will be replacing an NP263XHD.

This is a list of what you'll need:
- A Ford NP273
- 29 spline Dodge input shaft
- clocking ring
- 40 tooth reluctor wheel
- VSS
- Kodiak shift cam GM pn 89059210
- two new drive shafts

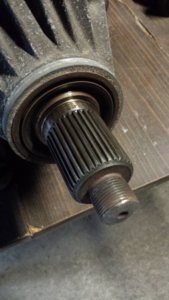
You need to swap the input shaft because the Fords are 34 spline, but (luckily) Dodge and GM are both 29 spline.

You need the clocking ring because the bolt pattern is off from Ford to GM and also because of the massive size of the 273 case. It will try to occupy the same space as the ABS module, but we'll get to that later in this documentary.

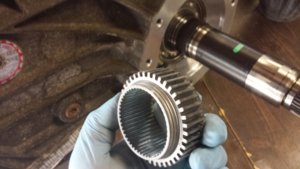
You need the reluctor wheel and VSS so your speedometer will work. The Fords didn't have them in the tail housing of the transfer case like GM does, so you'll have to drill and tap for one. The tone ring/reluctor wheel can be held to the output shaft a few different ways, but I believe I'm going to clamp mine on for easy removal if it's ever needed.

You need the Kodiak shift cam because the shift patterns are different from Ford to GM. You'll be using the stock encoder/shift motor from the 263XHD and apparently they shift backwards from each other. I believe the encoder motor is what tells the truck when it's in low range so the speedometer reads properly and the transmission knows when to shift. I have drawn this conclusion because neither case appears to have an indicator switch like manual shift cases.

You'll need two new drive shafts because...well...you already know why. My plan is to source them from an F250 and have the front shortened to fit and use the front flange from the rear or possibly use the entire assembly. We'll see how it works out when the time comes.

That pretty much covers the bulk of what you need to gather to get started.
 
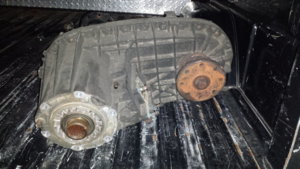
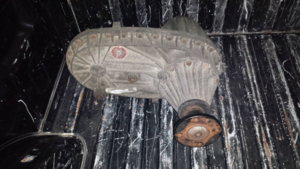
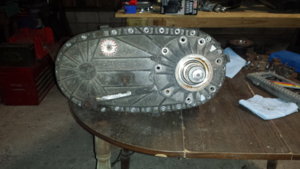
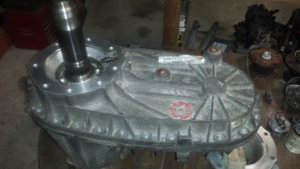
I'm starting with a case from an 06 F250. I picked it up for 100 bucks and from a quick diagnosis, it had a badly stretched chain. When I stood it up vertically, I could hold the outputs and spin the front independently while the case was in 4wd.

20190208_224042.jpg

20190208_224018.jpg


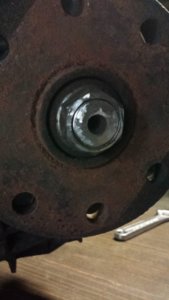
I had some free time and motivation this afternoon, so I set out to dismantle this thing. Let me say that I have never needed a grinder to disassemble a transfer case. I guess there's a first time for everything. The poor thing...someone had apparently tried to fix it at some point and couldn't get past removing the flanges and beat the ends of the output shafts with a hammer. That made it fairly difficult for me to remove the output shaft nuts, but I got it eventually. I can salvage the shafts with some jewler's files, but I'll definitely need some new nuts.

20190217_170139.jpg

20190217_172414.jpg

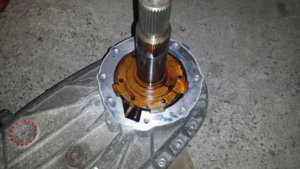
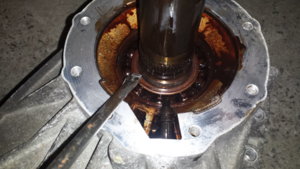
Next, I popped the rear seal out. Then I removed the case bolts and tail shaft housing bolts.

20190217_174449.jpg

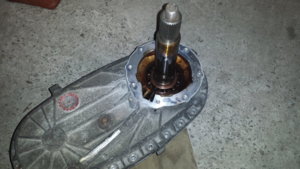
Up next, remove the tail shaft housing. DO NOT hit the cast tabs with a hammer....they'll break off. Ask me how I know! I just used a heel bar under the tab that's about mid way on the lefthand side. I just kept constant pressure on it while I tapped the housing with a rawhide mallet to break the death grip of the RTV they're sealed with. No picture of that, but it finally came apart.

20190217_181422.jpg

20190217_181414.jpg

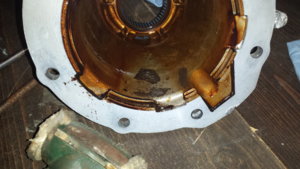
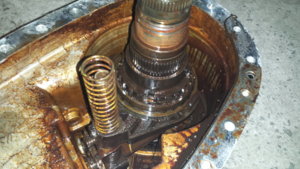
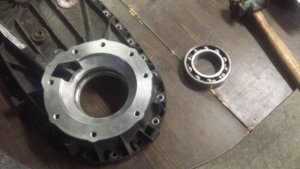
I knew once I saw the metal laying in there that I was in for a treat! Once that's off, you're left with the pump looking at you. Just wiggle it around a little and get the pickup tube to pop out and you slide the pump off of the output shaft.

20190217_182224.jpg

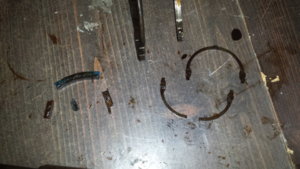
There's a snap ring that needs to be removed now. I had already removed it, but I'm pointing to where it was.

20190217_182213.jpg

If you've made it this far, you are now ready to separate the case halves! I put 4 bolts back in, threaded them most of the way down, put a socket on them, and hit them with the rawhide mallet while alternating around the case.

Once you get them apart, hold your mouth just right and the back half of the case will slide off of the output shaft. You're left with this...

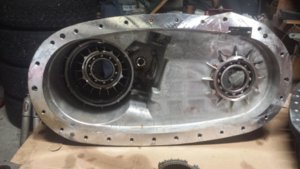
20190217_183209.jpg
 
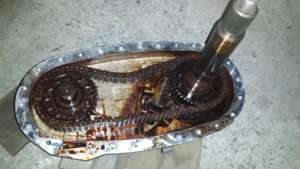
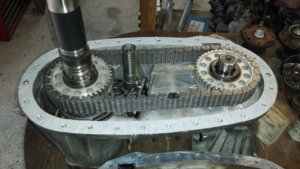
As evidenced by that ragged ass, droopy, and otherwise pitiful looking chain.....I was right. She was stretched out like a 50 year old hooker.

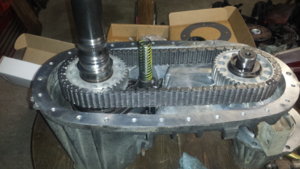
Let's remove the sprockets and the chain. Two more snap rings and there you go.

20190217_184433.jpg


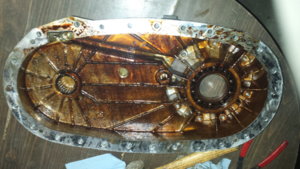
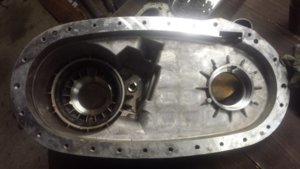
Obviously, I was right about the chain being stretched. I just didn't know how right I was. Let's take a look at the back half of the case we removed earlier.

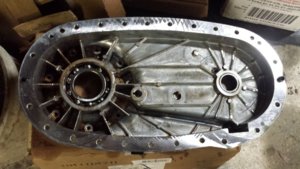
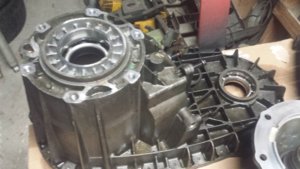
20190217_182615.jpg

20190217_183106.jpg

20190217_183057.jpg

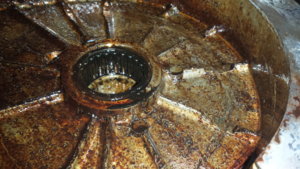
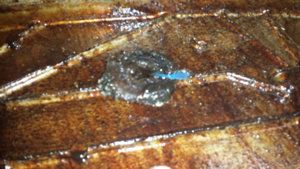
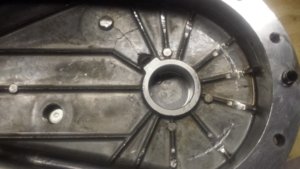
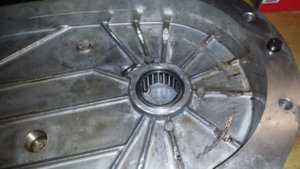
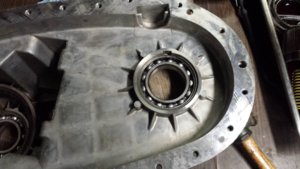
As you can see, the chain got in to the case a bit and ate some of the webbing. The magnet has a lot of material on it as well, but most of it is aluminum that's stuck to it with the gross ass, burnt ATF that was in this case.

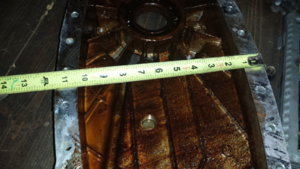
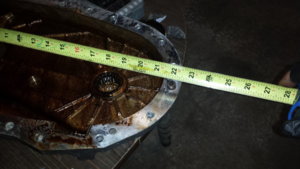
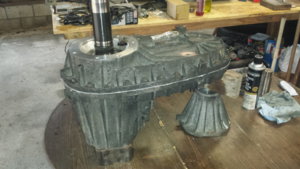
Oh, in case anybody was wondering how big these things are...

20190217_182539.jpg

20190217_182523.jpg

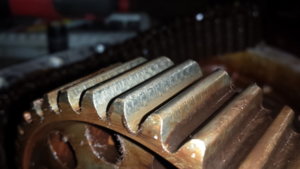
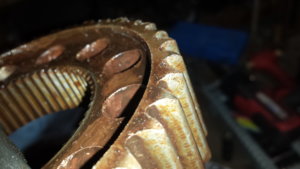
Here's some more of the carnage. The sprockets are VERY worn from the bad chain. It's always good practice to replace the sprockets any time you replace the chain. They wear together just like ring and pinion gears.

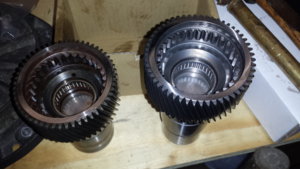
The first picture is the drive sprocket and the second is the driven sprocket. The fretting is noticeable on both, but note the burrs rolled over on the second one. Not to mention how sharply the teeth are worn.

20190217_184513.jpg

20190217_184546.jpg


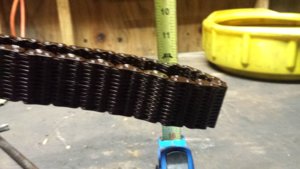
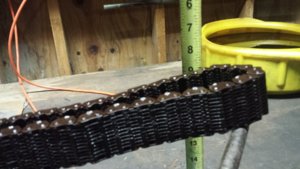
The chain wasn't in any better shape. I wanted to see how worn it was, so one end was clamped in a vise and the other drooped. Sorry for the blurriness of the first picture. You can see though, there's a solid three inches of movement. New chains have far less slack in them.

20190217_191513.jpg

20190217_191528.jpg
 
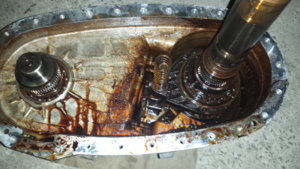
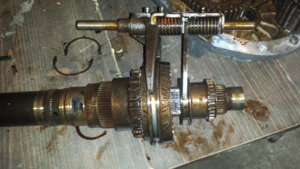
We're back to disassembly. The shift forks, output shaft, and range hub are ready to come out.

20190217_184440.jpg

20190217_190441.jpg

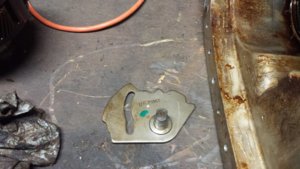
The shift fork pads looked like they had been to war at some point. Broken, battered, and partially melted. Good shit.
20190217_190455.jpg

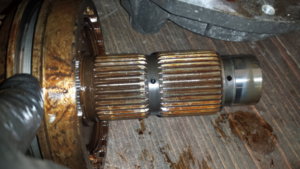
Now is a good time to inspect your shaft. You want to make sure it has these oil holes for the range hub. If not, there's a good possibility that it will burn up if it hasn't already. I was pretty sure this one would have them since it was an 06. I was right. I think the one towards the back is for the output shaft bearing.

20190217_190816.jpg

20190217_190828.jpg

Now that the output is removed, you should be looking at the back of the planetary.

20190217_194500.jpg

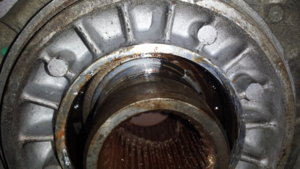
To get that out, you spin the case around and (after you pull the input seal) take out another snap ring. You just can see it down in there.

20190217_193049.jpg

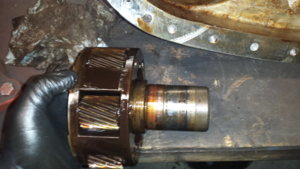
Once the snap ring is out, I went back with my trusty rawhide mallet and after a few love taps, the case gave birth to this little guy.

20190217_194515.jpg

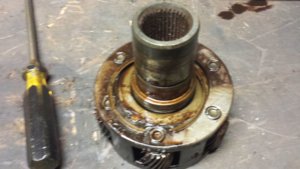
To get the input out of the planetary assembly....you guessed it....another snap ring!

20190217_195721.jpg

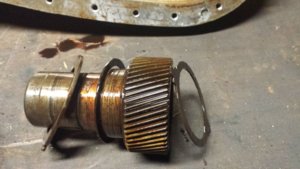
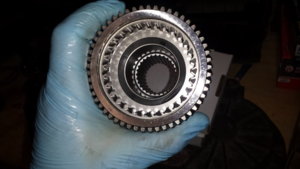
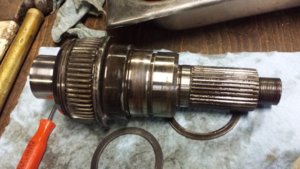
Here's the stack up for the input. Retainer plate, thrust washer, input gear, another thrust washer.

20190217_195838.jpg
 
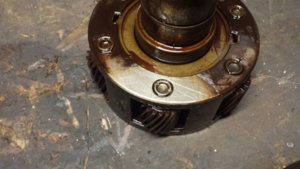
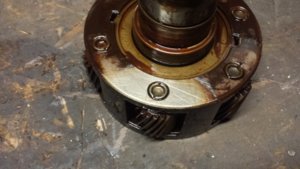
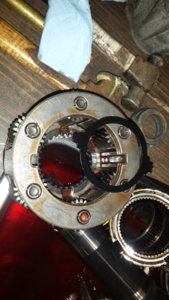
It seems that one of my pinion axles is loose. I'm debating on replace the planetary. There's no slack in it, but it worries me. You can see that it'll spin from turning the input shaft in the planetary gear.

20190217_195544.jpg

20190217_195535.jpg

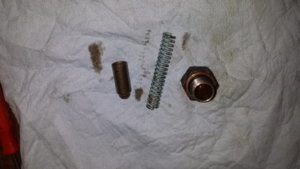
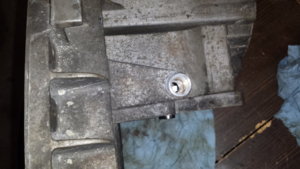
Now the case is empty, aside from my front output...I still need to get that flange off of the output shaft...but I can go ahead and pull the shift cam out. To do that, remove the plug, spring, and detent ball from the bottom side of the case. The shift cam will slide right out after that.

20190217_195104.jpg

20190217_195114.jpg

20190217_195227.jpg


I then tackled the alignment pin on the front of the case. Pretty self explanatory.

20190217_202624.jpg

20190217_201450.jpg


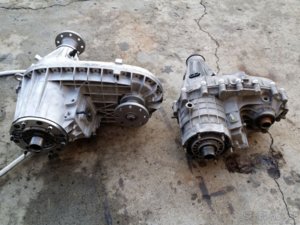
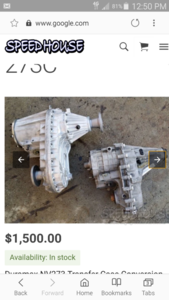
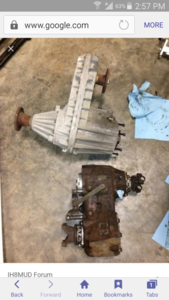
In case anyone is wondering how a 273 looks next to a 263 or 205. It's a huge bitch!

nv273-conversion-3_1_1.jpg.jpeg

Screenshot_2019-02-07-12-50-19.png

Screenshot_2017-03-24-14-57-06.png

Well, boys and girls, that's all for this evening's installment. Stay tuned for tomorrow's update. Hopefully, I'll get the front output taken apart, all of the bearings pulled from the case halves, run everything through the parts washer, and make a list of everything I need to order.
 
Last edited:
It seems that one of my pinion axles is loose. I'm debating on replace the planetary. There's no slack in it, but it worries me. You can see that it'll spin from turning the input shaft in the planetary gear.

I usually tack those pins with the tig welder when I rebuild cases. I wouldn't worry about replacing the whole planetary.
 
This is awesome. I love seeing things dismantled and rebuilt to spec.

Any thoughts on life span and chainwear on a stock 2006, 2500 Diesel Dodge case? Honestly is have to look up the actual unit to even know what it is.....
 
It's probably a 271 (manual shift) or 273 (electronic).

I just saw that @biggoofy fixed the transfer case in his Dodge. Looked like he just did new sprockets and a chain. Seems to be somewhat common. I'm not sure if the replacements are any stronger than the factory ones, but usually what kills them is lack of lubrication and maintenance.

Allstate Gear is an awesome place to get the parts you need, btw. I just hadn't quite gotten to the point of saying that. They've got the best prices I've been able to find.
 
I didn't get as much done today as I wanted to. I slept late (7:30...whoo!), sat on the couch, watched some TV, and was kinda lazy in general. I was sore from man handling that transfer case yesterday, apparently.

I did manage to get in 4 or 5 hours of cleaning though. Did you know the inside of a transfer case isn't supposed to be brown?

20190218_192832.jpg

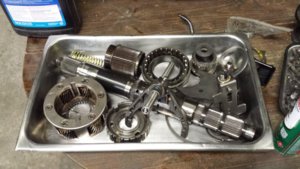
If you don't have a parts washer, you should. They're awesome and brake cleaner gets expensive. I've had the same barrel of cleaner for something like 10 years. It's probably time to change it out, but it still works and was a damn good 30 dollar investment! So are stainless steel serving pans...

20190218_192802.jpg

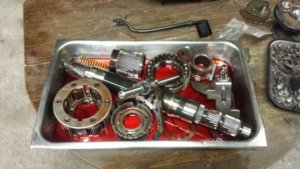
Since there's a bit of a giant hole in the roof of the shop at my dad's, everything in it is starting to rust or mold/mildew. I figured I better cover everything to prevent rust.

20190218_201622.jpg

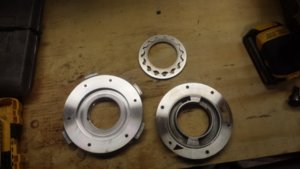
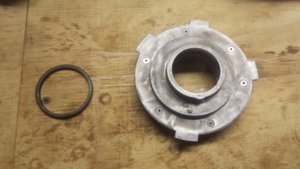
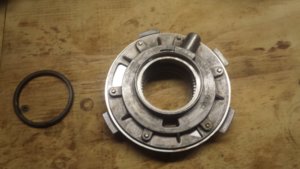
I was worried about the pump since the inside of the case was so nasty and there was aluminum floating around everywhere. Once I finally got the pump halves apart, I was relieved to see a gerotor pump. The internals looked fine and they just got cleaned up. No need to replace the pump!

20190218_200928.jpg

I still need to get the front output off of the shaft, knock all of the bearings out, and clean the front half of the case.

The new 29 spline input, shift cam, rebuild kit with bearings, sprockets/chain, VSS, tone ring, and output flange nuts will probably get ordered this week. Might as well get it put back together while I still remember how :D
 
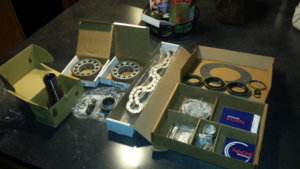
Got some new parts today!

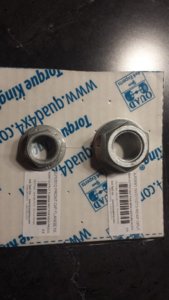
20190221_182952.jpg

Ha...you guys looked at my nuts :D

I should be ordering the rest of the rebuild parts soon and hopefully I'll get some time to finish cleaning the front half of the case.
 
Finally did it...I called Allstate Gear just now and ordered the input, bearing/seal kit, sprockets/chain, tone ring, and VSS! I'm going to go ahead and order the shift cam too.

I still need to get a clocking ring and a few other things to wrap it up, but I'm getting there.

It's just about to get good!
 
I did some more cleaning today and also picked up a decent pair of duckbill snap ring pliers.

20190303_171635.jpg

20190303_171700.jpg

I managed to knock out all the bearings except for the pocket bearing for the front output. I'll probably need to pick up a slide hammer or something to get it out.

20190303_181606.jpg

20190303_174843.jpg

20190303_181618.jpg

Oh, and I remembered to pick up some 8-32 socket head screws so I could put the pump back together. Baby steps!

20190303_173000.jpg

20190303_172953.jpg


I'm expecting the rebuild parts to be here some time this week. I can't wait to get started on those shenanigans!
 
What are you using to seal up the case halves? I did a few t cases when I worked for GM and used a red anaerobic sealer per GM. Stuff gets cement hard. I’ve got a k10 a friend has that some old dude used Grey RTV and just gobbed it up there and his tcase is leaking. I know people use just RTV but was curious to what you plan on using.
 
Ultra Gray RTV. That's pretty much what they're put together with. The stuff that had squeezed out around the edges was still pliable. I don't want it to be that hard as they're pretty damn difficult to disassemble to begin with. Whoever did your buddy's case must have been a 'tard because ultra gray is good stuff. If you don't clean it good, obviously, it'll leak.

A lot of places are saying to use Ultra Black, but Ultra Gray is tougher and meant more for sealing two machined surfaces.


I fell in love with the grey diesel RTV Ford used/uses and use it on everything. That anaerobic stuff was what they made us use but you had to use a 3m wheel to get it off.
And this dudes k10 has some interesting choices for parts/fixes. Someone has zip tied up the transfer case support Bc I guess they lost a bolt. And someone has supposedly rebuilt it and now it’s been resealed 2 times by 2 other people. So I have no doubt they went full tard on it. I’m just fixing the frame, someone has talked him into buying a new carb Bc the edelbrock one doesn’t run well after he supposedly tuned it. He did like how the k5 starts up a lot easier.
 
This little bastard was tight!

20190304_193115.jpg

Now that that's out, I think I'm ready to start putting stuff back together once everything gets here.

One of these days, I think I'll be picking up some 271s and 273s from @mcutler and possibly doing more of these builds/swaps.
 
Good news everyone!

20190307_194802.jpg

All the internals and such have arrived, aside from the shift cam. It's on the way though. Once it gets here, I can marry the case halves. For now, I can go ahead and install all of the bearings, throw the tone ring in a lathe and make it fit, figure out the threads on the VSS, and then drill/tap for that.

Things are coming along boys and squirrels! :D
 
The shift cam showed up today and then shit started happening in somewhat rapid secession!

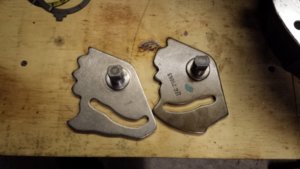
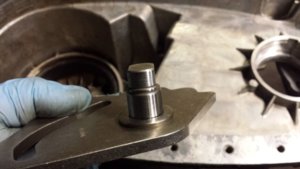
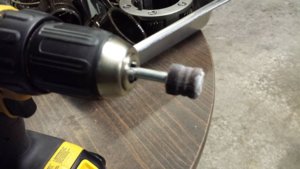
The first thing I messed with was fitting the new shift cam. For some reason, the shaft diameter is slightly larger than the Ford version. I used a small sand paper roll to open the hole up and I hit the cam itself with some fine grit.

20190308_181628.jpg

20190308_181644.jpg

20190308_181751.jpg

20190308_181738.jpg

20190308_190732.jpg

20190308_190739.jpg

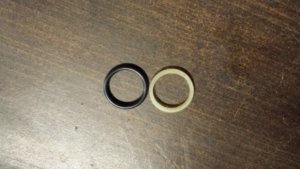
Once I got it to fit, I put in the detent, the o ring, and the o ring retainer.
 
I was trying to post all of this last night, but I kept falling asleep...so here we go!

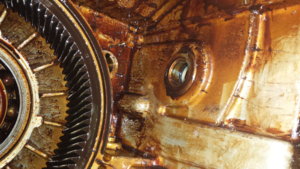
Let's put some bearings in the case halves so we can start assembling stuff. I used some stuff I had laying around as drivers and even the old bearings to get everything seated.
20190308_220225.jpg

20190308_220241.jpg

20190308_183756.jpg

20190308_184352.jpg

All of the big roller bearings have a snap ring to retain them.

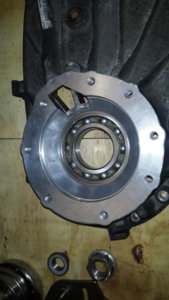
Now that those are in, it's time to start making it look like a transfer case again. The input shaft pocket bearing needs to be put in first and then the input can be assembled with the planetary gear.

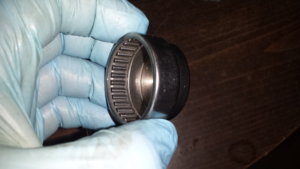
As you can see, the input is actually hollow and this bearing is what seals it up.

20190308_191252.jpg

20190308_191333.jpg

20190308_192116.jpg

Next up are a couple of thrust washers, a top plate, and a planetary gear.

20190308_193518.jpg

20190308_193545.jpg

Planetary, thrust washer, input shaft, thrust washer, retaining plate, then snap ring. Pretty simple.
 
It is now time to start filling up the front half of the case with parts.

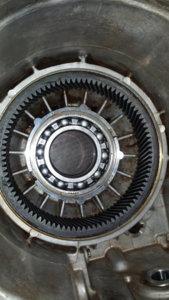
First up is the input/planetary that we just put together. Since the input shaft and bearing are both new, it needed a little love tap from the handle of my hammer to seat all the way. Once it's in, I rolled the case over, put the snap ring back on and then the input seal.

20190308_194837.jpg

20190308_194855.jpg

20190308_195039.jpg

The front output can be installed, but without the sprocket as both sprockets will be slid in with the chain around them at the same time.

20190308_195534.jpg

Naturally, there's another snap ring to hold in the front output as well as a seal.

20190308_220037.jpg

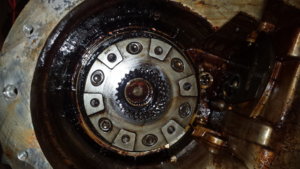
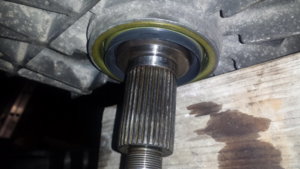
I have the case standing up for reassembly, so this is looking up at the front output from underneath.

Up to this point, the input/planetary is installed as well as the front output. The main shaft assembly with the range forks is almost ready to be installed and that's really the meat and potatoes of the whole thing, but first, the forks need their pads installed AND the main shaft needs to be put back together.

Unfortunately, it was right about this time that my phone battery was low enough that it wouldn't let me use the camera and I had to go charge it in my truck. There are a few very easy steps that aren't pictured here, such as the fork pad install. I do, however, have everything showing the main shaft going back together.

Pitter patter, let's get at her.

20190308_201229.jpg

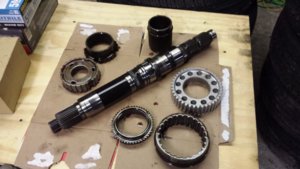
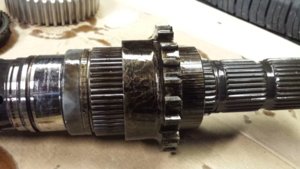
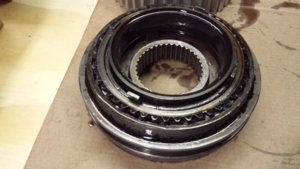
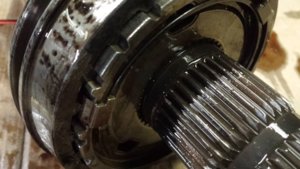
These pieces slide together and then go on the main shaft from the front side.

20190308_201715.jpg

20190308_201747.jpg

20190308_201930.jpg

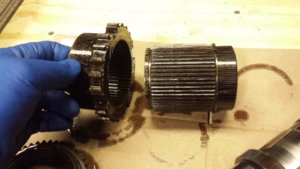
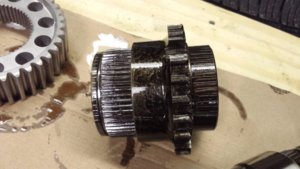
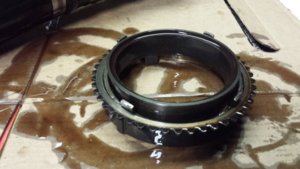
Then the snychro hub goes inside the ring.

20190308_201446(0).jpg


20190308_202104.jpg

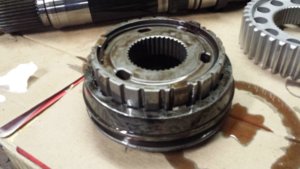
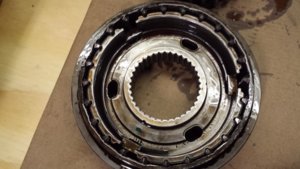
The three slots in that hub will line up with tabs on the syncro assembly and then the whole thing will slide on the main shaft and be held on by a snap ring.


20190308_202058.jpg

20190308_202132.jpg

20190308_202919.jpg

The synchro assembly has to be lined up just right or it won't sit down far enough to clear the snap ring groove. It took me a few wiggles and turns to get it just right.
 
This next step is one I'm bummed I didn't get a picture of while my phone was charging, but I wanted to keep moving forward.
Now it's time to put in the shift forks, range hub, and synchro ring. They get installed first and then you put the main shaft in afterwards or else you can't get the forks to go in to the shift cam. It's pretty easy to figure out if you've made it this far.
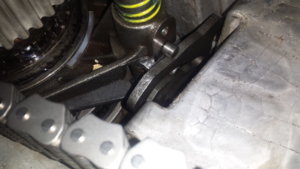
As you can see, the range fork is riding on the inside of the cam and the synchro fork is on the outside.

20190308_215959.jpg

The sprockets and chain go on all together and there are more snap rings.

20190308_220021.jpg

Since I had made it this far, I had to make sure the rear half would fit for shits and giggles.

20190308_221849.jpg

This is where I'm at now. The next step is sealing the halves and bolting them together. The pickup screen and tube go in first and then all the perimeter bolts followed by the pump and last is the tailshaft housing. That's another project all together. It still needs to get drilled and tapped for the VSS.

Stay tuned for more!
 
I've got it as far as I can go without a little machine work.

I really hope it doesn't have to come apart again!

20190310_142806.jpg

20190310_144527.jpg

20190310_153903.jpg


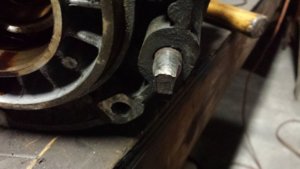
Here you can see where the VSS will go in the tailhousing.

20190310_155757.jpg


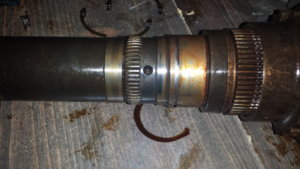
This is where the tone ring will be affixed to the output shaft.

20190310_155810.jpg


20190310_154515.jpg

After I bolted the case together, I gave it a quick function test and am pleased to report that everything works as it should. I knew it was going to, but I was still a little nervous.
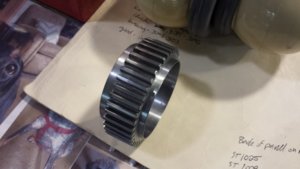
Here's the tone ring I plan to use. It's originally meant for an NP263XHD. I'll bore it out and weld it to a clamp so it's still removeable in case disassembly is required in the future.

20190310_161004.jpg


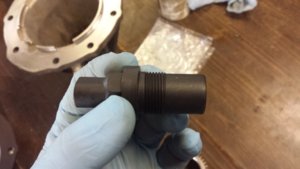
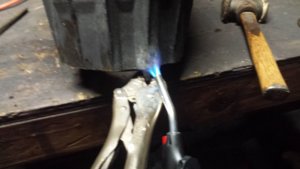
This VSS is also an NP263XHD. I've got to drill and tap the output housing. It's an M22x1.5, so I'll need to buy a tap. The proper drill size would be 20.5mm, which is .807", however, 13/16 is .8125" and I don't think .0055" is going to make a lot of difference. If it does, I can put some RTV on it.

20190310_161019.jpg


So far I'm in this project for $540.73. 100 for the case, 386.45 for the rebuild parts (VSS and tone wheel included), and 54.28 for the shift cam. Those prices include shipping as well.

All I have left to get is the clocking ring from WFO and a clamp for the VSS. Less than 200 bucks in parts, but driveshafts will probably be pricey.
 
20190311_111832.jpg

I took all the splines out of the inside, opened it up to 2.125, and turned the shoulders down so the clamps can go around them.

I also ordered my clamps and an M22x1.5 tap with a 20.5mm drill....oh, and the clocking ring too! Almost forgot that part.

Should have this thing buttoned up soon!
 
Back
Top