slravene
Well-Known Member
- Joined
- Sep 8, 2005
- Location
- Atlanta, GA
Figured it was time to start another build thread – try to get some good old fashioned tech back onto the boards! This will be build #006 and will be built as a full turn key. This wont be the fastest build in the world, we don't do this full time and are just building for a friend.
We finished #004 for Todd about a year ago (which I realized that I never finished the build thread on that one here...this link is complete though Partially Committed Racing's buggy #004 build ), and he has been riding it for a while – has it really dialed in and can drive that thing up pretty much anything he points it at. We are really happy with how these chassis have been performing, and its really cool to see them do so well in the rough rocks.
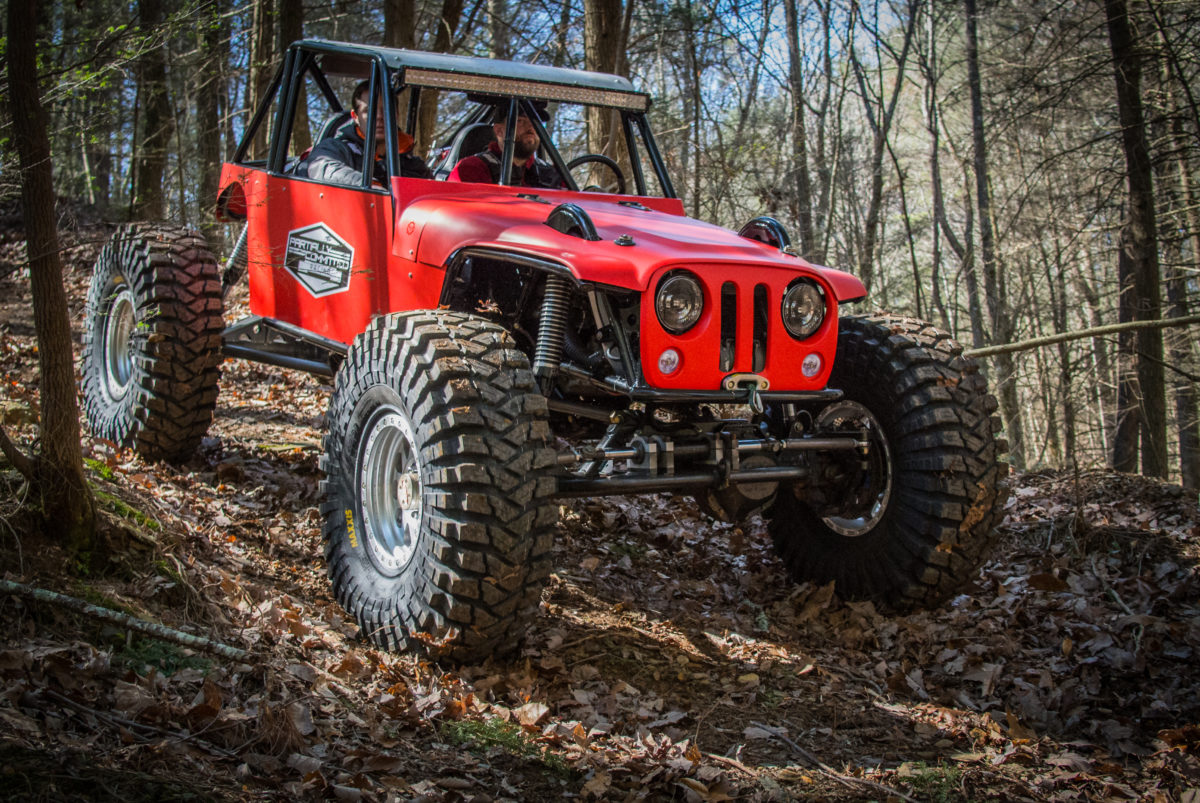
For those that didnt catch the last build thread....Todd's is a (slightly bigger) clone of my personal buggy with a few small cosmetic changes. In any case here is the completed #004 turn key build:
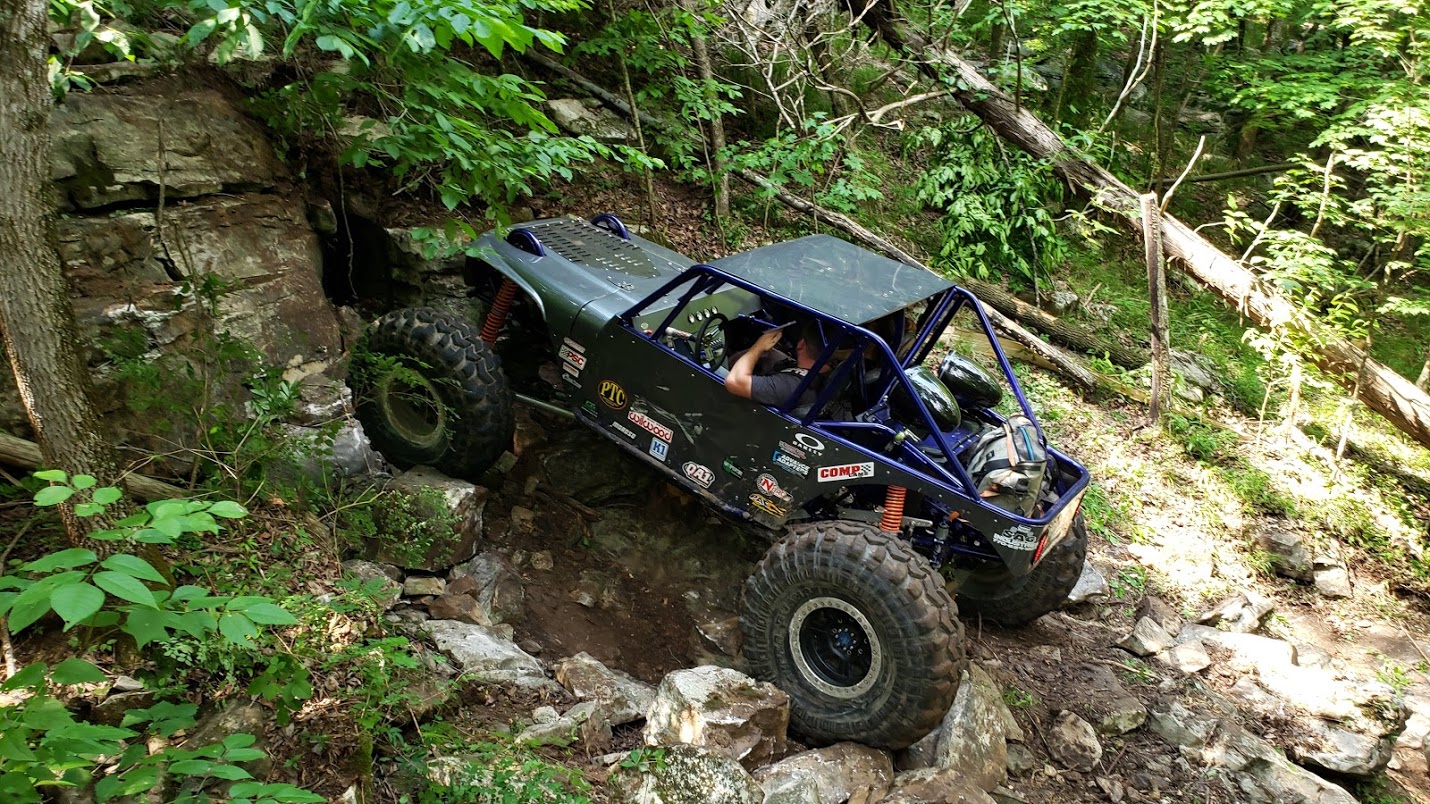
Just for reference, here is my personal buggy
and here is the other full turn key that was built at the same time as mine - it is very close to the same as mine...just a lighter weight version, pretty much:
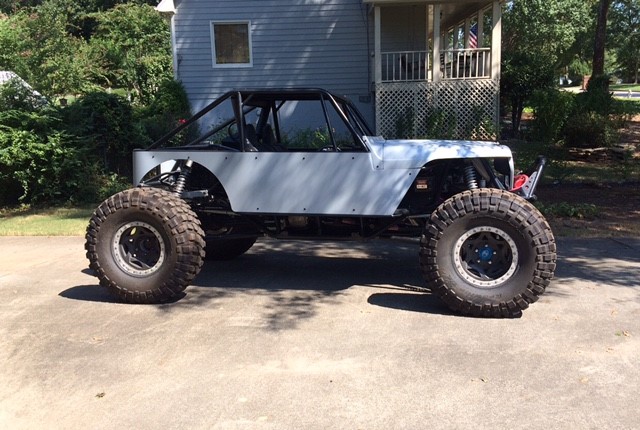
Had another guy in our group approach us about a new build that will be a little different than the last 3, but still retain the key design features that (in my opinion) make these buggies work so well. When combined with some proper shock tuning, these chassis wake up even more and our experience with that lead us to make a few slight changes on the suspension on this one – mainly the trailing arm setup in the rear, and the extra 5+” of uptravel both front and rear. Other than that, the suspension geometry is the same as the other 3 and that should play out well. Anyway, on to the build!
Some basic info:
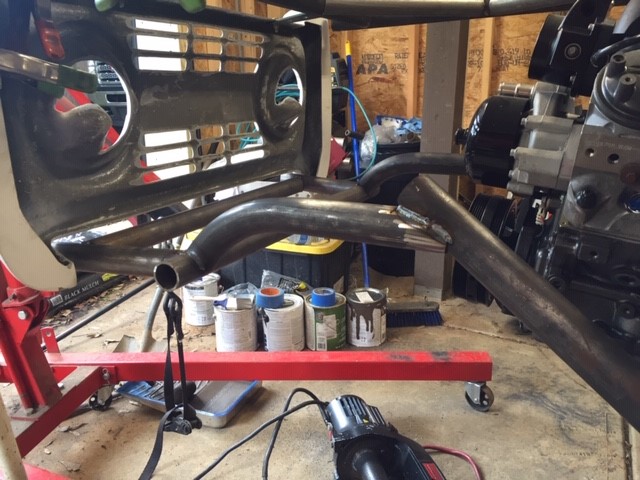
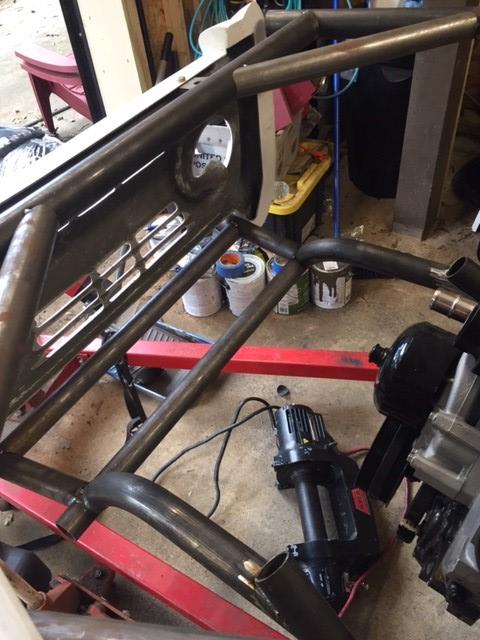
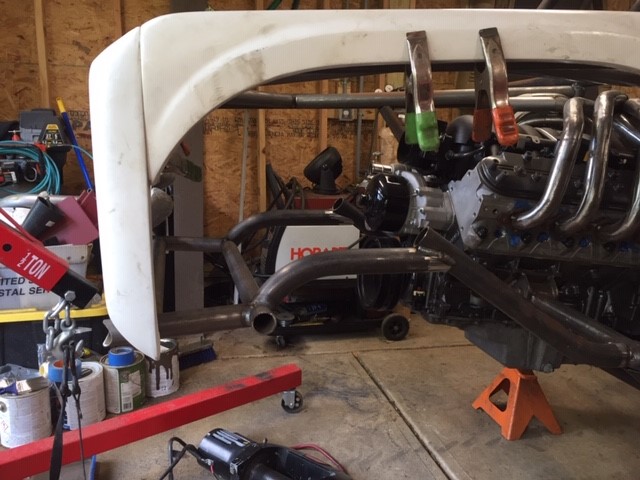
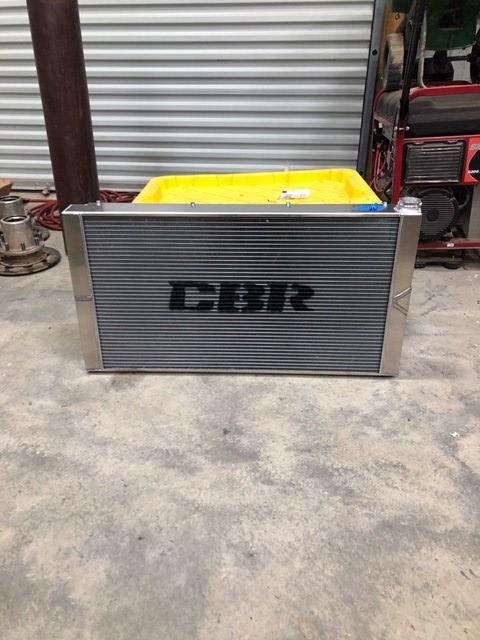
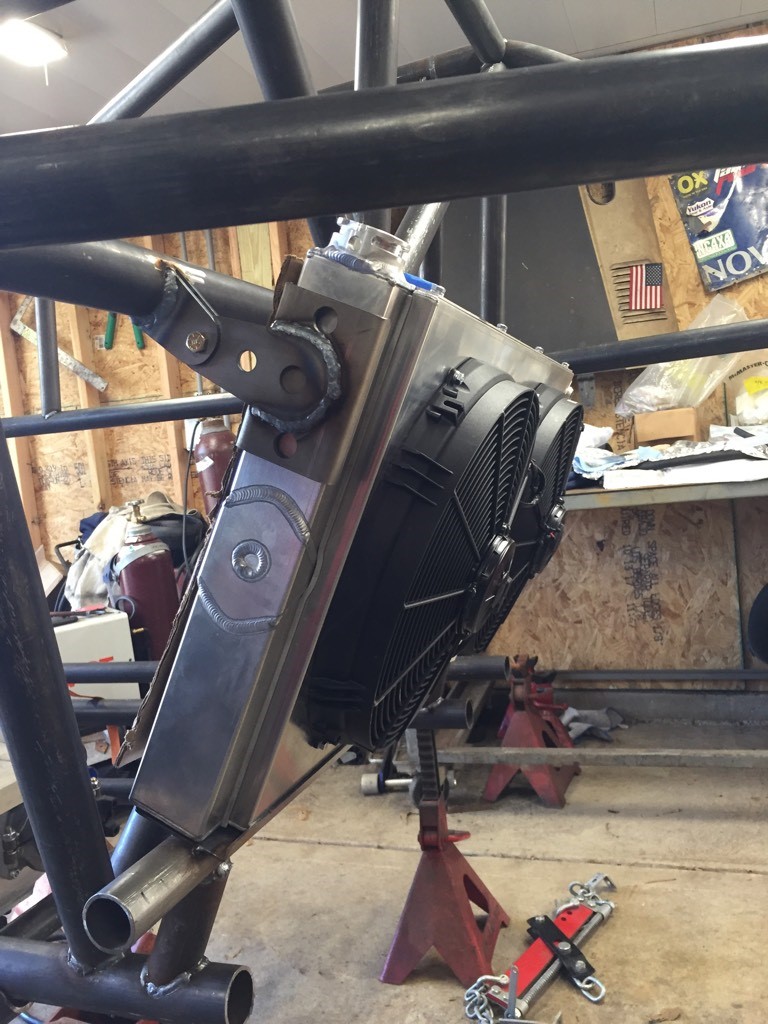
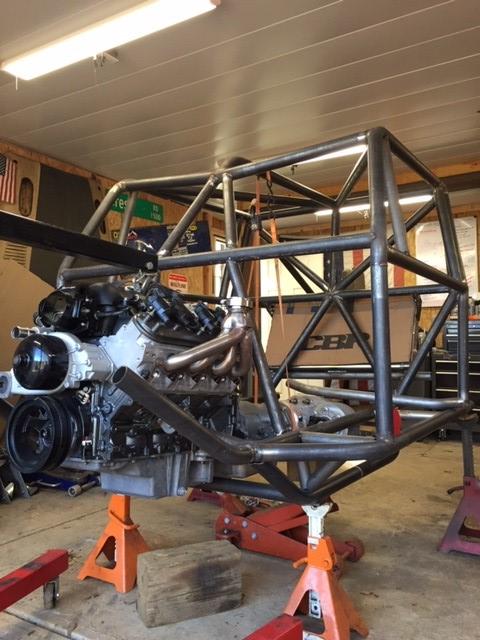
-57” wide chassis, 2” DOM tube with a mix of 1.75” and 1.5” as fillers. Combination of .120 wall and .250 wall in the high impact areas, as well as some 7075 aluminum slugging in the rockers and the trailing arms. Rear radiator setup on this one to shoehorn a massive 35”x19” CBR radiator in there, coolant flowing through the chassis rails.
-14 bolt axles front and rear
-43” SX stickies
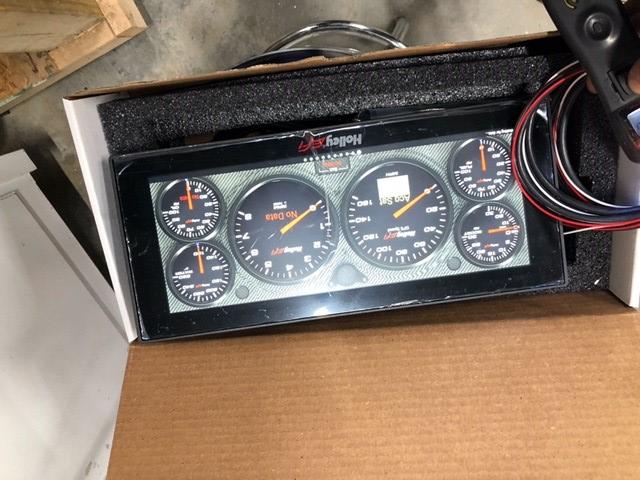
-416ci LS powerplant Holley tuned
-TH400
-Atlas 3.0
-2.5” Radflo coilovers
-2.0” Radflo coil carriers, 2.5” Radflo bypasses, 2.0” Radflo air bumps
-room for a family sized cooler
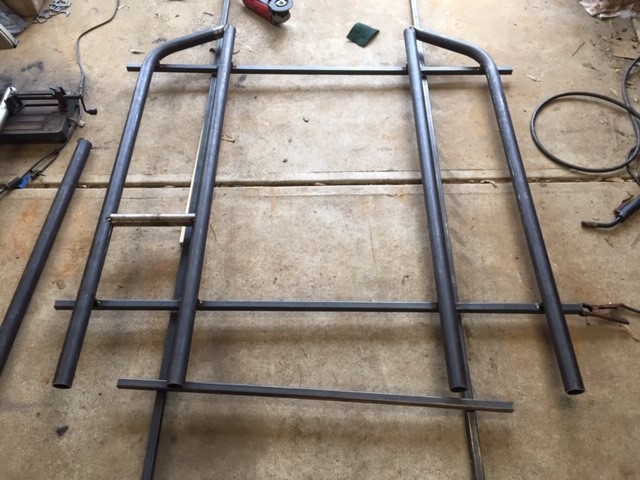
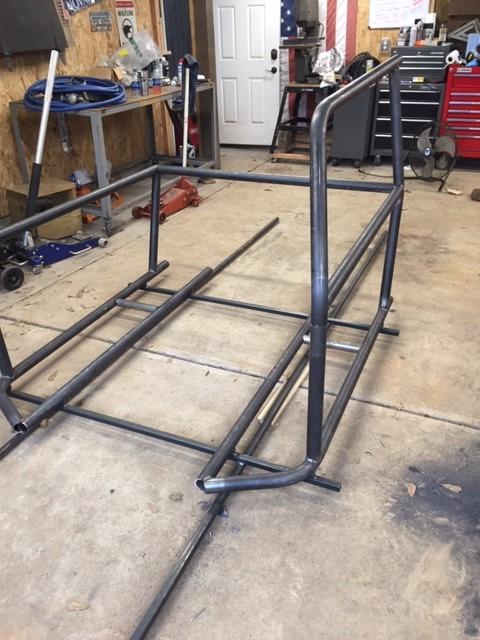
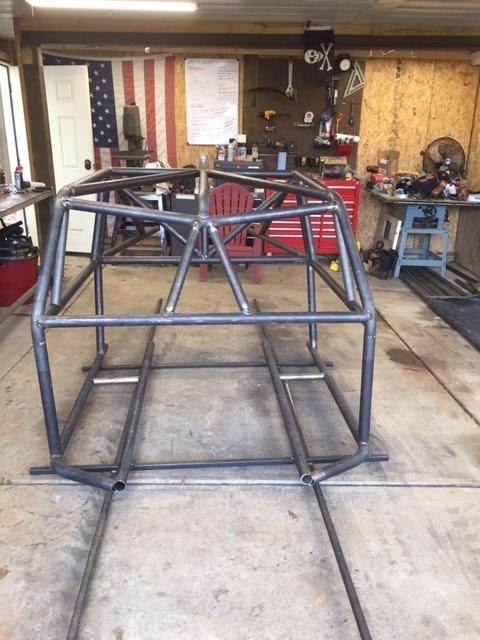
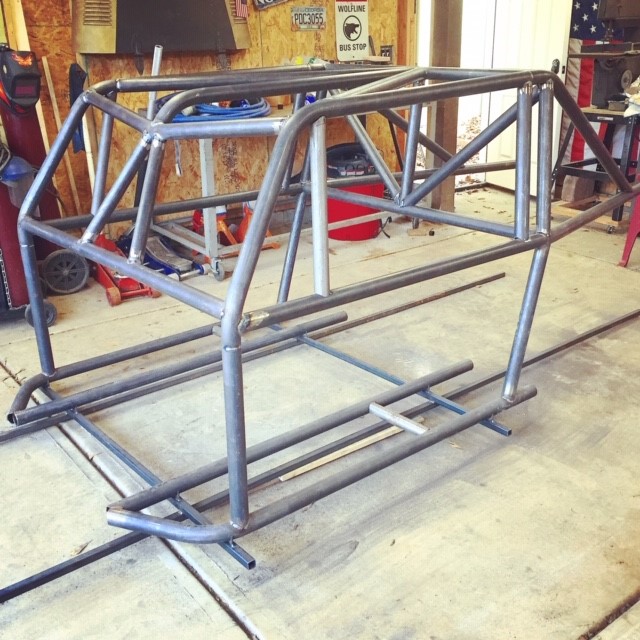
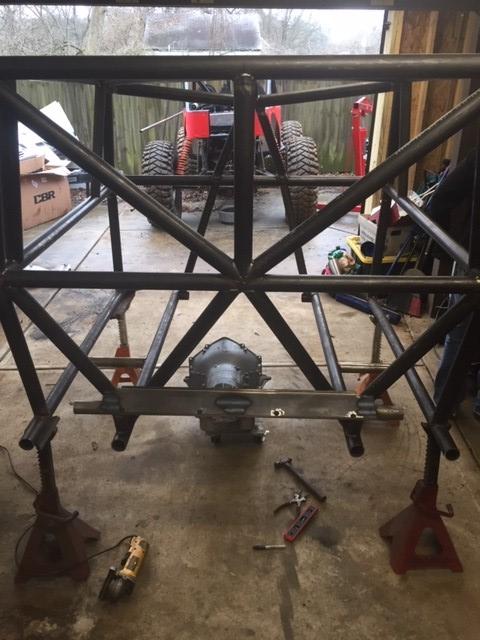
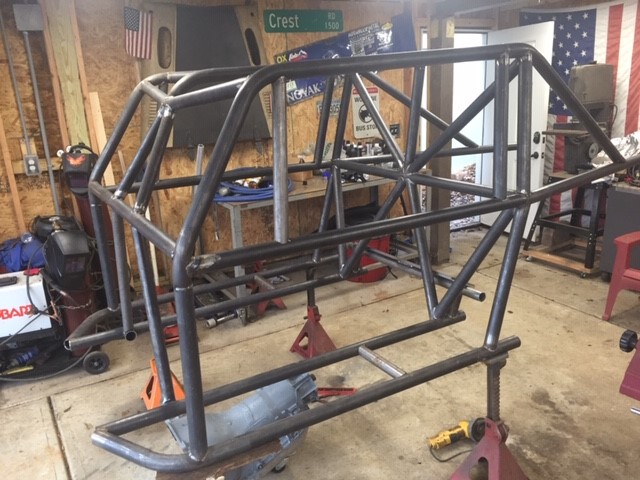
We started laying out tube in a simple jig which was nice to use and let us get things moving along pretty quickly. We ended up with a base chassis in in 2 work days, which was a little faster than before.
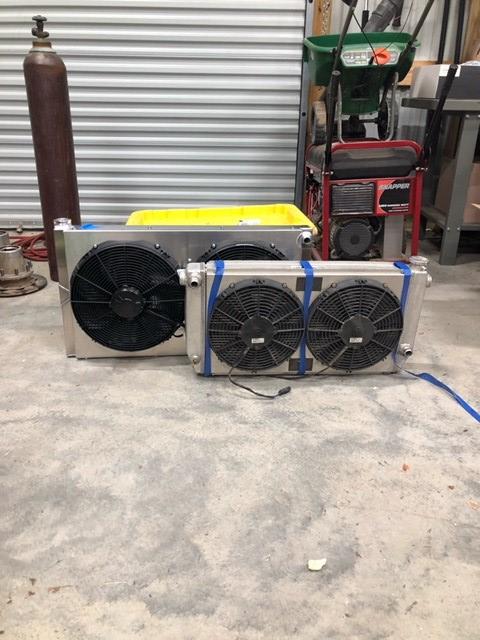
Things started falling into place pretty quickly after that and parts started showing up. You can get an idea of radiator size compared to the 31”x15.5” that is a pretty popular trail buggy size radiator. The 35x19 is more in line with race car sized, but we didn’t want to ever have to even consider cooling being an issue on this build.
We finished #004 for Todd about a year ago (which I realized that I never finished the build thread on that one here...this link is complete though Partially Committed Racing's buggy #004 build ), and he has been riding it for a while – has it really dialed in and can drive that thing up pretty much anything he points it at. We are really happy with how these chassis have been performing, and its really cool to see them do so well in the rough rocks.
For those that didnt catch the last build thread....Todd's is a (slightly bigger) clone of my personal buggy with a few small cosmetic changes. In any case here is the completed #004 turn key build:

Just for reference, here is my personal buggy

and here is the other full turn key that was built at the same time as mine - it is very close to the same as mine...just a lighter weight version, pretty much:

Had another guy in our group approach us about a new build that will be a little different than the last 3, but still retain the key design features that (in my opinion) make these buggies work so well. When combined with some proper shock tuning, these chassis wake up even more and our experience with that lead us to make a few slight changes on the suspension on this one – mainly the trailing arm setup in the rear, and the extra 5+” of uptravel both front and rear. Other than that, the suspension geometry is the same as the other 3 and that should play out well. Anyway, on to the build!
Some basic info:
-57” wide chassis, 2” DOM tube with a mix of 1.75” and 1.5” as fillers. Combination of .120 wall and .250 wall in the high impact areas, as well as some 7075 aluminum slugging in the rockers and the trailing arms. Rear radiator setup on this one to shoehorn a massive 35”x19” CBR radiator in there, coolant flowing through the chassis rails.
-14 bolt axles front and rear
-43” SX stickies
-416ci LS powerplant Holley tuned
-TH400
-Atlas 3.0
-2.5” Radflo coilovers
-2.0” Radflo coil carriers, 2.5” Radflo bypasses, 2.0” Radflo air bumps
-room for a family sized cooler
We started laying out tube in a simple jig which was nice to use and let us get things moving along pretty quickly. We ended up with a base chassis in in 2 work days, which was a little faster than before.


Things started falling into place pretty quickly after that and parts started showing up. You can get an idea of radiator size compared to the 31”x15.5” that is a pretty popular trail buggy size radiator. The 35x19 is more in line with race car sized, but we didn’t want to ever have to even consider cooling being an issue on this build.


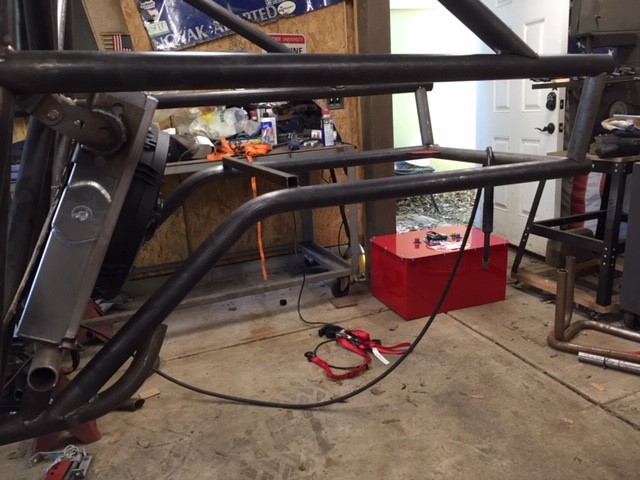
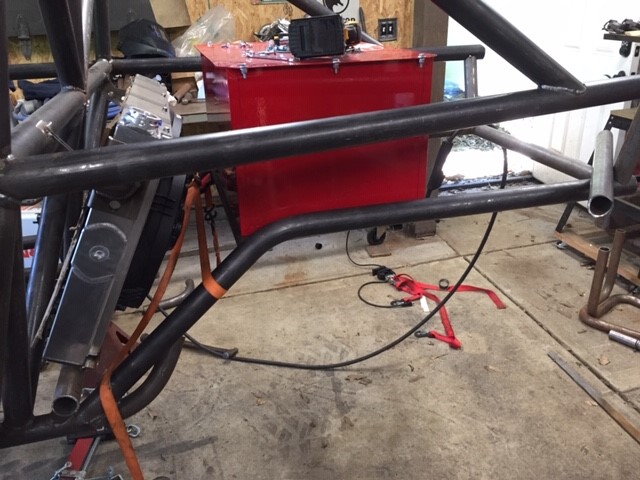
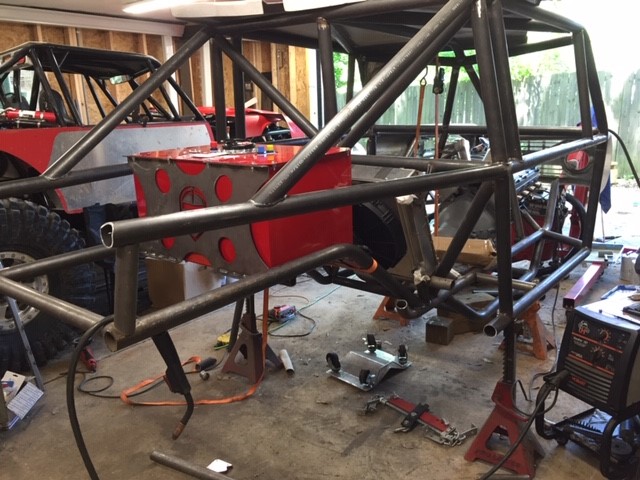
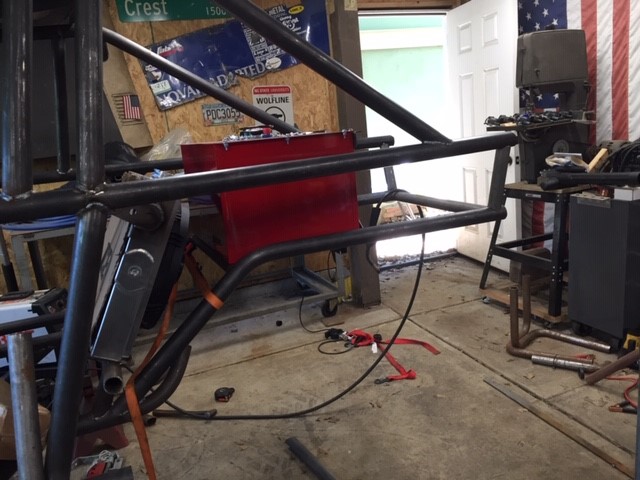
 The doors needed to be completely changed to match the new body lines, and there is no tailgate…but that is OK, we will make our own there. Beyond that…they are nice heavy quality glass that should put up with some decent abuse.
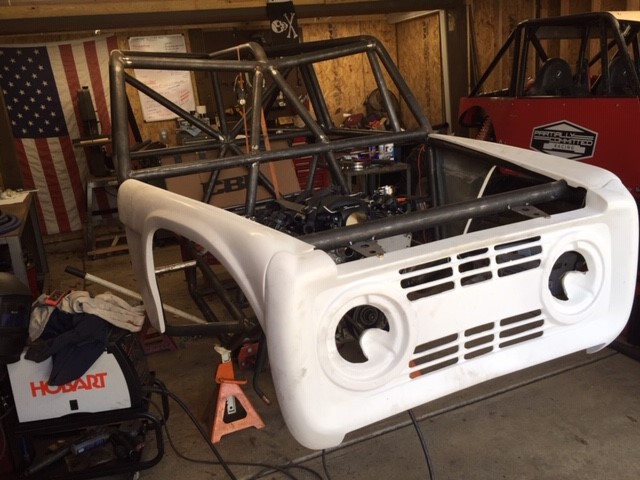
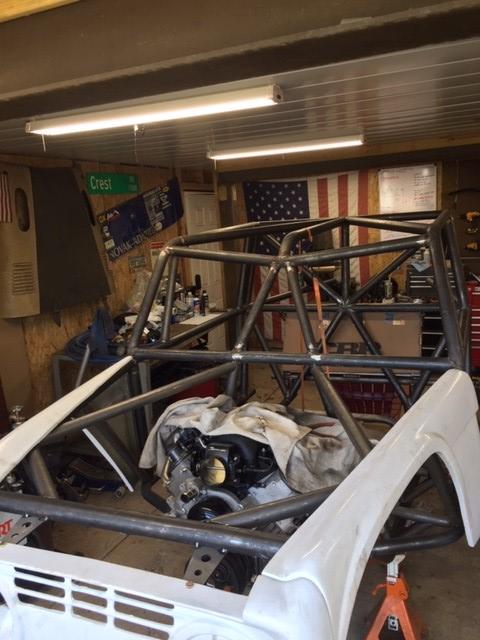
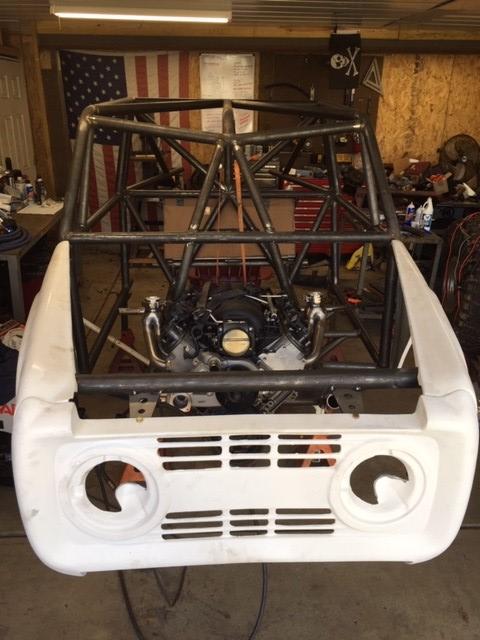
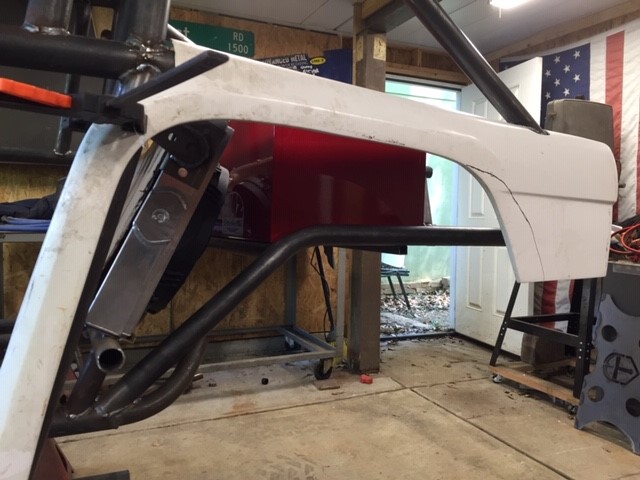
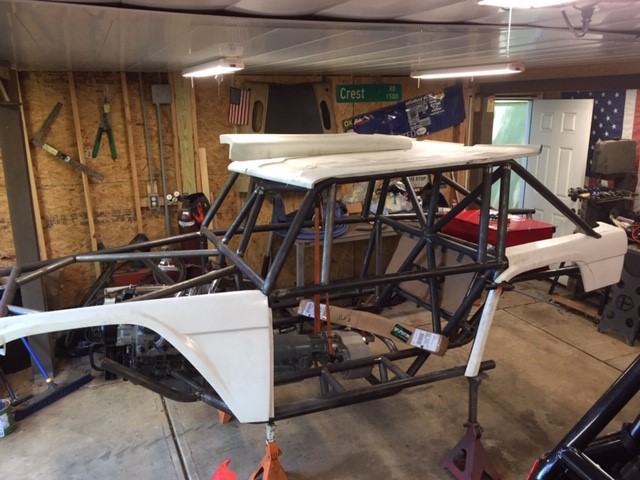
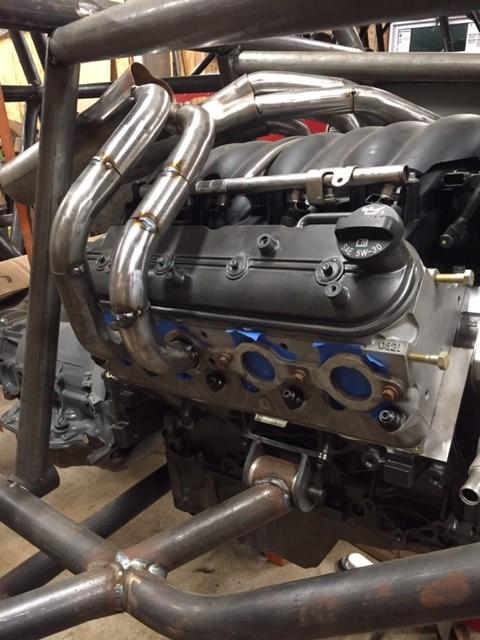
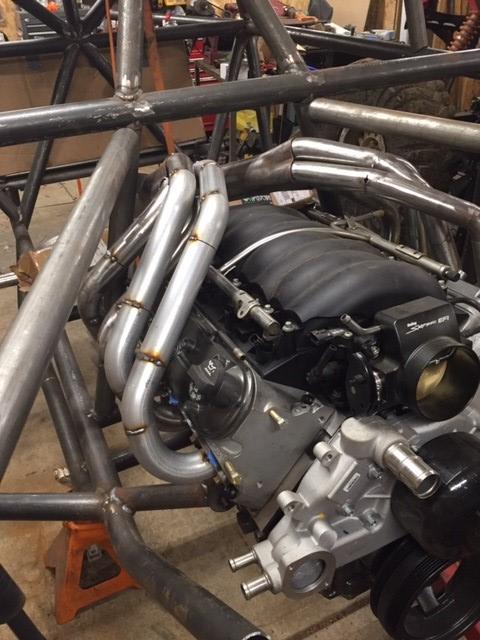
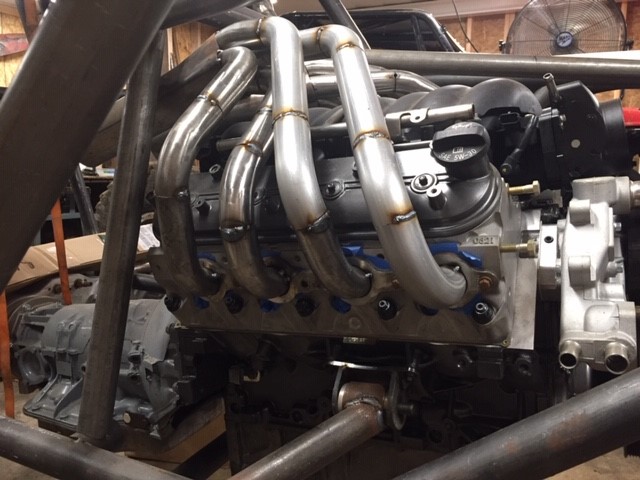
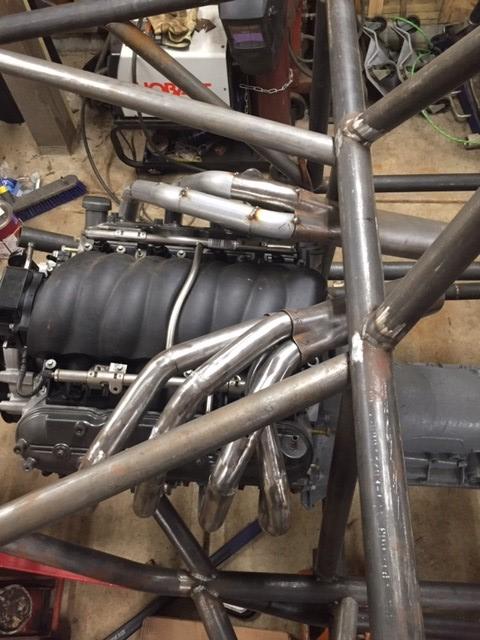
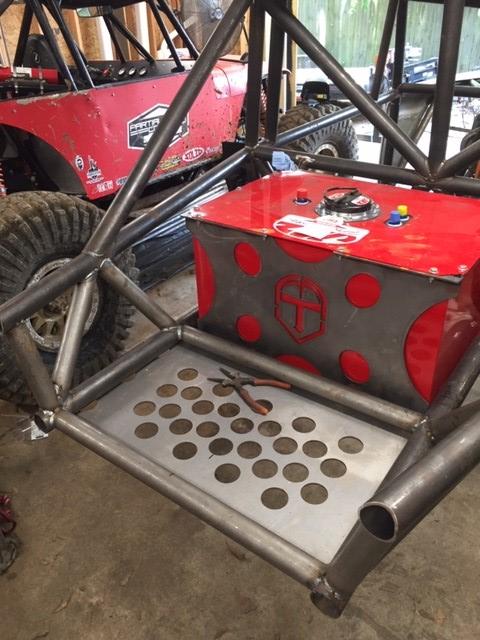
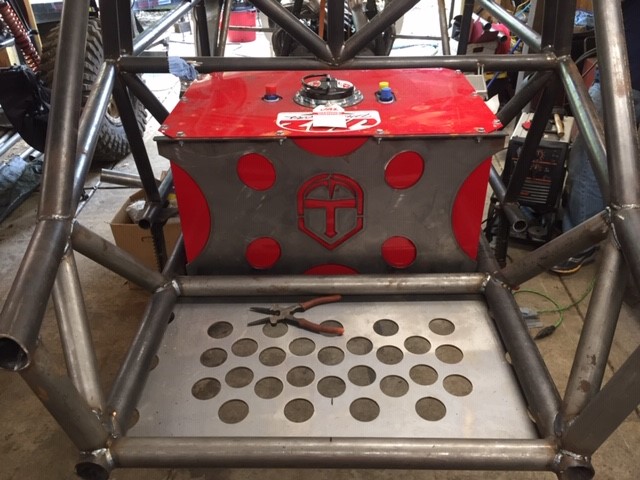
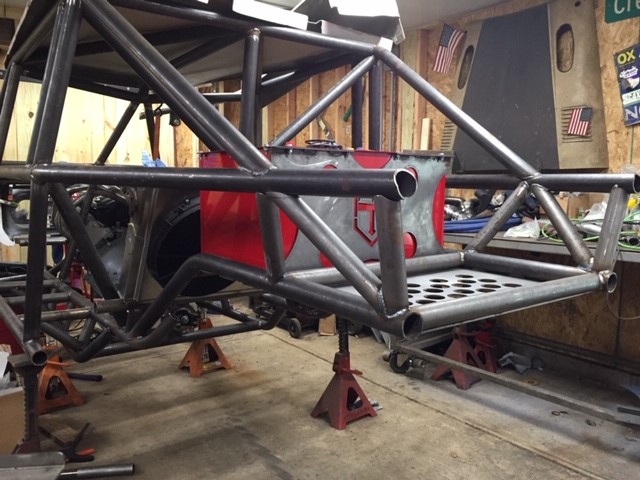
 You can see where the coolant will come out here as well.