Project Brotherly Love

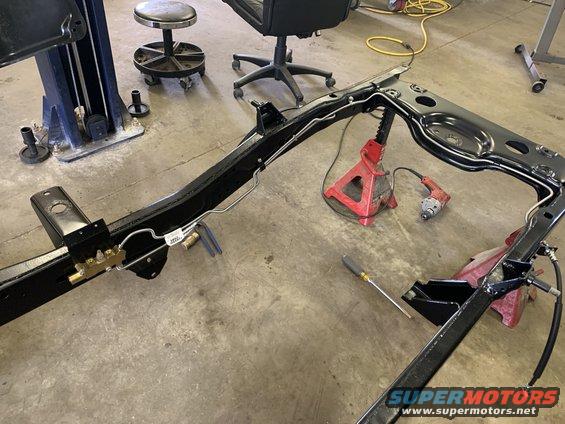
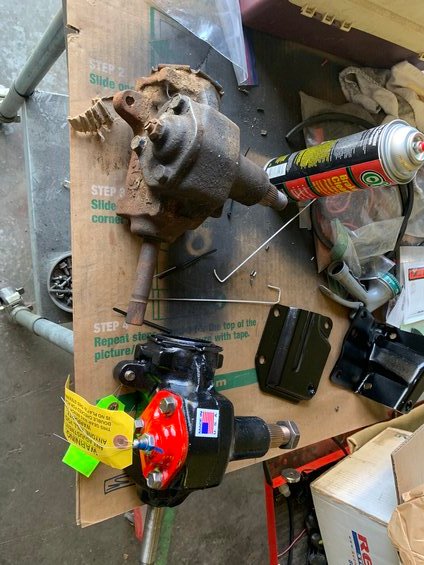
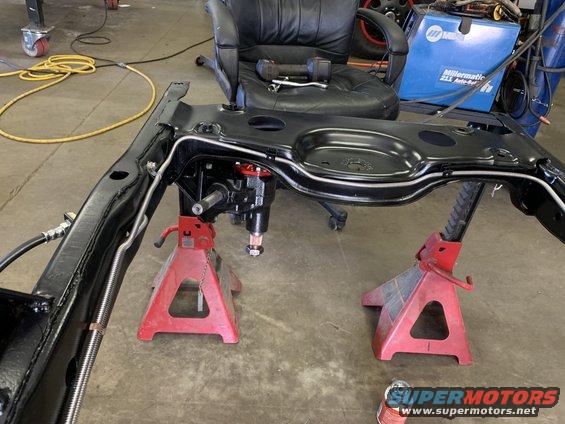
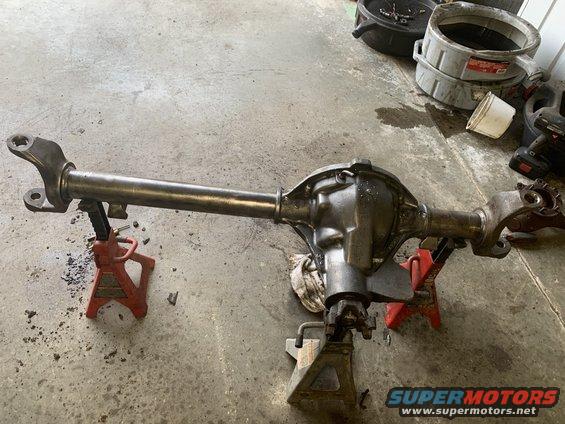
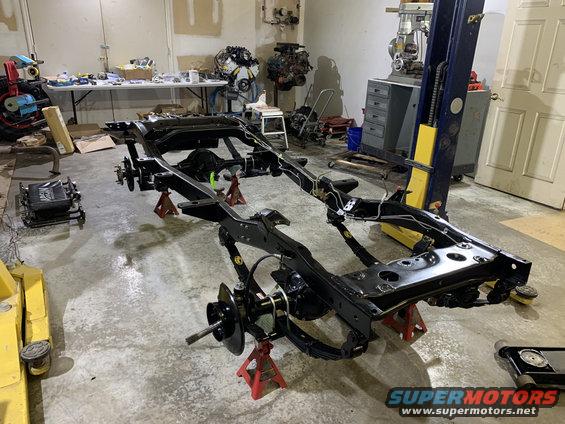
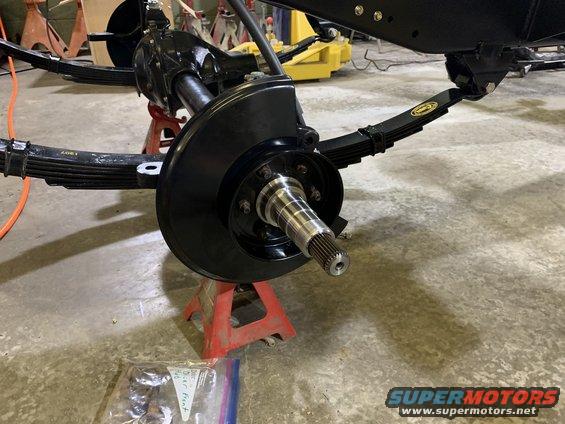
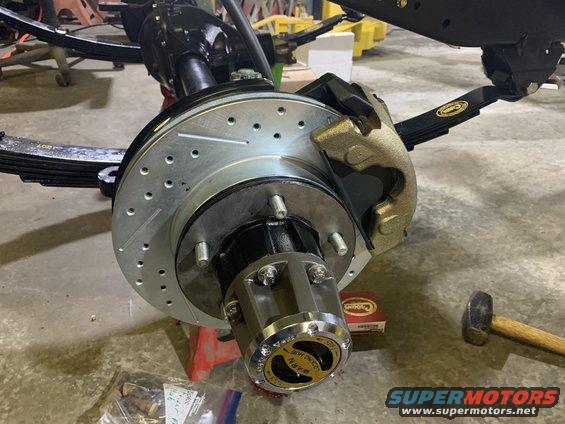
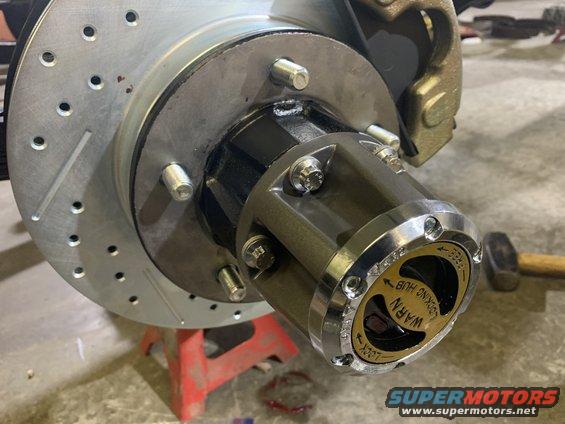
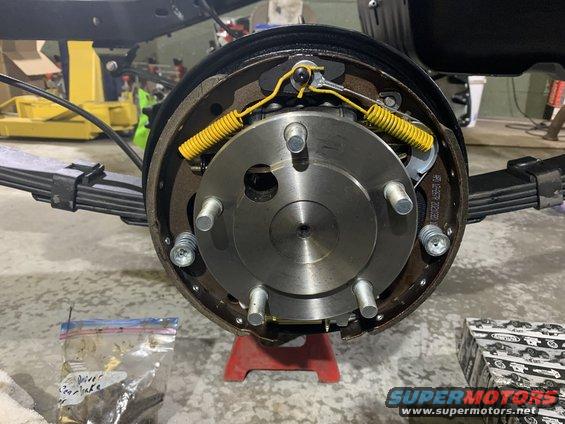
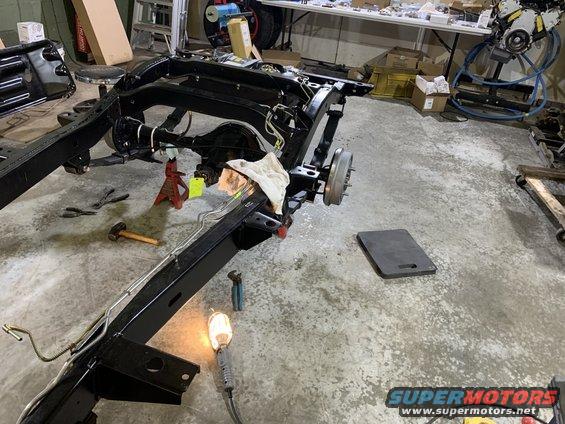
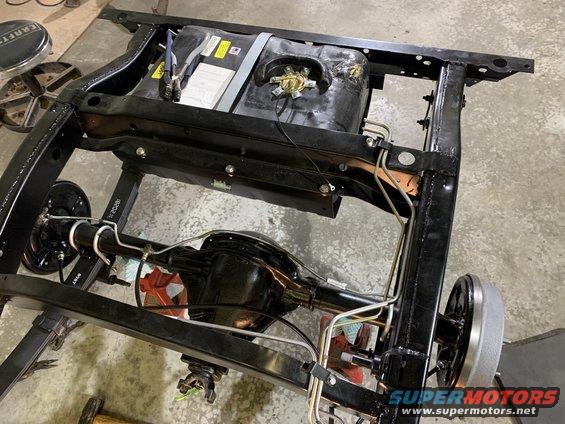
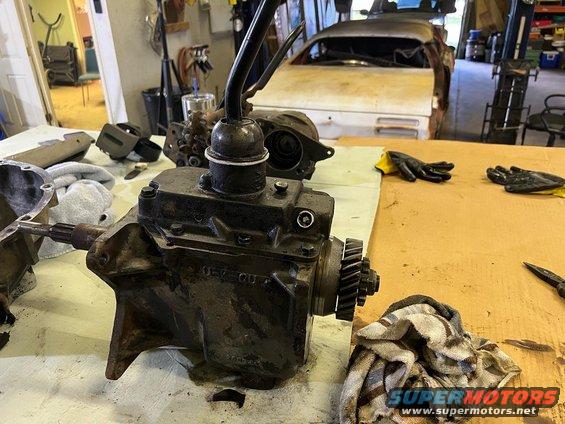
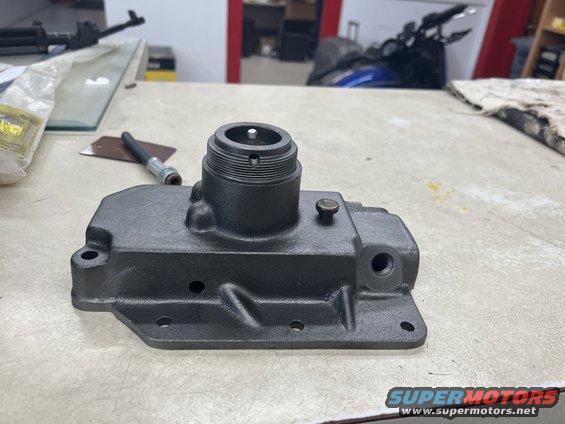
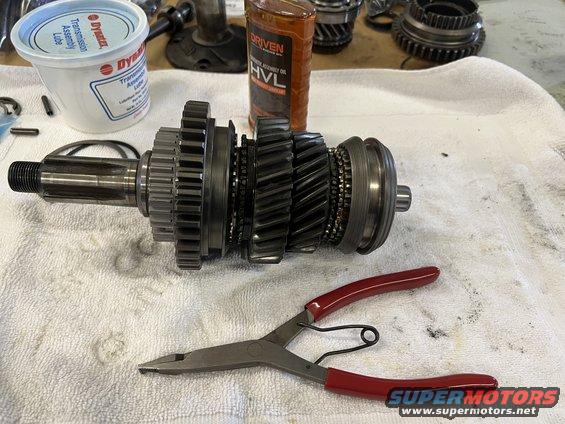
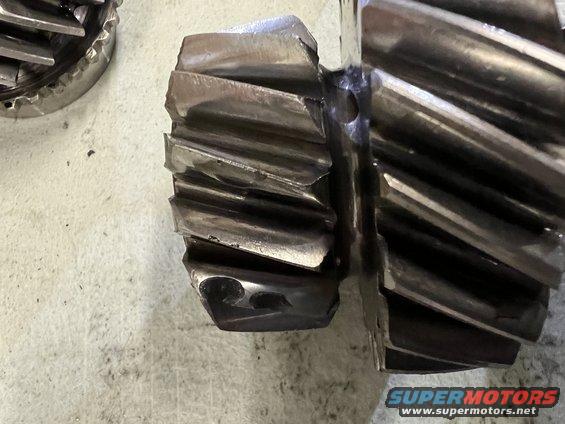
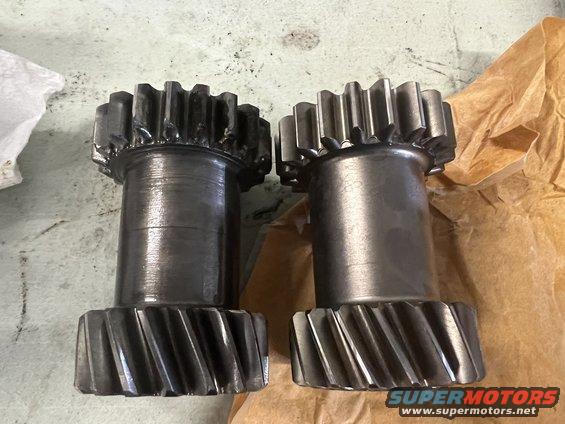
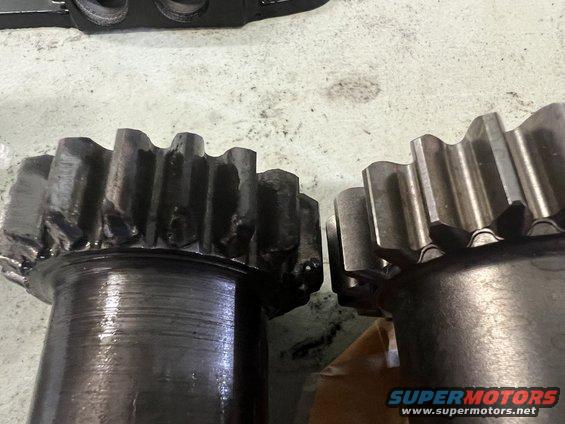
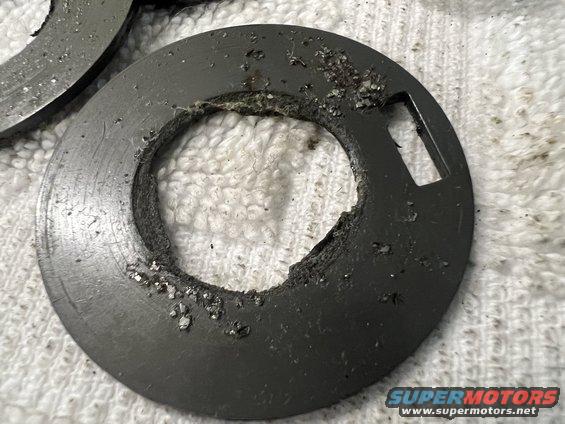
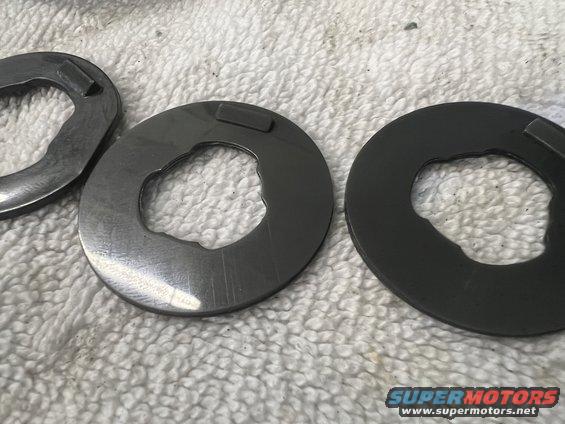
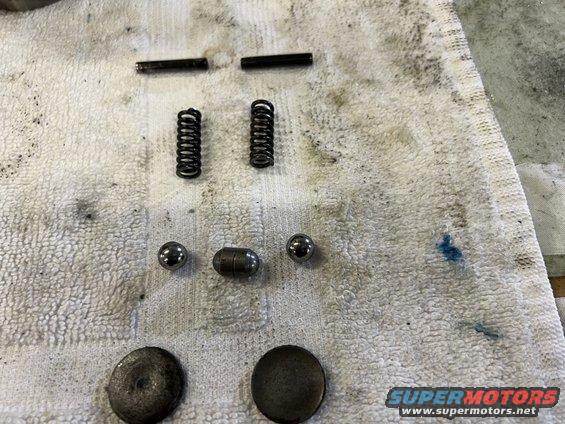
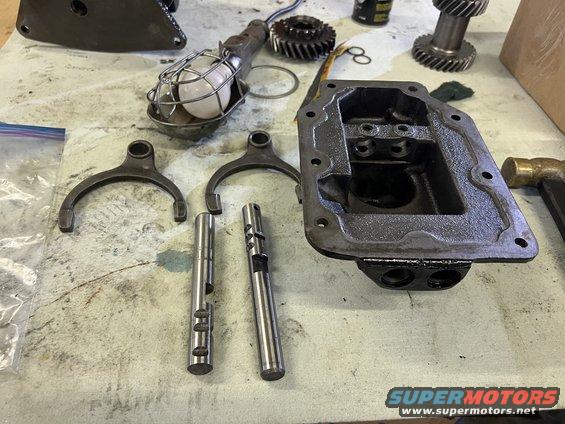
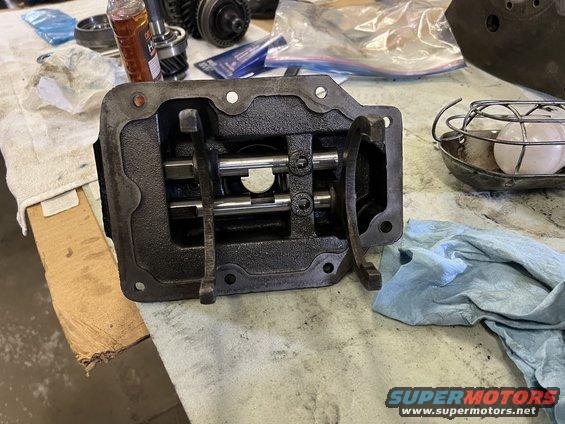
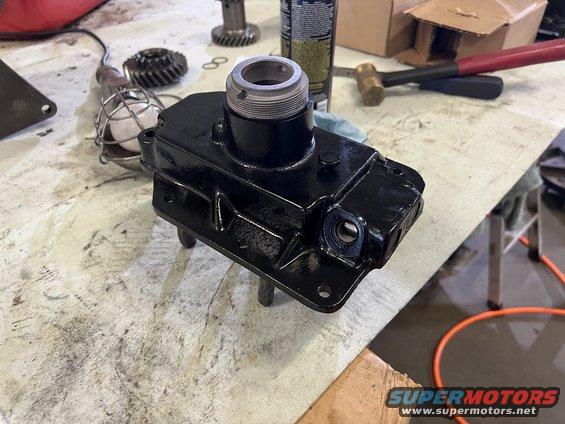
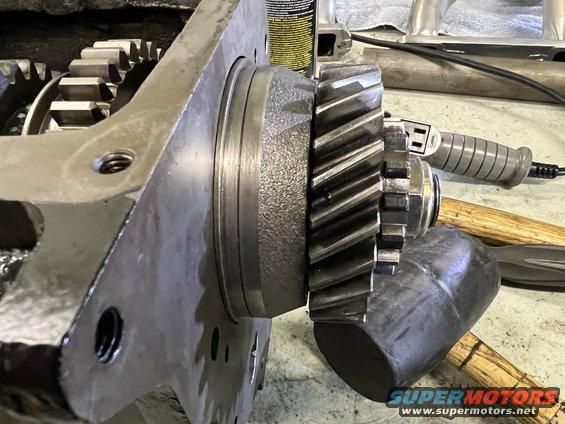
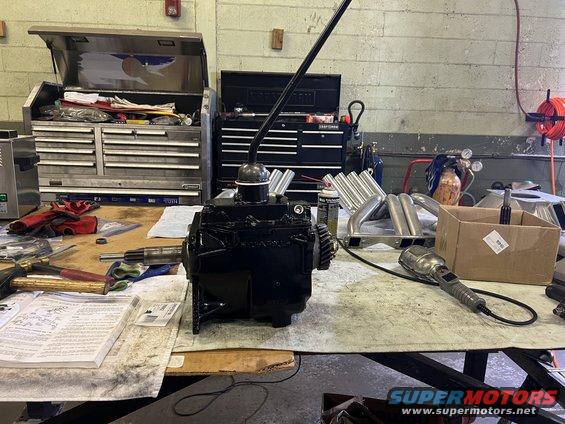
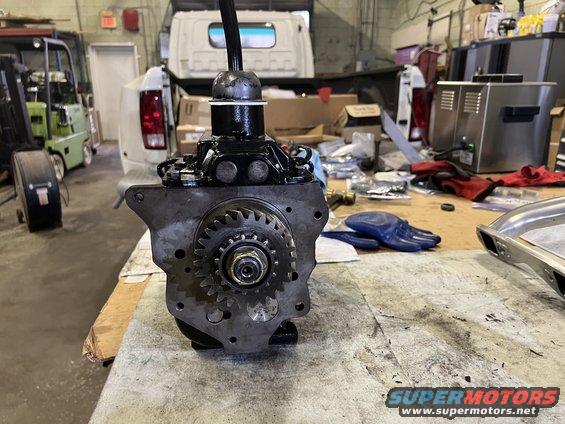
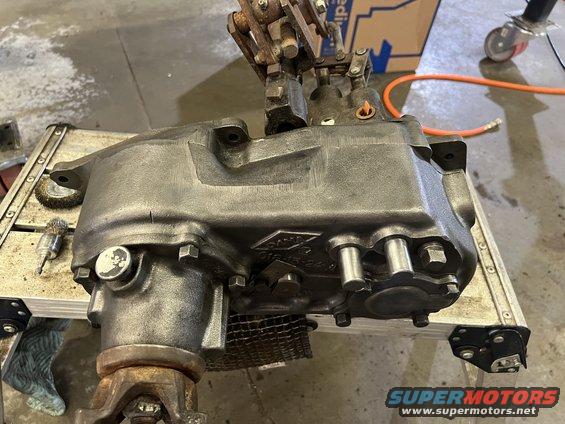
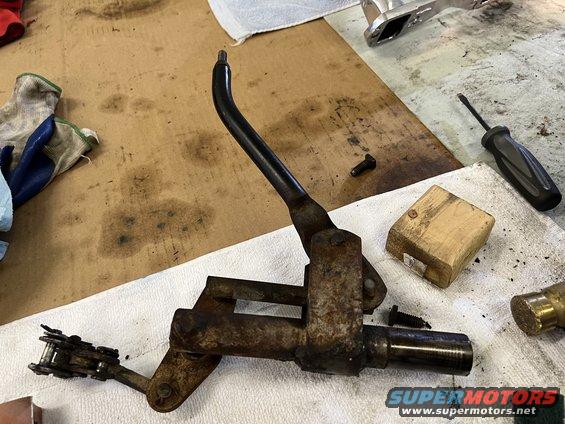
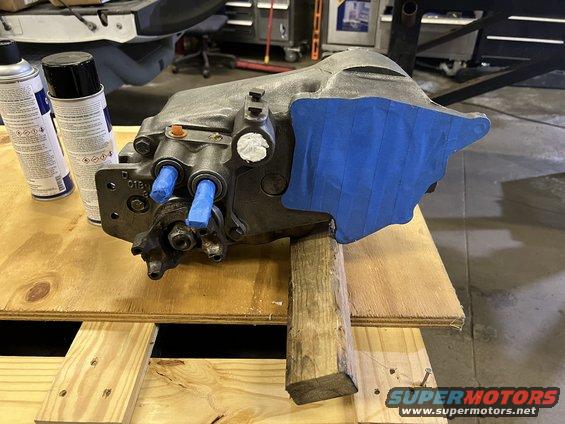
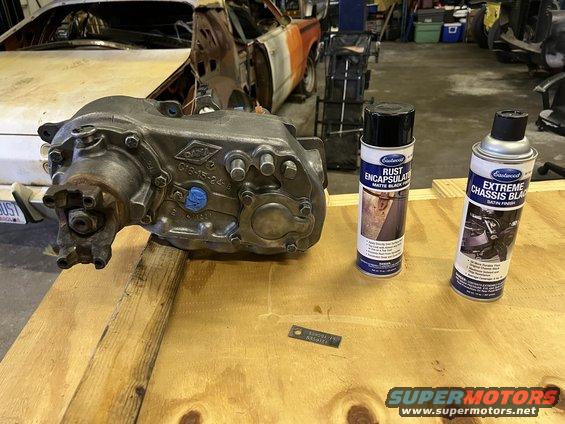
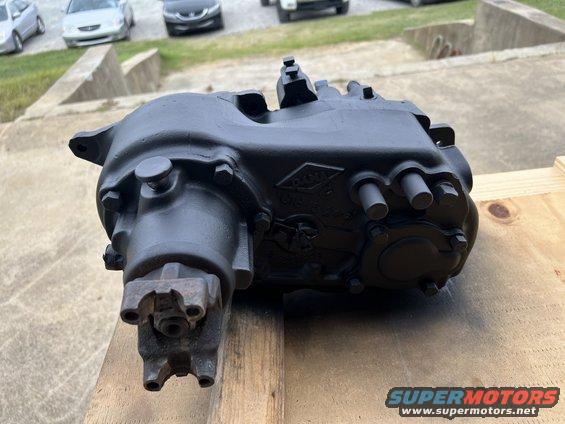
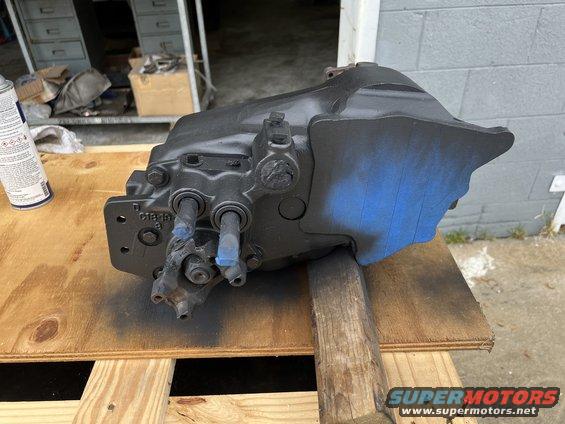
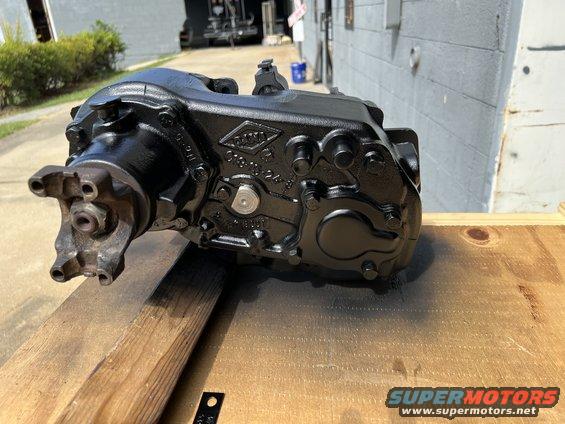
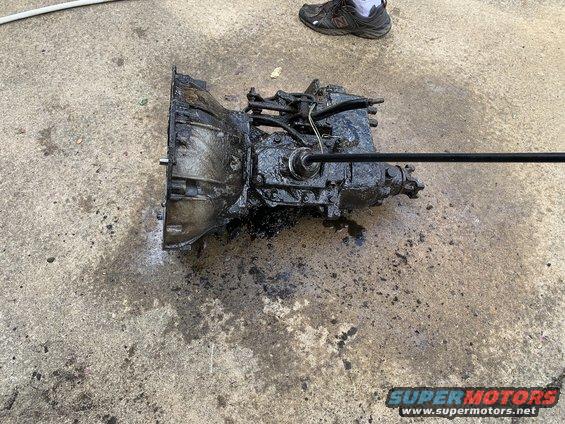
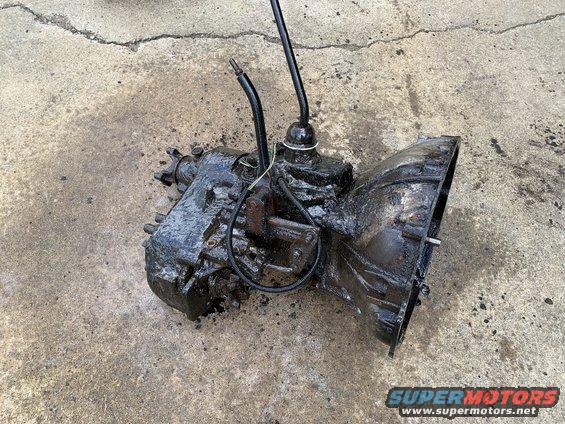
After doing all that I decided to put some new parts on. I mounted the cleaned up proportioning valve and thought I'd "just bolt up" the front brake lines. No so fast.... we the new stainless lines were sort of bent like the original but in some cases not even close. I pretty much had to re-make the bends on the passenger front and had to do the same at the proportioning valve on the same line. The driver side fit pretty well with just some minor tweaking and little to no swearing.

5c348674b7f64e14bec99eea22e829b1.jpeg
 
We decided to replace the old steering box with a rebuilt unit from Red Head. Here's the old box next to the new one.

2da20d4b2dba4ddba6925ad000d60e25.jpeg


Been waiting on the new body bolt kit to arrive. I finally got tired of waiting and started cleaning up the originals. Got the steering box bolts cleaned and painted earlier this week so we could install the new box Saturday.

b5838cbf1a7c4e4783e1089386312db0.jpeg
 
We've been in a bit of a holding pattern lately waiting on parts. I've been disassembling the axles getting them cleaned up before taking them to ECG for rebuilds.

The original braked from 1979 have seen better days

5208d804254d4305b78daaf1cd86a6ec.jpeg


The passenger spindle is pitted pretty bad. I could tell it had water in the hub as the grease looked like mud.

c68e53da2bc348cf91fd880e8cc6c291.jpeg


I've been real chummy with my drill and wire wheel getting the rear axle housing ready for paint.

5e9bf55a57bc4e23b8a788e0e79f9263.jpeg
 
I got the rear axle primed and painted. Then I was on to the front axle. Took the cover off and discovered some nice chocolate milk in there and some rust. According to my brother there were several streams on the ranch. So combine streams and 15 and 16 year old boys and a leaky axle seal and you get rust! Will see what ECG says is salvable.

Rear end all painted up

c7becf53f9994f29baac785a6398c174.jpeg


Front axle before

e34edf1be22f4e66b252f12a3394f614.jpeg


During

3fd5dff110bb4b49809c30580122baf2.jpeg


and in primer, will be painting it tonight

3dcff9994985483ba07512ee314586f0.jpeg


ECG will be installing new ball joints while they have the axles. I am sandblasting the knuckles and pressing out the ball joints before I paint them. I will touch up the paint when I get the axles back. Hopefully there wont be much damage to the paint.

d7d96f1cc4404bae9594c62443b6d4df.jpeg
 
I had the axle covers and brake backing plates powder coated. Axles are detailed and read for the trip to ECGS for a rebuild. I've been waiting a a new bolt kit to show up but it has been on back order for like forever, because you know Covid. So I've been raiding my stainless bolt bin and been slowly making progress. Once I get these babies back I will have it back on its wheels in no time!

646ae888ecf54dea9c449c5dca86a329.jpeg


37ab9b30fa6049e7829a5011c6b413b8.jpeg


6f93c173663544c1be6dab63826367c2.jpeg
 
I got the axles back from ECGS and couldn't be happier. Of course they have yet to let me down. We've been waiting on a stainless bolt kit since August. I finally got tired of waiting and went out and found some 9/16" stainless bolts so I could install the axles. The Bolt Depot had what I needed and got it here in just a few days. Springs and axles are in, currently working on cleaning up the hubs. Once I get them painted nice and shiny black I will get the bearings installed and get the front axle wrapped up.

Kind of nice to see it starting to look like a vehicle again.

551509a550fe4517950a823ed9ba9a6d.jpeg


Bunches of nice shiny parts.

d47be0d75e62403bb6492c956fdd8700.jpeg
 
I finally got all my parts in to complete the front hubs and rear brakes. I can say technically I have a roller if I put tires on it.

Rebuilt hubs, new bearings, spindles, fancy stainless bolts, Warn Premium hubs, and Baer drilled and slotted rotors.

439880dc19c9452cb462aea102f3f2d7.jpeg


7dd6d0fabce046c0a84030825e473bca.jpeg


Rear drum brakes. Pain in the butt when you don't have the other side to compare to. Fortunately I have a factory service manual that has some good picture. Have I mentioned I really hate drum brakes.

04853e610d3444239c2f10aa3b2cb1be.jpeg


All new soft lines, emergency brake cables, and stainless brake lines. The axle lines actually fit pretty nice. As you can see in the pictures below the fuel lines are not even close. I am going to looks at the originals to see if I can salvage them.

a27ac6f984ad4045987fdac9cfdfc262.jpeg


429ec528b75a4b438baf5b0ef11c6668.jpeg
 
When I have to replace all the parts in a drum assembly, like you, I try to pull the old assembly off, in tact. Pull the drum, pull the shaft, and unbolt the backing plate. Take plenty of pics, and try to leave it together. I know it doesnt always go that smoothly though.

Things are looking good. Any big upgrades planned, or just going back stockish?
I have an Edelbrock intake and 4 barrel carb for it. Been contemplating aluminum heads and cam swap. Both are high on the list but the availability of the heads is like April of next year. We did have a Detroit TruTrak installed in the rear.
 
Man 2022 has been a rough year for the wife and I. Sold the house to downsize and moved. Shortly after the wife became very sick but the doctors couldn’t diagnose what was going on. Spent 5 days in ICU with doctors shrugging their shoulders with no idea what was going on. I was kicked out of the ICU ward due to my lack of understanding of their procedures and my spirited profanity laced pep talks. Go figure…. Well the good news is the wife is now healthy and even better news I am back working in my shop working on my brother’s Jeep. My present project is rebuilding the T150 three speed transmission. Never done it before but hey I’ve got google and YouTube. :lol:

Wasn’t too bad disassembling though ther is one snap wring that has been a royal pain in my ass. We power washed everything before I closed up shop so the case was somewhat clean.

96ff94d4299845349abd2203cc9bda9b.jpeg


Not much to the internals

45e2f032d9494c8f841750ab20008dd9.jpeg


Reverse is chewed up and the first/reverse syncro hub has been abused. Pretty much spent it’s life in first gear and 4wd.

c0326c49ad8e42ceb89d5cbcdf1491e8.jpeg


b3012deef71e42848b282026806ec18a.jpeg


All the parts laid out on the bench

f0eb6280c4a446c4af557d60c84a714c.jpeg
 
I sent everything out to be hot tanked and shot peaned. Picked them up and sent them off to be powder coated

Nice and clean

72fd38adb4cf4c98912a77dd5ffdfc11.jpeg


4097b8df78e949558e5089224560dc04.jpeg


813aa4fb2f8f4398bc126c72ff0756ef.jpeg


6fe31ff45f344c73b6c9087956933bdf.jpeg


I got the new first/reverse syncro hub yesterday so I assembled the gear pack today. Waiting on the reverse gear before I can continue. Well that and getting the case back from the powder coater

bd1c22ad677d436fbe926a6dd55d5ee3.jpeg


a43b7c3eb12f4220993ad06b309f2dbf.jpeg


25529fb168be40d59b4a7fdb1e1e1326.jpeg
 
I was hoping to get everything wrapped up this weekend but noticed the counter shaft gear has some chunks missing out of it. Was late in the week when I noticed it so have to wait until next week.

4289e95ba8d8445495cb4092a39ebe6c.jpeg


I did get the reverse gear in and was able to get it installed.

Old and new

c0b9700bcfaa4352a1719bfe97fde0db.jpeg


5cba04e1d2484179a7bb00de3ba0e5af.jpeg


The thrust washers had a lot of metal in them. Fortunately the rebuild kit had new ones.

1d891851307b4260b4fbc4c2c1b45317.jpeg


7802944b251e43398c47b18123b145cf.jpeg
 
So I spent the day in the shop working the T150 trans. My plan was to finish it up today. Well….. not so fast. I got everything together with minimal cussing and decided to test the shifting before putting on the gaskets etc. All gears shift great but third gear. It will not fully engage. The biggest issue I am seeing is as I am shifting the rear bearing retainer I’d coming out of the case. The bearing retainer spins freely in the case. Which is cause the clutch output shaft to separate from the main gear pack. Does anyone have any experience with this? @Jody Treadway ?? Below is pictures of things as the sit currently.

8d8626edca9d4612b46479508762bfbd.jpeg


106b8252548d4a868a92576aec692b4b.jpeg
 
So I went back and took everything apart again and realized the syncro for 2nd and 3rd was stuck due to the effort I put into installing the rear bearing retainer. Then I did the unthinkable and read the manual and realized I needed to engage both syncro hubs before installing the rear bearing. Put it all back together, correctly this time, and all seems well. All gears are engaging, shifter is smooth, rear bearing is still loose as compared to the videos I’ve watched but wind be an issue once the transfer case is installed. Still waiting on one part.

My first transmission rebuild

934841d2ca0f470c98b4c2a96d75c25b.jpeg


13e65d6c8d0f4f3da43623f09565fb59.jpeg


cd70a40d6e514229a8a32c253ca418e4.jpeg


Old replaced parts

4b29a7e6010a4ebbbf16b308788fee2e.jpeg
 
Now that the transmission is pretty much wrapped up I’ve turned my attention to the Dana 20 transfer case. It cleaned up well. Shifts very smooth and all the gears look perfect. I believe the home seals are leaking so I will replace those. The old shift linkage will be replaced with JB Conversion twin stick.

f7aa8a250c4347508267351fb19bc724.jpeg


4a7beb62a9494fa784d5e2967aa90f4a.jpeg


5b14ba8bbb5943cfaf8b5d56429243e1.jpeg


2f053f80da5046b49ab51249ff0f3885.jpeg
 
Made a little more progress on the transfer case over the weekend. Got it all primed and painted with semi gloss chassis paint.

All taped up

08d83ea9147744a1bfee46ba3ce801c7.jpeg


92cbea20655c4a6b9fcd902da6a92388.jpeg


I used Eastwoods rust preventative paint as a primer. You can go over it with their chassis paint without sanding. I’ve done this many times and it always works very well.

f38d49b76c6046da88193350f0ddf1c8.jpeg


b2ed01ee6ef6404d8587c688c69bcc5d.jpeg


The chassis paint really works out nice!

faf14e4016364f529c412257b5e18980.jpeg
How well does the paint hold up over time.....it looks fantastic.
 
How well does the paint hold up over time.....it looks fantastic.
It holds up great actually. I used it on my old ECORS class A rigs bumpers. Smashed it against trees, rocks, you name it and it held up incredibly well. If it would survive my abuse there, street life would be a cake walk. :D
 
Back
Top