Project Sloan 93 yj

Shreddinlettuce

Well-Known Member
Joined
Nov 20, 2016
Location
Asheville
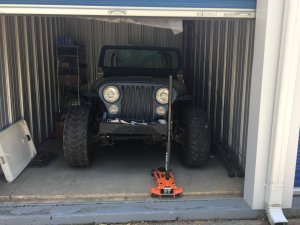
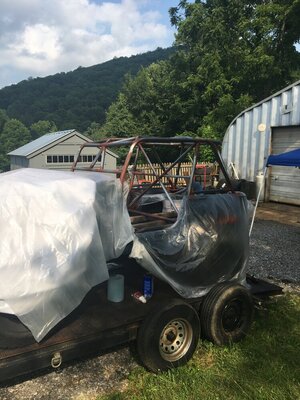
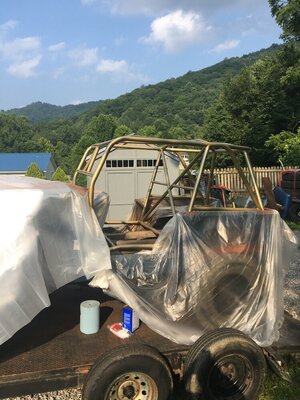
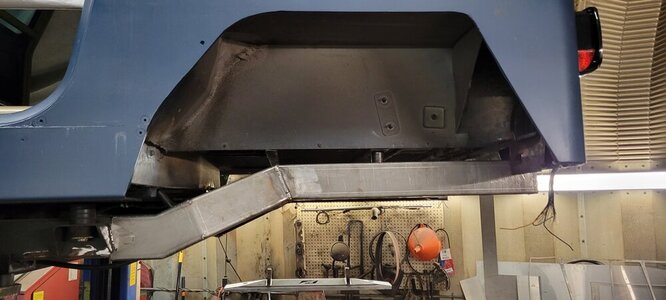
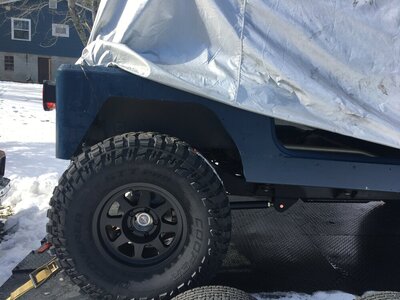
I'm 3 months in as it sits and decided I need to do something with all of my pictures. The plan is 2 inch lift 4 inch stretch with saggy springs, 36 inch jk width front 44 full width 65wms 9 inch rear. Lots of trimming and cj7 dash and grill to round it out. Pictures not in build order.

Looked pretty good from this side.
20160921_191300.jpg

Wreck damage was Bondo and bfh repaired by a flipper (Yes a dolphin)
IMG_0977.jpg
20160930_103935.jpg
20161009_135133.jpg

Some trimming required...
New floor pans to replace the crumply bits
20161015_151538.jpg

All welded in. I learned a lot about welding using a 135A eastwood mig I got on sale for $260.
20161017_143251.jpg

Time for some armor so I don't have to do this again. E autogrills knockoffs
20161025_162559(0).jpg
and to make sure I don't forget where the build is going, I moved the wheel opening back 6 inches and up to the seam of the inner fender with a 4.5 inch cutoff wheel. I clamped angle iron to the tub to act as a guide. Made a pretty clean line.
20170102_164320.jpg
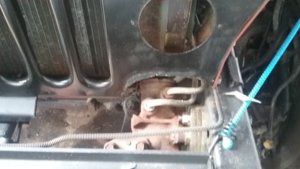
On to the front, cj7 grill and hood from cobra king (crown) and daves custom tube fenders. Cj7 radiators do not clear the ps Saginaw. Let me know if anyone needs an alloy cj7 radiator.
20161123_135422.jpg
 
Now the fun part, frame off to clean up some brackets and keep rust at bay. Only took 15 minutes with tie straps and eye bolts in the rafters. Putting it back on takes 4 people!!!
20161031_110132.jpg
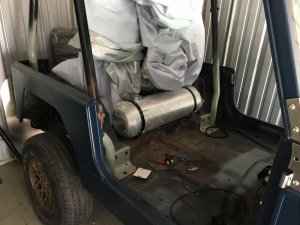
raised the gas tank by 1.25 and clearanced the crossmember. I just cut overlapped and welded both inside and outer seam. Door guards used to protect tank from clearances crossmember. This requires a 1"body lift.
20161114_112231.jpg
20161122_115922.jpg

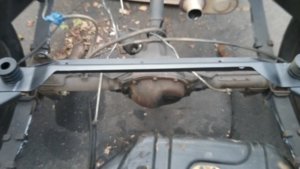
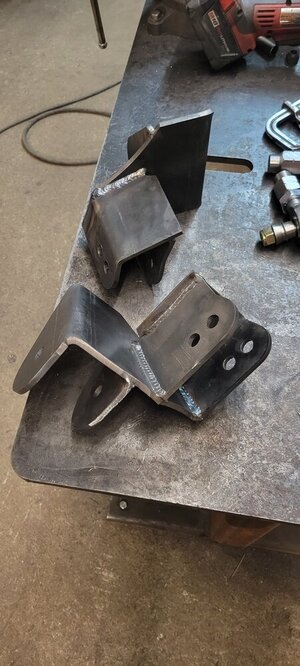
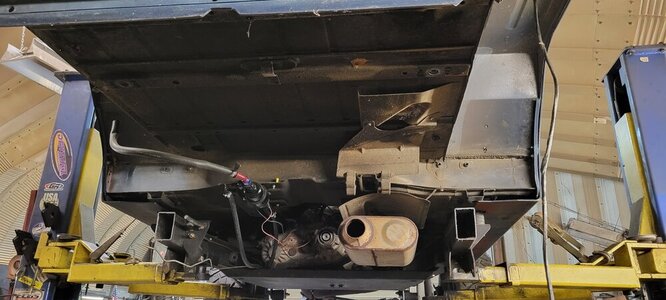
Trac bar mounts gone, M.O.R.E. shock relocation brackets, barnes cross member cover/ high clearance bumper installed. I silicone the rust prone shock mount pockets. Should make cleaning easier. Yes, the muffler is cut. Won't clear once I stretch 2 inches.
20161121_154401.jpg
 

Attachments

  • 20161111_122418.jpg
    20161111_122418.jpg
    71.5 KB · Views: 460
Last edited:
I'm a huge fan already! Love the CJ conversion.
 
No relation to Randy Sloan. XJ thanks for the reply. if you use cj fenders it only takes 3 modifications and is pretty cheap
1) buy grill (180) lights (~200) fenders (Daves are ~300 shipped) hood (~250 shipped)
2) with a 1 inch body lift, cut 2" off of under grill puck and trim corner of grill to clear power steering
3) mount yj radiator on angle iron
4) shorten grill support rods by cutting a 1 inch section out of them and using a 3/8 id steel bushing splice back together.
I messed up installing the radiator too far forward for fan clearance, there is plenty. you need leave at least enough room to fit headlight buckets. I'm in the process of remaking the radiator mounts as soon as the weather clears up (working outside)

I'm also rerouting the brake lines along the firewall (more on the brakes later) so the brake line support is 1.75 inches wide and behind the bumper, then the cj grill sits 2" back from the yj location. So I'm left with about a 4" gap between bumper and grill that really irks me. I'm thinking it would be a good spot to mount a Hi-lift 36 or 42 inch whichever would clear the tires. That would be a functional way to cover up the gap and sit behind a winch. Let me know if anyone has a different idea?
 
Last edited:
Drove for 30 miles the other week, and the computer let out it's magical black smoke, I had already replaced the infamous capacitors, so.........
20170127_194629.jpg
20170127_194637.jpg
VZM.IMG_20170123_154431.jpg

I think 40mm should be enough. Forrester turbo, microsquirt, ford edis6, innovate wideband. Wiring diagram in progress....
 
It's been a long while since I posted, working and going to school does sometimes. anyway, since the last post I have painted, finished the bodywork, and wired up a microsquirt ecu and ford edis from a 98 mustang to be able to tune the ignition. I have an ebay billet fuel rail, 24lb injectors, 63mm throttle body, and a custom crank trigger hanging from the power steering bracket to make it all work. I have also rebuilt an np231 with chevy internals (6pinion, 1.25" chain) and a short sye.

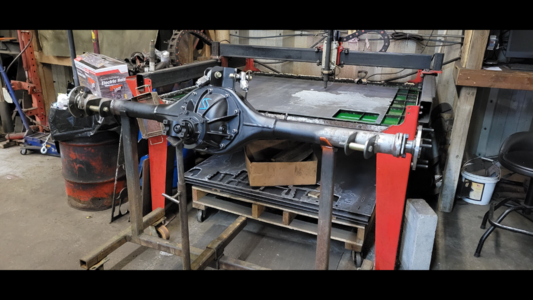
Axles are in parts, 9 inch rear with dirt track steel floater hubs, 31 spline, and a billet detroit locker seconhand from Richard Childress racing. GM metric 12" brakes with no park (I plan on using a cutting brake and making a strap to lock it out for park/ blocking wheels.

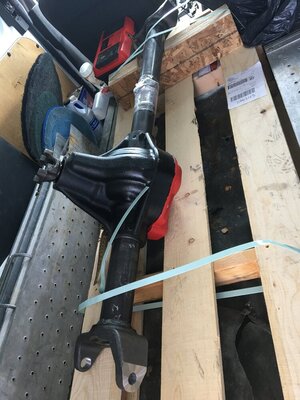
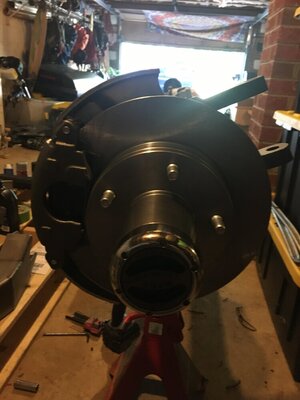
Front axle is a 76 F100 D44 high pinion, spartan locker, jeep knuckles and brakes with ford outers for 5 lug, chromoly shafts, thick new bearings and joints.

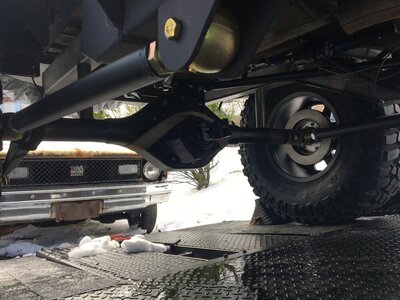
I am debating on whether to go SUA or SOA in the front. Rear will be SUA for axle wrap prevention with 52" chevy springs (the 2wd inline 6 spec for the lowest spring rate with 1 leaf removed) hung from factory fixed mount with shackles off the bumper. I have RS44044 turned around up front with a homemade shackle reversal and frenched shackle hangers. I will adjust hanger length in the rear to even the ride.

Ideally I would link the front, but that's $2K I would rather spend on stroking the motor.

Anyone have experience with SOA front and SUA rear
Blue Jeep.jpg
Jeep Harness.jpg
?
 
It's a 4.0, the computer is universal, and it has a Ford electronic dis (distributorless) unit to be more tuneable. The harness diagram is a copy of one used on a lot of e30 bmw's. The early mpi only advances the distributor and has fuel programmed. When you upgrade to say a stroker or turbo, the stock computer just richens the fuel a little, so micro or megasquirt being tuneable makes for more power and fuel economy. Once I get the axles upgraded, I will have it tuned on a Dyno, turbo to follow.

The PO had mangled the wiring, and it kept shorting out the computer, so I decided to go all out. A lot fewer wires and they're all new.
 
Last edited:
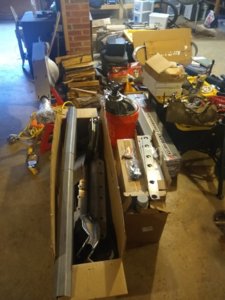
This project has sat dormant for a while with school, but I've been hoarding parts. Below is the build list, going coilovers 3 and 4 link.

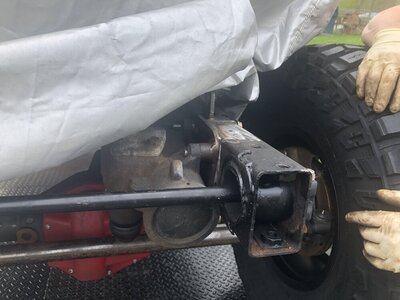
76 dana 44hp ford (.5 wall tubes) with chevy outers/ brakes and spartan locker 5.13 gears, next venture truss, warn hubs, chromos, 5 on 5.5

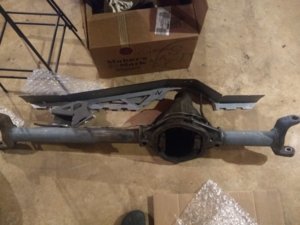
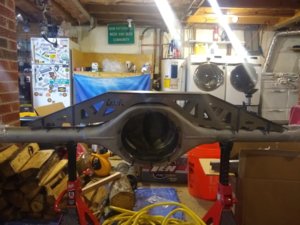
79 f150 9 inch made by johns industries with .25 wall center section and tubes, offroad anonymous truss, ruffstuff back brace, wild horses diaper skid. Steange s center with largebearings and daytona support, g force 8620 detroit style locker ($180 from nascar surplus), 31 spline ten factory shafts gm 1500 fromt calipers

Np231 rebuilt, chevy 6 pinion, wide chain, tera mega short sye

New ax15 and bellhousing from advanced adapters

Motobilt 4 link kit, barnes axle side mounts, 7/8 heims upper, 1.25 barnes enduro joint lower, 3/4 link. Planning on 5.5 rear and 3 inch front stretch

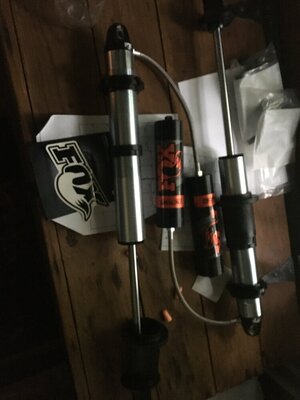
Planning on fox 2.0 14" coilovers, waiting on corner weights to purchase hydraulic bumps

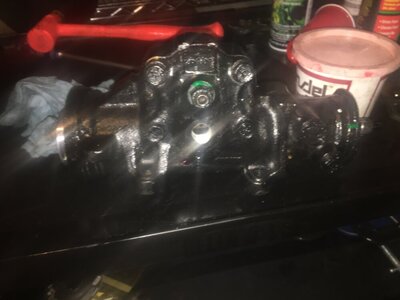
Undercover fabworks front recessed winch bumper (for tj, but its weld on) i plan to scoot it back as far as i can without moving the steering box. Steering box is 1.25" forward on a more mount, i may relocate the box to get more stretch later.

I will be welding on a barnes rear crossmember cover in place of the factory and gusseting to box it in.

Wheel plan is 17x 8.5 method 701 (bead seat tech)

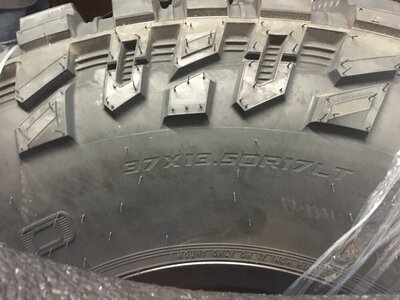
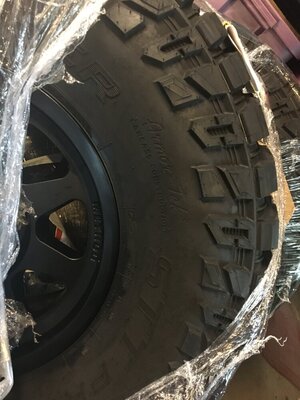
Tire plan is 37x12.5 either maxxis razr or bfg km3 any experience eith either would be appreciated
 
Undercover fabworks front recessed winch bumper (for tj, but its weld on) i plan to scoot it back as far as i can without moving the steering box. Steering box is 1.25" forward on a more mount, i may relocate the box to get more stretch later.

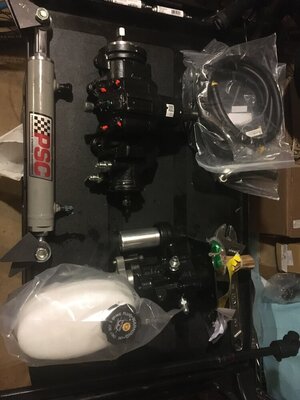
That bumper requires the removal of the steering box and going with full hydro.
 
That bumper requires the removal of the steering box and going with full hydro.
Im going to have to do some fab on the bumper and use a warn 9.0RC sinilar to next ventures tj bumpers

https://www.nextventuremotorsports.com/product/tjwinchbumper/

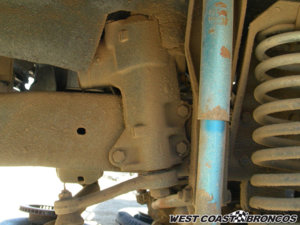
Other option is an outside the frame steering box with forward facing arm. The full size bronco box shown below or possibly jk if i go this route. Ive been leaning towards this route in theory, but being able to fab the front end with the steering in place seems easier.
 

Attachments

  • diyrc01-800.jpg
    diyrc01-800.jpg
    146.8 KB · Views: 302
Ithink I'm on brown santa's naughty list aftet this week
 

Attachments

  • IMG_20191221_160226218.jpg
    IMG_20191221_160226218.jpg
    110.6 KB · Views: 370
  • IMG_20191221_160118497.jpg
    IMG_20191221_160118497.jpg
    122.8 KB · Views: 363
  • IMG_20191221_160027970.jpg
    IMG_20191221_160027970.jpg
    128.2 KB · Views: 349
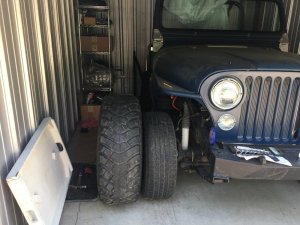
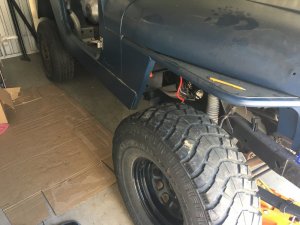
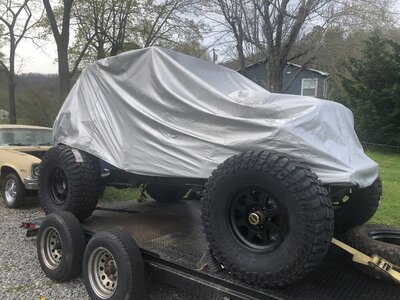
Bought a Cherokee that came with 35’s, not the right axles, but I was able to check clearances with the bigger tires. The front will still be stretched another inch using the second hole on the spring perches, but there’s plenty of clearance so far.

Also got a budget fuel cell mounted $100 on eBay from a company called bam.
 

Attachments

  • CF4527D6-9042-4D5A-AB36-AA7D8F9C6A96.jpeg
    CF4527D6-9042-4D5A-AB36-AA7D8F9C6A96.jpeg
    141.2 KB · Views: 349
  • 8BBDA3D2-E42D-42C9-8227-88D3D8F31125.jpeg
    8BBDA3D2-E42D-42C9-8227-88D3D8F31125.jpeg
    126.3 KB · Views: 330
  • 7D8DBB6B-D0D7-4E6A-87E7-63EE3AF6F959.jpeg
    7D8DBB6B-D0D7-4E6A-87E7-63EE3AF6F959.jpeg
    120.6 KB · Views: 340
  • F6860965-FD97-4807-9ED6-99F8BF8EC7C3.jpeg
    F6860965-FD97-4807-9ED6-99F8BF8EC7C3.jpeg
    127.8 KB · Views: 346
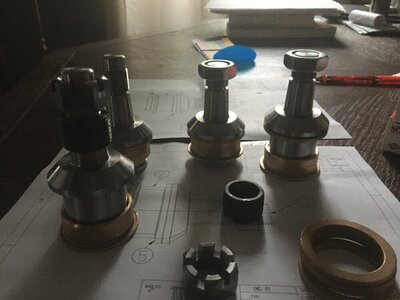
Jk 44 currie housing with classic inner c’s 5.13 Detroit chromos 760 u joints with full circle clips warn locking hubs solid knuckles ball joint eliminators with crossover steering setup. Soon to be setup with 12” fox coilovers and 3 link by Buckeye Performance
 

Attachments

  • C4C28524-A591-485D-B9BA-0B343762D32F.jpeg
    C4C28524-A591-485D-B9BA-0B343762D32F.jpeg
    150.3 KB · Views: 218
  • 38D6C318-8C8D-4A2D-9FA6-DEFAEDD5F256.jpeg
    38D6C318-8C8D-4A2D-9FA6-DEFAEDD5F256.jpeg
    110.6 KB · Views: 234
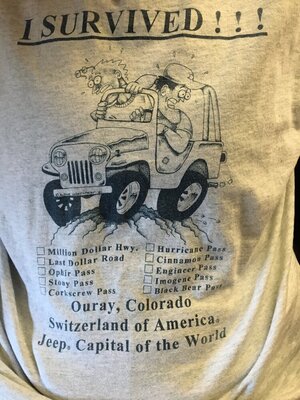
Big changes coming and the coolest old guy shirt I’ve seen in a while
 

Attachments

  • 29DE79CC-A246-493B-974F-4D8DBFD724D3.jpeg
    29DE79CC-A246-493B-974F-4D8DBFD724D3.jpeg
    90.7 KB · Views: 237
  • 3010C455-98DD-4AC2-A263-3C1D05381F52.jpeg
    3010C455-98DD-4AC2-A263-3C1D05381F52.jpeg
    205 KB · Views: 235
  • B9E3417A-CFE3-43E5-8376-843D07B49FAD.jpeg
    B9E3417A-CFE3-43E5-8376-843D07B49FAD.jpeg
    107.2 KB · Views: 219
  • 56474C9B-8B25-4C94-9A03-3521F5886B79.jpeg
    56474C9B-8B25-4C94-9A03-3521F5886B79.jpeg
    99.5 KB · Views: 200
  • 6F7E9C11-93AA-4855-BA66-0A86C3A23CDF.jpeg
    6F7E9C11-93AA-4855-BA66-0A86C3A23CDF.jpeg
    79.8 KB · Views: 212
  • 7F179EAB-5BB7-4EF0-948C-06FC6D4D3071.png
    7F179EAB-5BB7-4EF0-948C-06FC6D4D3071.png
    880.3 KB · Views: 216
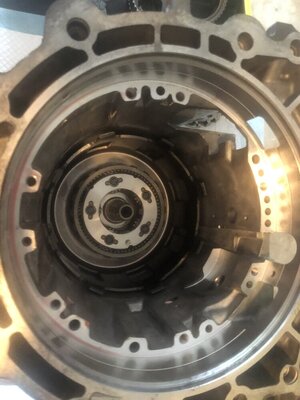
Ooh 5 pinion planets I feel like a super nerd. First auto trans rebuild complete with atlas adapter of the super duper shorty variety and some of the more generic upgrades like z-pack and wide band. Spins good and end play is on spec so… fingers crossed.

Transmissionbench.com has a really good series with step by step rebuild and some upgrades discussed
 

Attachments

  • 36C3B3AD-C50D-474E-8FC7-6F261DB430F9.jpeg
    36C3B3AD-C50D-474E-8FC7-6F261DB430F9.jpeg
    108.9 KB · Views: 150
Back
Top