RubiTrux Project Vandal

RubiTrux

Member
Joined
Dec 4, 2014
Location
Boone, NC
Hey all, If you haven't heard of us, we are connected with High Country 4x4 in Boone NC.
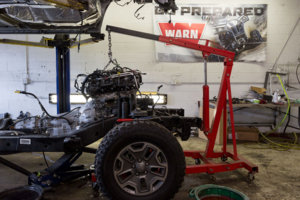
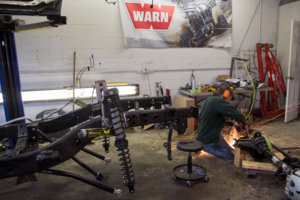
We have had some interest in us posting a build thread on Project Vandal, one of our biggest builds to date. To start, we had it custom painted. The owner wanted a HEMI swap so ultimately, we decided on a 7.3L Stroker (448 ci) that was built at Arrington Engines in Martinsville VA. While this was going on, it was a perfect time to completely tear apart pretty much every stock component in the suspension and driveline.
 

Attachments

  • 2015-jeep-wrangler-rubicon-in-progress-engine-removal-frame.jpg
    2015-jeep-wrangler-rubicon-in-progress-engine-removal-frame.jpg
    140.4 KB · Views: 721
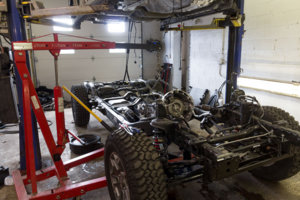
  • 2015-jeep-wrangler-rubicon-in-progress-transmission-removal-frame.jpg
    2015-jeep-wrangler-rubicon-in-progress-transmission-removal-frame.jpg
    145.3 KB · Views: 854
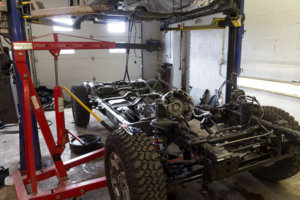
  • 2015-jeep-wrangler-rubicon-in-progress-transmission-removal-frame.jpg
    2015-jeep-wrangler-rubicon-in-progress-transmission-removal-frame.jpg
    145.3 KB · Views: 391
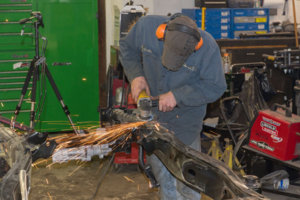
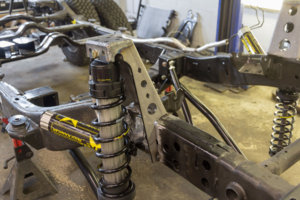
Next, per the customer's request, we started the install of the 5.5" Rock Krawler Rock Runner coilover system and Dana 60s. The Rock Krawler long arm lift kit and Dana 60 Axles will be installed while the body is removed, in addition to the aforementioned HEMI installation. The Rock Krawler kit also requires the removal of the gas tank in order to install one of the rear long arm brackets; this proves much easier with the vehicle on the ground and the body removed, rather than lowering the gas tank with the entire JKU on the lift. The transmission, while certainly able to handle the power of a HEMI conversion, was removed to allow for the installation of the new crossmember supplied with the Rock Krawler kit. The end goal is to run a 40" tall tire
 

Attachments

  • 2015-jeep-wrangler-rubicon-in-progress-custom-brackets.jpg
    2015-jeep-wrangler-rubicon-in-progress-custom-brackets.jpg
    132 KB · Views: 432
  • 2015-jeep-wrangler-rubicon-in-progress-custom-brackets-frame-Dana-60.jpg
    2015-jeep-wrangler-rubicon-in-progress-custom-brackets-frame-Dana-60.jpg
    126 KB · Views: 407
  • 2015-jeep-wrangler-rubicon-in-progress-custom-brackets-coilovers-long-arm.jpg
    2015-jeep-wrangler-rubicon-in-progress-custom-brackets-coilovers-long-arm.jpg
    127.5 KB · Views: 780
Sorry for the overload on thumbnail images, still trying to get used to posting to a forum. Once the new suspension and axles were under the Jeep, the trans was reinstalled and the HEMI is ready to be dropped in. Tires and wheels were thrown on as rollers but you can see how much of a difference it is with the new 60s.
dana-60-axles-on-frame-transmission-progress.jpg
Transmission-reinstall-on-frame.jpg
rear-axle-installed.jpg
 
HEMI motor now installed and bolted up to the transmission! The GenRight Fuel Cell had to be slightly modified to fit, as seen below, and the Borla exhaust had to be customized to fit around the control arms of the Rock Krawler long arm kit. Using a custom Borla setup, including the headers, and features a Quick Time Performance (QTP) electric exhaust cutout. This exhaust cutout allows the driver to control the volume and power of the setup from inside the cab, at the flick of a switch! The entire exhaust system, including the QTP cutout, is stainless steel, and the cutout itself features a CNC machined valve body and a 12v motor, providing 1.5 lbs of torque to operate the QTP cutout. Also, the owner chose to go with a Genright Aluminum rear bumper with some Rigid lights flush mounted
darren-build-gen-right-tank.jpg
darren-build-hemi-transmission-suspension-axles-on-frame-closeup.jpg
project-vandal-bumper.jpg
project-vandal-electric-exhaust-cutout.jpg
project-vandal-exhaust.jpg
 
Project: VANDAL is starting to look like a Jeep again! The body has been lowered back onto the frame, the Rock Krawler heavy duty steering has been installed, and we now have a skid plate in place, to protect the vulnerable evap canister. VANDAL is also getting a PSC hydro assist ram for the front end; in the top picture, the line for this assembly is visible, just to the left of the front differential. In addition to the front end, the tailgate has also been reassembled and installed back onto the Jeep, below. The MetalCloak body armor panels (note to the left and right of the tailgate, where holes have already been drilled) will be added once they have been painted to match. From there, the flat fenders, also MetalCloak, will be installed, and then interior work can begin. The top side of the flat fenders will be painted to match the body, while the tube/underside will be left black.

vandal-body-on-frame.jpg
vandal-front-suspension-front-side-angle.jpg
project-vandal-front-pass-angle-assembled-grille-hood-lights.jpg
project-vandal-rear-tailgate-installed.jpg
 
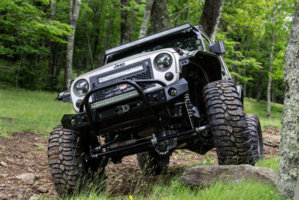
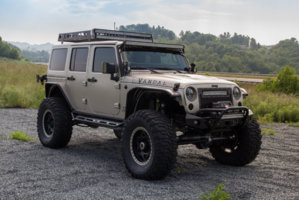
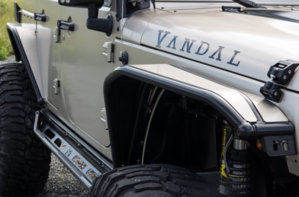
Next up, the MetalCloak Overline Fenders are installed, as well as wiring being completed for a wide array of lights. For this, we used an S-Pod 8 Switch AND a special edition working together.. we also go ahold of some Rugged Ridge half doors that will be color matched. Also, we decided on a Rockhard 4x4 sport cage. From the install we think its a pretty good solution for those who dont want to weld together an entire cage. the 40x13.50x20 Interco SSM16 tires finally came in and we paired them with Walker Evans Beadlocks (20x10)

darren-build-doorless-fenders-bumpers-windshield-on-rear-passenger-side-angle.jpg
darren-vandal-build-40s-fenders-windshield-in-place-head-on-grille-angle.jpg
darren-vandal-build-40s-fenders-windshield-in-place-rear-passenger-side-angle.jpg
 
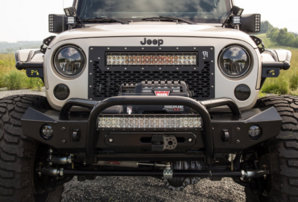
Will that grill panel + winch allow enough cooling?

So far, the customer hasn't had any complaints. He has taken it wheeling in Moab, and some spots in the desert. Whenever he comes back in for some more initial check-ups I ask him again and see if anything has come up since.
 
That rear axle looks like John Fuller built it!
 
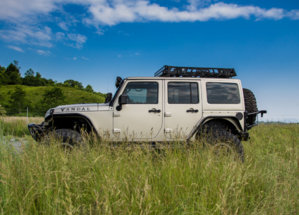
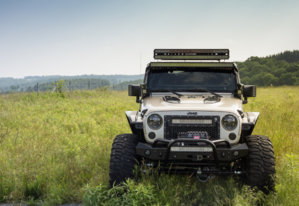
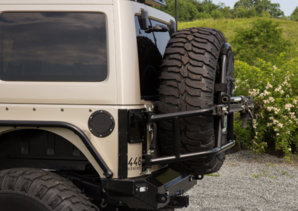
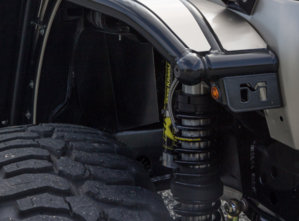
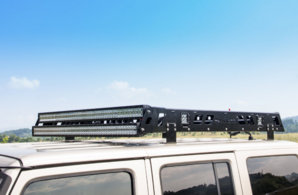
At this stage the build was almost complete. for some final touches, we added a Gen-Right tire carrier, PSC Hydro Assist, fabbed up some tubing for the MetalCloak front bumper, added a RackWorks Roof rack, alot more lighting and then some goodies for the inside!

close-up-psc-steering-hydro-assit-ram-project-vandal.jpg
project-vandal-jeep-jk-rubicon-unlimited-darren-build-top-doors-on-rear-tire-carrier.jpg
IMG_0882.jpg
IMG_0888.jpg
IMG_0903.jpg
IMG_0904.jpg
 

Attachments

  • IMG_0921.jpg
    IMG_0921.jpg
    238.6 KB · Views: 425
Here are some final pictures! I'll see if I can link a video from youtube with a simple walk around and sound clip of the exhaust.
 

Attachments

  • IMG_8966.jpg
    IMG_8966.jpg
    206.4 KB · Views: 483
  • IMG_8967.jpg
    IMG_8967.jpg
    175 KB · Views: 484
  • IMG_8981.jpg
    IMG_8981.jpg
    157.2 KB · Views: 483
  • IMG_8988.jpg
    IMG_8988.jpg
    172.4 KB · Views: 411
  • IMG_8990.jpg
    IMG_8990.jpg
    125.1 KB · Views: 472
  • IMG_8991.jpg
    IMG_8991.jpg
    106.7 KB · Views: 456
  • IMG_8992.jpg
    IMG_8992.jpg
    160.7 KB · Views: 433
  • IMG_8995.jpg
    IMG_8995.jpg
    84.4 KB · Views: 449
  • IMG_8997.jpg
    IMG_8997.jpg
    84.8 KB · Views: 397
Back
Top