Winch Bumper Fabrication

BUCKETOBOLTS

Member
Joined
May 4, 2005
Location
Faith, NC
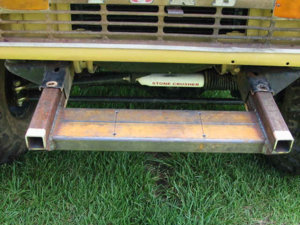
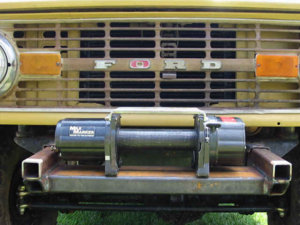
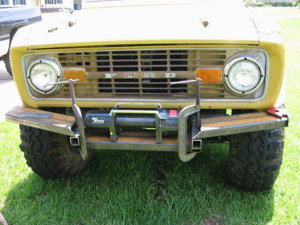
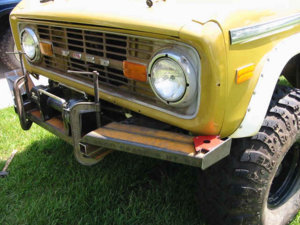
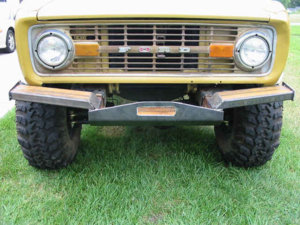
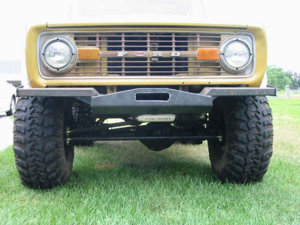
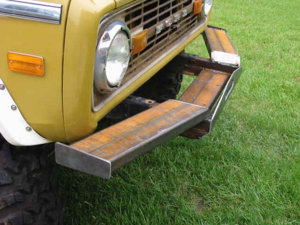
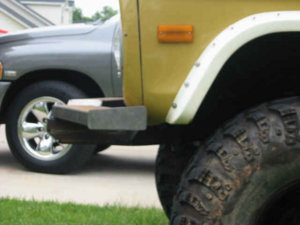
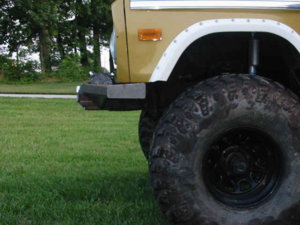
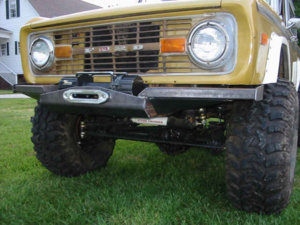
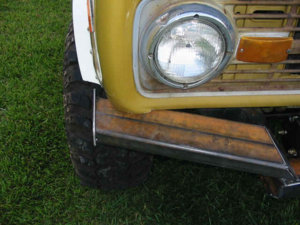
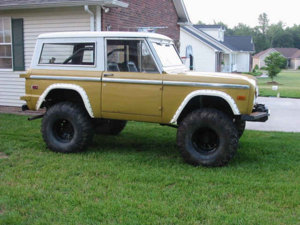
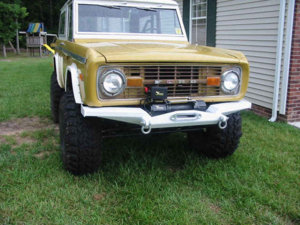
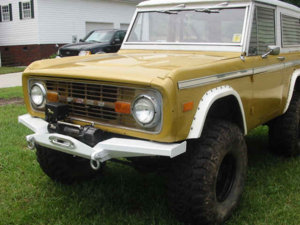
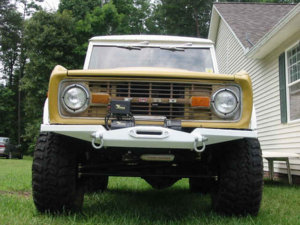
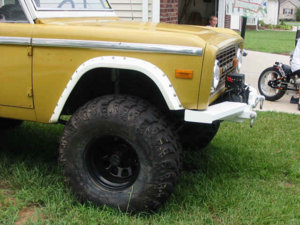
I finish cutting the main pieces for my winch bumper and tacked them together. I still have a ways to go but you can get the general idea of what its going to turn out like. I'm going to bob the front fenders to recess the bumper further back.
 

Attachments

  • Bumper1LQ.jpg
    Bumper1LQ.jpg
    47.1 KB · Views: 999
  • Bumper2LQ.jpg
    Bumper2LQ.jpg
    38.6 KB · Views: 989
  • Bumper3LQ.jpg
    Bumper3LQ.jpg
    44.8 KB · Views: 1,067
The last two for now. I'll try to get more as I finish and get some paint on it...Yep I'm being a PIC whore... :flipoff2:
 

Attachments

  • Bumper7LQ.jpg
    Bumper7LQ.jpg
    43.9 KB · Views: 1,002
  • Bumper8LQ.jpg
    Bumper8LQ.jpg
    22.3 KB · Views: 957
That is one of the best front bumpers I've seen dude!
Really kool looking and tough!!

Only criticism, killed yer approach angle.

I did a front receiver for my K-5 and had to remove it and make a through front bumper receiver due to the approach angle problem. (I use a receiver mount winch and other stuff)
 
Thanks man, but like I said I still have to cut the front fender to let the bumper slide back about 2 1/2-3" more. The tips will end up covering the front edge of the fender flare. If my figuing is correct I should still have a good 45*+ approach angle. Plus my winch will be bellow the radiator so I don't have any cooling problems.
 
Looks good. Nice welds.
I think it will look even better when it is sitting furthur back.
 
Alrighty, here is today's progress report. I bobbed the front fenders and clearenced the frame horns to recess the bumper. I also tacked on the lower filler pieces. I have made a pair of brackets to mount D-ring shackles but have not decided whether or not I'm going to use them. I also mounted my fairlead.
 

Attachments

  • Bumper9LQ.jpg
    Bumper9LQ.jpg
    43 KB · Views: 755
  • Bumper10LQ.jpg
    Bumper10LQ.jpg
    31.8 KB · Views: 773
  • Bumper11LQ.jpg
    Bumper11LQ.jpg
    39.6 KB · Views: 747
More progess...I need to pick up another bottle of Argon to finish welding and it will just about be time for a coat of paint.
 

Attachments

  • Bumper12LQ.jpg
    Bumper12LQ.jpg
    38.2 KB · Views: 755
  • RSide1LQ.jpg
    RSide1LQ.jpg
    42.5 KB · Views: 733
Man that looks really good! I dig the design work! Where are you thinking of putting the D rings?
 
its better than it was sticking out wise, but i still think your going to kick yourself later for not sinking it into the grill IMO. it looks awsome otherwise, nice design. i would say put those d rings as close to the center as you can where the frame mounts are. should help transfer the load straight to the frame horns.
 
Finally I got back to my bumper project and finished...I think. I got impatient waiting on my buddy to pick it up to spray it, so I busted out the Rustoleum and away I went. I got it mounted and the winch. I only got one PIC before the bottom fell out. But as soon as it lets up I will get some better PICS.
 

Attachments

  • Bumperfinish1LQ.jpg
    Bumperfinish1LQ.jpg
    47.1 KB · Views: 706
Looks terrible. Take it apart and start over.


KIDDING! Great job!
 
Here are a few more I took today. I still have to load my new rope.
 

Attachments

  • Bumperfinish2LQ.jpg
    Bumperfinish2LQ.jpg
    36.9 KB · Views: 552
  • Bumperfinish3LQ.jpg
    Bumperfinish3LQ.jpg
    43.5 KB · Views: 651
  • Bumperfinish4LQ.jpg
    Bumperfinish4LQ.jpg
    40.8 KB · Views: 502
Back
Top