84 CJ Truck Build (Project Do-Over)

Scooter402

Ruffling feathers and shaking trees
Joined
Feb 4, 2009
Location
Livin in an Amish Paradise
There's never enough time to do it right...but there's always time to do it over! Seems to be the story of my life...I guess we all have our moments, anyway.

I've had this CJ-7 since 2004. I got it while I was still doing time as one of Uncle Sam's Misguided Children when I thought I had money (I know - funny, right?), and it's gone through many different iterations of what I referred to as "builds." As it turns out, I was mostly fucking around, kind of aimlessly wandering through the world of jeep. I apparently had no earthly idea what I wanted to do with it, and I could really go back and kick myself squarely in the dick for wasting so much time and money...yep, I said it. I may as well put my Physics degree to good use, invent a real flux capacitor and go back in time so I can kick my ass.

Anyway, reflecting back, I think I might be able to be honest with myself and say "at least I had fun." Well, that's true. Pretty sure I don't even need to convince myself of that. Even if I do view most decisions I've made along the way as very poor choices. I guess that's what they call growing up, huh? Damn...I just realized I'm old now.

For those of you that made it through that somewhat aimless rant, please know that this is going to take forfuckingever to get anywhere. I've been working on it for years, and it will take years more to finish. I just don't have enough hours in the day, space in the garage, or play money in my allowance to do everything I want now. So in the meantime, I'll bring y'all up to speed with where I've come from, where I've been, and up to where I am now....and if I've got my magic 8-ball tuned up, potentially where I see this damn thing in the future.

So there I was...younger, dumber, and full of .... well. whatever. I had just 3 months prior to the purchase of this gem sold a 95 Wrangler that I had upgraded with a lift and 33s, a 350 SBC swap, custom dash with Autometer gauges, and all the stainless goodies bolted on. I still had the jeep fever, and a friend of a friend was selling his CJ7. In the words of those stupid seagulls - "Mine!"

001.jpg


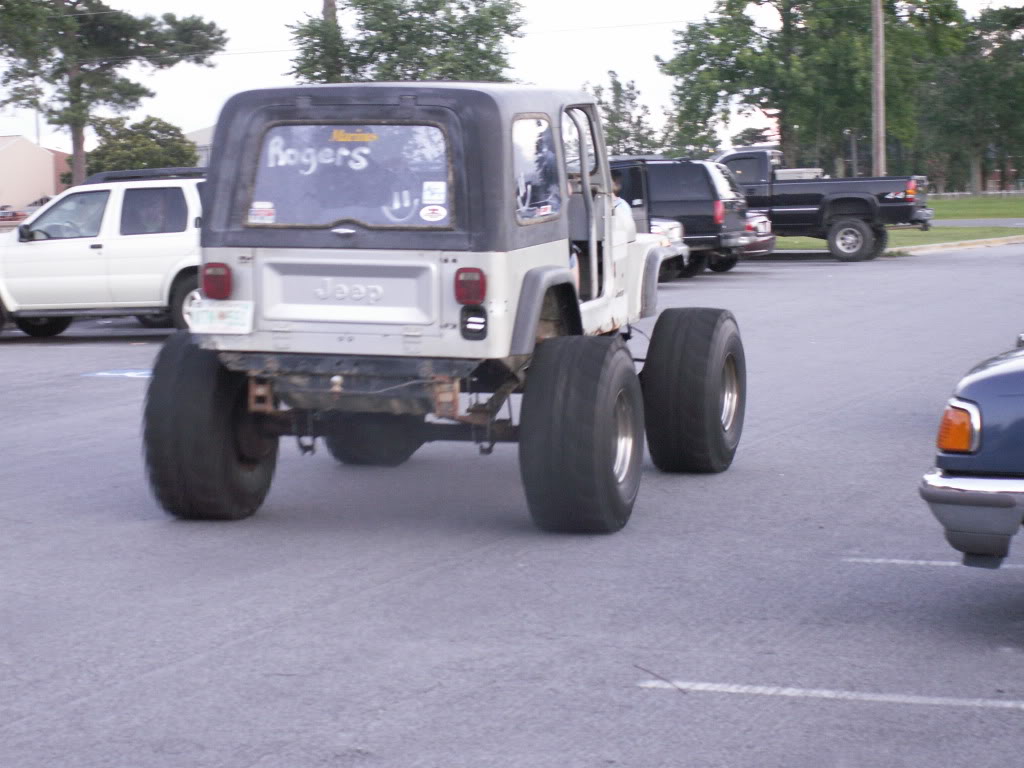
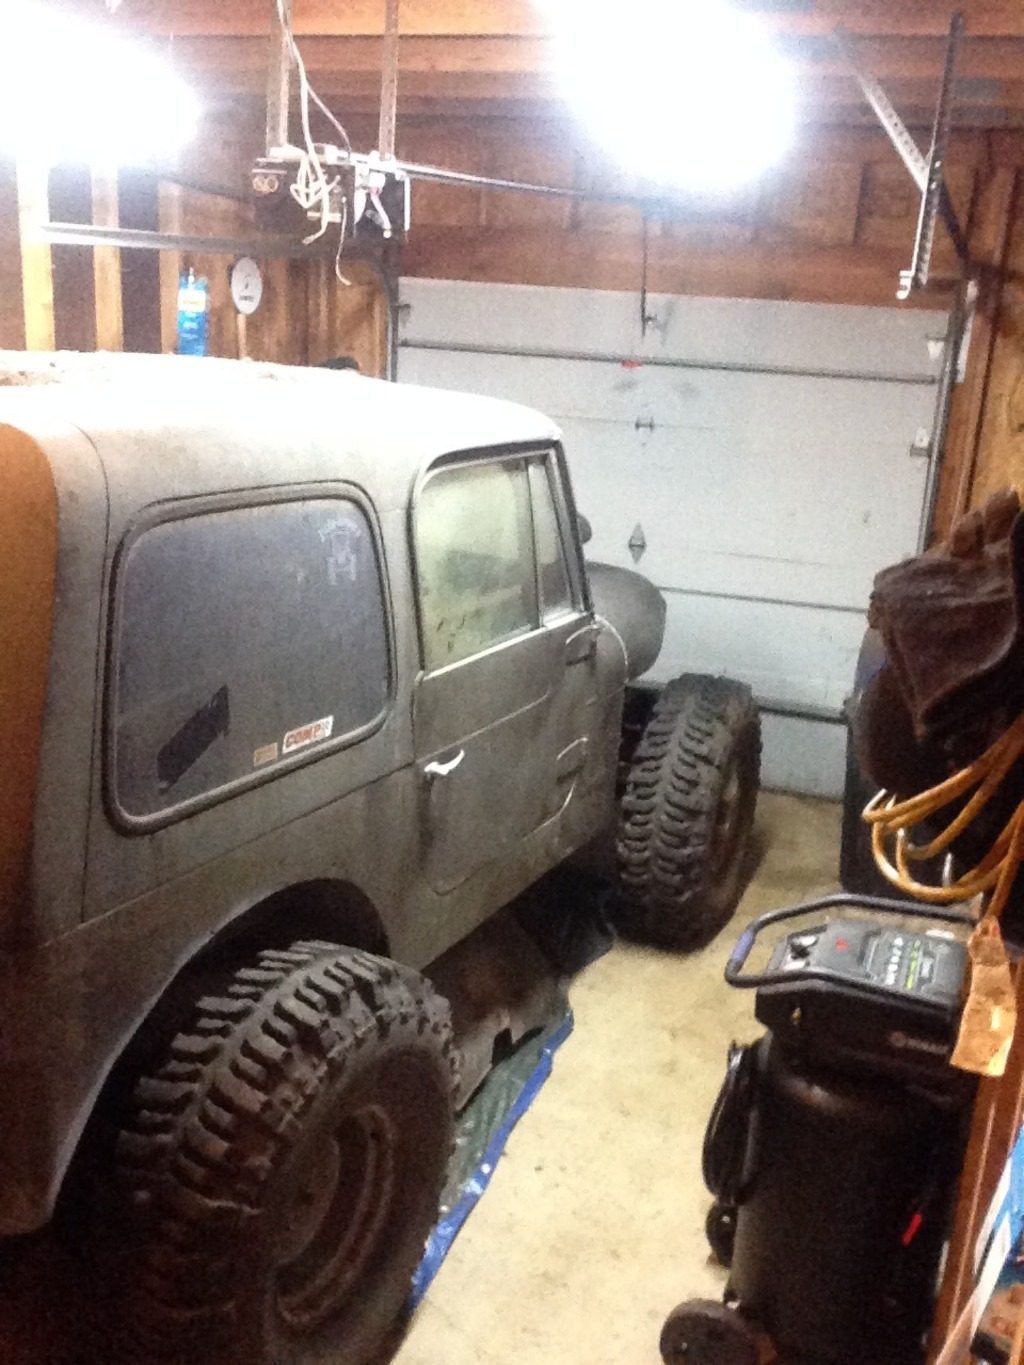
Stupid fawkin photobucket... It was like most other CJ7's...4" lift, 33s, 4 speed manual with D300, and the PO had swapped in an AMC 360. That shit the bed after a while because of the ever-dreaded low oil pressure problem, I built a 383 and swapped it in. Had some wild hair to put in 3/4 ton axles and run some 40" Ground Hawgs for a minute.
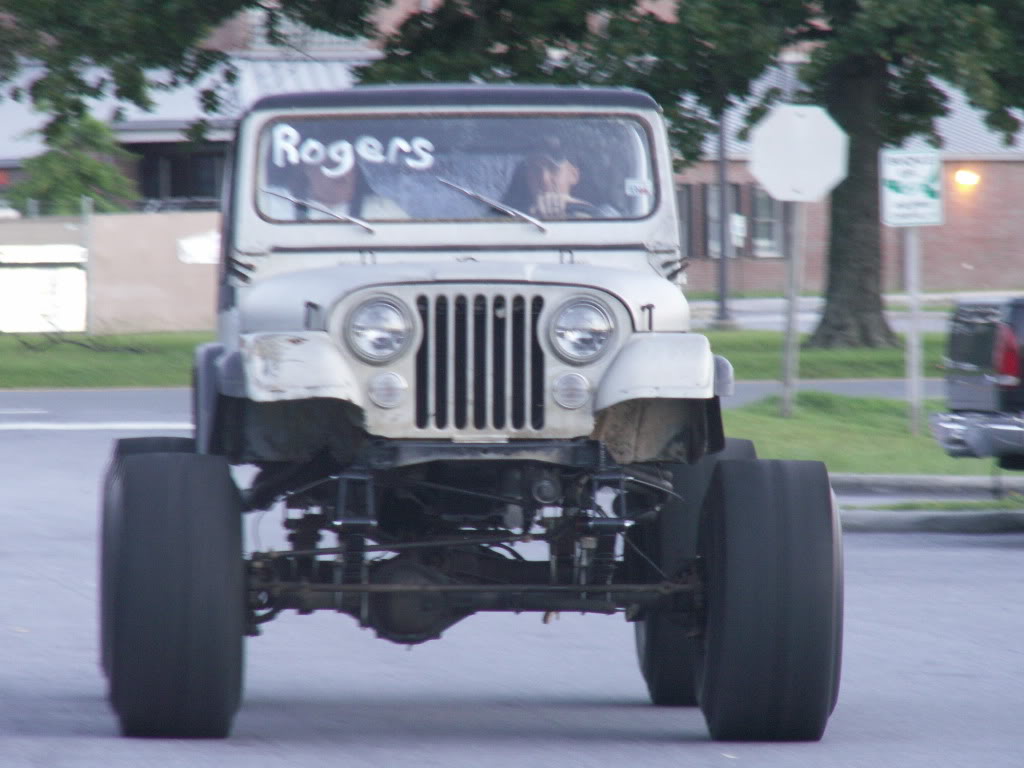
PICT1198.jpg

PICT1194.jpg


I was so cool...

Anyway, I won't show everything along the way. I'm just going to pick up some major highlights then get into the nitty-gritty when I get to some point for the last several years worth of work (wow, that's even more sad reading it back than it sounded in my head...).

I got hooked on mud racing while stationed in NC. So this big fat bastard needed so slim up some.

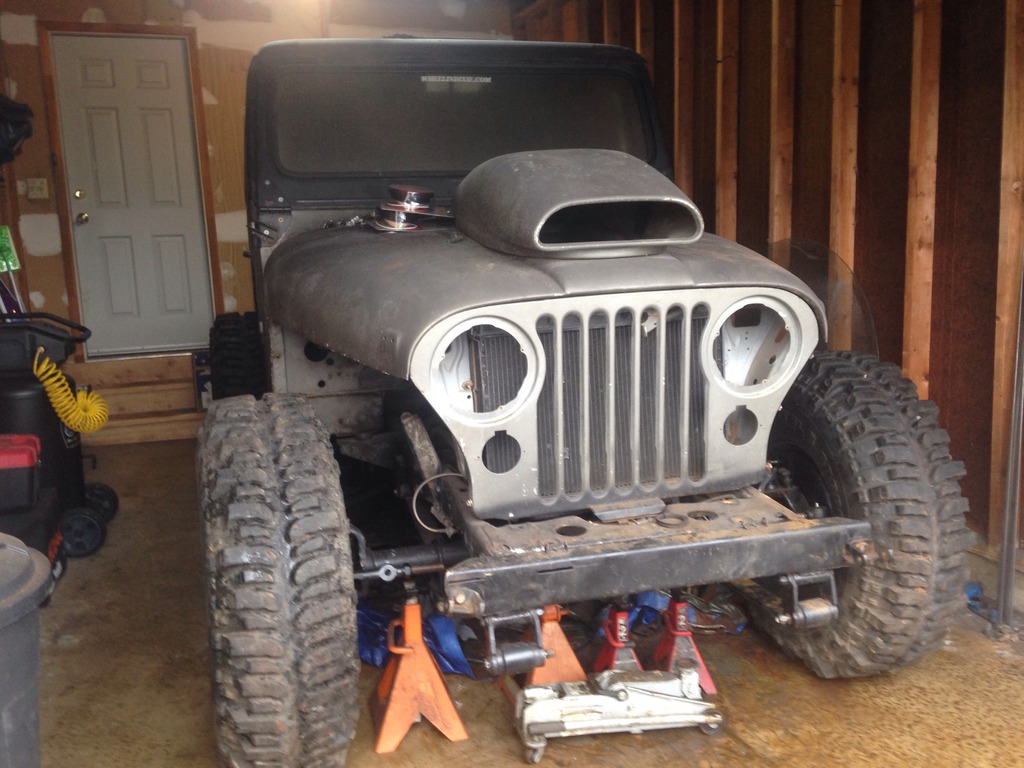
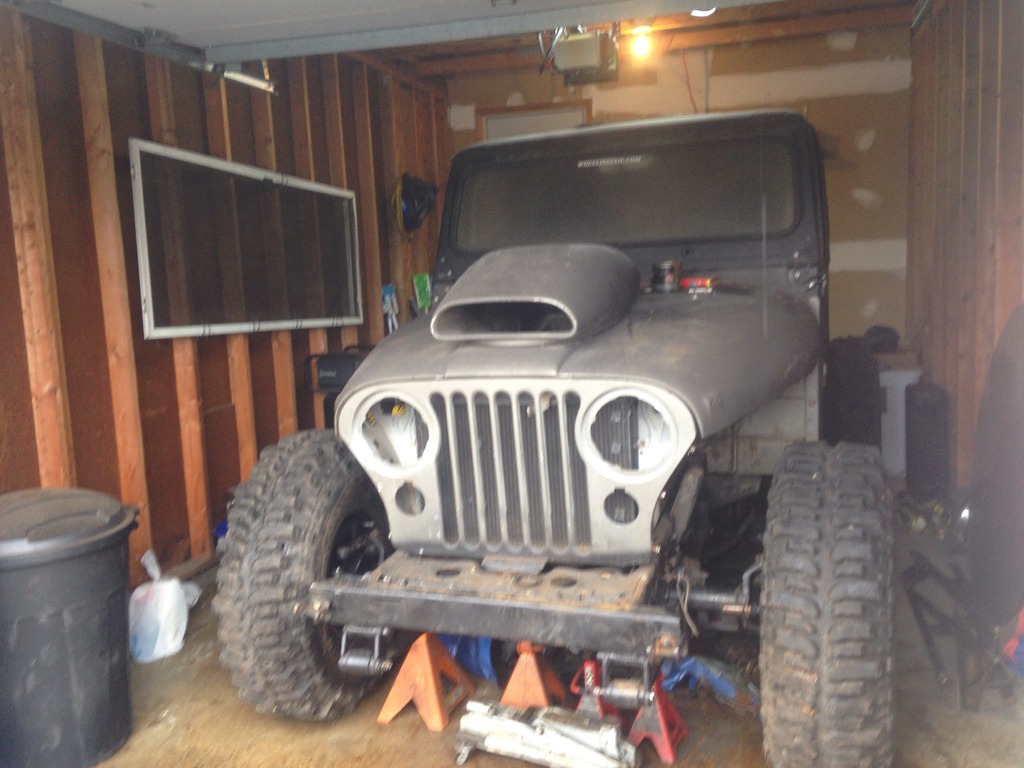
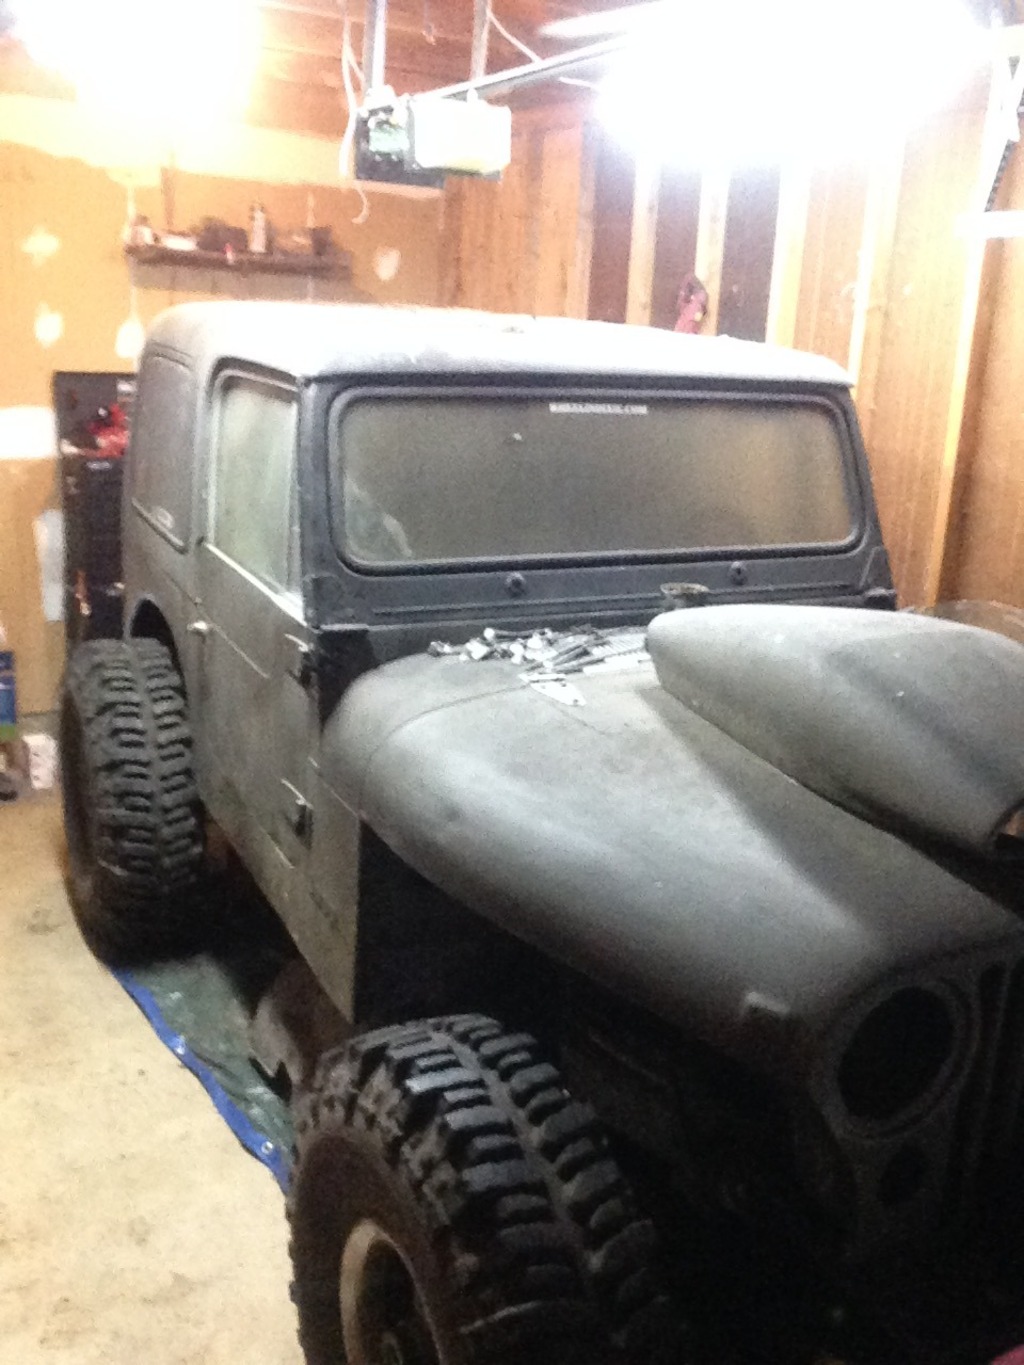
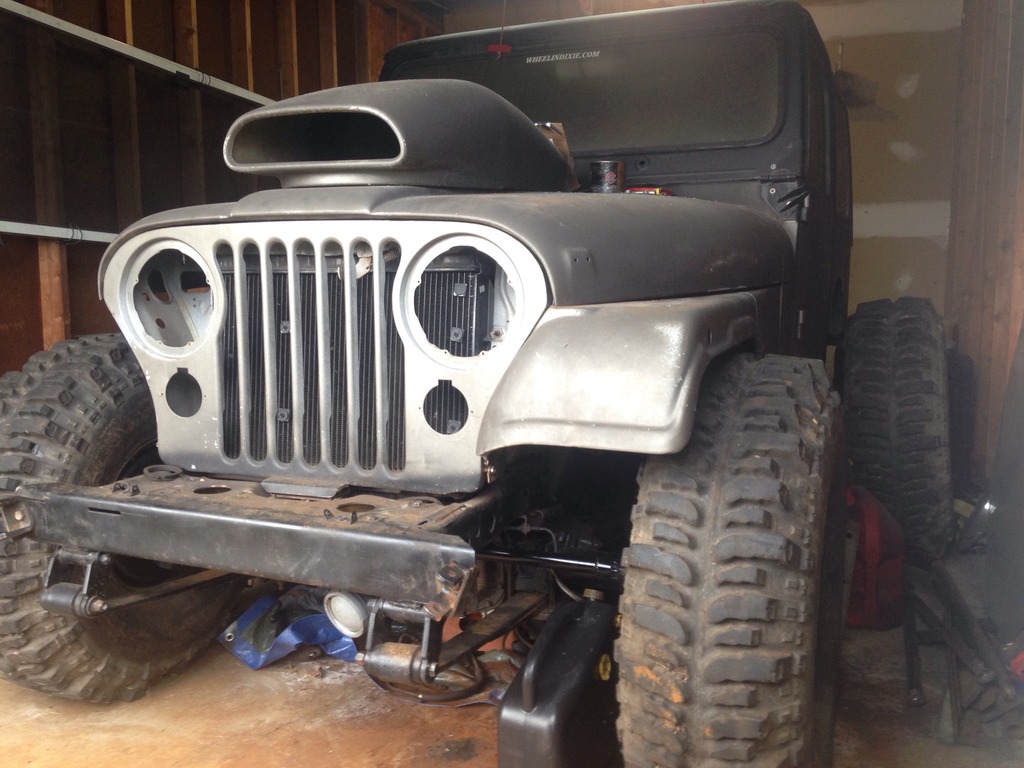
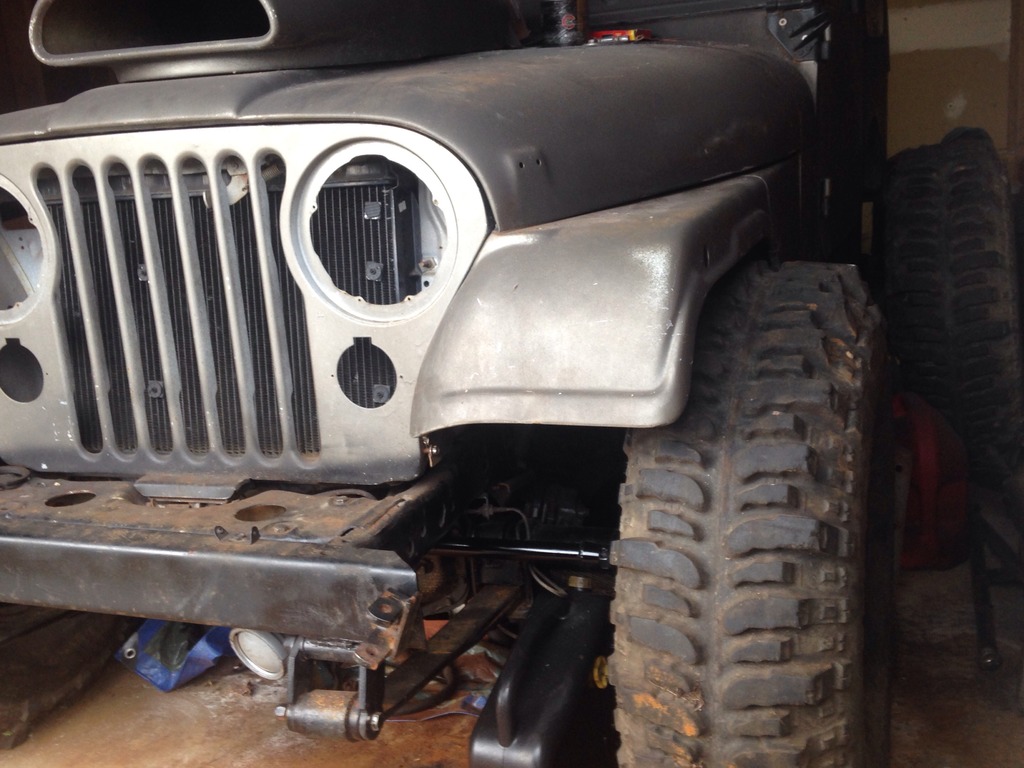
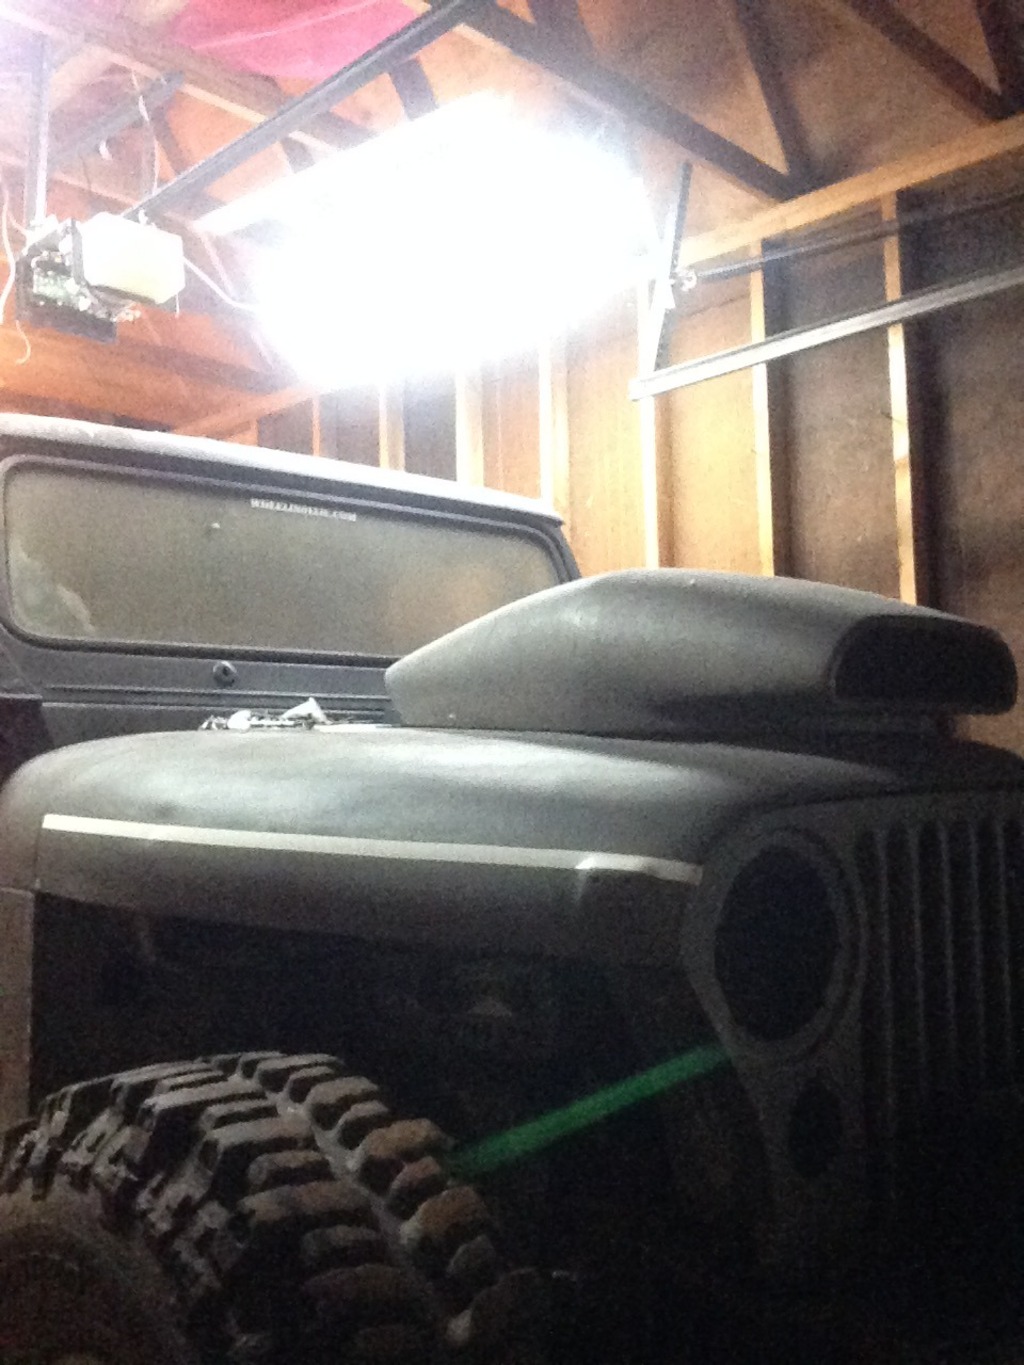
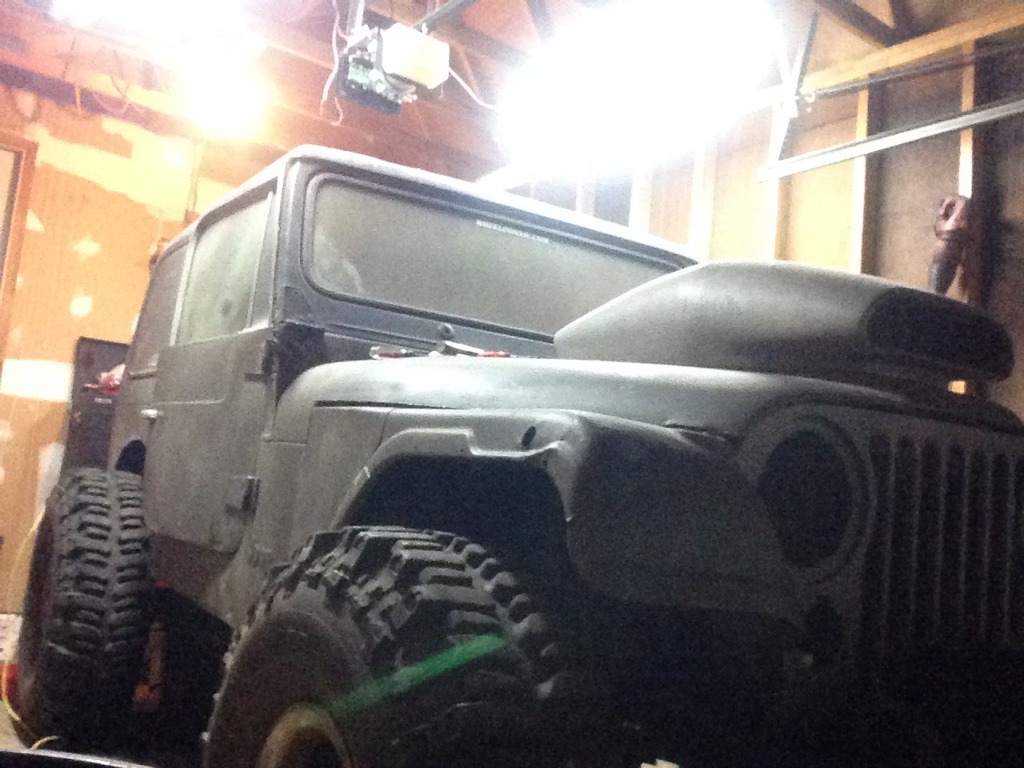
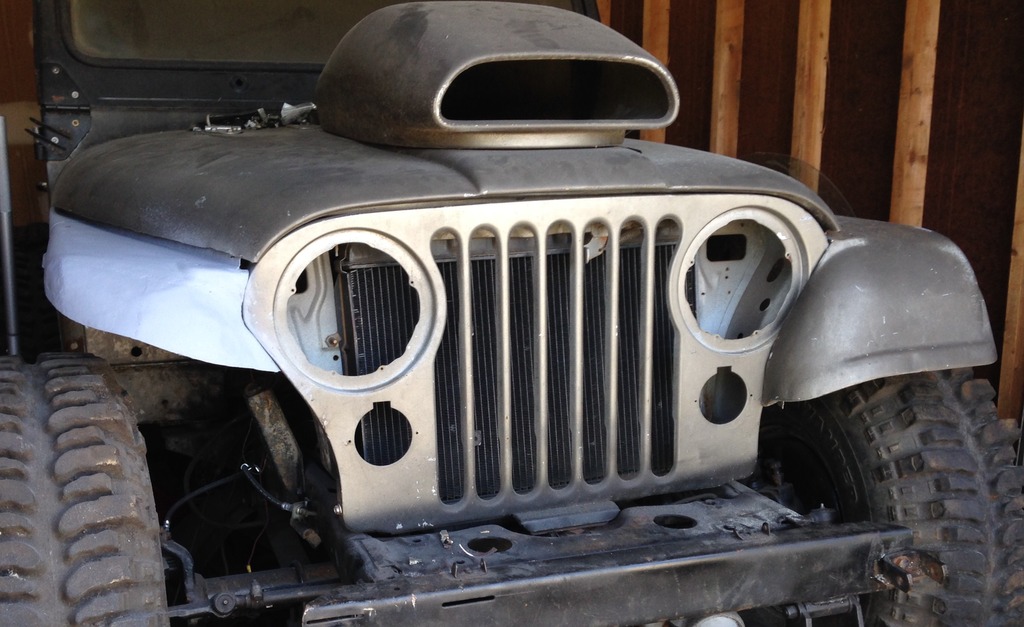
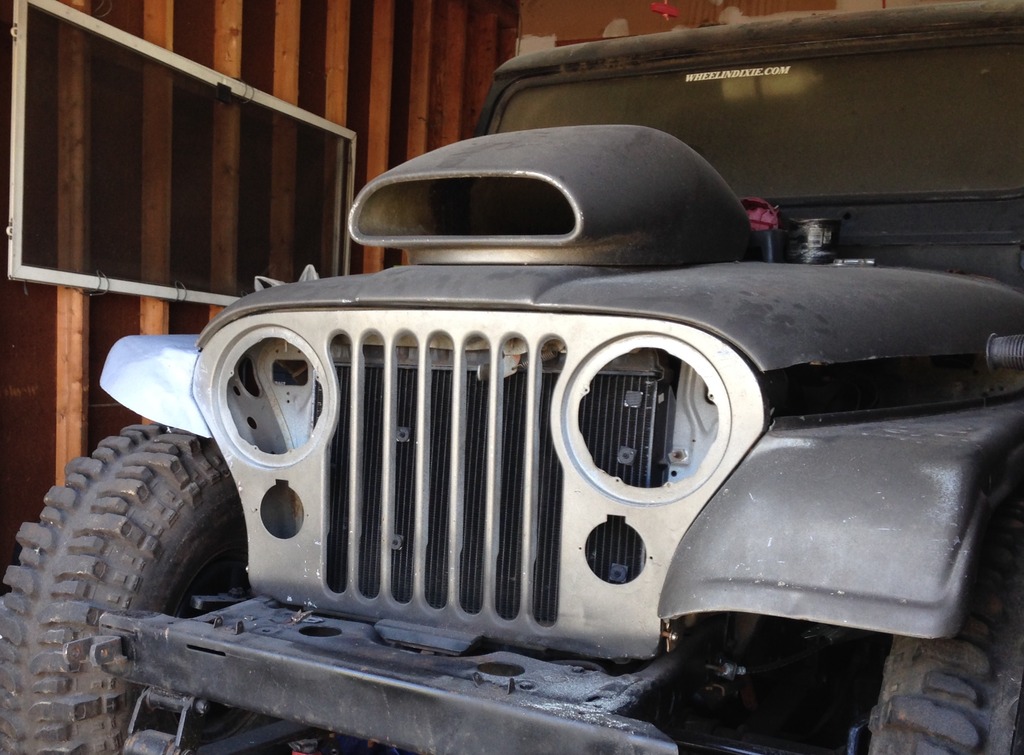
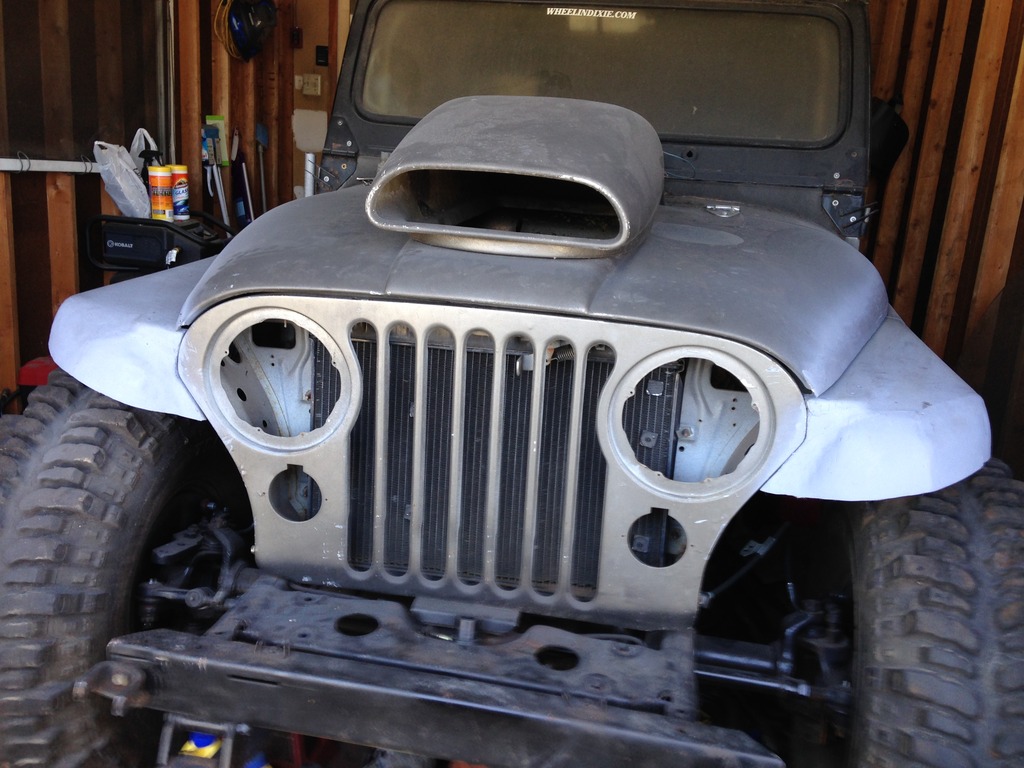
Slick new paint job and a giant gonzo-schnoz on the hood, with lots of go-fast goodies on (and in) the engine. Dart Iron Eagle heads, big fat cam, giant intake, big carb...I'd post up the specs, but that motor got built and rebuilt so many times on the quest for more power. I'll get more detailed on my current engine when we get there.
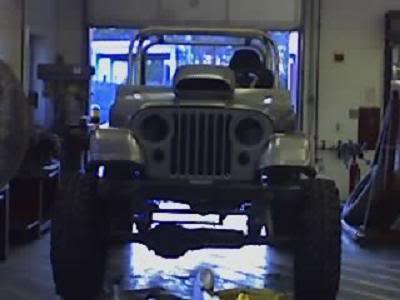
Jeep_front.jpg


That damn scoop did make it go faster...lol
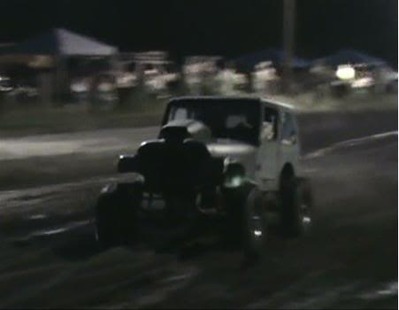
LittleDoo.jpg


Well...photobucket is acting stupid now, and my micro-manager (daughter) is giving me that look that she's going to make me pay if I don't get my asses in gear pretty soon here... Got to get ready for work as well. Got one kid to watch at home during the day, and 80 kids to watch at night (they're not really kids, but most certainly act like they are...wow, I'm old).

Anyway, y'all bear with me. I'll get up to speed with where we sit now in the coming days (hopefully not weeks, but we'll see how Father Time helps me out).
 
I was planning to share some more pics of my mud racing days, but photophucket won't let me embed them without the stupid account upgrade. I'm about to find some other photo hosting service, I swear....anyway, let's see if they let me post up some more progress pics.

Where did we leave off after the mud days? I moved up to Pennsylvania, thought I was going to build another badass mud racer out of this thing to race at a few of the non-local tracks...then life hit me, I realized I wasn't going to be traveling anywhere between 1.5-3 hours one way each direction to go race. Anyway, before that realization, I had swapped my rear 14FF for a 12 bolt (I know...WTFO???), built a new engine, took many many hours and built a new set of headers all for the purpose of being a dedicated mud racer.

Then I realized that Rausch Creek is closer to me than any of the mud tracks...and its nice not to be covered in mud every weekend to have to wash off. And, I realized I wouldn't mind being able to actually DRIVE my jeep again. I thought about scrapping the whole deal (less the drivetrain) and starting over. My wife wouldn't exactly let me do that...and not for the reasons you might think. It wasn't the expense of sourcing a new jeep, but for the time and money that I've put into my current one. I've threatened on a few occasions that I'd take my jeep to the nearest crusher because of my lack of time to work on it as of late. She actually doesn't mind me occupying the garage with it, and knows it's my favorite toy. I knew I kept that woman around for something. :D

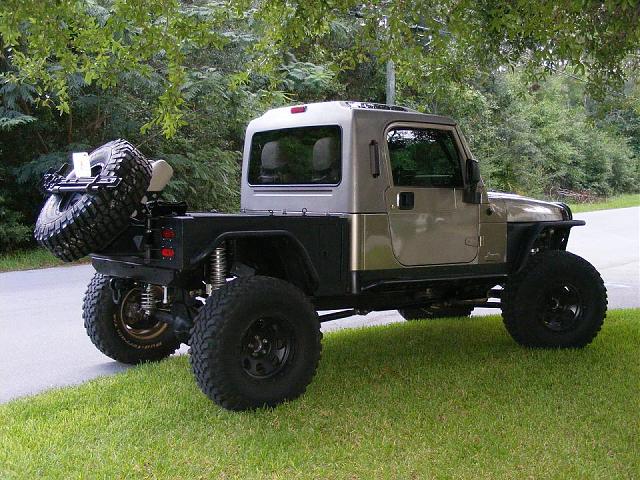
Anyway, after my "come to Jesus" with myself, I had a little conversation...I says "self - (I don't really call myself self...usually refer to myself as "hey dumbass," or "yo, jack wagon," or something to that effect) it's time we pick a direction and stick with it. It's getting to god damned expensive to keep changing my mind on everything. So, I decided I wanted a street/trail double duty rig. The other thought is I've always wanted a jeep pickup. I always wanted a Honcho, but you can never find those, at least not for any reasonable price. I've also heard about the Gaucho, so I wanted to build my own.

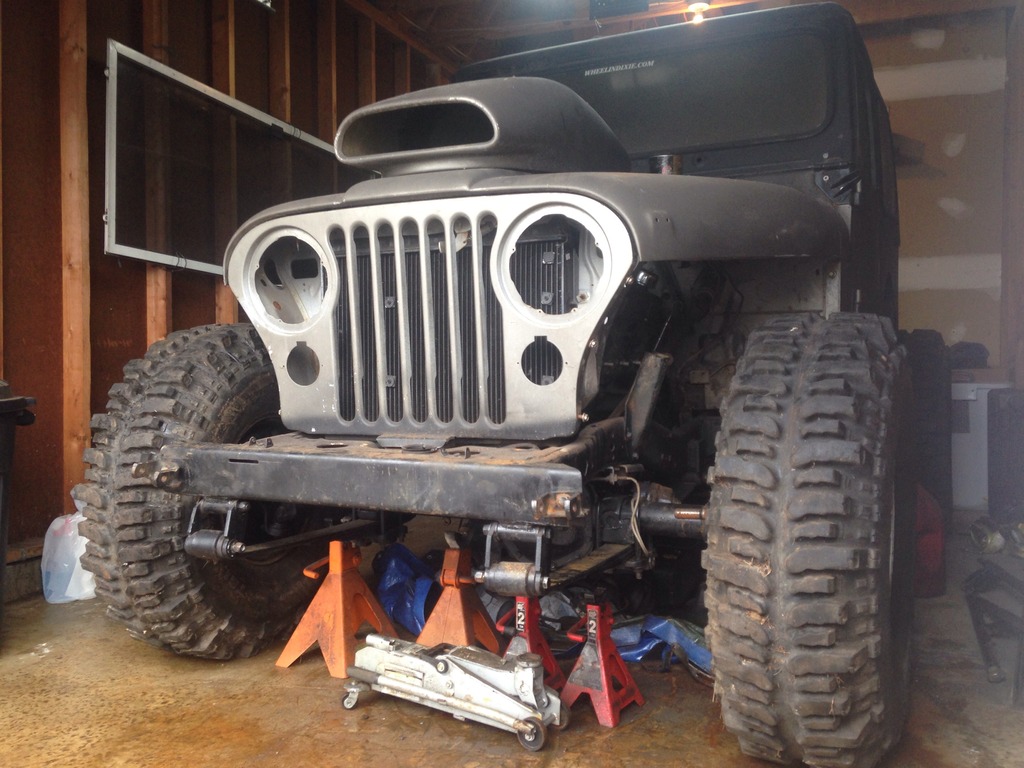
I began with lowering the suspension and narrowing my front axle. My jeep was WAY too tall, even for mud racing. I wanted to go back SUA, with the potential plan of sometime in the next decade or so moving up to links/coils. But for now, I've got to work with what I have.

I had already a couple years prior to this sawed 4" off the long side tube so I could run without my springs outboarded. But, I was planning on trying to have this be street legal without having to build some stupid wide fenders to cover the tires. So basically, I wanted it low again, as well as close to a factory (new) jeep width. But, I ran into a problem...Since I have a D300/TH350 combo, I was checking clearances for everything from the underside of the floor to the frame for clearance before I started lowering anything. I noticed quickly that my front driveshaft was going to make a likely failed attempt of occupying the same physical space at the same time as the transmission pan rail. I've said it before, and I'll say it again...I'm cheap. But, I also like to think I'm somewhat innovative, at least when working with what I've got.

So, I rolled across the floor to the other side of my jeep, laying there staring up at the nasty underbelly that I hadn't washed since my NC days. The offset of the trans pan caught my attention quick, so I started brainstorming. I grabbed a tape measure, and measured from frame rail to trans pan on both drivers and passenger side....looks like I made up my mind that I needed to flip my D300 to driver's drop to have the suspension down low. So, I grabbed a wrench and started going to town. I yanked my D300 and started cleaning all the grime and shit off of it. I put in all new gaskets and seals while I was at it. This might have been a minor fawk-up, but I also re-drilled the bolt pattern in my adapter so that I could reinstall the t-case as a driver's drop.

Here it is, back in it's happy place, all nice and upside down. and that's not quite as clean as I remember...lol

image_zps383b2b38.jpg


So then, I needed to remedy my front axle situation...I consulted the c-list for a while trying to see if I could find anyone giving away a Ford 44 front to no avail. People actually want money for those? I mean, WTF... Oh, well...what's a guy to do?

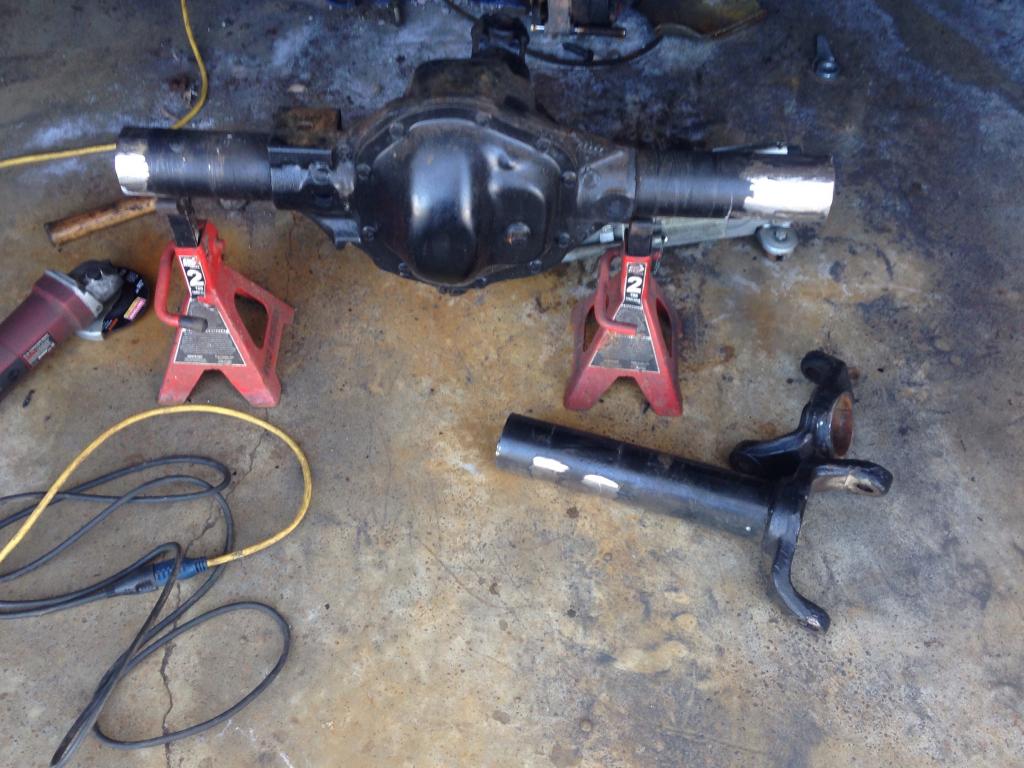
Cut his shit apart, that's what! I knew I was going to narrow the axle more, so out came the cutoff wheel and sawzall.

image_zps6976b245.jpg


image_zps51760bb6.jpg


Then it got real ...like, fast.

image_zps131079a5.jpg


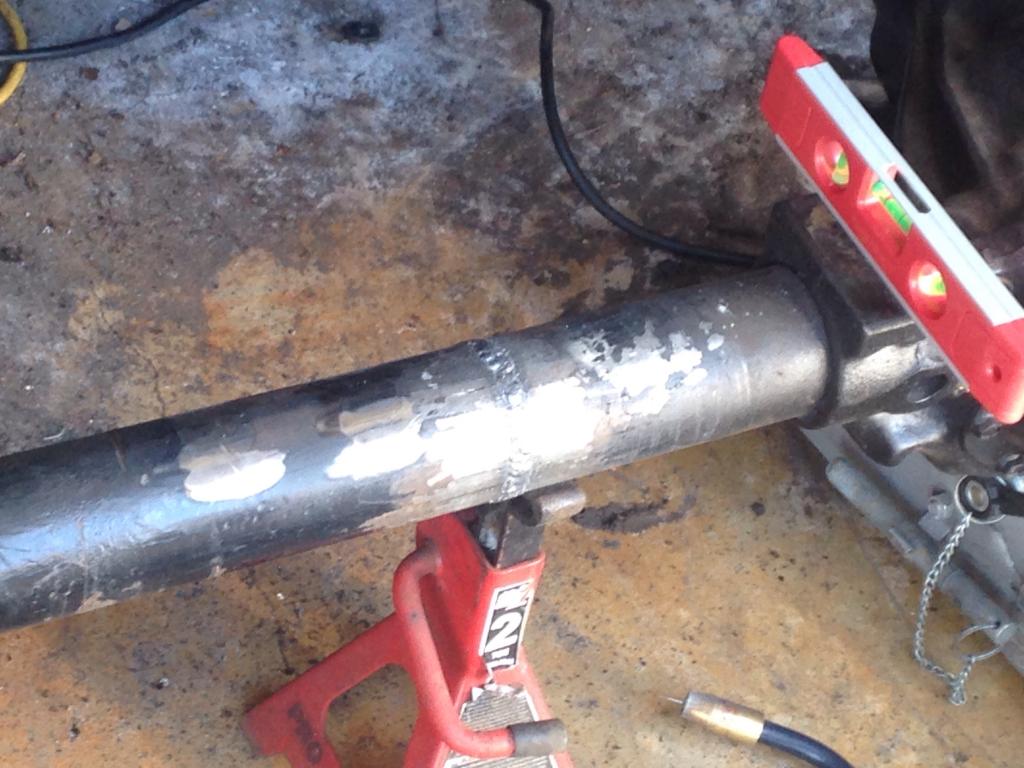
I knew I wanted to end up with approximately 61" wms-wms. Basically, what I had done was knock my passenger's side knuckle off along with a couple inches of tube, measure how much tube was sticking out of the differential on that side. I transferred that dimension to the long side to mark my cut line. I lopped off the long side tube, and then...

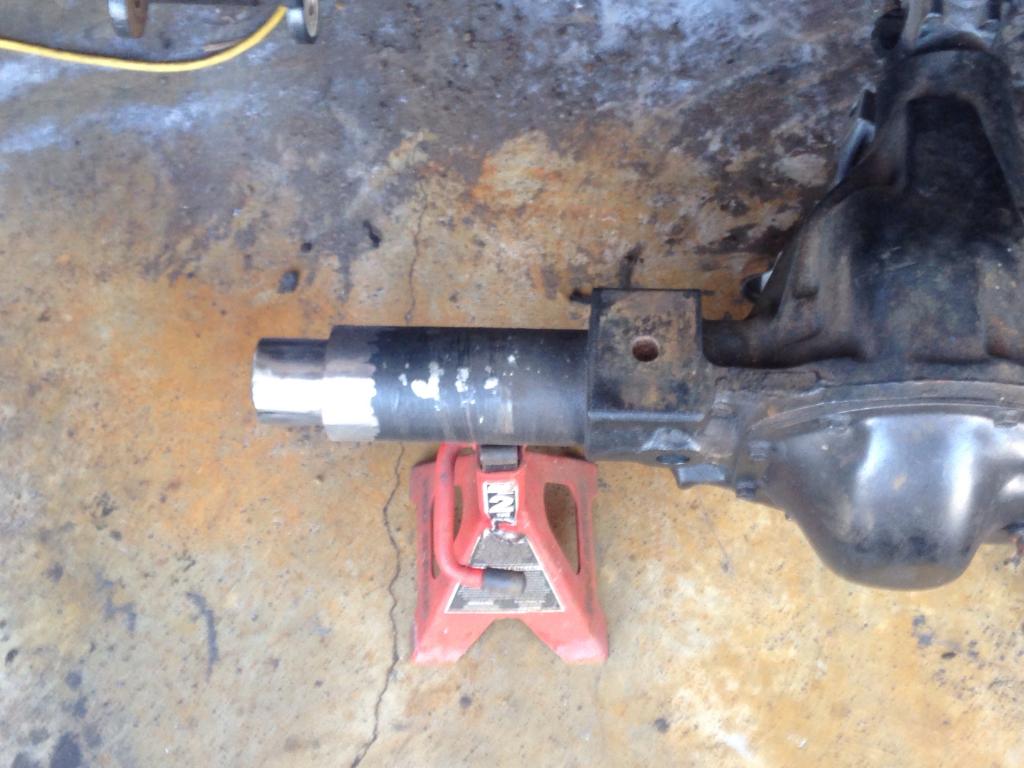
I chucked up a piece of tube in the lathe at work and turned it down to be a line fit with the ID of the axle tube. I wanted it there to align the axle tube for re-welding, as well as provide a backing so I didn't have an open-root weld (go ahead, call me a pussy).
image_zpsaa817577.jpg


I took what I cut from the driver's side and hammered it onto the passenger side, effectively moving my differential to the driver's side.
image_zps62cd9c0e.jpg


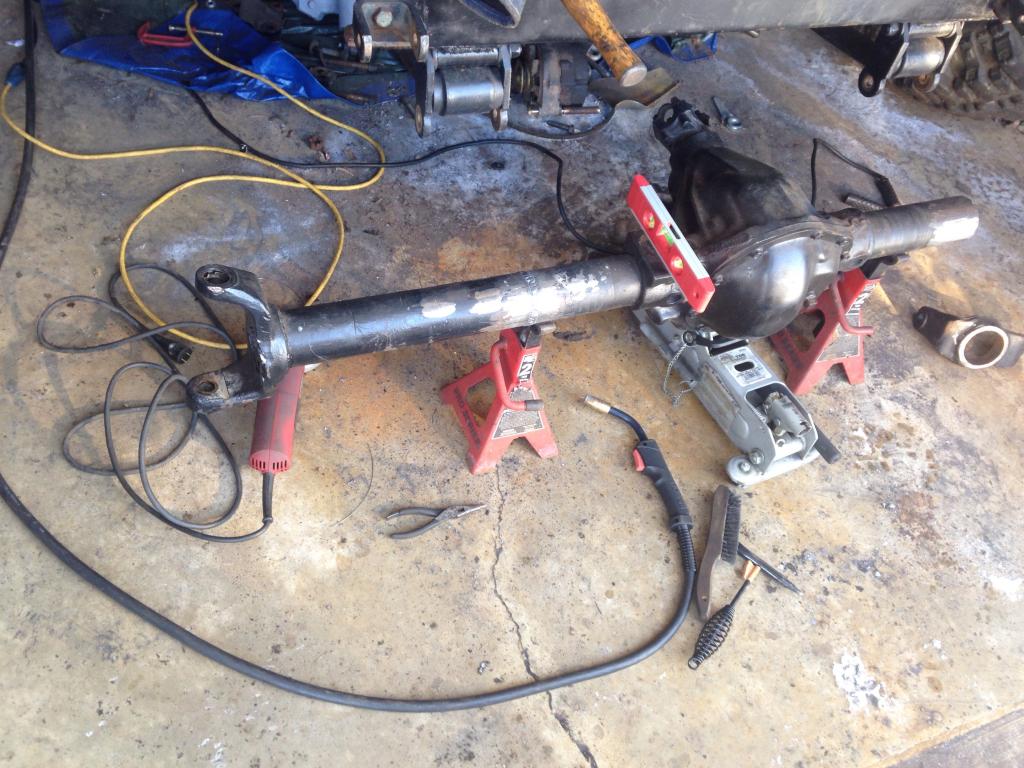
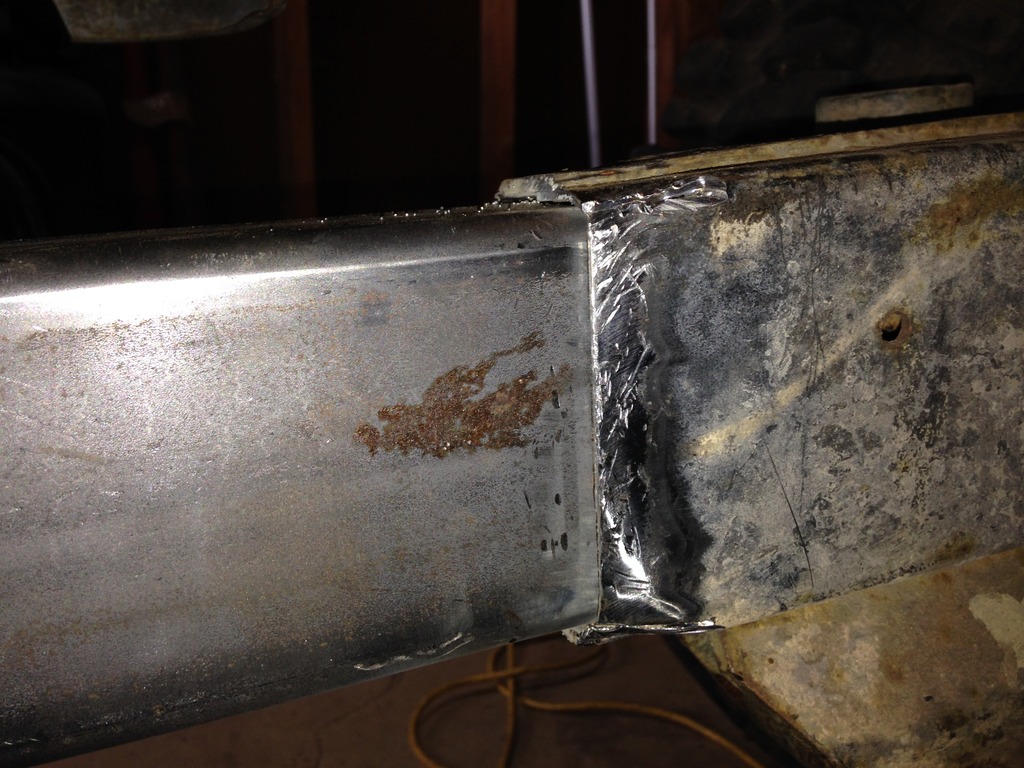
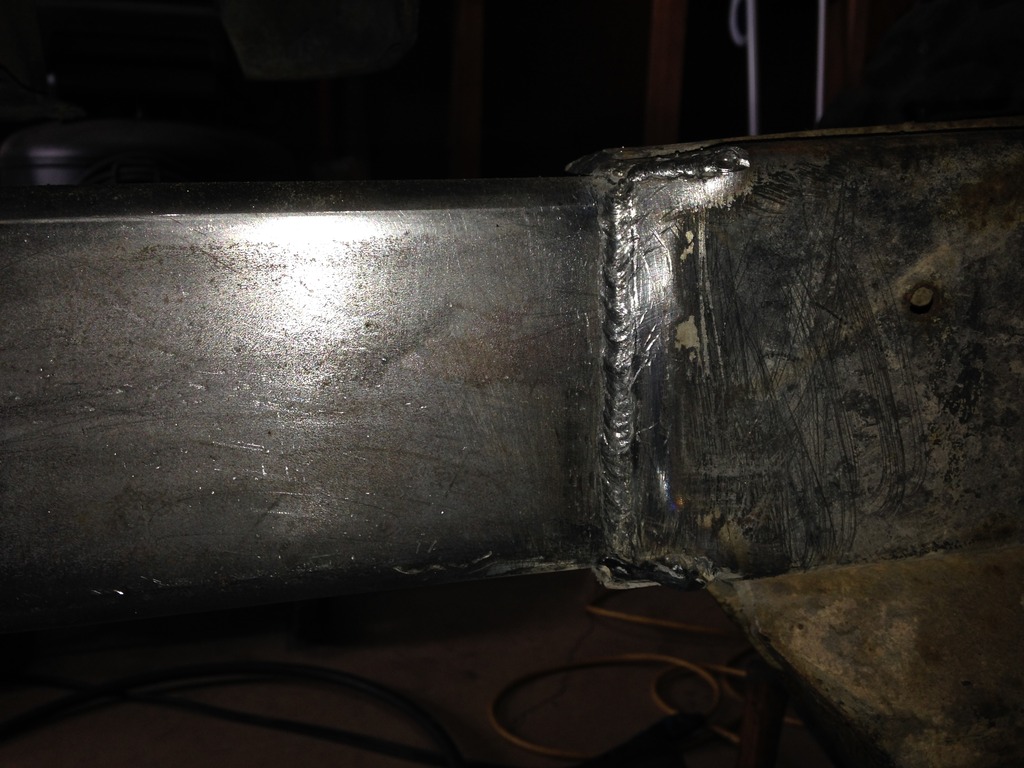
After leveling the differential by the old spring perch, I set my castor angle back 6 degrees, stared at it for a while wondering if I made a relatively expensive pile of scrap, scratched my nugget then decided to burn some wire. I laid in a healthy root pass tying both sides into the backer we discussed earlier, then capped it all off with a bitchin' weave.

image_zps10172d62.jpg


I guess that's not too bad for gasless flux...Again...I'm cheap. Sorry for my low-budget-mindedness, but hey...I work with what I've got.

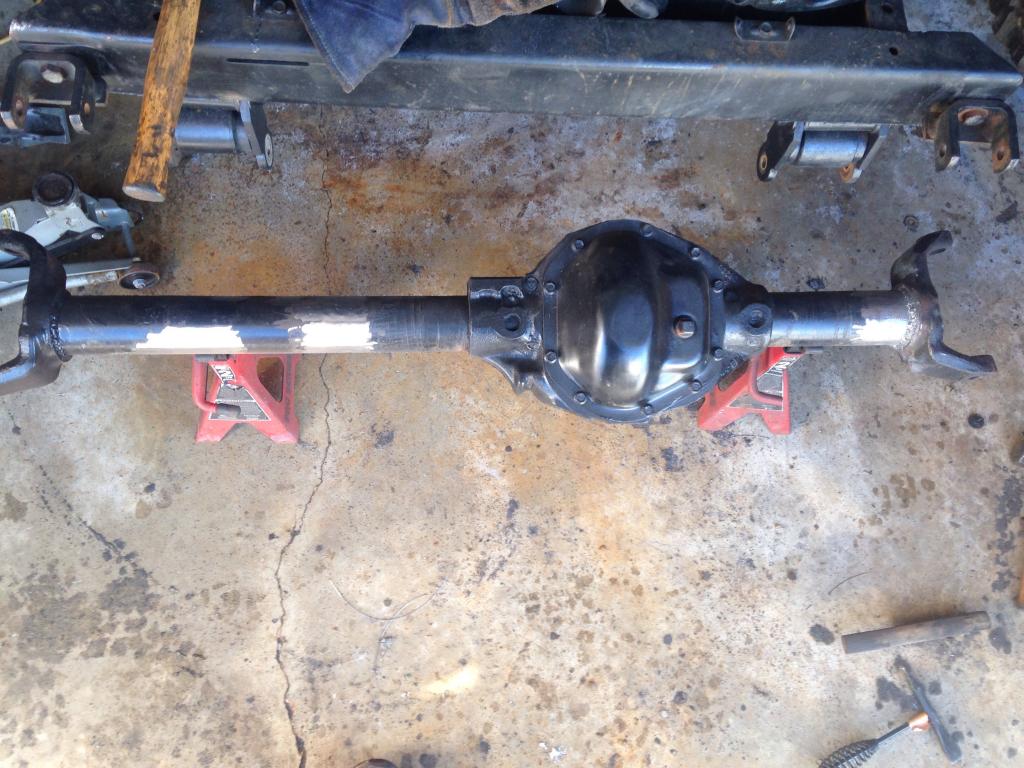
The weld got ground smooth, then I smacked the driver's side knuckle back where she belongs, matching the caster angle to the passenger side.

image_zps77b34fad.jpg


And there you have it - a driver's side drop Chevy D44. Am I worried about the weld in the middle of the tube on the long side? Nope. Not in the slightest.
 
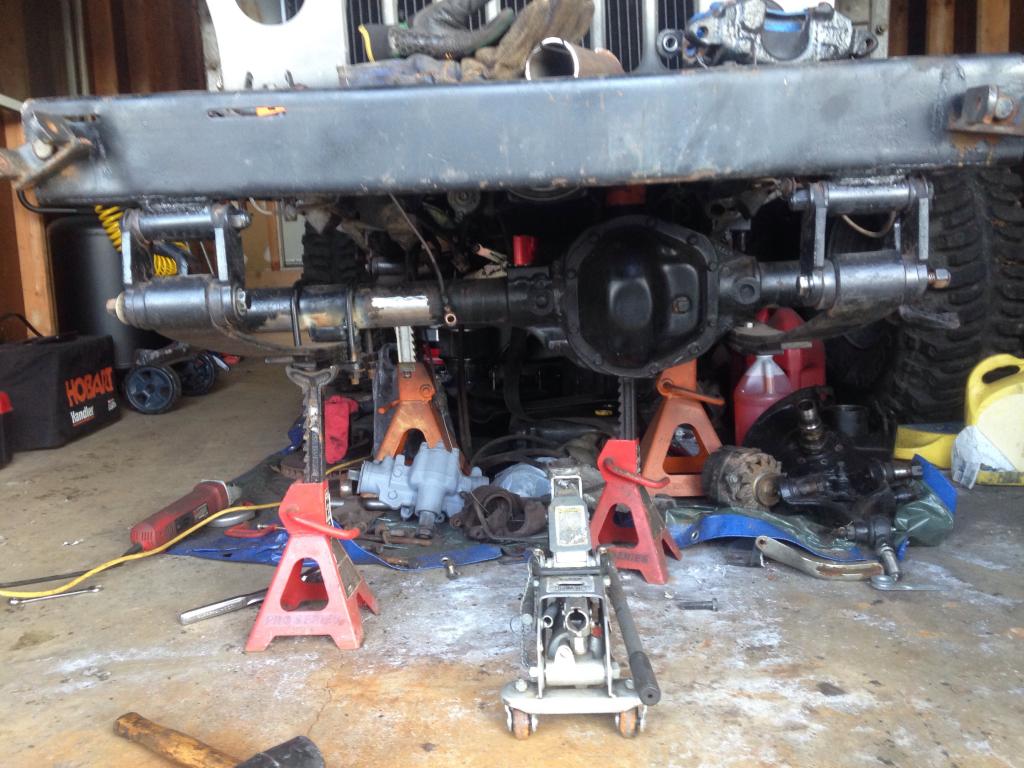
Well, now what do we do with it? I figure I'll conjure up some way to put this thing back in SUA. Just staring at it and trying to do it with mind bullets wasn't working, so I had to start grunting. Threw it in on top of the springs to see where things sat.

image_zps26ee8de8.jpg


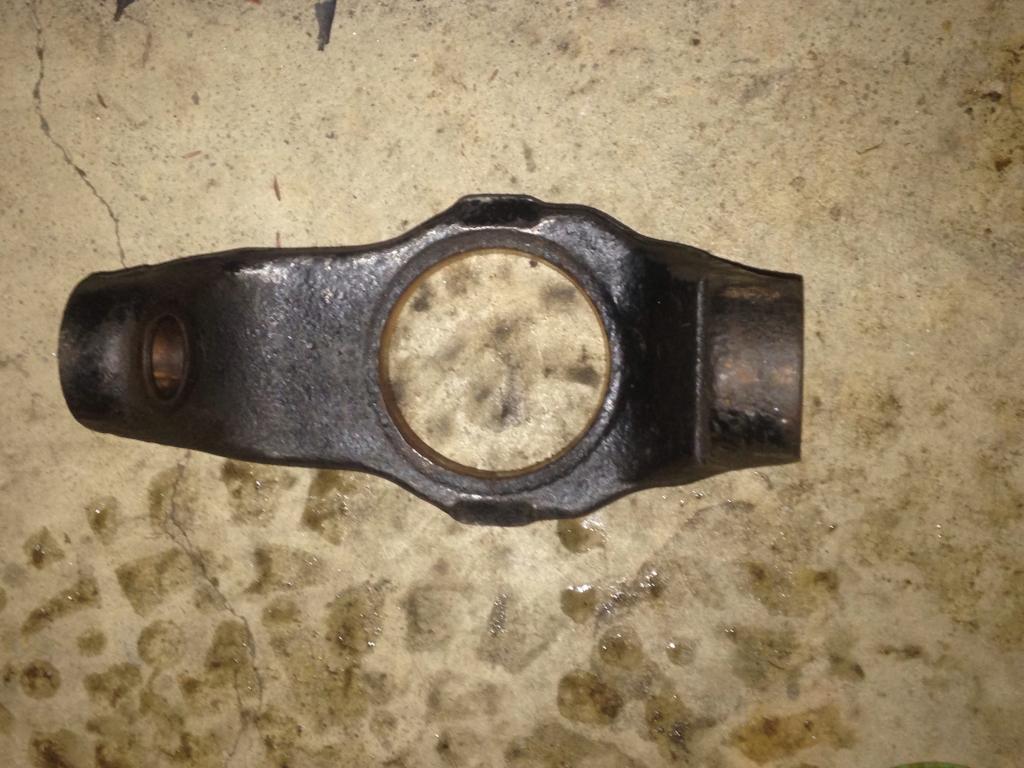
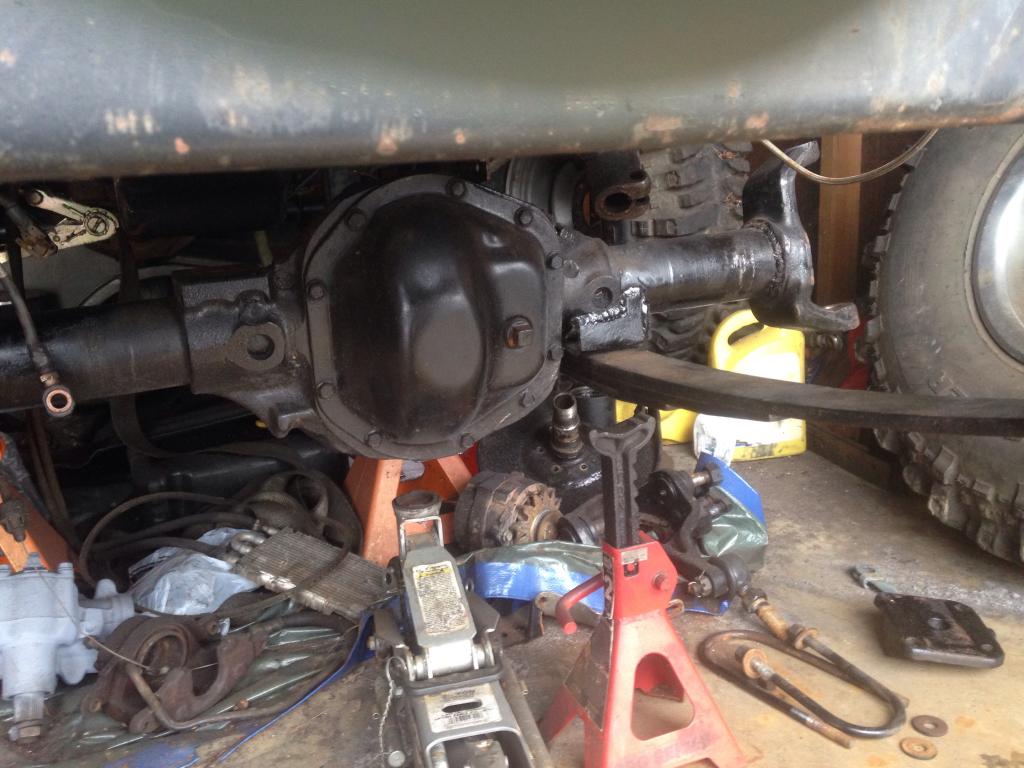
I put the axle in, perch on the passenger side to locate it fore and aft. I centered it from knuckles to springs so I could see what I needed to do with the driver's side. Looks like I needed to lose some of the web at the casting, which sucks a little. Then, I built a perch out of plate steel to mount it to the spring on the driver's side. Oh, and don't mind my piles of shit on the floor under the jeep....nothing to see here.

image_zpse1f53c83.jpg


The top web needed to go away too for the u-bolt.

image_zpsd0jfzddc.jpg


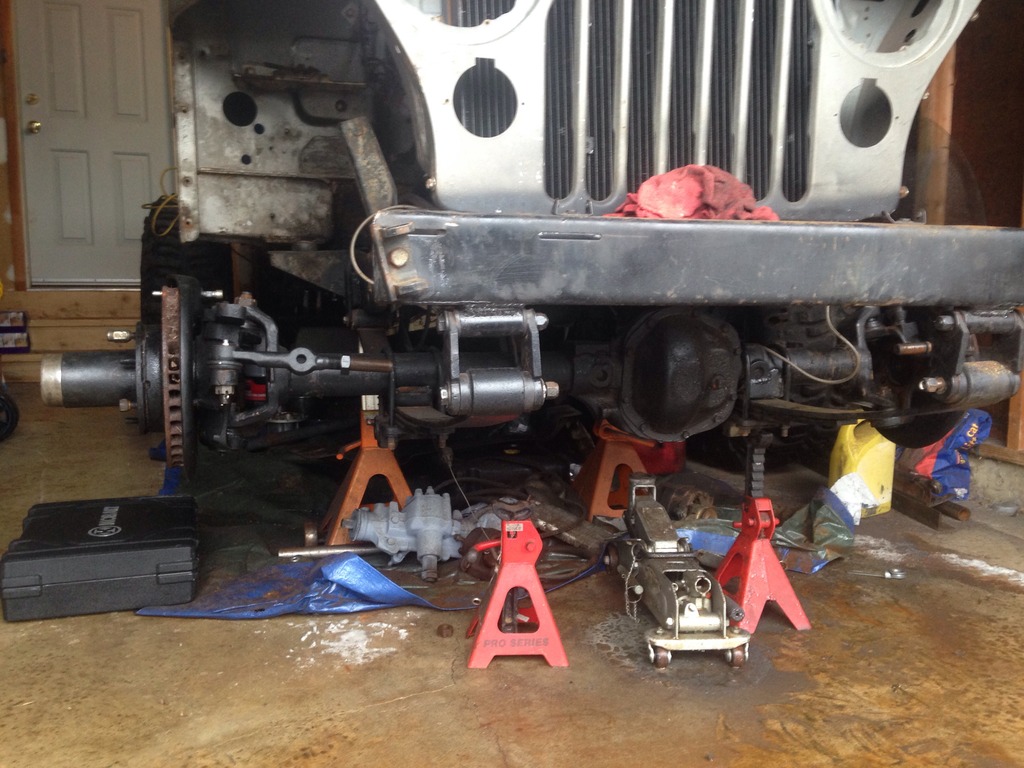
Knuckles back on...along with new TREs so I can measure for linkage. I ended up at 61.5" wms-wms.

image_zpsvmooi86x.jpg


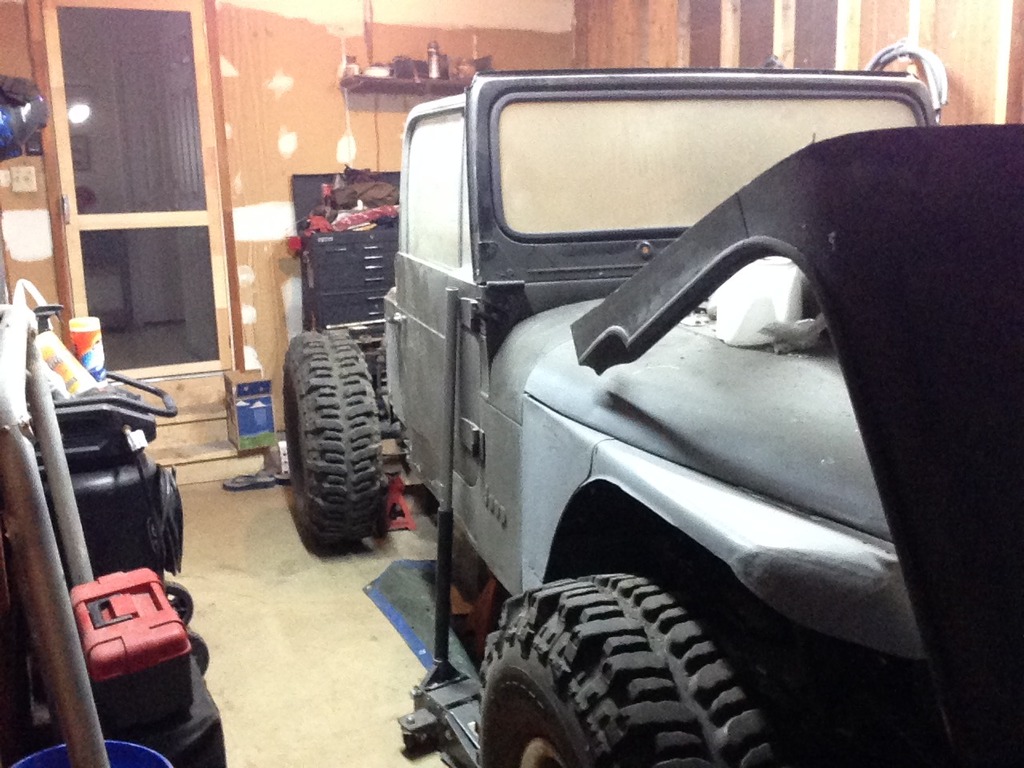
Bolted the tires back on, and holy balls batman! This thing got low.

image_zpsc3e7vaie.jpg


image_zps445hnoc4.jpg


image_zps4leu97hh.jpg
 
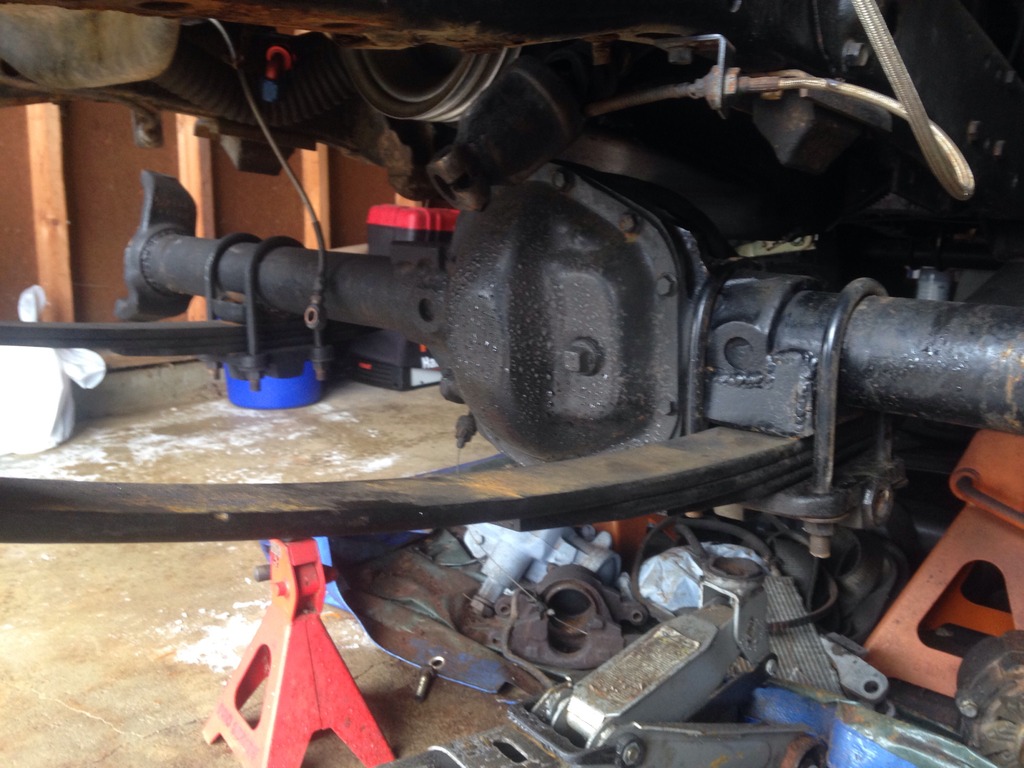
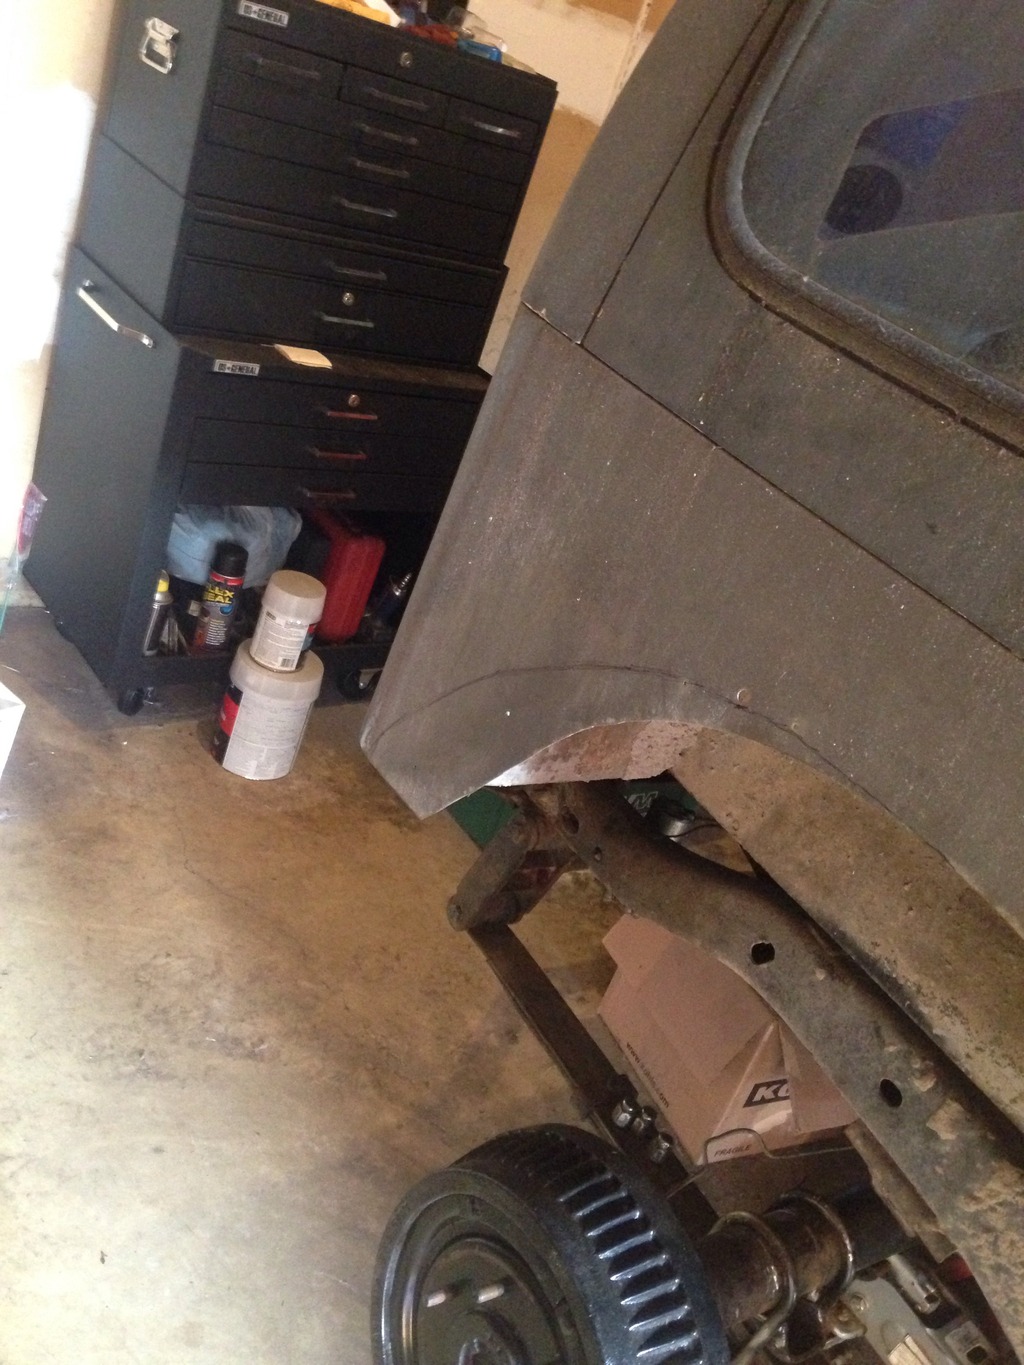
Now obviously came the need to lower the rear to match the front. I painstakingly cut off the perches laying under the jeep. As you can see from my tight as hell one car garage, I didn't have the room to pull the axle out. Can't roll it outside because my snotty HOA neighbors might bitch. I have fucking got to move...now.

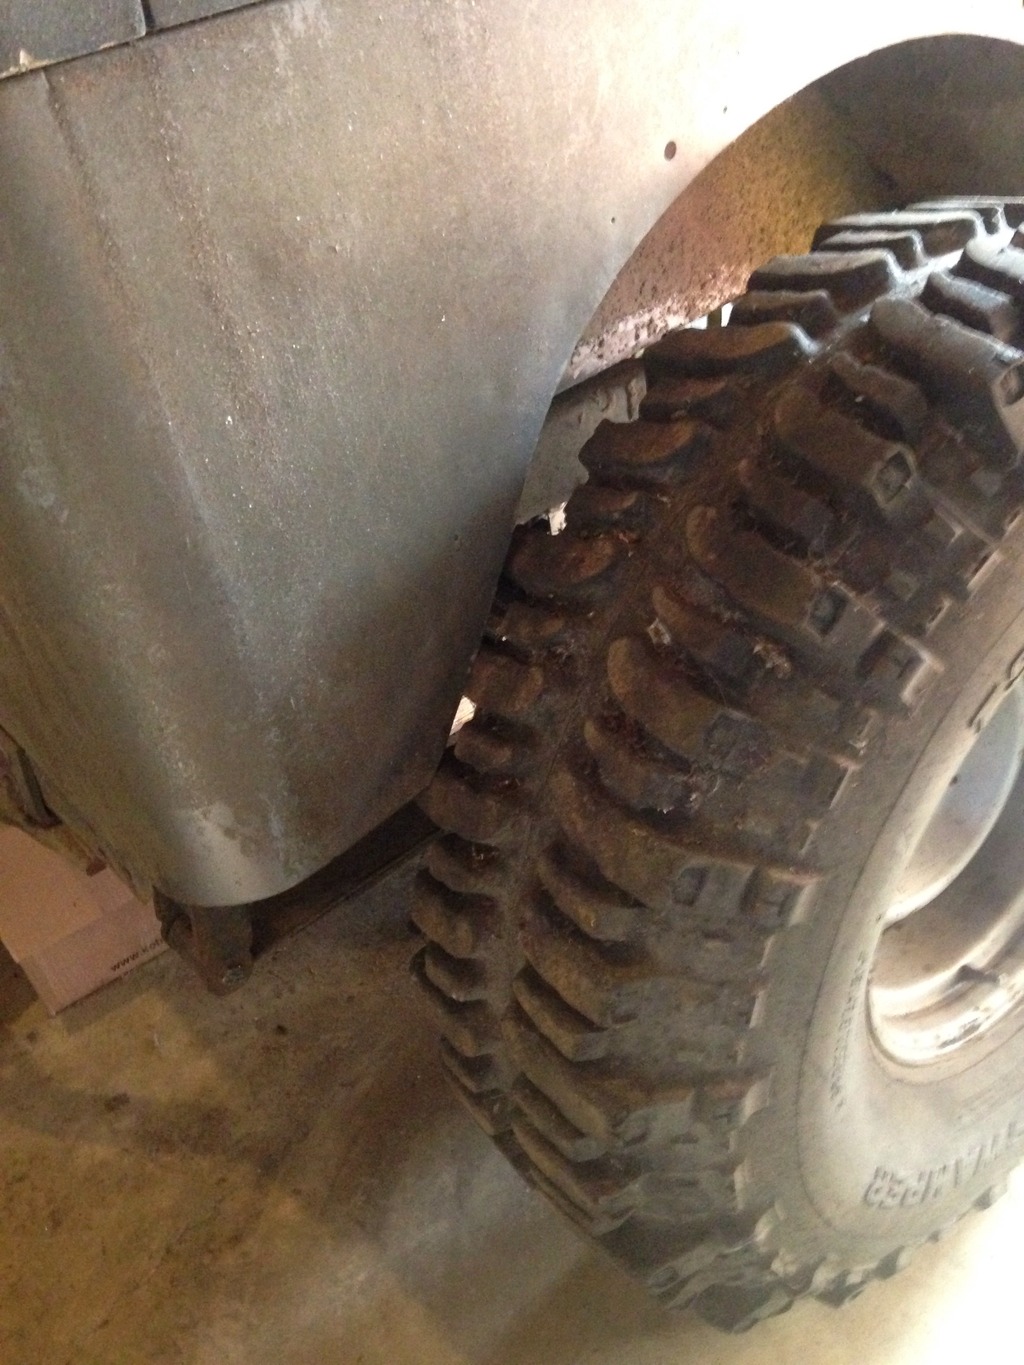
Just as I thought...interference with the body. This was also using one of the offset holes in the spring perch to move the axle back about 1.5 inches.

image_zpsuilnqh9h.jpg


So out came the sharpie...

image_zpsidxpzqh4.jpg


A swipe with the sawzall and bolted on the tire.

image_zpsdcfva57d.jpeg

image_zpsckk1ewqb.jpeg


Frame height is at 19" behind the front spring hangers. It's at about 20" in front of the rear hangers. One of these days I'll do something about that too.
 
Ever wonder what a stock height CJ looks like with 38" Boggers?

Kinda cute...lol
image_zpsjkrenoii.jpg


image_zpsixfwapnl.jpg


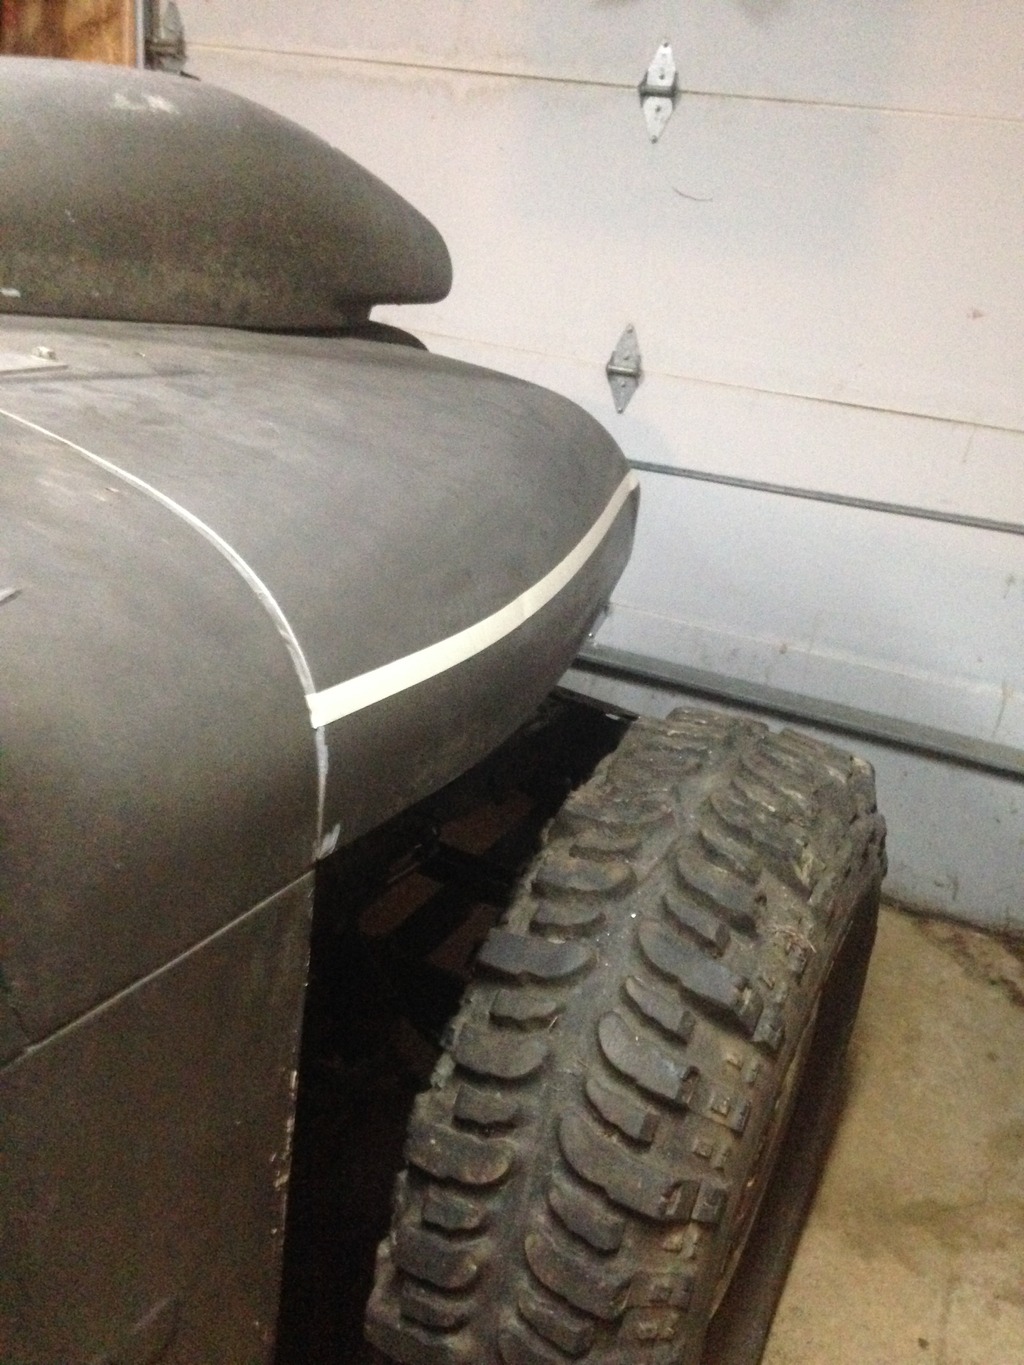
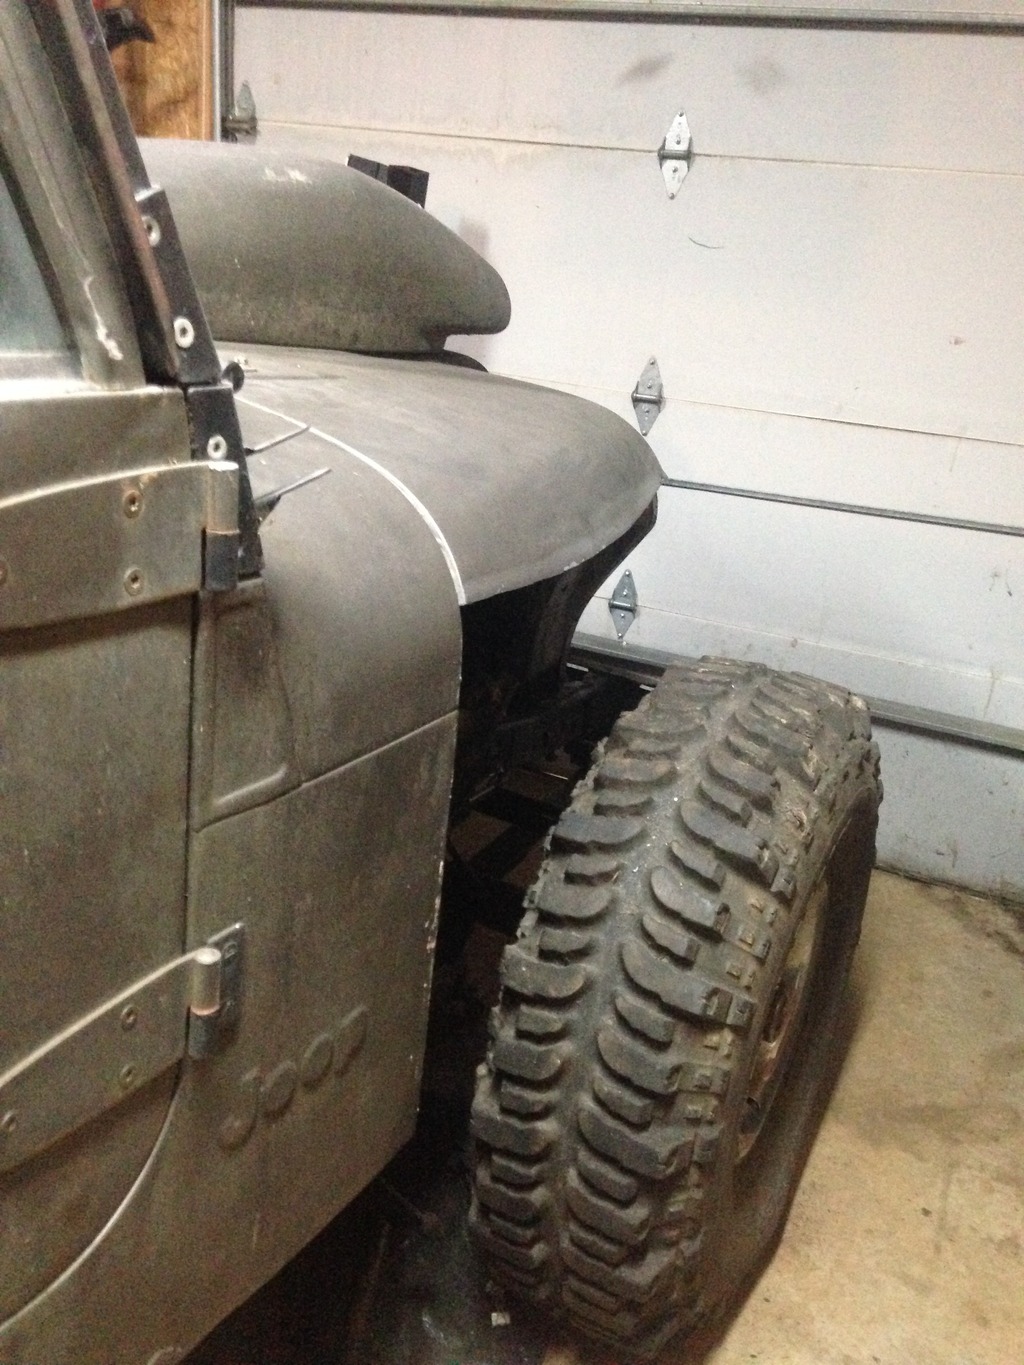
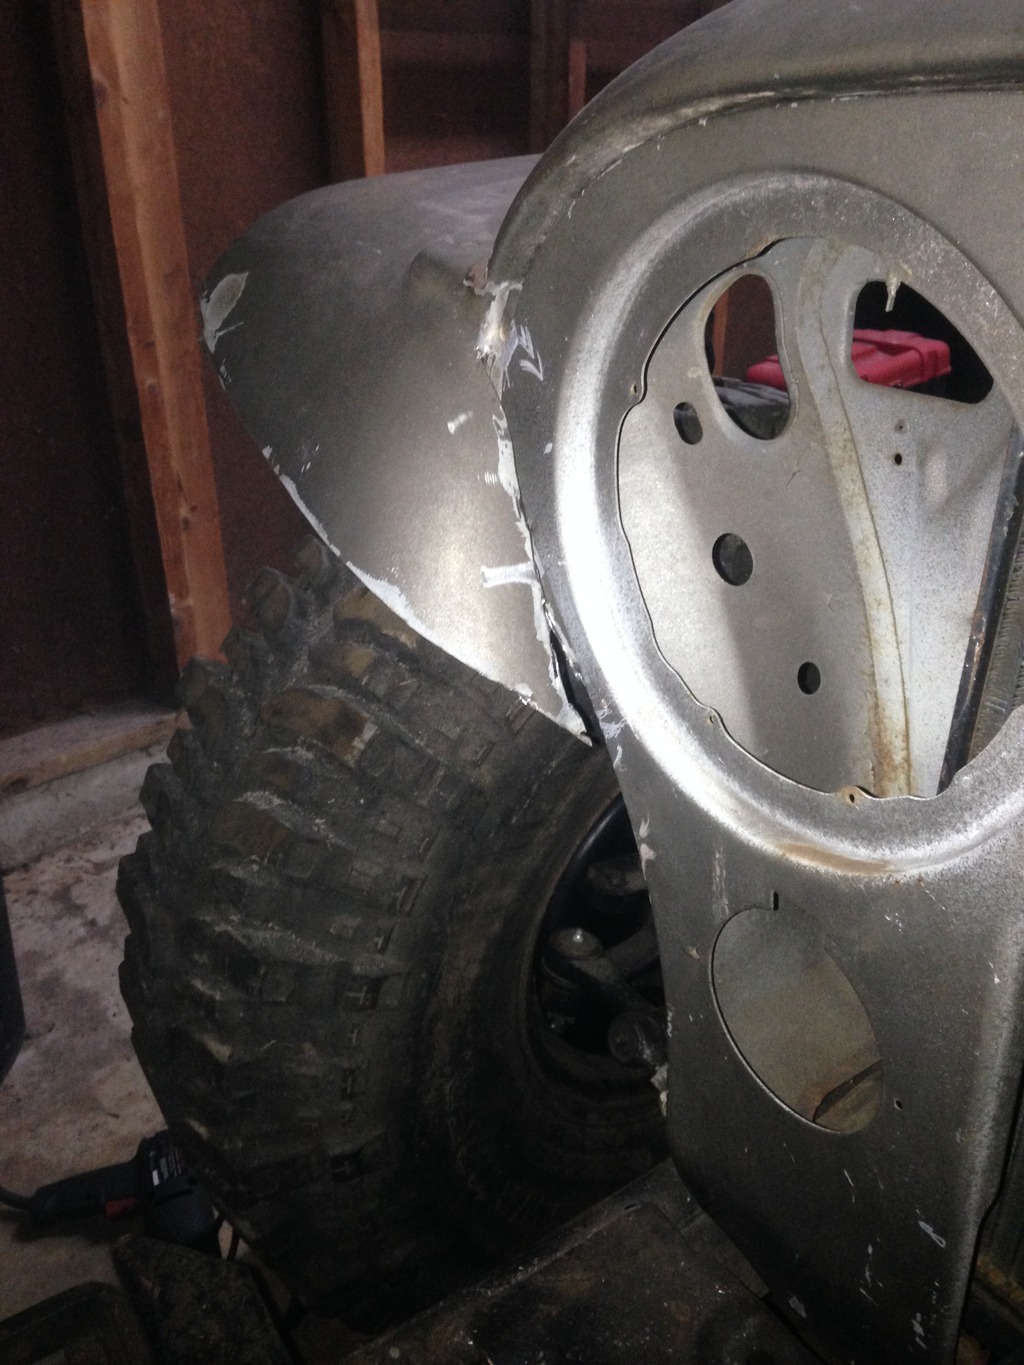
I needed to do something about it obviously. So I wanted to highline the fenders. I don't particularly like the typical highline look, but I didn't want to build flat tube fenders either. So we'll address that now.

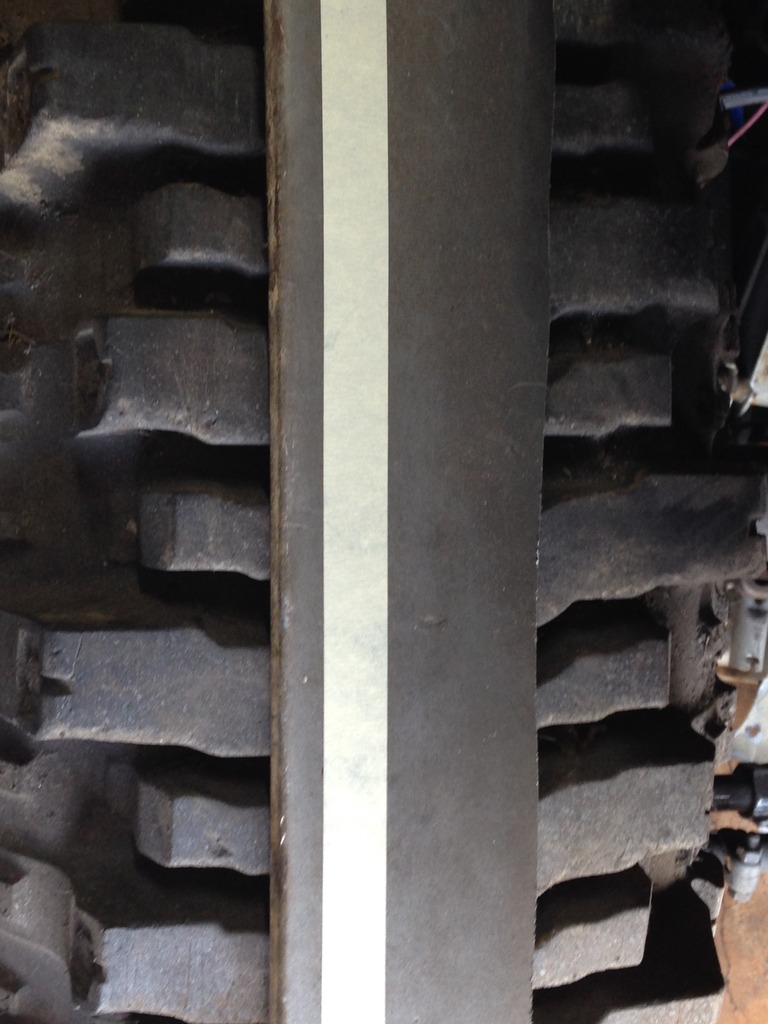
Tape line after some carefulish measuring.

image_zpsfpvpqmjb.jpeg


image_zps7v7rjreq.jpeg


I'm beginning to become quite the sawzall ninja. Better watch out, ese! I cut you so bad, you wish I never cut you homes!

image_zpsgkph8jiw.jpeg


Mirrored.
image_zpszrqmexcj.jpeg


image_zpsm129twck.jpeg


Re-drilled the fender to tub flange and bolted it on.

image_zpssqjoyey5.jpeg


So what did we gain?

Before:
image_zpsjh2zg5as.jpeg


After:
image_zpsyfmlg2kq.jpeg


About 3-3/8". It's a start, but not quite good enough.

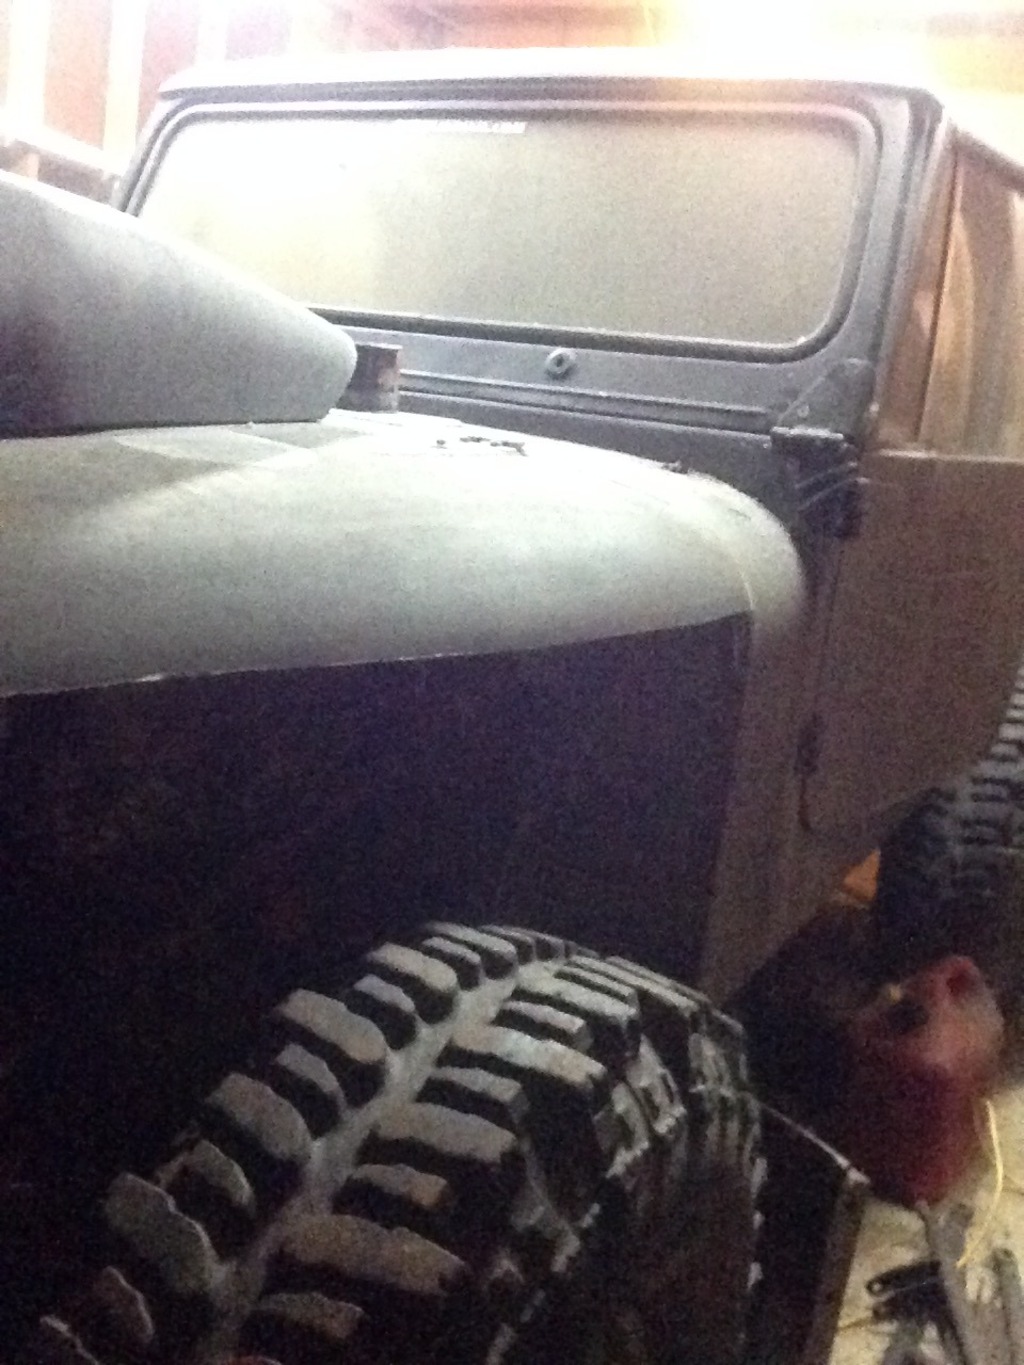
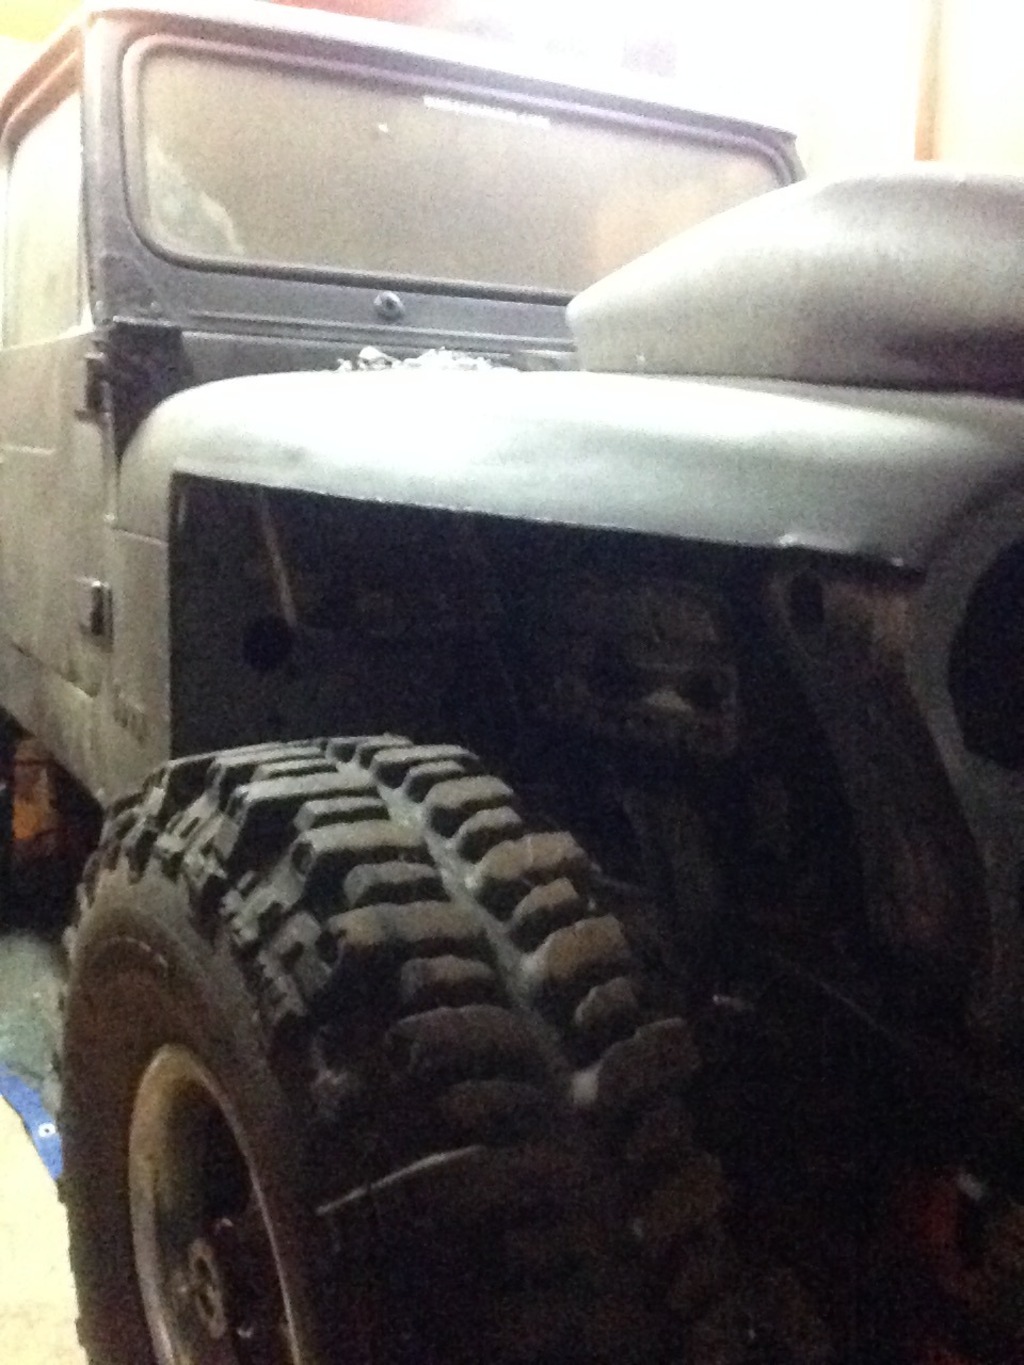
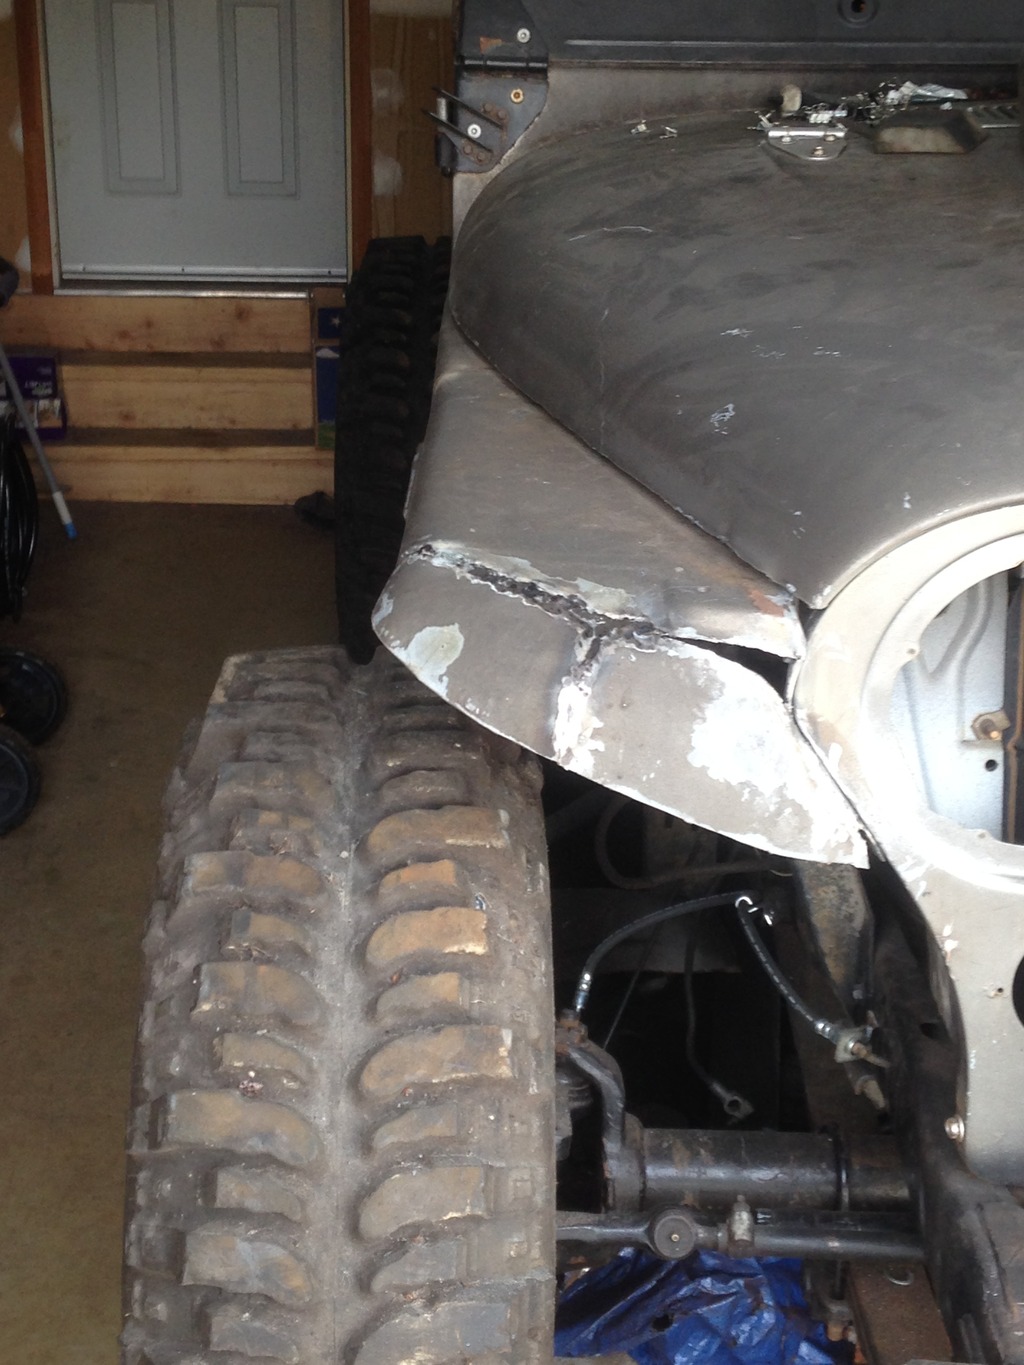
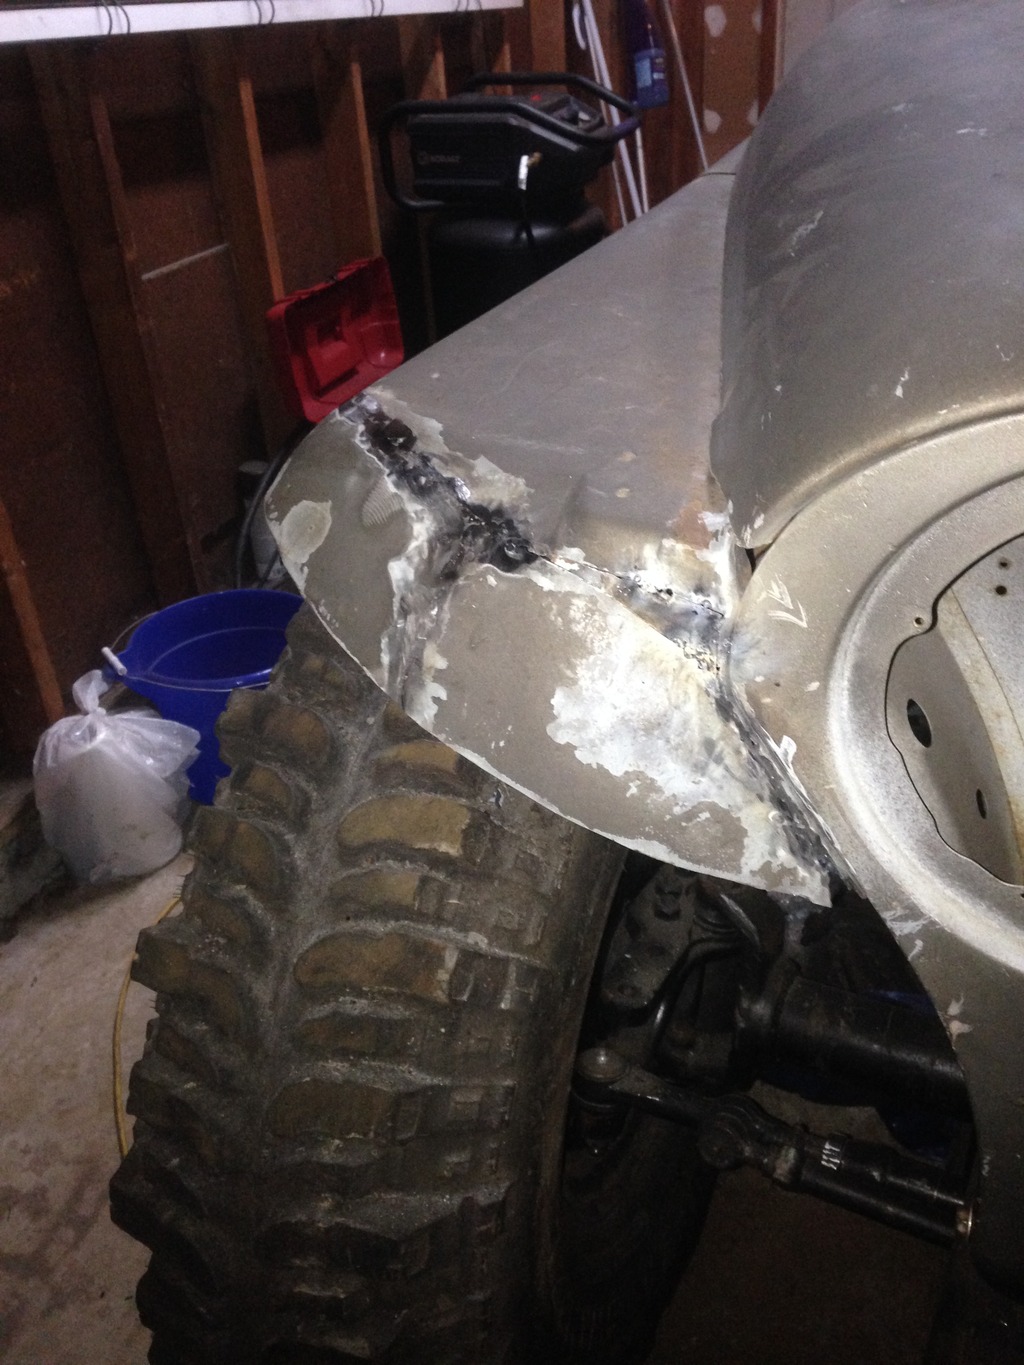
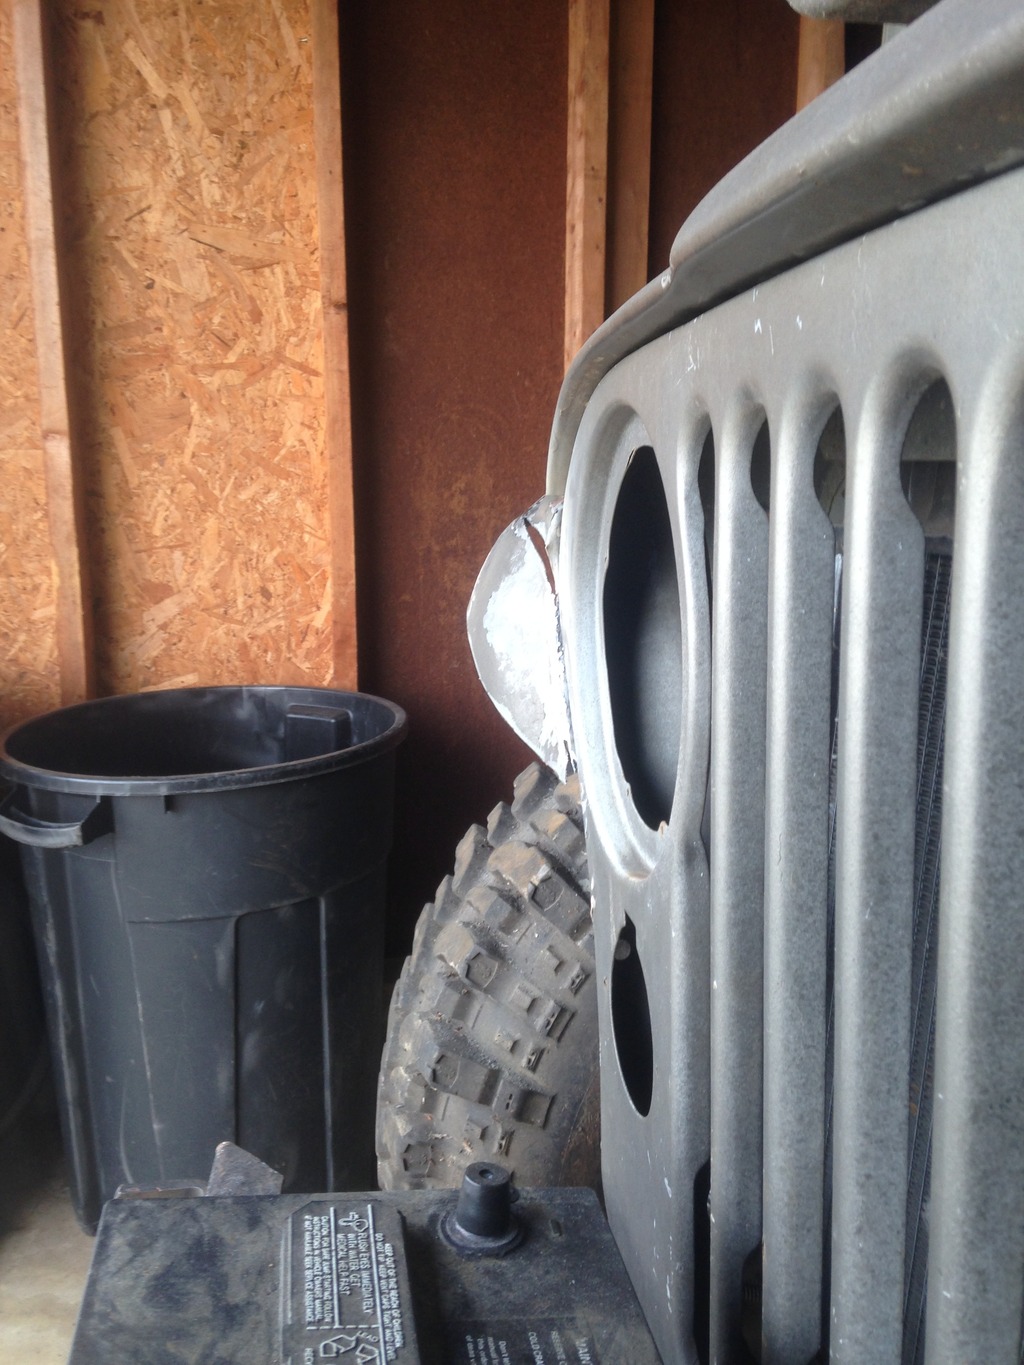
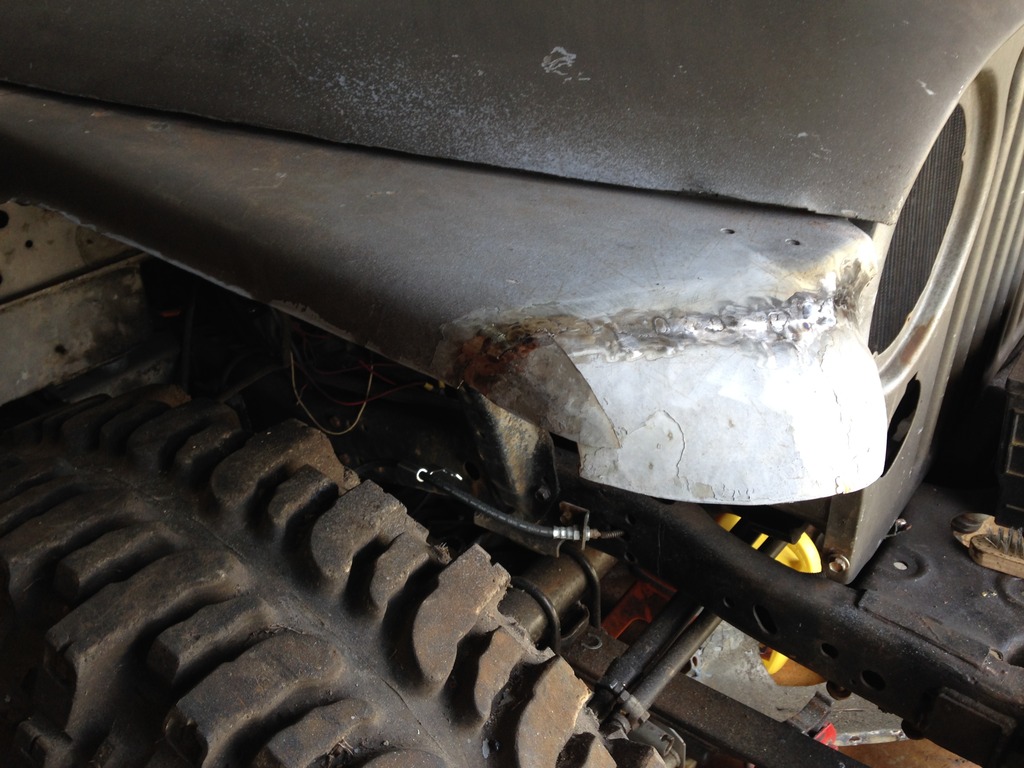
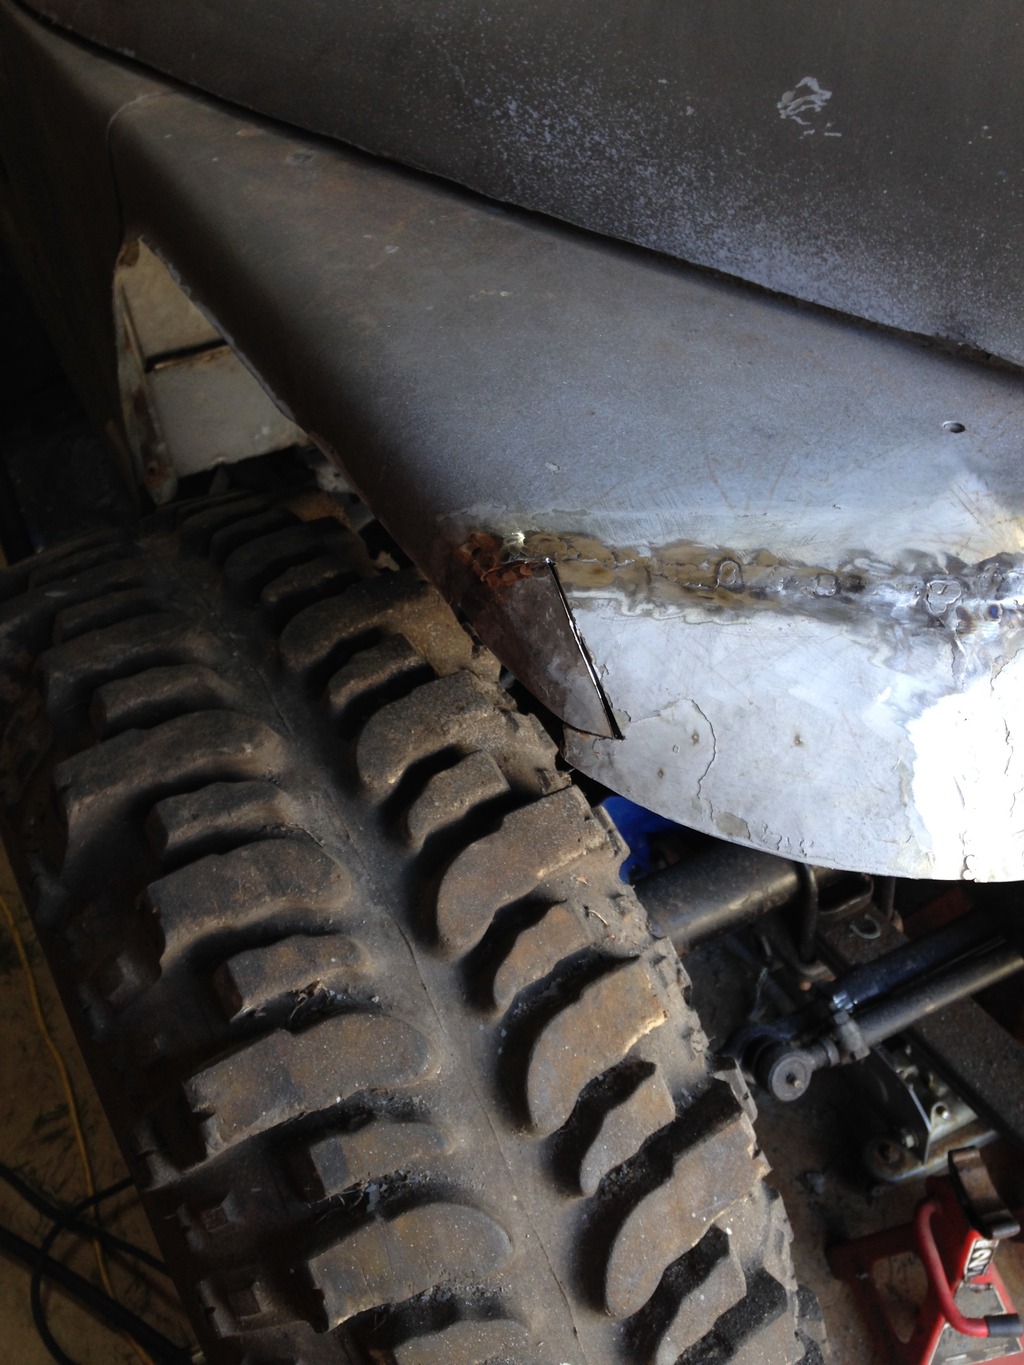
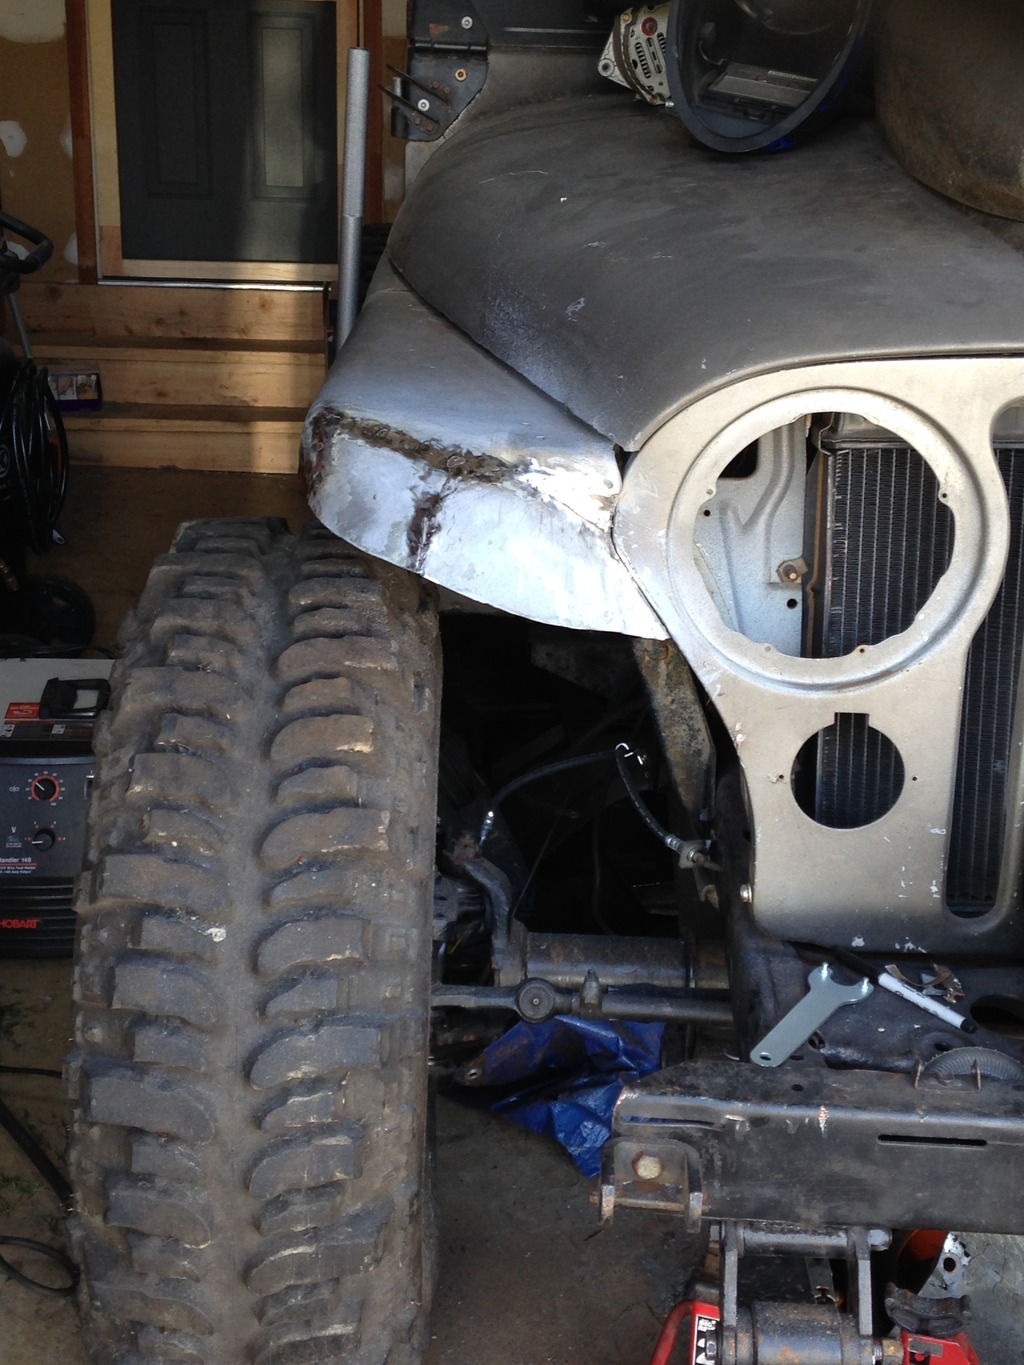
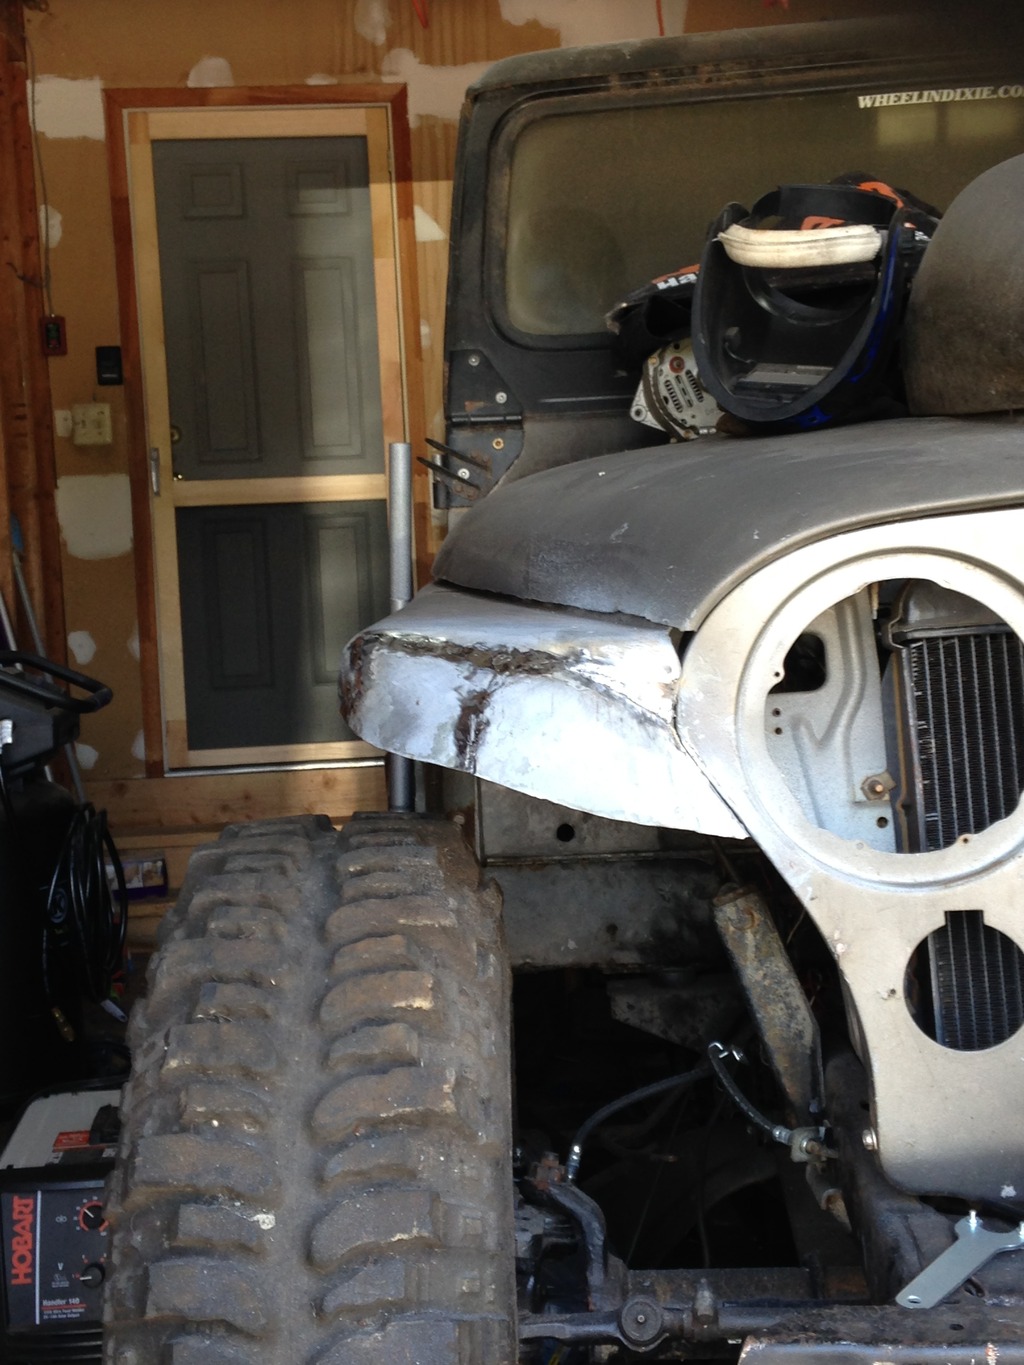
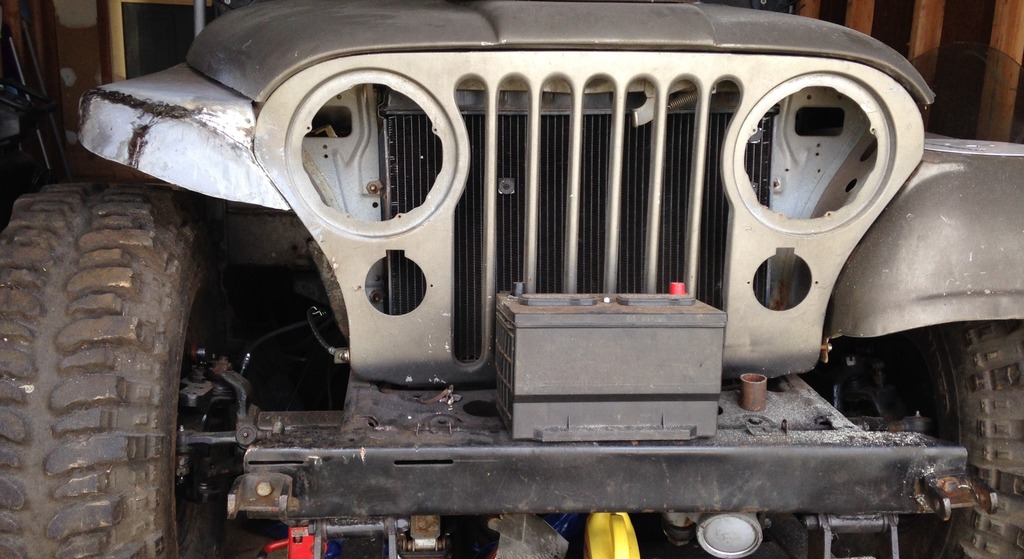
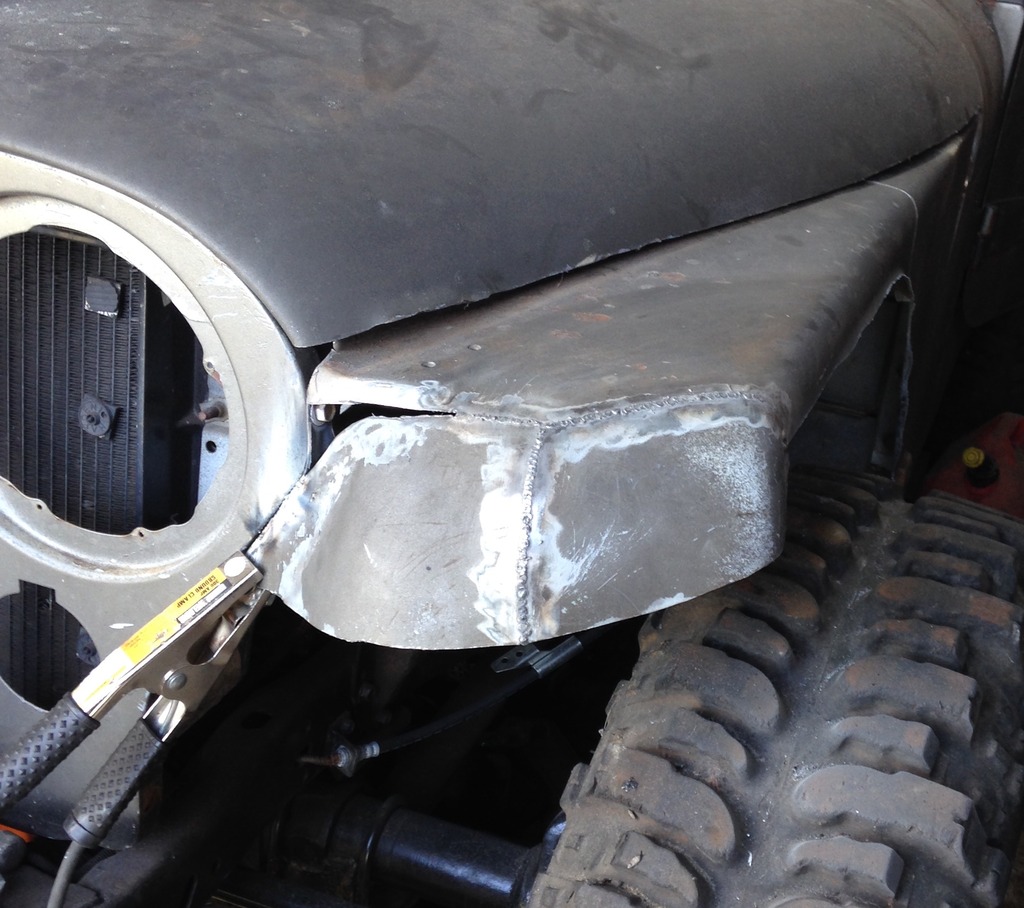
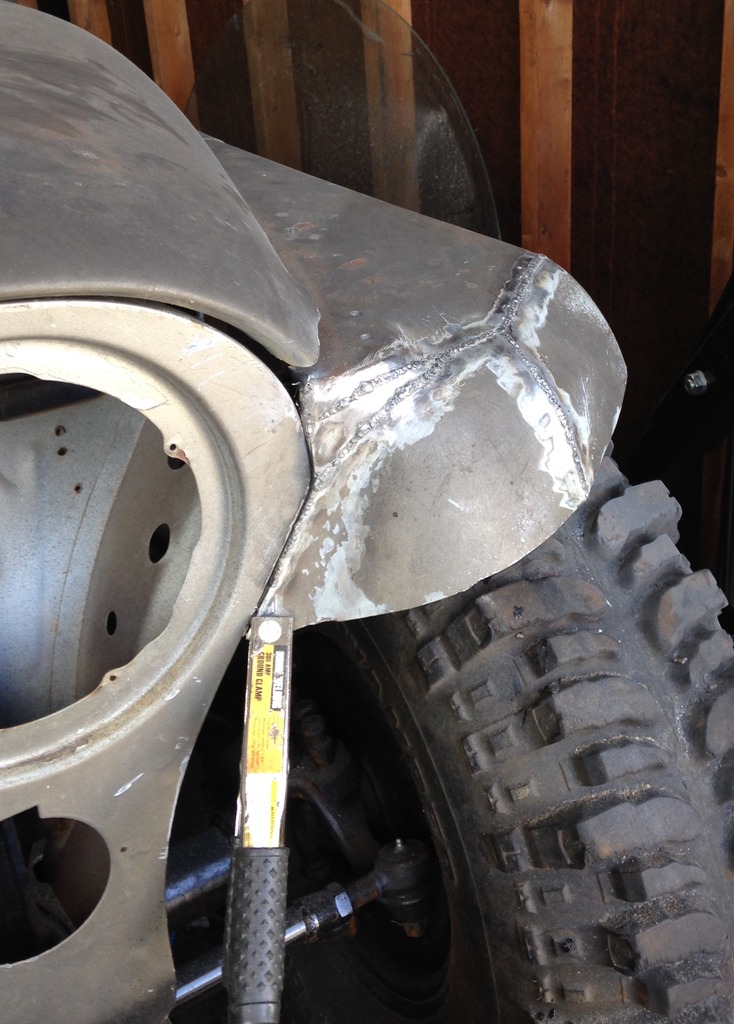
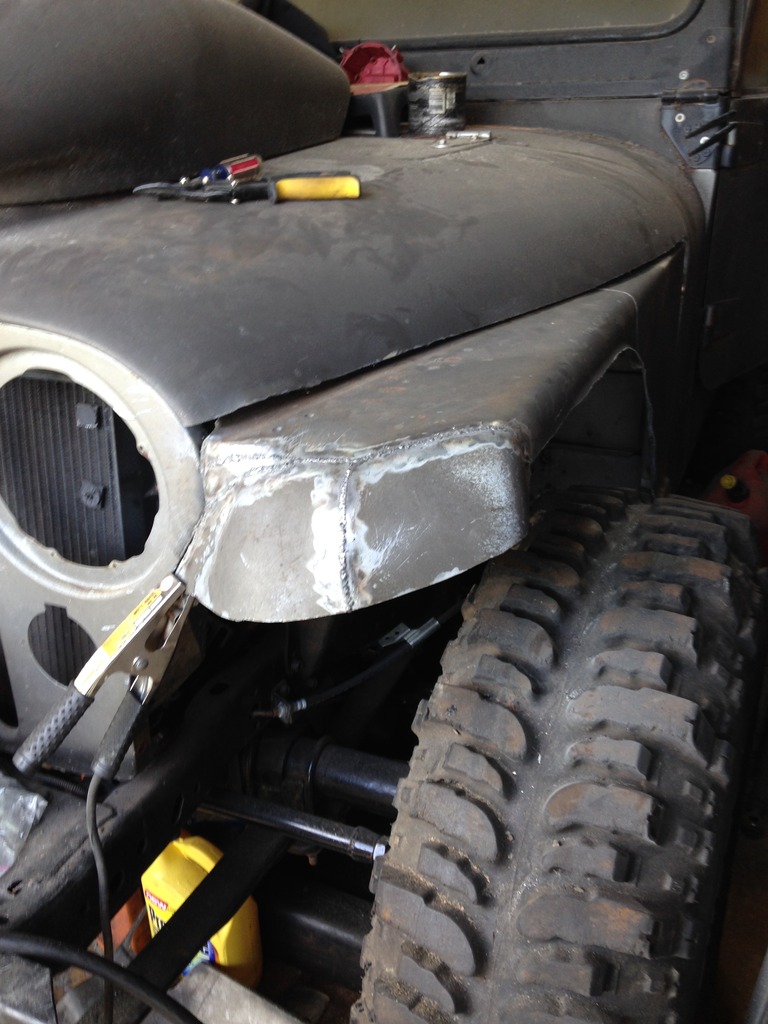
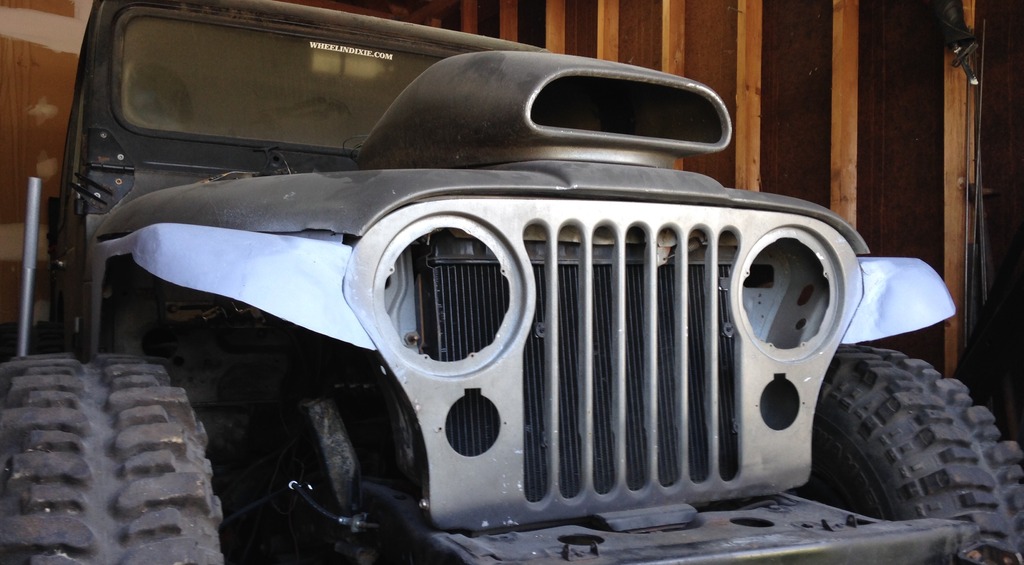
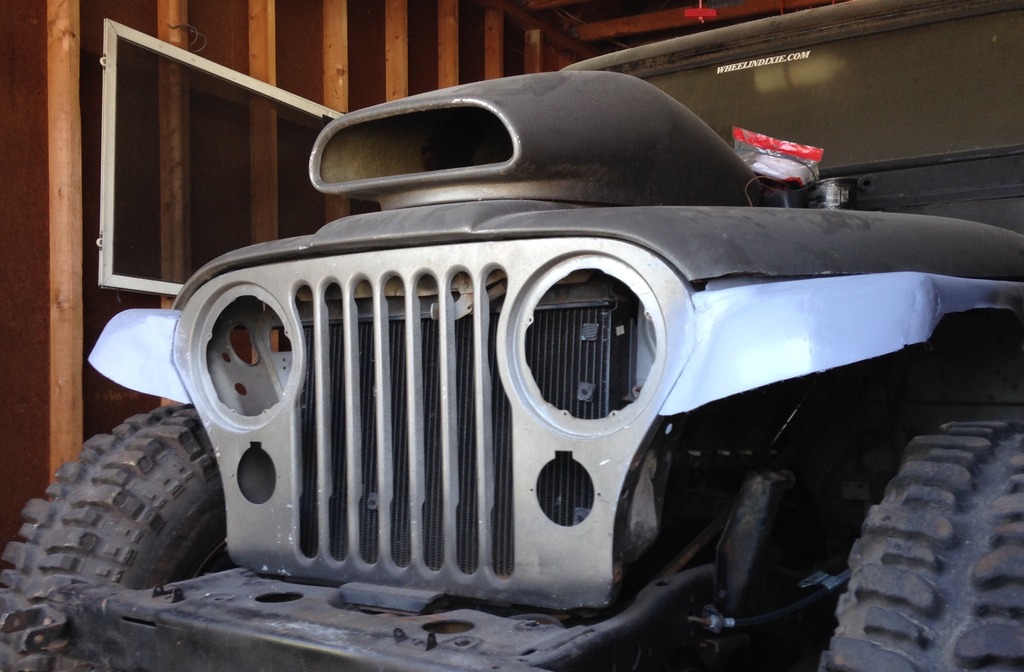
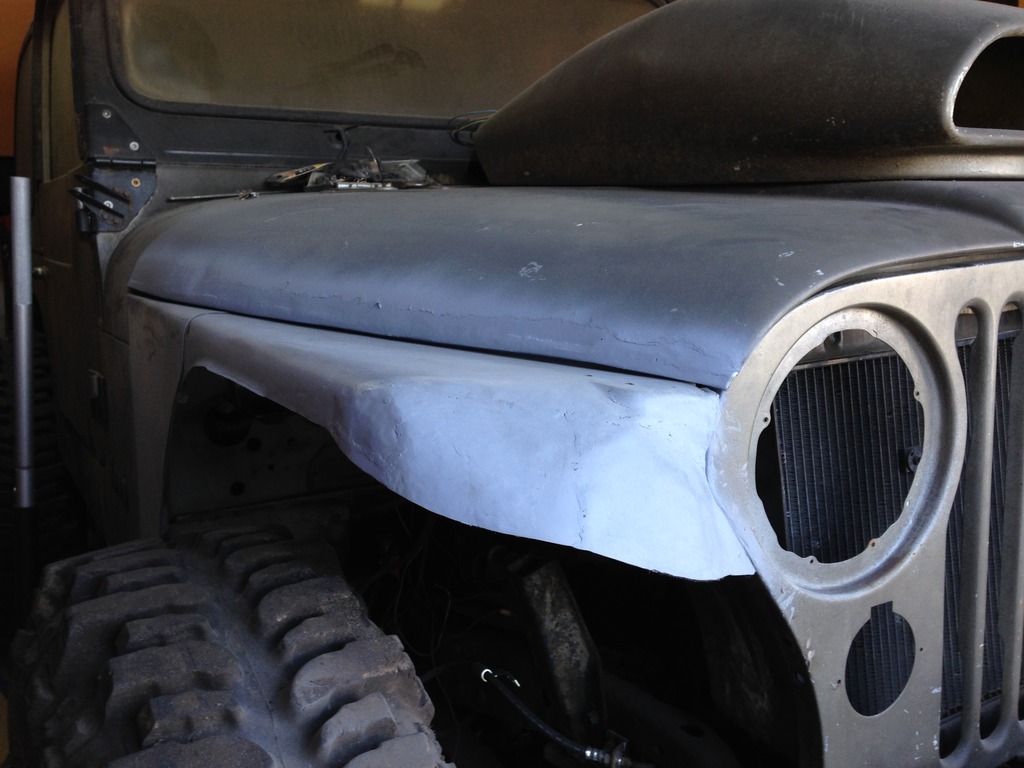
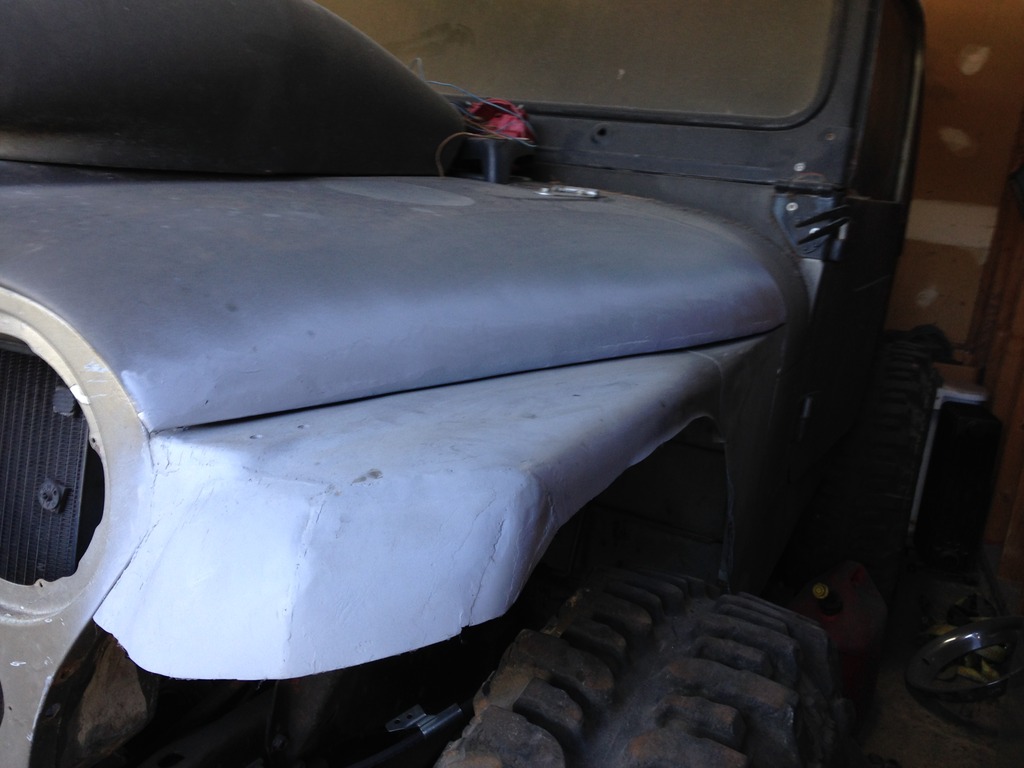
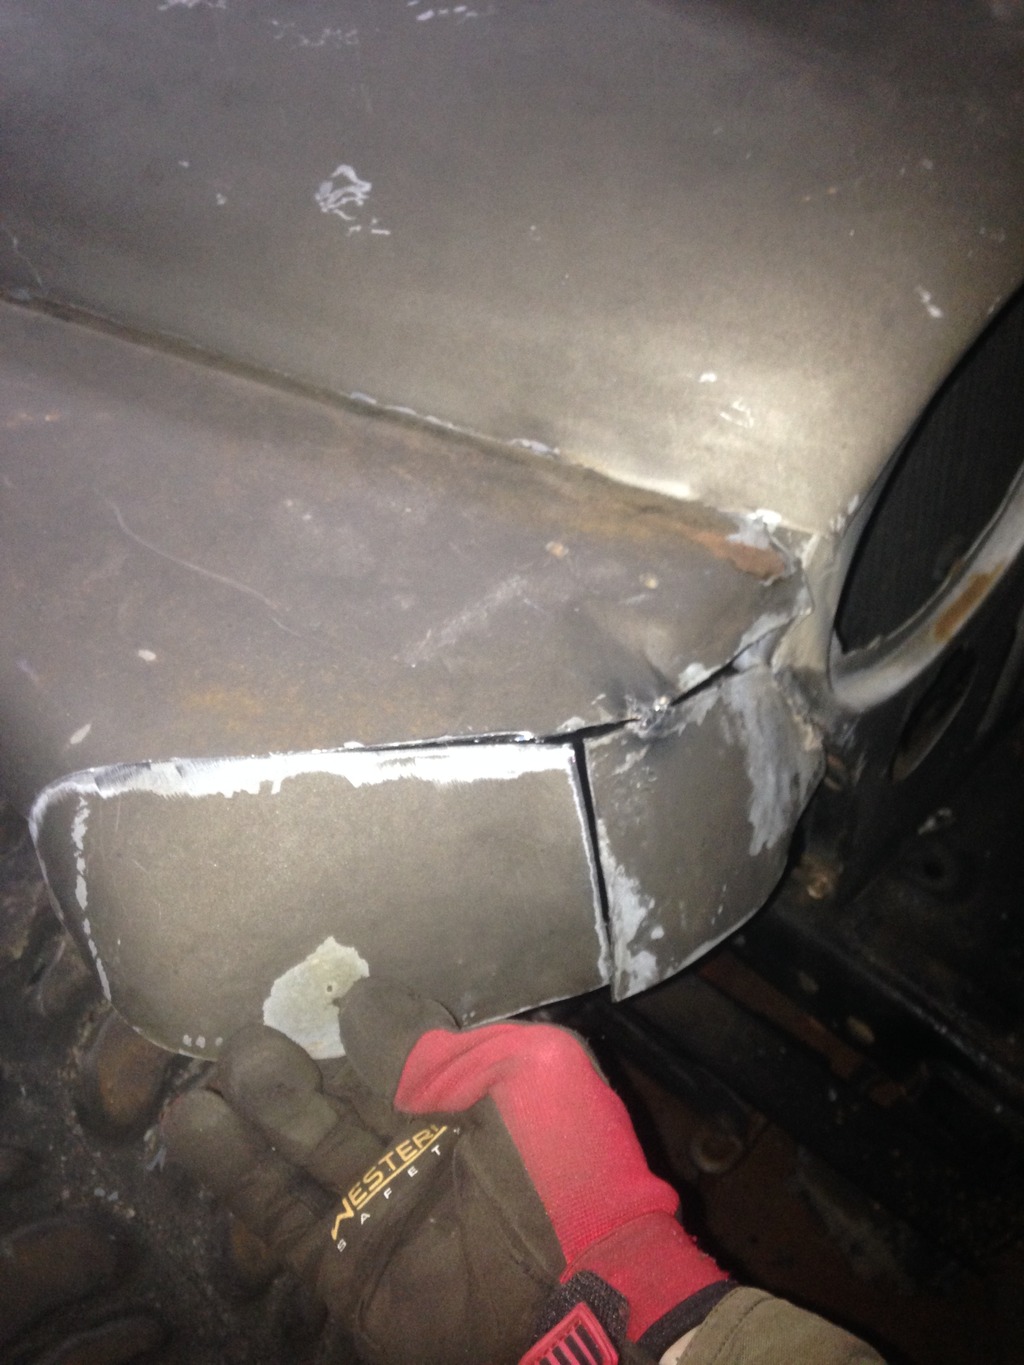
So, the typical highline makes a jeep look like a chubby kid smiling...pudgy cheeks poking out below the eyes. I wanted to make it look more sleek. What the hell, it's only sheet metal, right? I started with buzzing off the excess material, and making a relief cut where the fender meets the grille.

image_zpsvp5gif0w.jpeg


Inside, after drilling holes to mount the existing strap to the grille.

image_zpsmakhuu5h.jpeg


I cut this piece out to reshape it for a more appeal:
image_zpsvs4sosji.jpeg


After some massaging...getting there.
image_zps6qqqociz.jpeg


Tacked that in place, then took off some more to reshape.
image_zpsg7pjzedz.jpeg


image_zpstbpmv6kr.jpeg


Don't worry, it gets better. Sometimes building some one-off body panels gets ugly before they get better.

image_zpsrai4qviw.jpeg


image_zpscpfnrl8t.jpeg


Now to fill in that hole
image_zpsixncriur.jpeg


Starting to be okay with where this is going.
image_zps56bo5oyb.jpeg
 
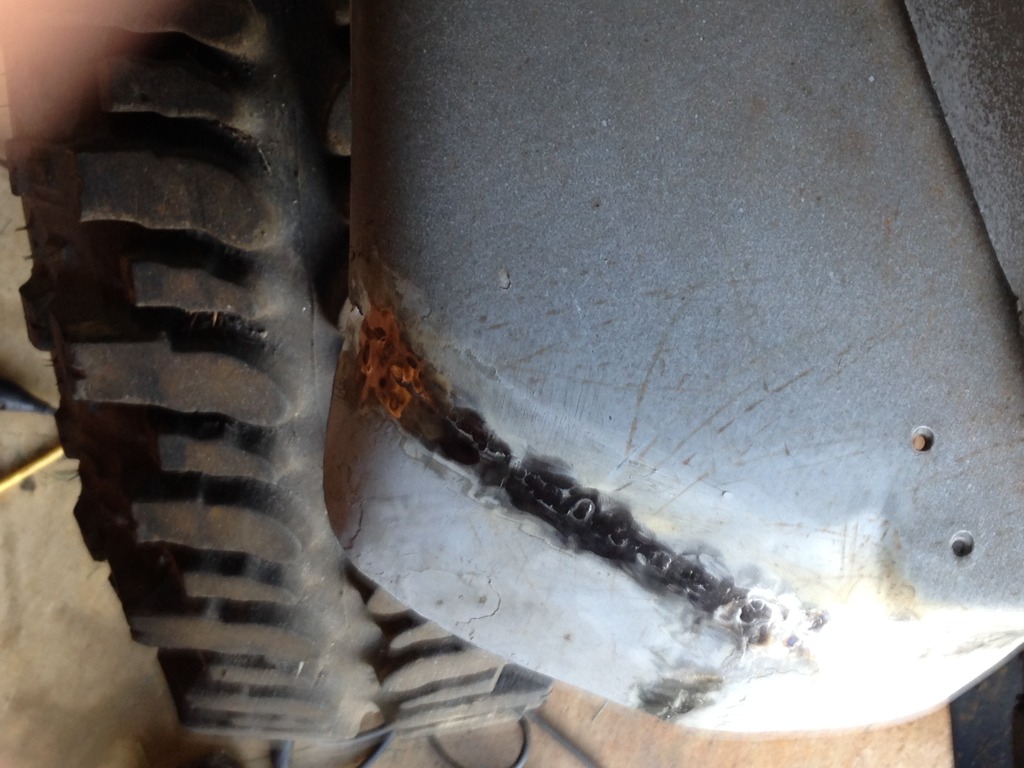
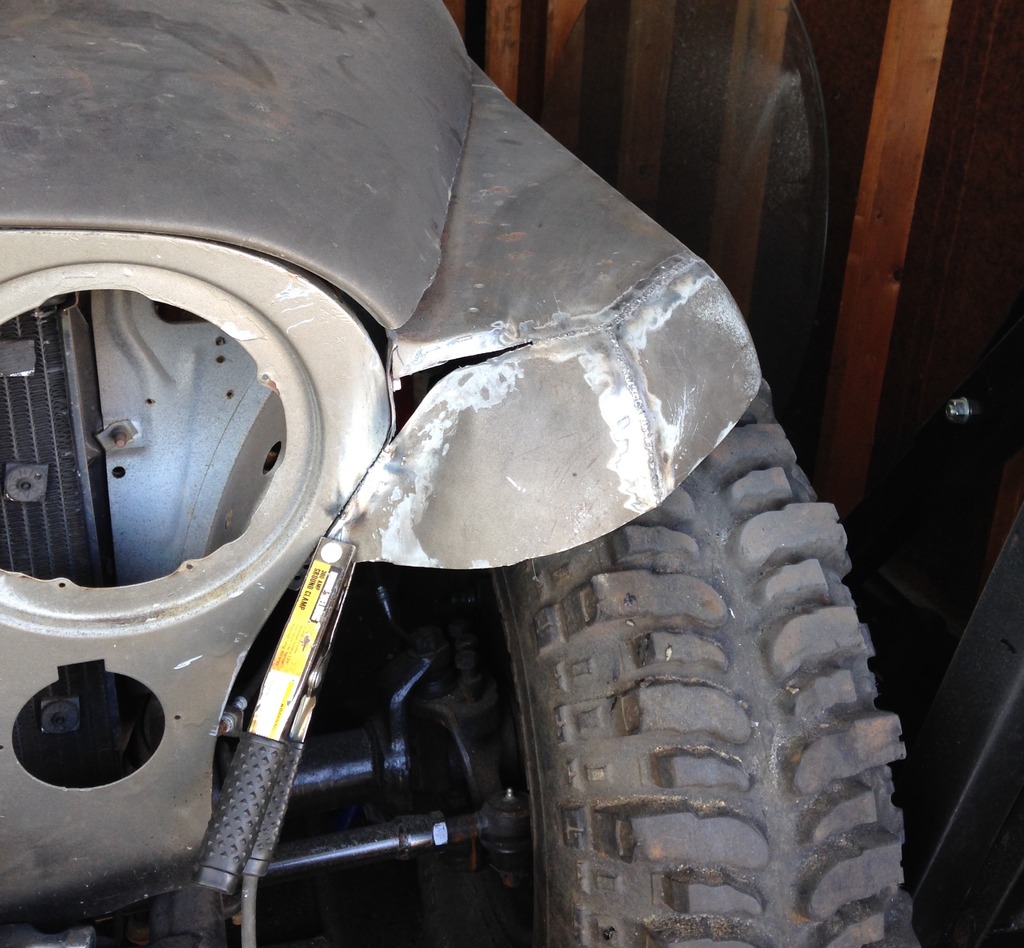
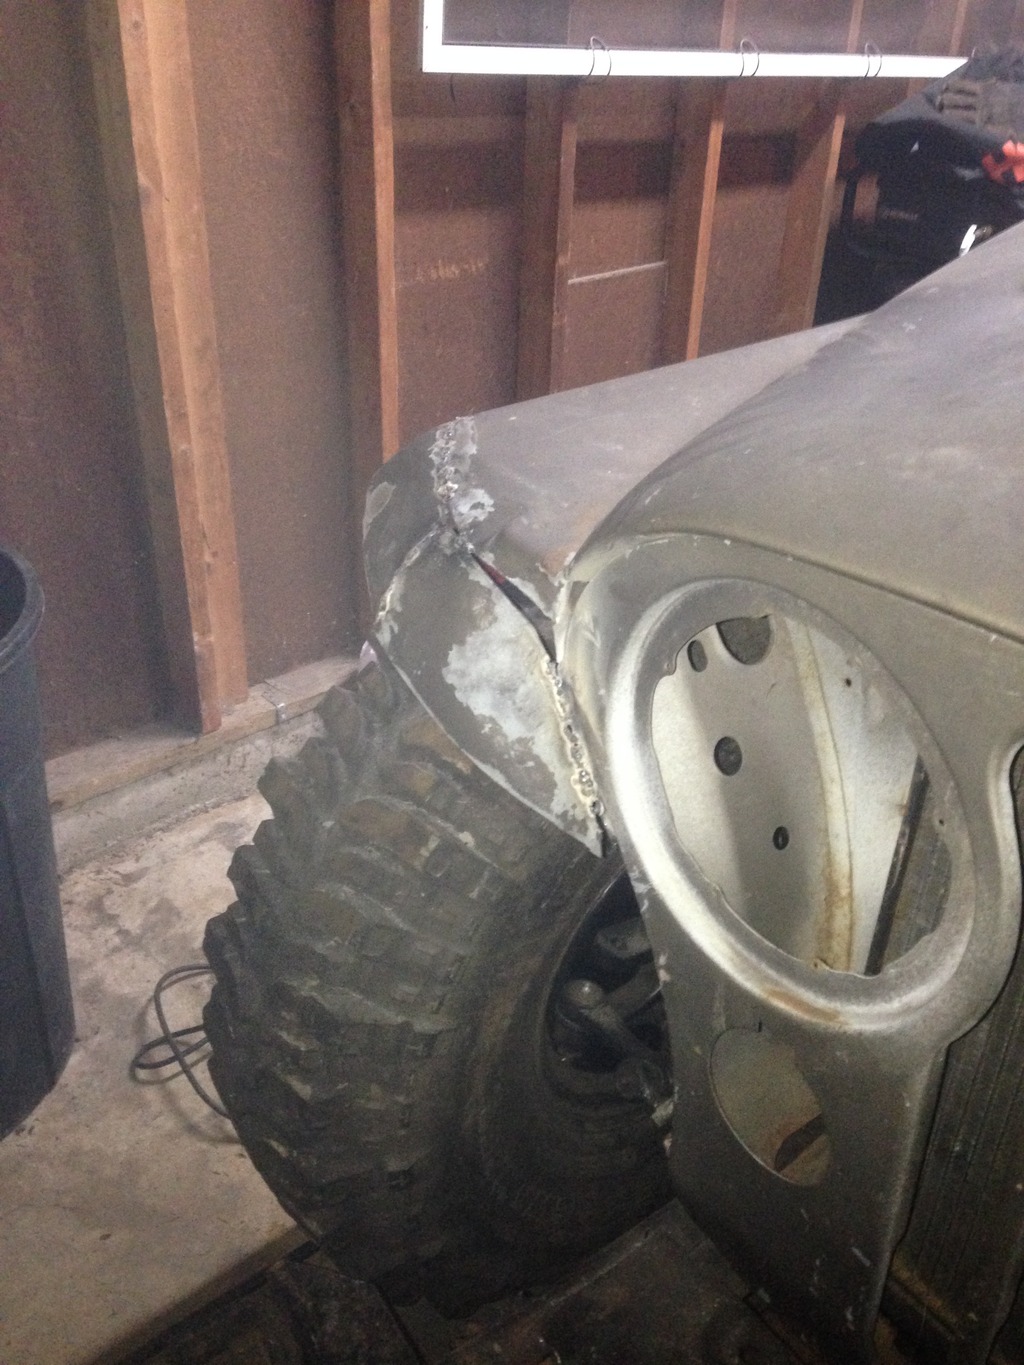
Because of the factory stamping, I needed to address the little bulge at the corner.
image_zpscwshvesm.jpeg


Little relief cut, and some nip/tuck action.
image_zpsuysgodzc.jpeg


image_zpsdr1gckdn.jpeg


Weld'er up, then straighten out the body line

image_zps8pfx0pvo.jpeg


image_zpsrgggrsfi.jpeg


image_zpsucsw7kw6.jpeg


That little triangular gap between the top corner of the fender an the grille was bothering me, though...so I fixed that, then squirted some primer on it to see what she looked like.

image_zpscw9qqepz.jpeg


At'll do, pig.

image_zpscwqkmswu.jpeg


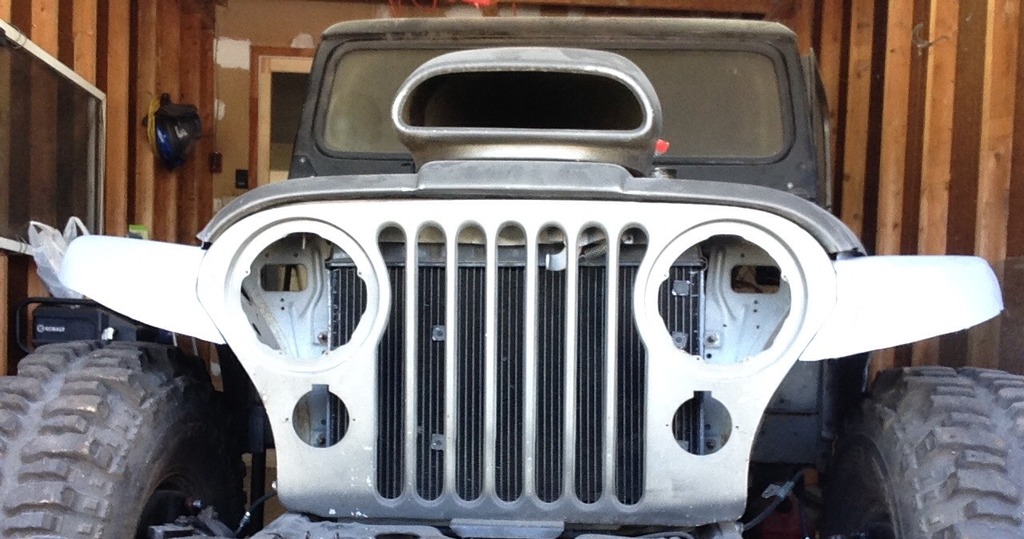
Now for the hard part...making the other side match.

image_zpso9zaqjwv.jpeg


image_zpsga6iwixk.jpeg


image_zpsu0vgzbps.jpeg


image_zpsmluu7x45.jpeg


Ta-da!
image_zpsvn6yloiv.jpeg

image_zpsikbvrkhf.jpeg

image_zpshs39i6as.jpeg
 
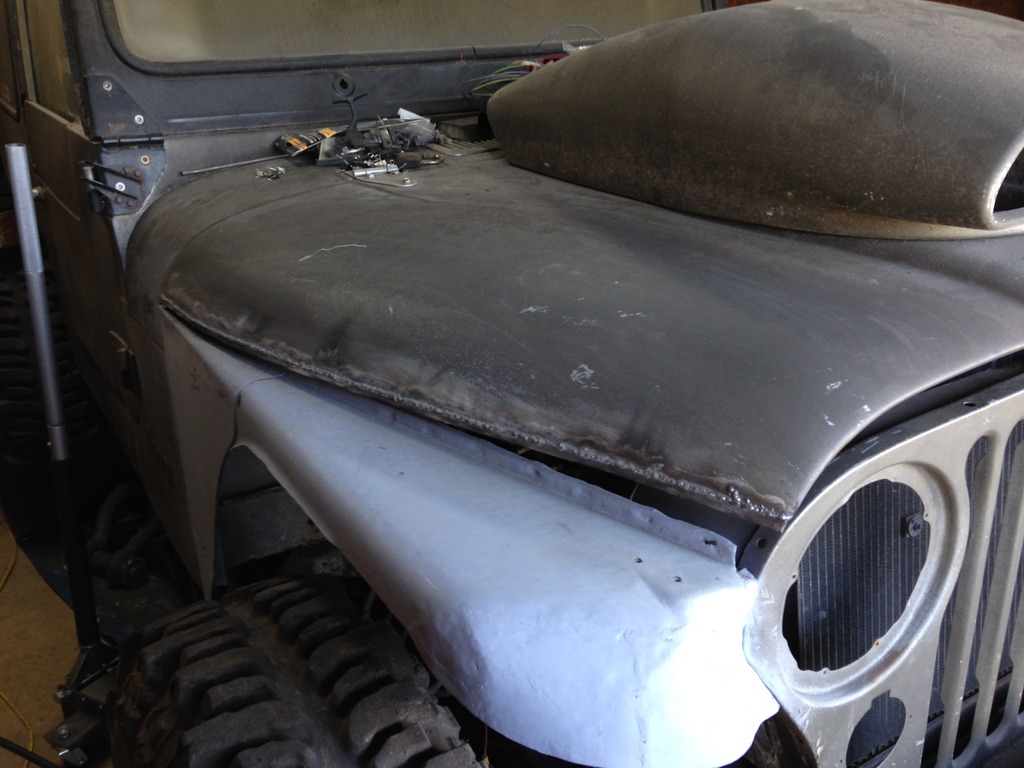
Now I needed to address the edge of the hood. Couldn't in my right frame of mind just leave the cut edge on it. (I know, I still need to finish the edge on the fenders, too)

Marked off the factory hood flange to cut.
image_zpskpyk10xo.jpeg


Measured a couple spots, tacked in place, made some adjustments...tack, tack tack...tack tack...FAWK that's hot! ...tack...

image_zpsyf1nydfd.jpeg


Ground that smooth (never mind the peeling up paint..that'll get dealt with later), then squirted some primer on it as well. Notice that I got rid of the bulge for the hood catch that was there in the previous posts.

image_zpsdjcqt9yw.jpeg


Made the other side look like the first.

image_zpscw1axwtu.jpeg


Ta-da! Highlined hood.
image_zpsqjc3j9sv.jpeg


Now to get rid of that gonzo-schnoz and finish the edge on the fenders...that'll have to come later though. I've done a bunch of other crap I'll cover in our next installment of Redneck Engineering Garage. Y'all come back now, y'hear?
 
Why not just get a waggy d44? Wms you wanted, sua & fullwidth factory.

Excellent point. I knew that was an option - drivers drop, same width, sua, etc. etc. etc. I looked for one of those for a while, and even an early bronco D44. I don't know what it is with people in this part of the country, but if they have axles for anything, they think they're sitting on a gold mine. Not to mention, when I was building the axle, I was still working on my degree while working full time, so I didn't exactly have tons of time to search and take (even short) road trips. Watch - I'd look today and find one in my neighborhood that someone says "come and take it." :rolleyes:

On the other hand, however, I've mentioned a few times that I'm somewhat of a cheap bastard, and I like to do things the hard way. I figured if I could build one that I know all the parts are in good shape, and spend $90 plus the ride to get my axle shafts shortened and re-splined (unless I source an involute spline cutter and do them myself at work...hmm....), I'd be out less money to bastardize what I have.
 
I love the big tire, low lift look. When is the big snorkel coming off the hood?
 
I love the big tire, low lift look. When is the big snorkel coming off the hood?

Thanks! I'm a huge fan of the low COG rigs too. I'm getting rid of that abomination as soon as humanly possible. Basically when I can get a while to get in the garage to drill out the rivets, then cut a piece of sheet metal big enough to cover the hole. I'm hoping maybe sometime over the winter. I thought when I finished school I'd have tons of time on my hands...but now with a little one, I have even less.
 
So, to continue our saga of despair and disrepair...

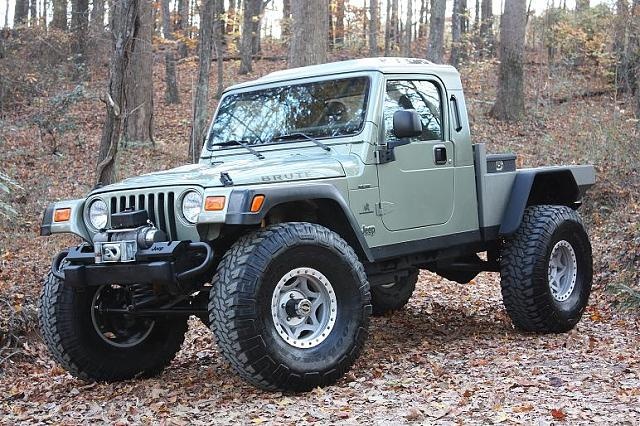
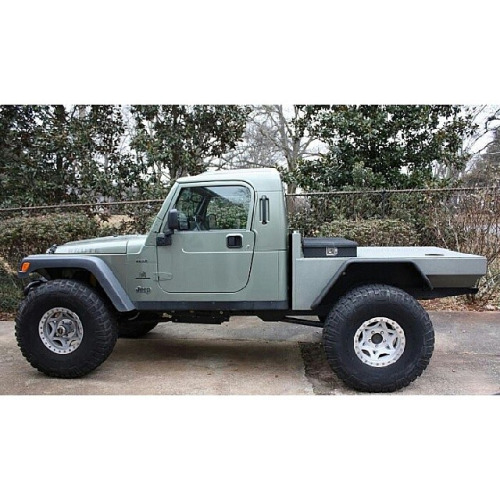
Like I said a few posts back, I've always wanted to build myself a Jeep pickup truck. I think the concept of having a truck bed would be pretty kickass, as would something like these:
image_zps5jokqtxf.jpeg

Or this guy?
image_zpsxpmnzcof.jpeg

image_zps9fgzczja.jpeg

I dunno...I like that mini-flatbed look too. I'm still working on what I want to put together for the rear of the jeep...but I'll get to that eventually. I need to really go back and tie up about a couple hundred thousand loose ends first.

Anyway, on with it.

So, there I was...Out there in the garage, cup of coffee in one hand, a thoughtful stroke or two of the beard with the other as the gears of my mind were grinding themselves into a useless pulp. If there were anyone else in my garage, they would have heard my one-man rendition of Back to the Future:


So, I proceeded to reach down and conduct a nu...er, gut check, and found all was still intact. What could go wrong? It's only sheetmetal and some fiberglass, right? o_O

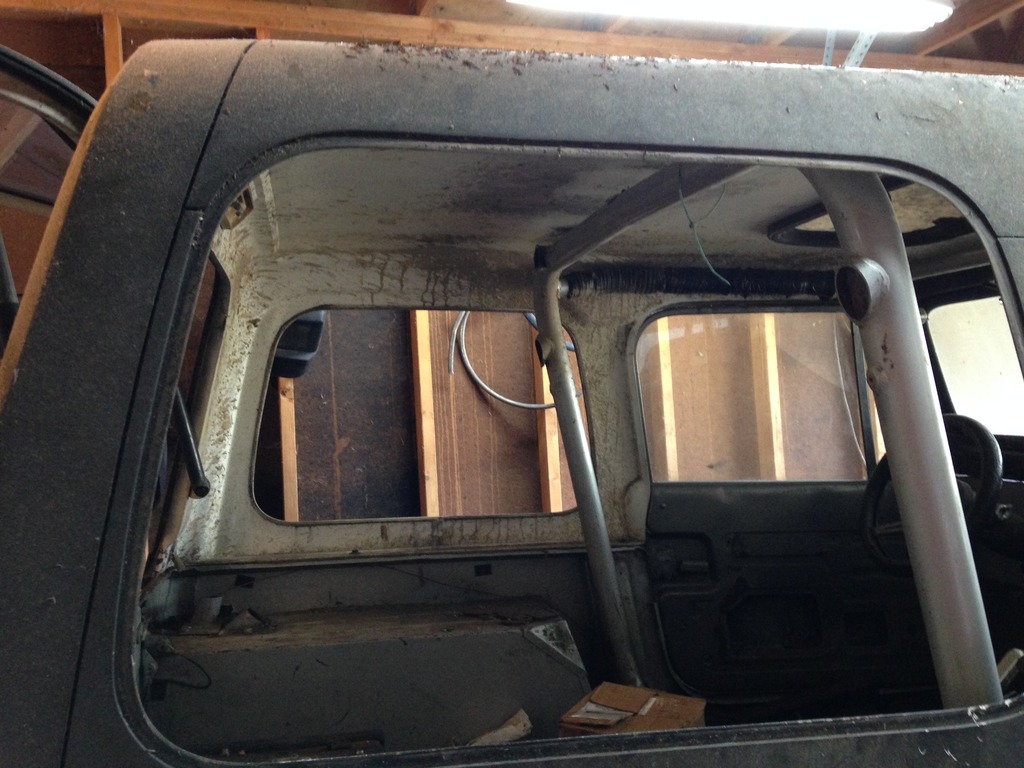
I started with destroying the glass seals and popping out the side windows.
image_zpsyectly7o.jpeg

image_zpsgmtck5tp.jpeg


Figured I could use some room to work, so out came the down bars for my cage.
image_zps5efofgti.jpeg


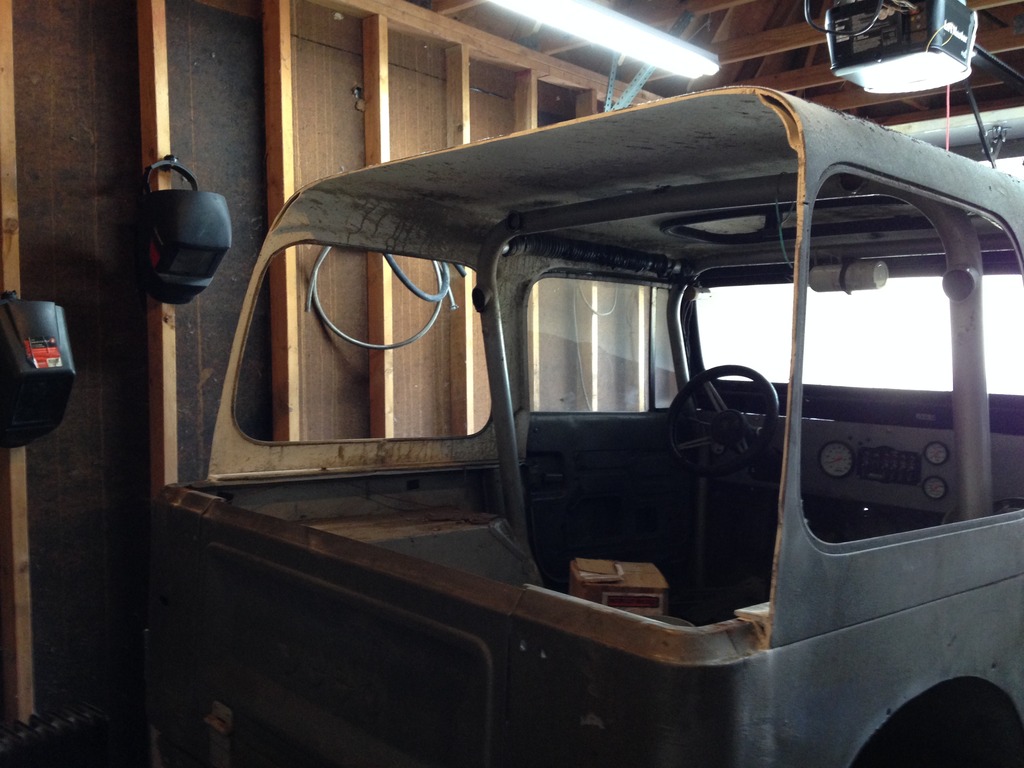
Oh, what the hell...it's just fiberglass.
image_zps2cjrenqk.jpeg


I wanted the top to basically eliminate the entire side-window area, so...a couple careful(ish) measurements and marking off a tape line, and....
image_zpsgzhfjxia.jpeg

image_zpsb2bat01w.jpeg


If you squint really hard and look through inebriated eyes, you can kind of get the picture here:
image_zpsqk8ggtrx.jpeg
 
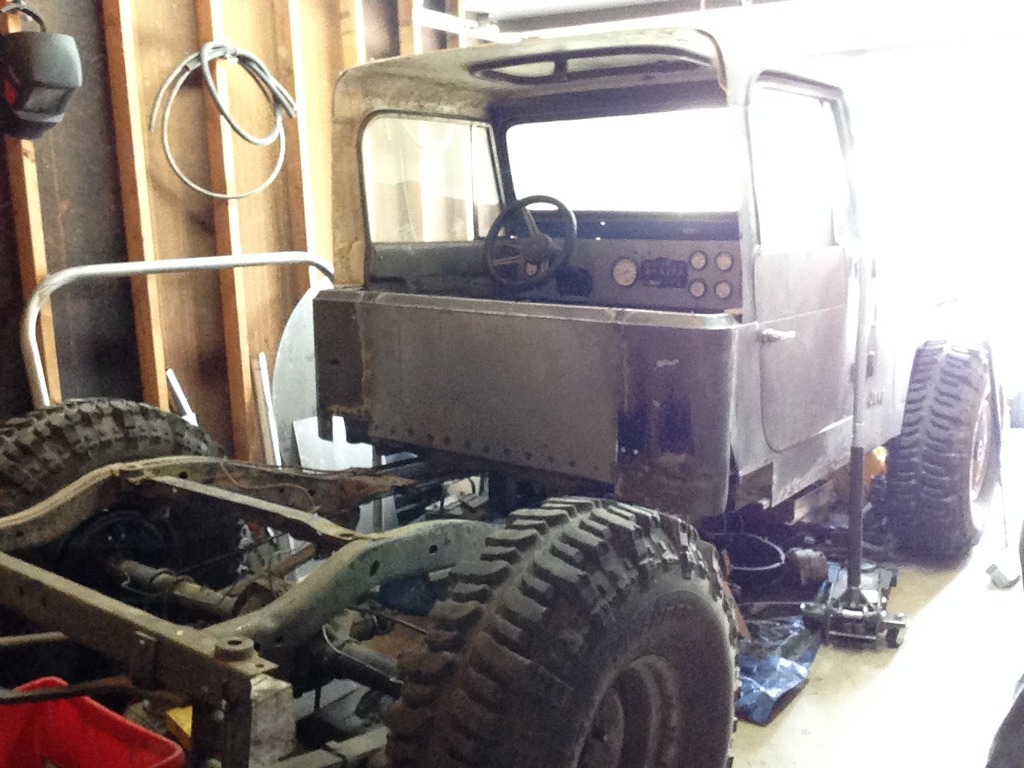
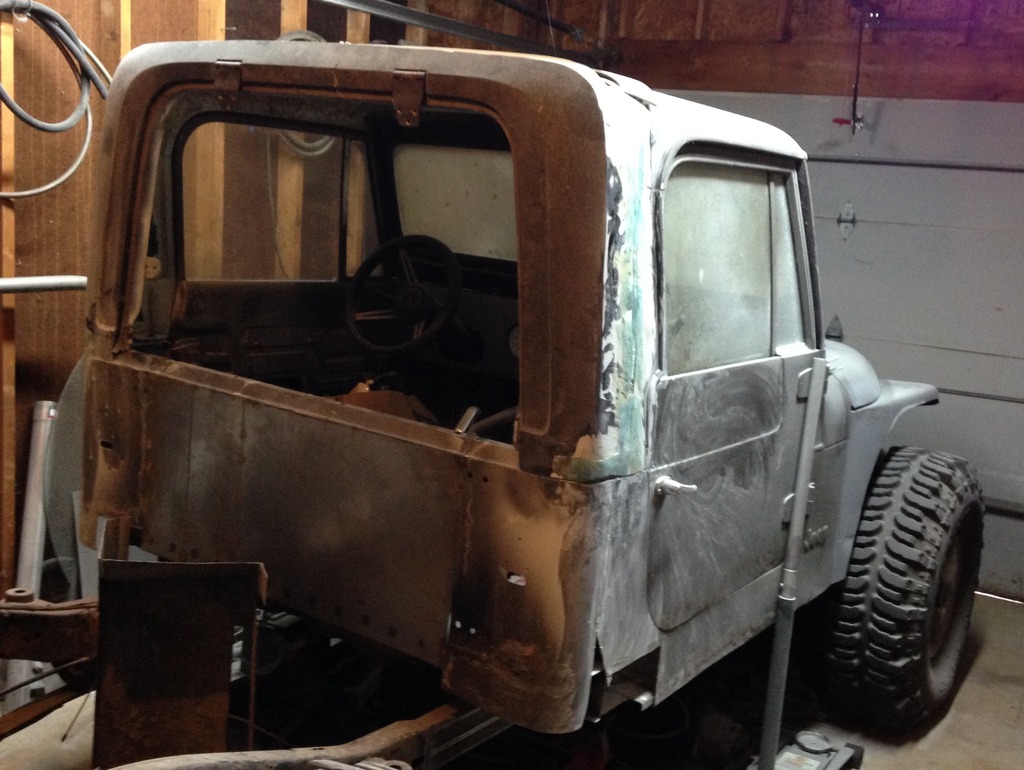
Moving right along...I cut along the body seam where the rear corners form a seam at the ass end of the jeep. Getting a bit overzealous, I swiped across the back end with the sawzall. I then dropped a vertical line from right where the b-pillars are welded to the inside of the tub. I didn't capture a pic until after the first body side was off.

I seriously need to exorcise the demon shit out of my garage...please pay no mind to all my random piles of crap.
image_zpsro7awafd.jpeg


Repeated this with the other side:
image_zpsaolrngku.jpeg


Look, ma! No ass!
image_zpszeluvwtm.jpeg


At least this gave me easy access to my rust problem....gotta look at the silver lining, right?
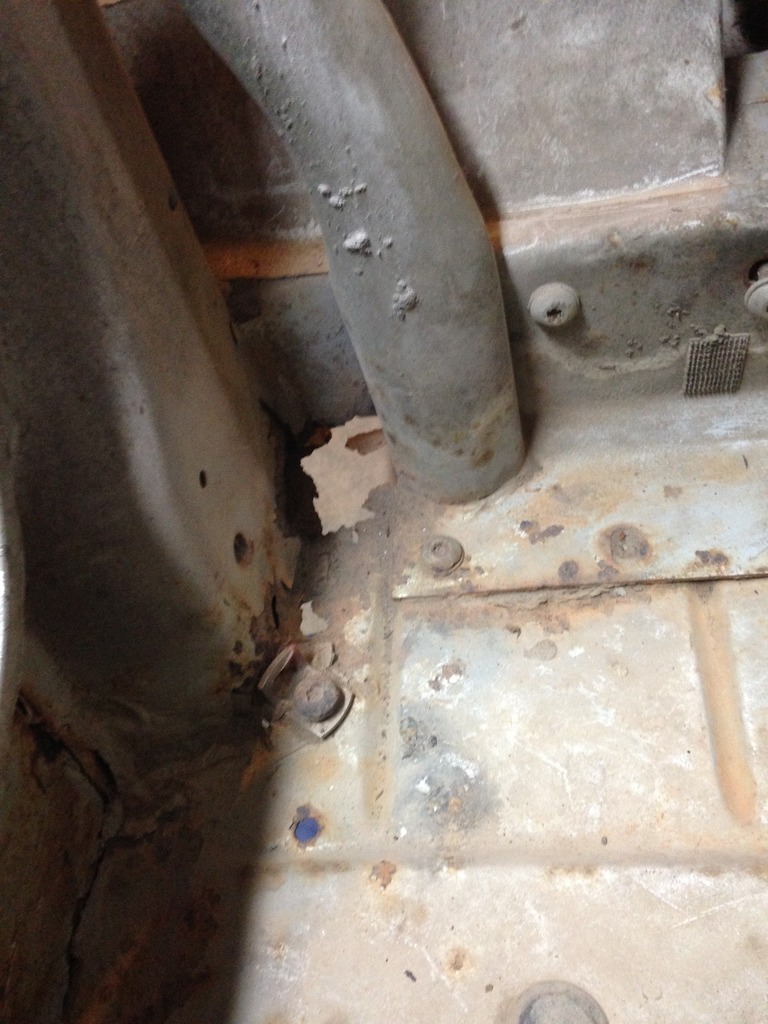
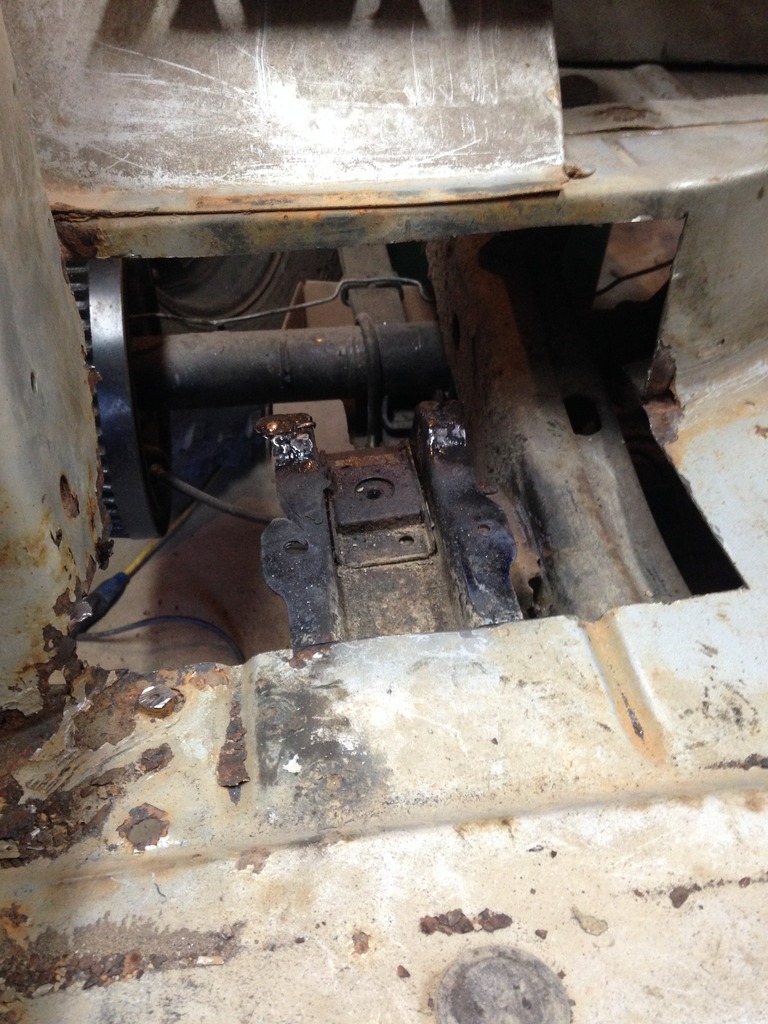
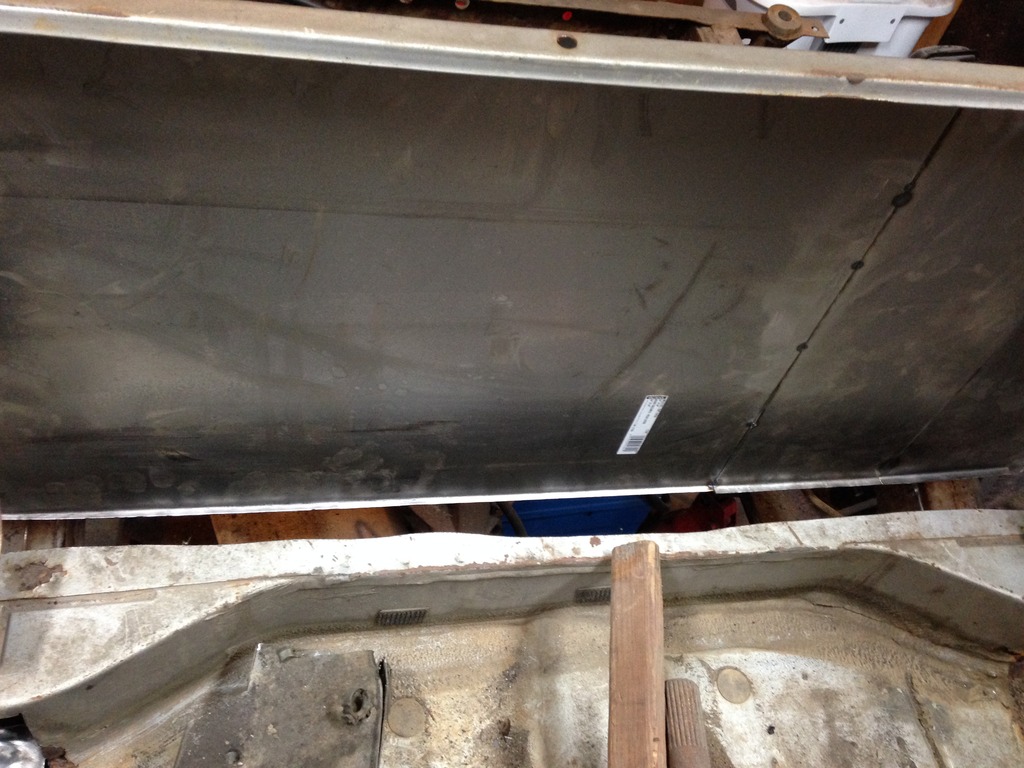
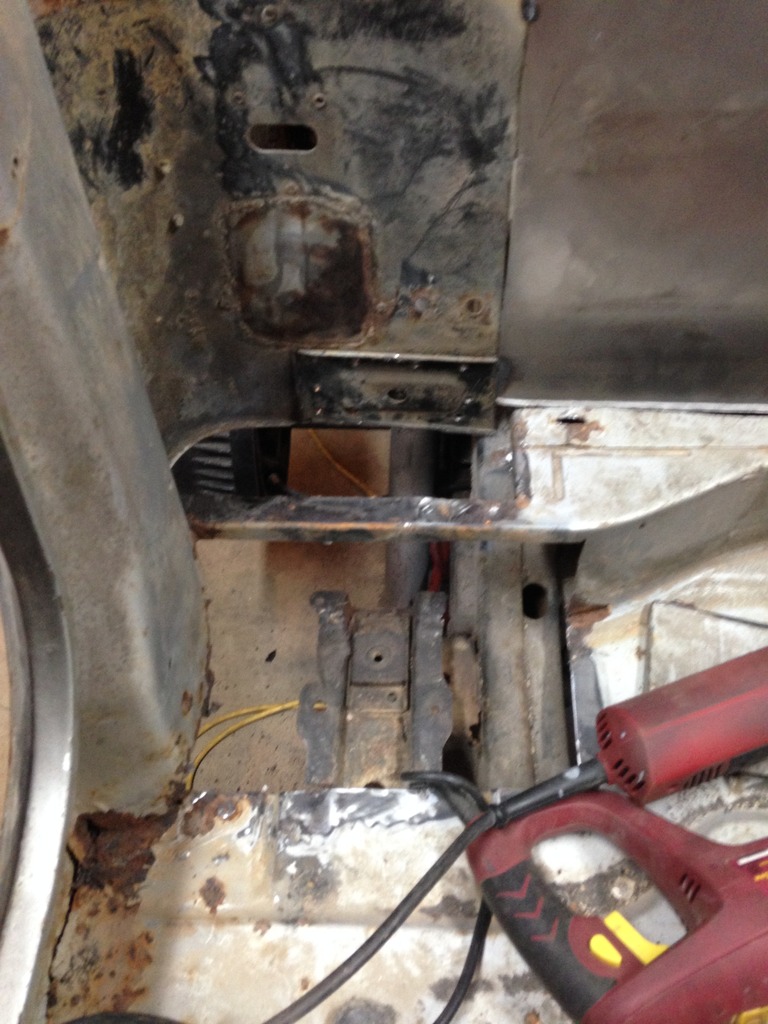
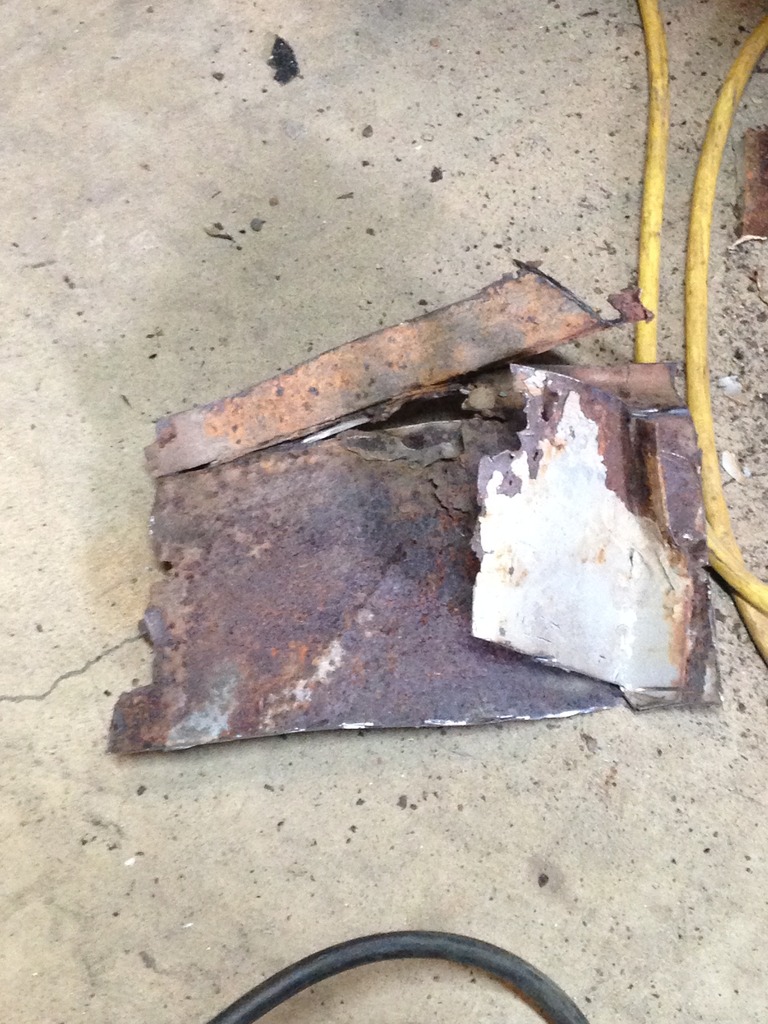
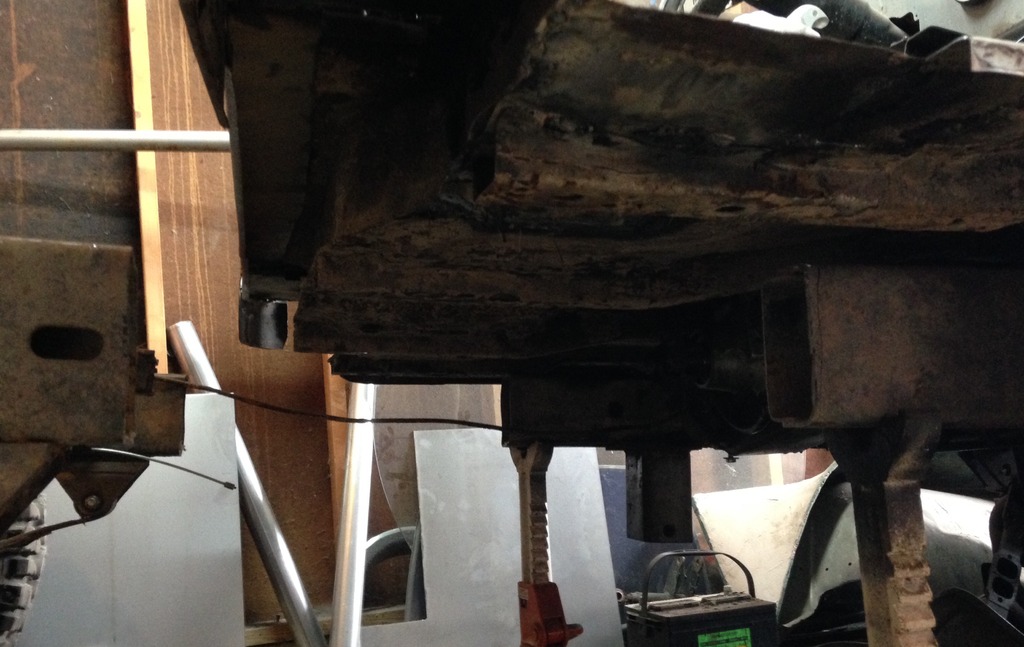
I started scraping the years worth of North Carolina mud clods out of my floorboard. Don't worry, I do still have some on my garage floor. Pennsylvania never looked any better! Lol...As I was scraping, I found I could scrape THROUGH my floor. Oh, great. This is where I got a little derailed.
image_zps0drpoqkp.jpeg


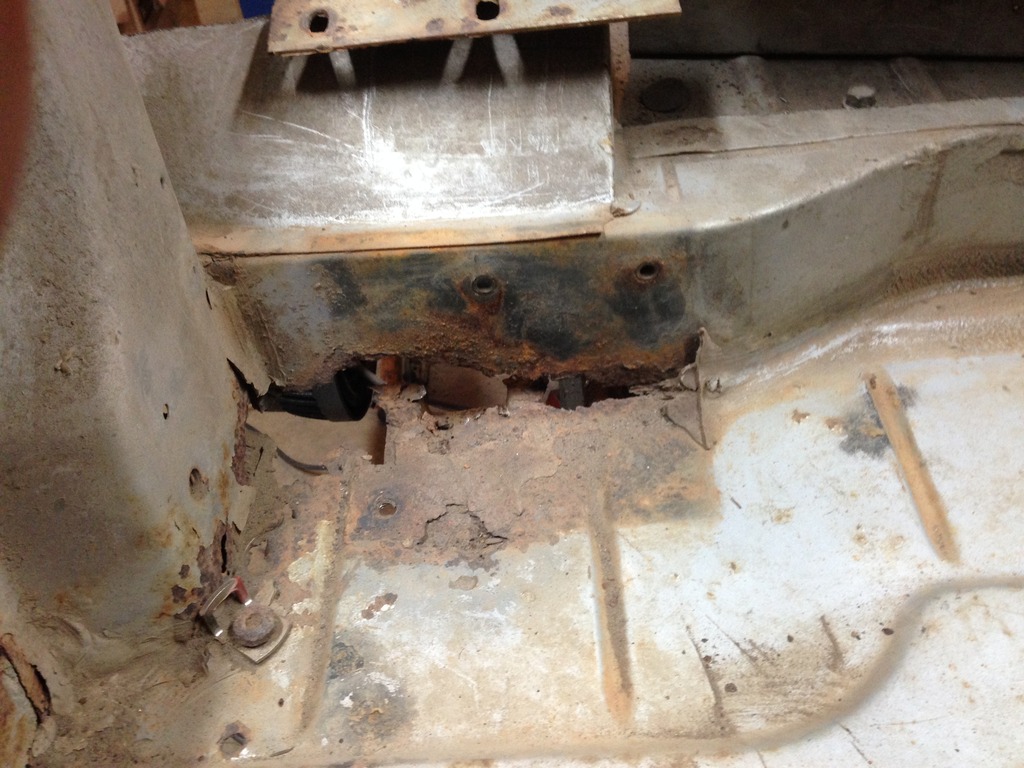
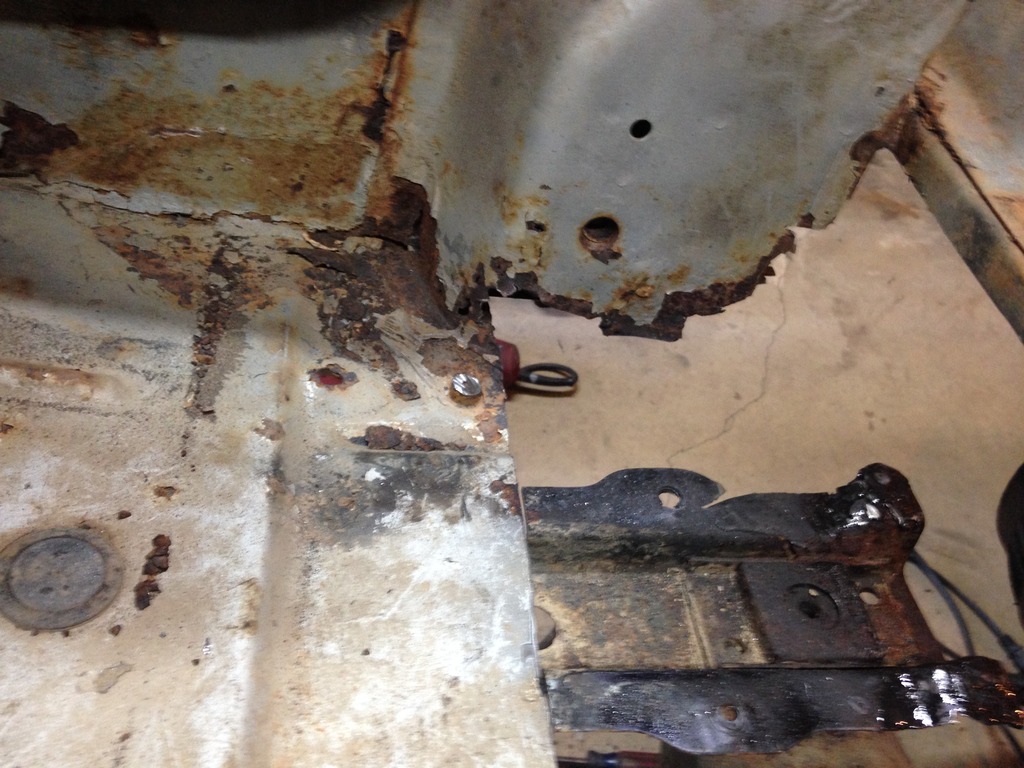
Eh, not too bad, right? Wrong.
image_zpsosf5ndap.jpeg


And from the back:
image_zpscjdnejrd.jpeg


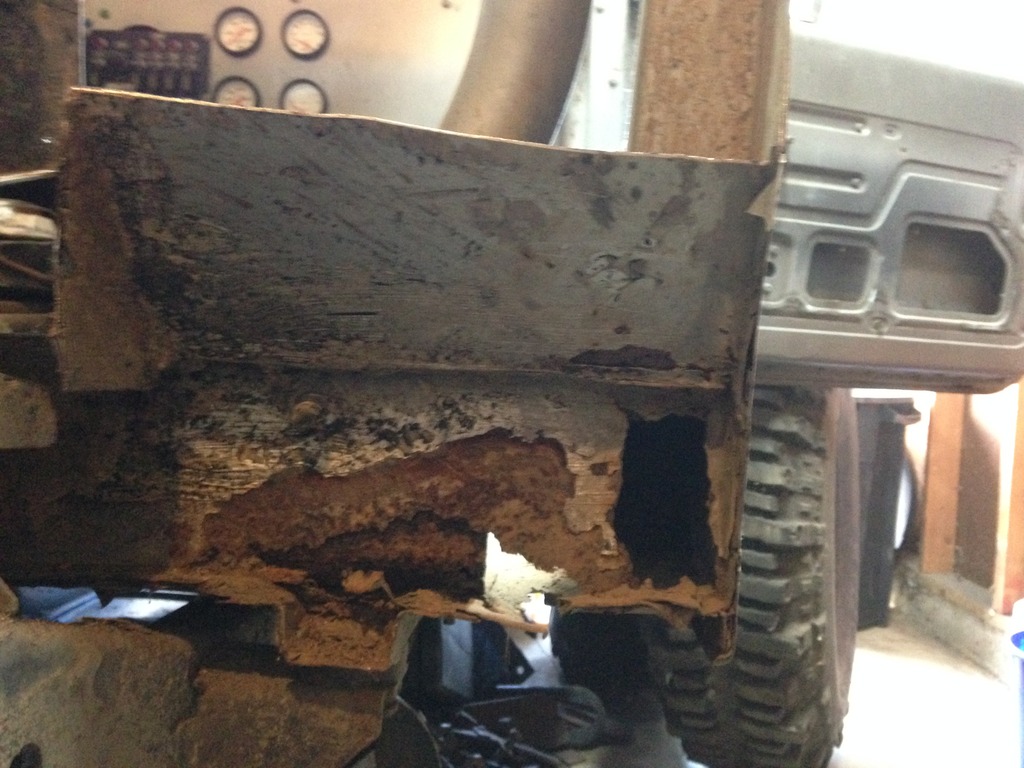
But wait, there's more! Call now, and get two for the price of one...Of course it was on the driver's side floor too.
image_zps224oxns3.jpeg


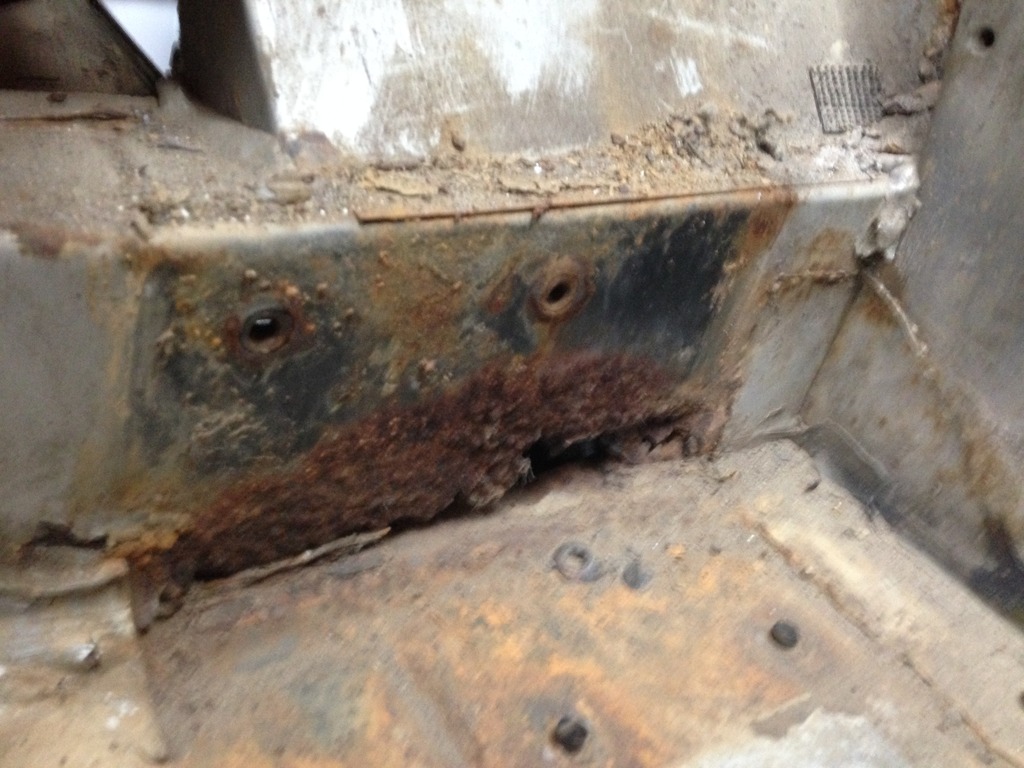
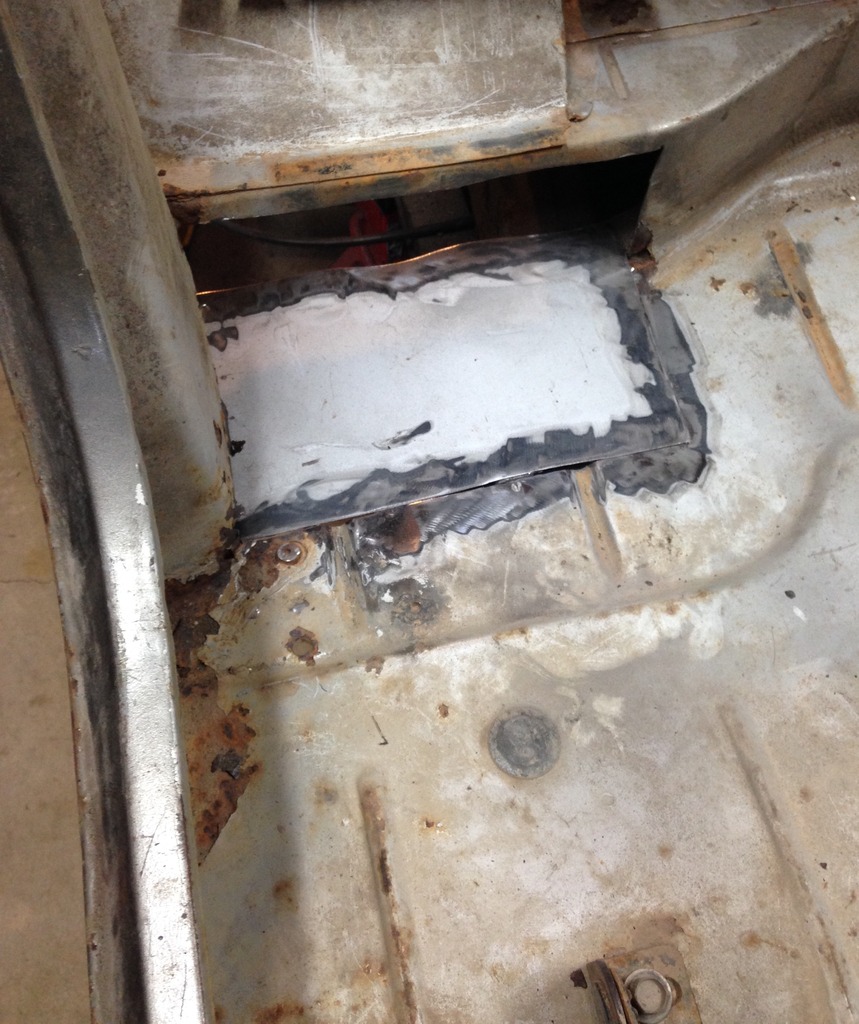
So, I started the hack'n'slash act on the passenger side floor.
image_zpse26amhgf.jpeg


The b-pillar is a little ate up too.
image_zpsa7gl6fvv.jpeg


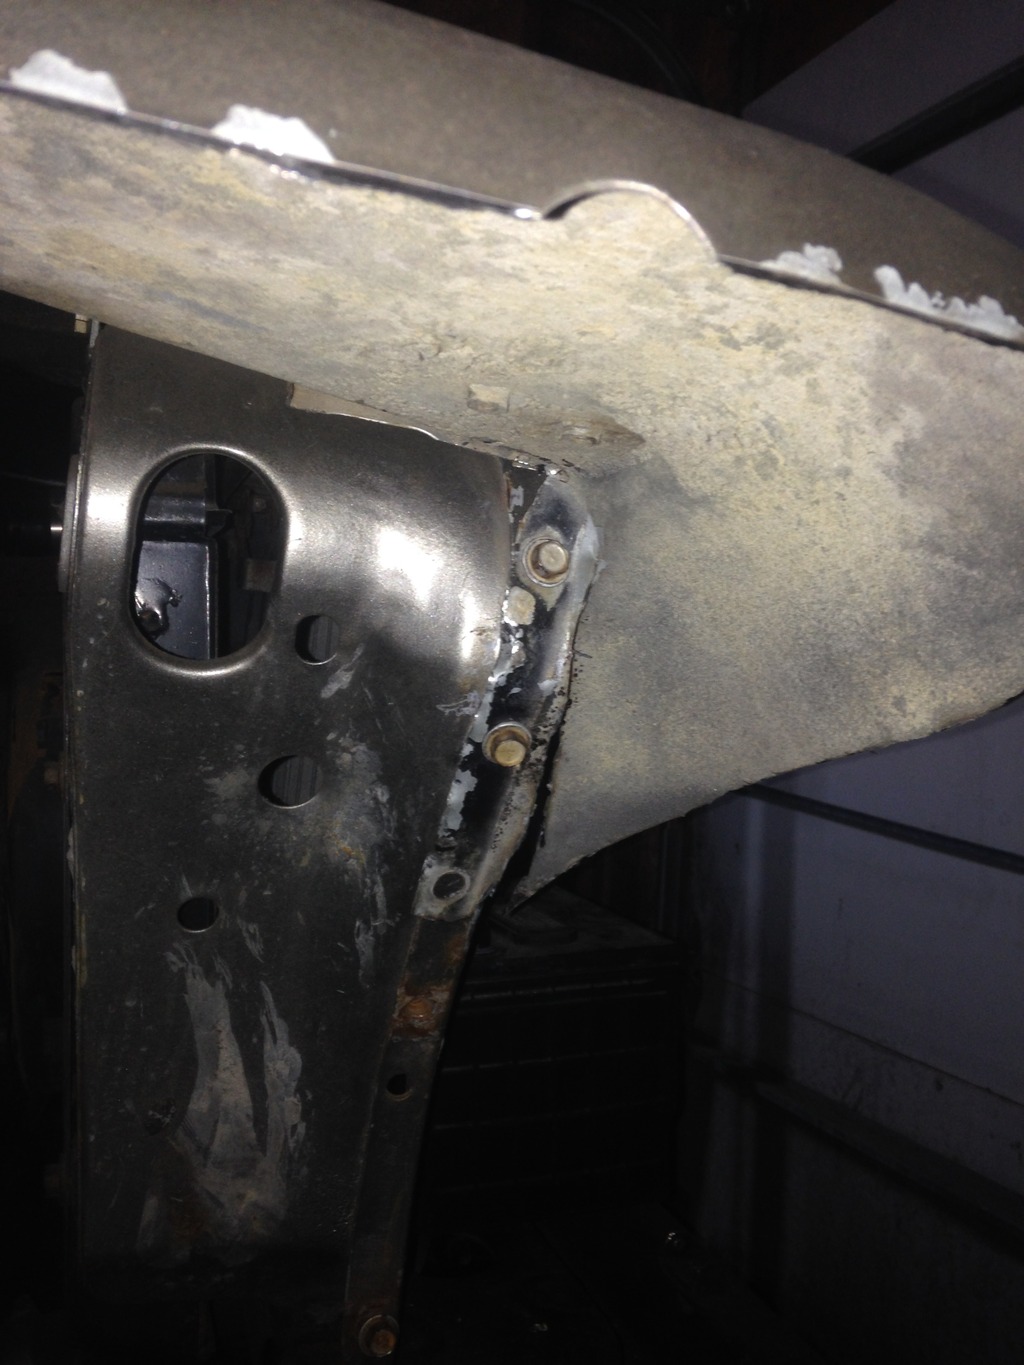
So, some of that had to go as well...I ended up repurposing some of the sheet metal that I cut out from the rear inner fenders. I cut some pieces that fit, tacked them into place. We'll get back to some of this.
image_zpsfbfleitp.jpeg


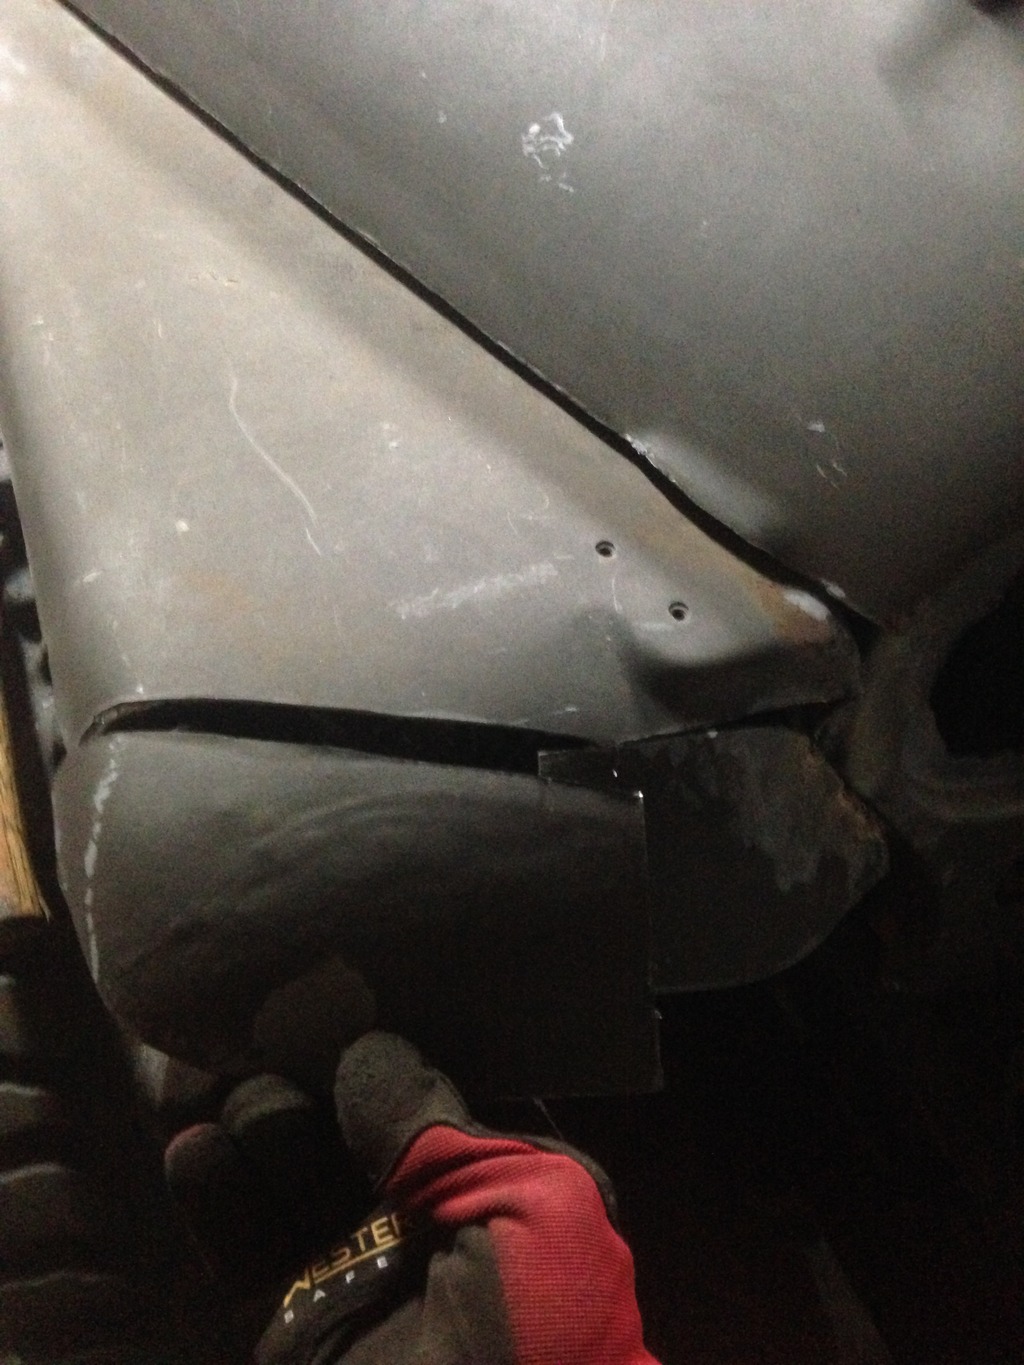
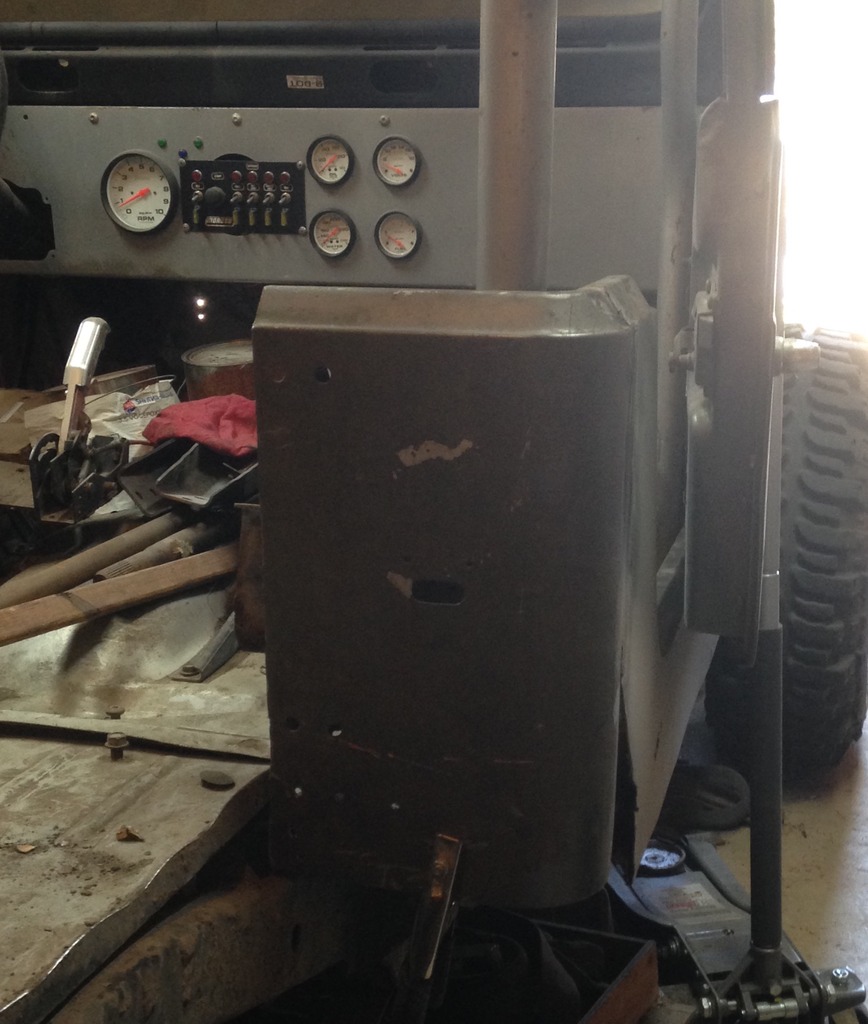
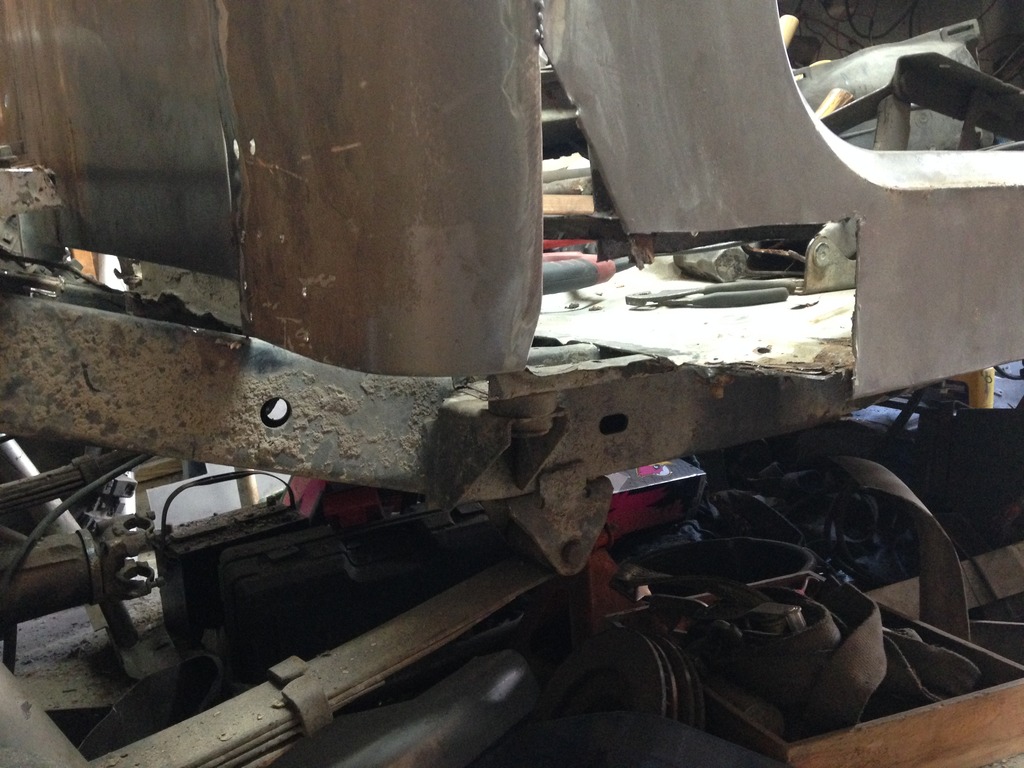
The rear corners that I cut off are going to be reused. So, I freed them of the back panel, and the remnants of the inner fenders. Mocked them into place, and tacked them up.
image_zpshwahqqrf.jpeg

image_zps3onz3cjz.jpeg

That little notch in the bottom there? Yep...more cancer. I mean, damn.

To tie in across the back, I cut the top edge from the side panels that were removed. That was trimmed to fit and tacked into place.
image_zpsci4hrw7s.jpeg


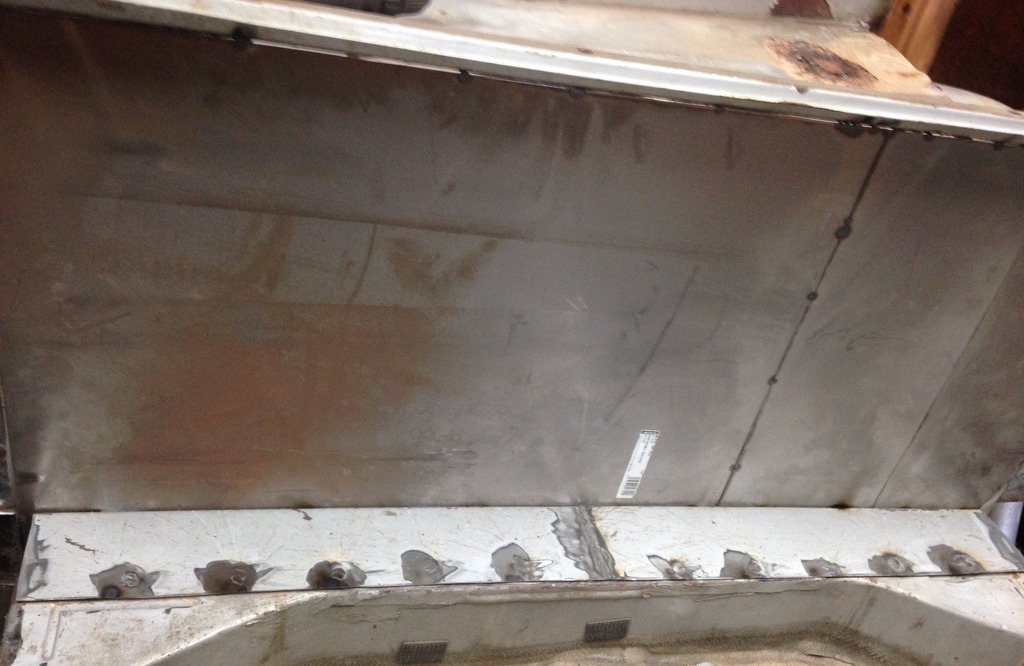
I had to stop being such a tightwad and get some new sheet metal for the back wall here. So, I brought it home and bent a flange for the bottom edge using the angle iron and hammer method.
image_zpslwrznbqq.jpeg


Since I could only get 24"x24" pieces...dammit. I had to make a couple of them. Sorry I keep posting blurry cellphone pics...
image_zpsxwcjascv.jpeg


From the inside:
image_zpsviqru1y4.jpeg
 
The more I poked around, the more rust I found, so...
image_zpscaemsnk9.jpeg


I mean, fuck cancer...
image_zps3r1c4b32.jpeg


Piece by piece...
image_zpsgcdeccwy.jpeg


Repurposing some old sheet metal:
image_zpsvzf1rynr.jpeg


Eh, throw a little piece of new metal in there, too...
image_zpsi7ykm9zx.jpeg


Again, with repurposing sheet metal - I took some of the rear inner fenders, and made a flange to tie the floor back into the back wall. Drilled some holes for plug welds:
image_zpsujx5wxox.jpeg

image_zps0lw7zao0.jpeg


And, dropped into place:
image_zpsqv4cp3ef.jpeg


Tied this into the other filler for the corner.
image_zpsjho7of7l.jpeg


image_zpsrfnt1qvy.jpeg


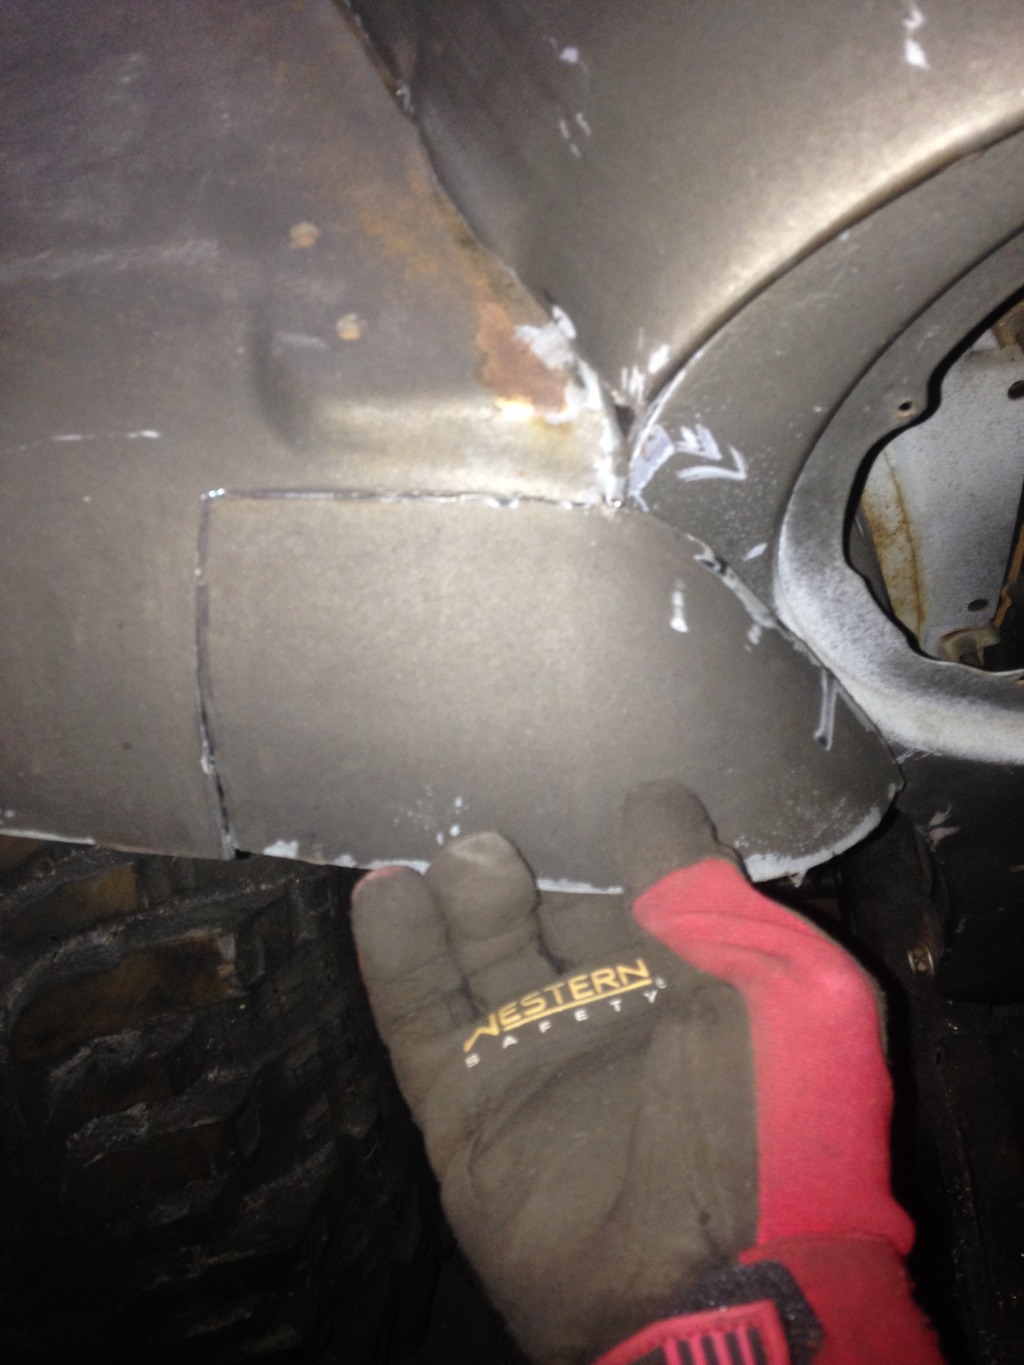
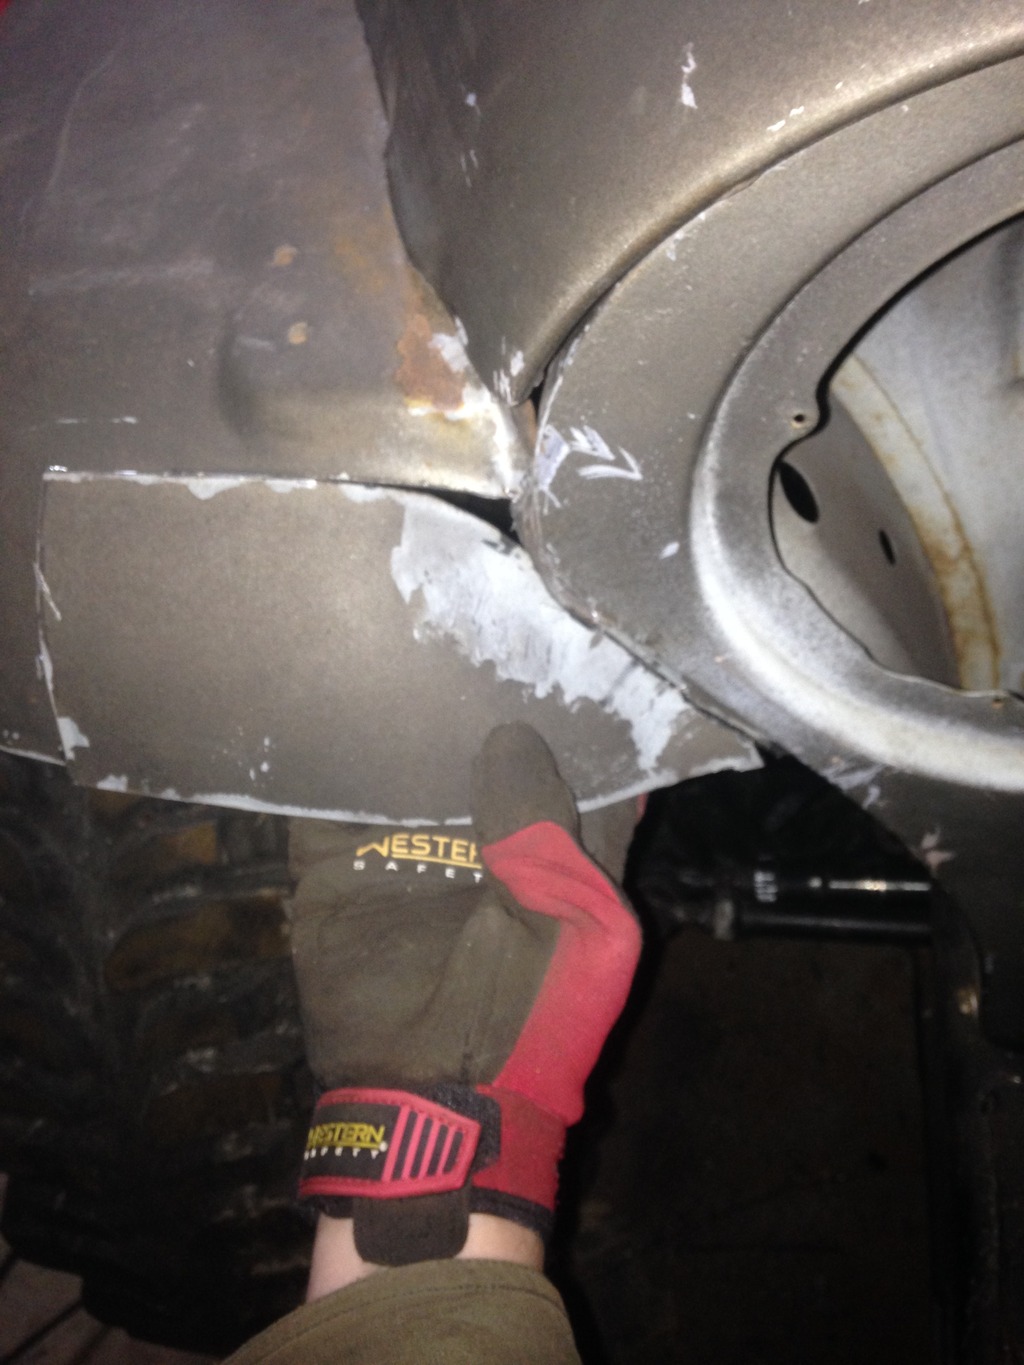
Can't have my rear tires rubbing the corner of the cab now, can we?
image_zps40gattxn.jpeg


There's a fix for that, too.
 
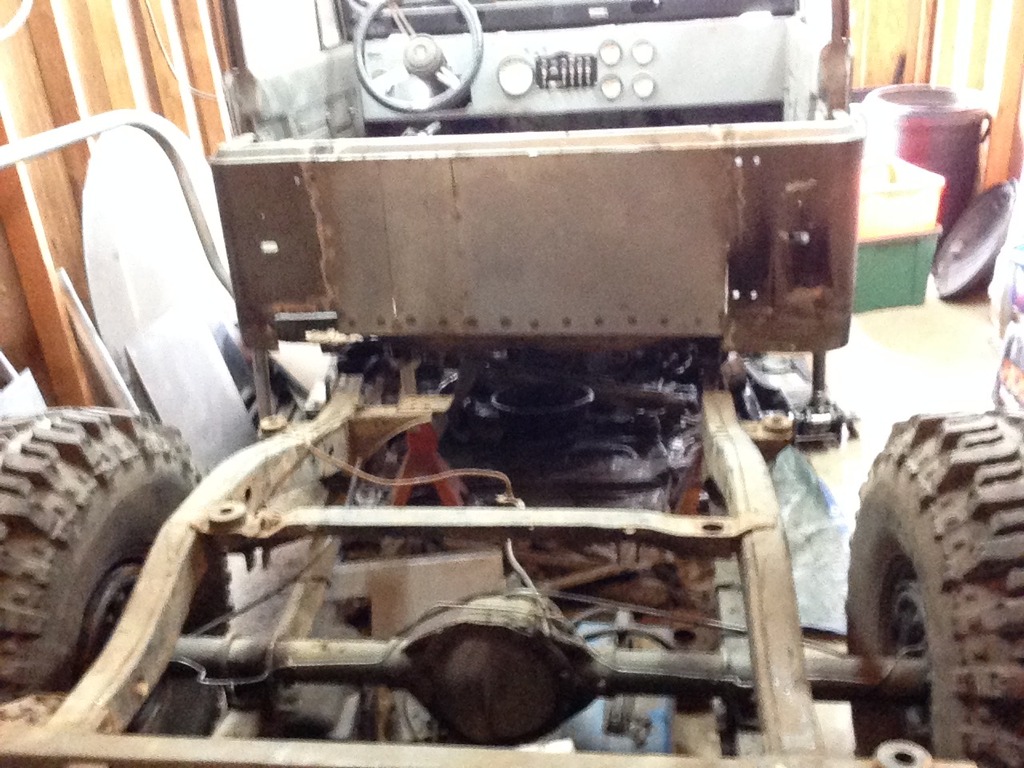
Now came the need to stretch the wheelbase...After some colorful arguing with myself over the best way to do this, I ended up winning my argument and cranked up the sawzall once again...of course, after stretching out my tape measure pretending to take some careful measurements...:rolleyes:

image_zps5xwluz5q.jpeg

image_zpsvxtctlpt.jpeg


I mean, seriously....do y'all understand how hard it is to cut a jeep in half in a fawking one car garage?

image_zpsvomfy4uw.jpeg

Now to fill in this gap:
image_zps0s1ijxq9.jpeg


I ended up moving the rear half of the frame back 18".

You can start to get the picture here
image_zpsqtla14ry.jpeg


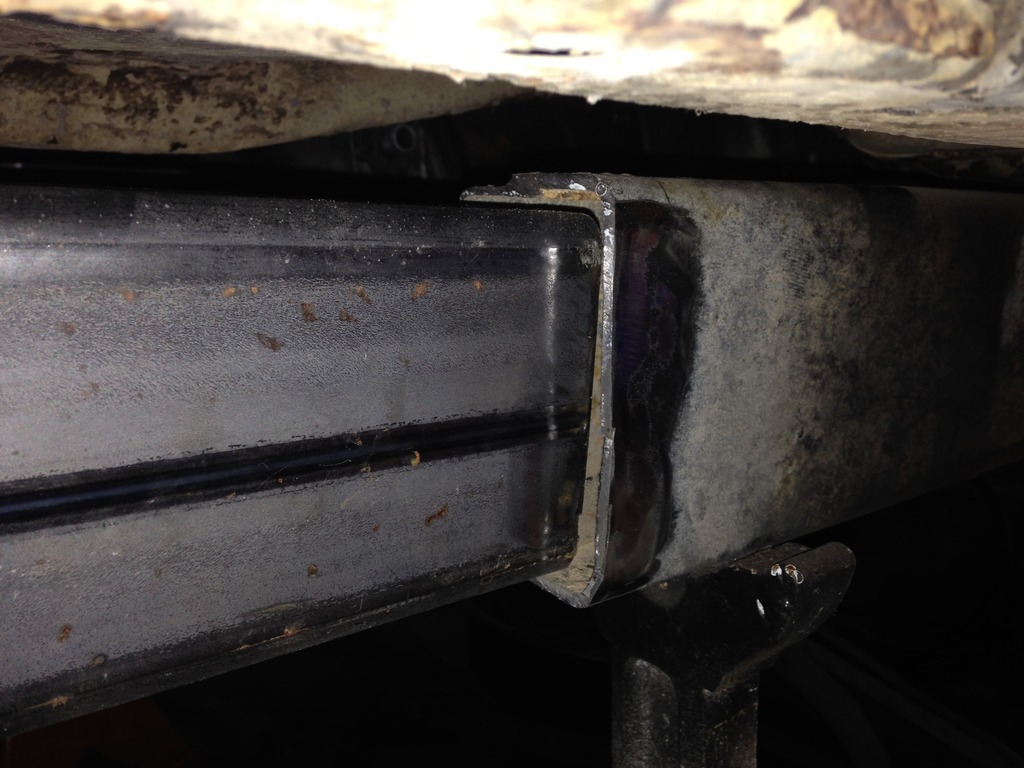
I ended up sourcing some 2x4 box tubing, which doesn't quite fit the frame rails...
image_zpshdoudbkm.jpeg


So, I ended up pie cutting the corners of the frame rail at both ends, and hammering things to fit to weld. Mmmmm....pie....

image_zps5jmmo5us.jpeg

Yep - still burning gasless flux wire.
image_zpsvn8nsqyg.jpeg


That, of course, was seriously measuring lengthways, width ways, upside down ways, 16 ways to Sunday to make sure we were as square as we could be...and then....
image_zpsubwong78.jpeg

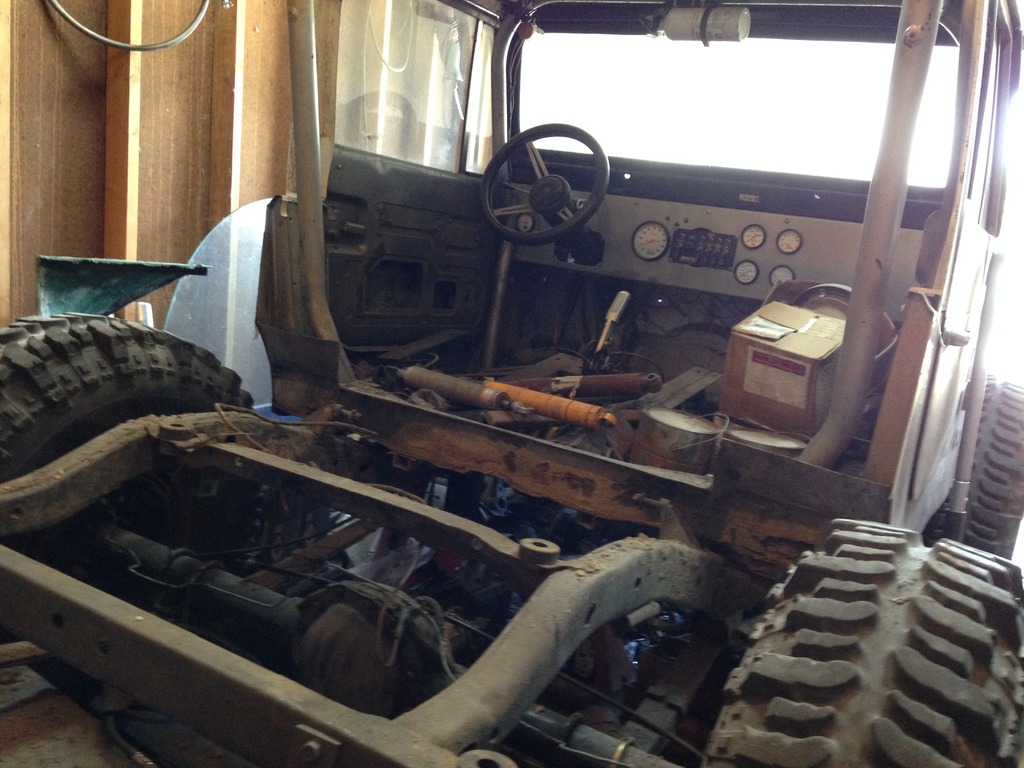
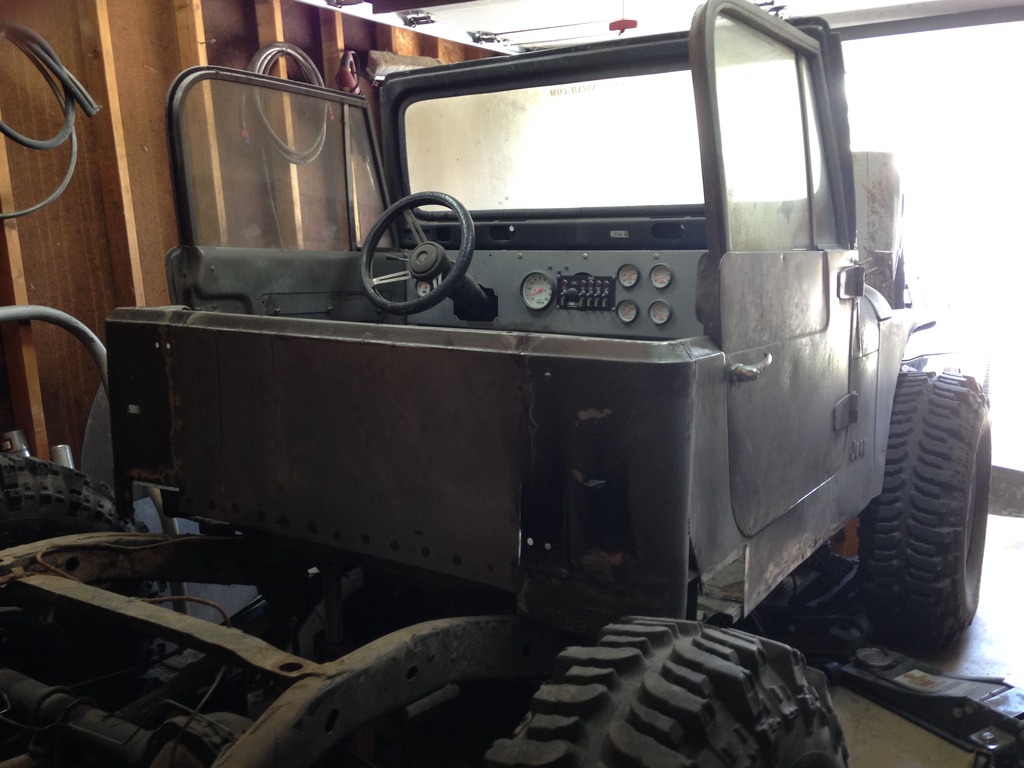
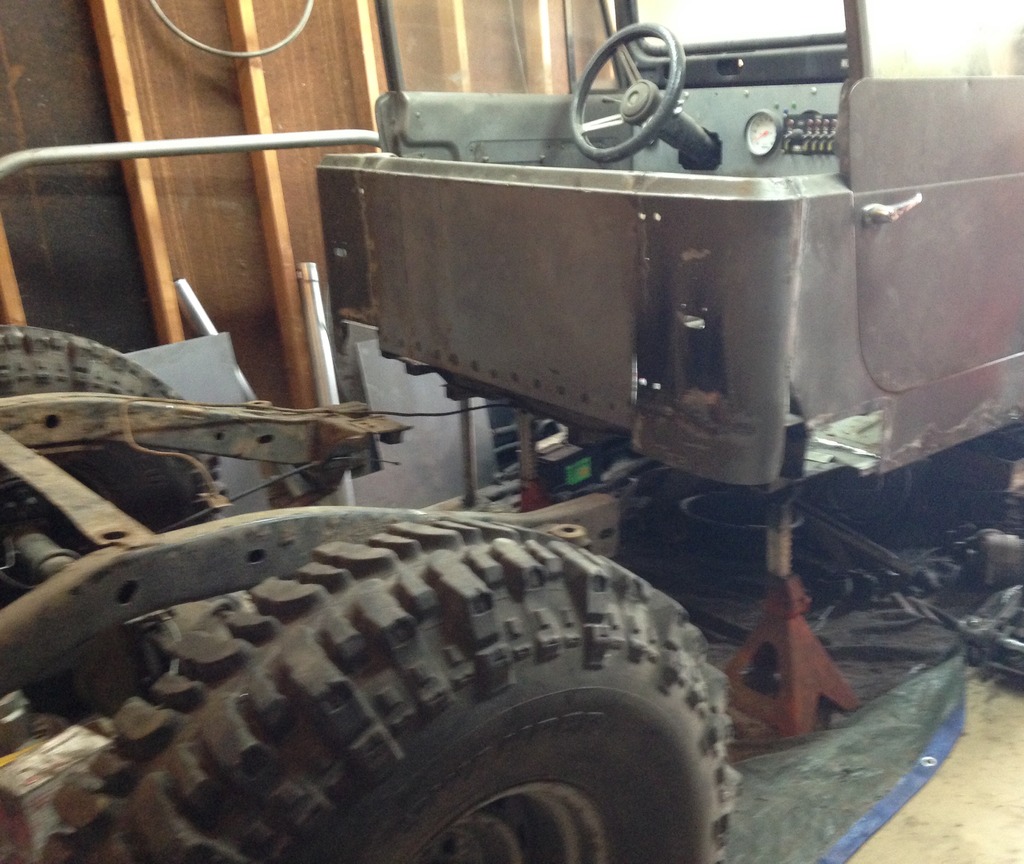
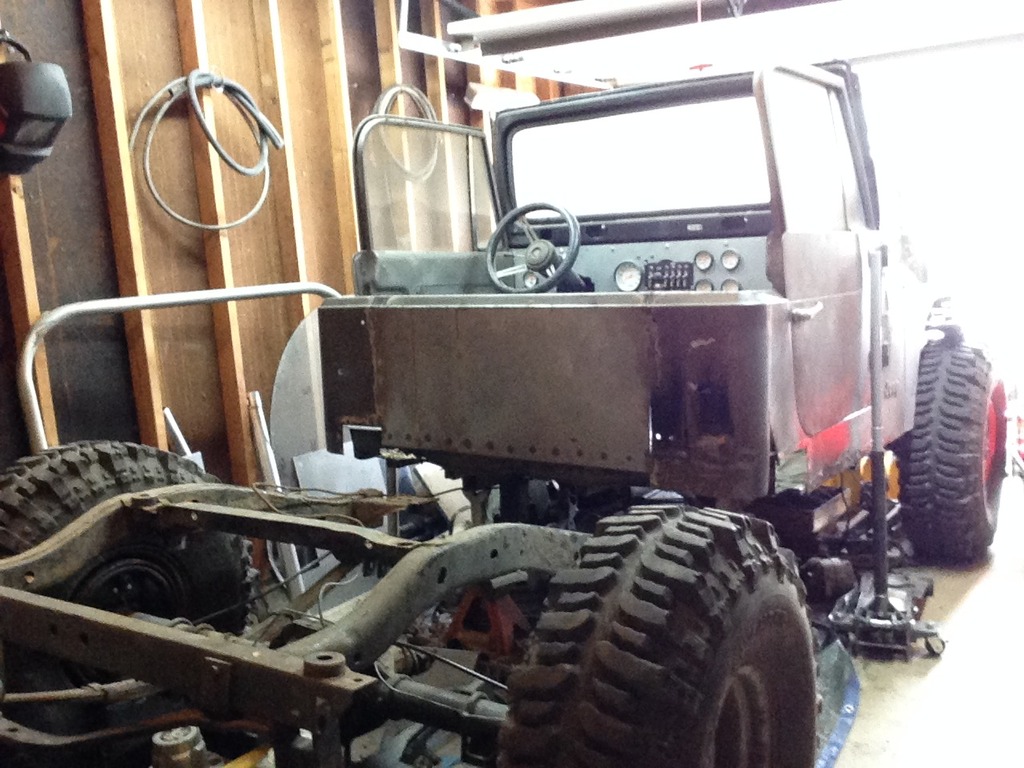
We ended up with the wheelbase sitting right at 114". I think this will work fine. I should end up with about a 60" bed. I was considering adding 6-8" to the back of the frame to make it 66-68", but I think I am liking the concept of what will turn out to be a "bobbed" look.
I also moved my body mounts from the rear frame section to back under the cab corners. Next came putting the back half of the cab back together.
image_zps0vauvcxo.jpeg

image_zpsbsn9rpzk.jpeg


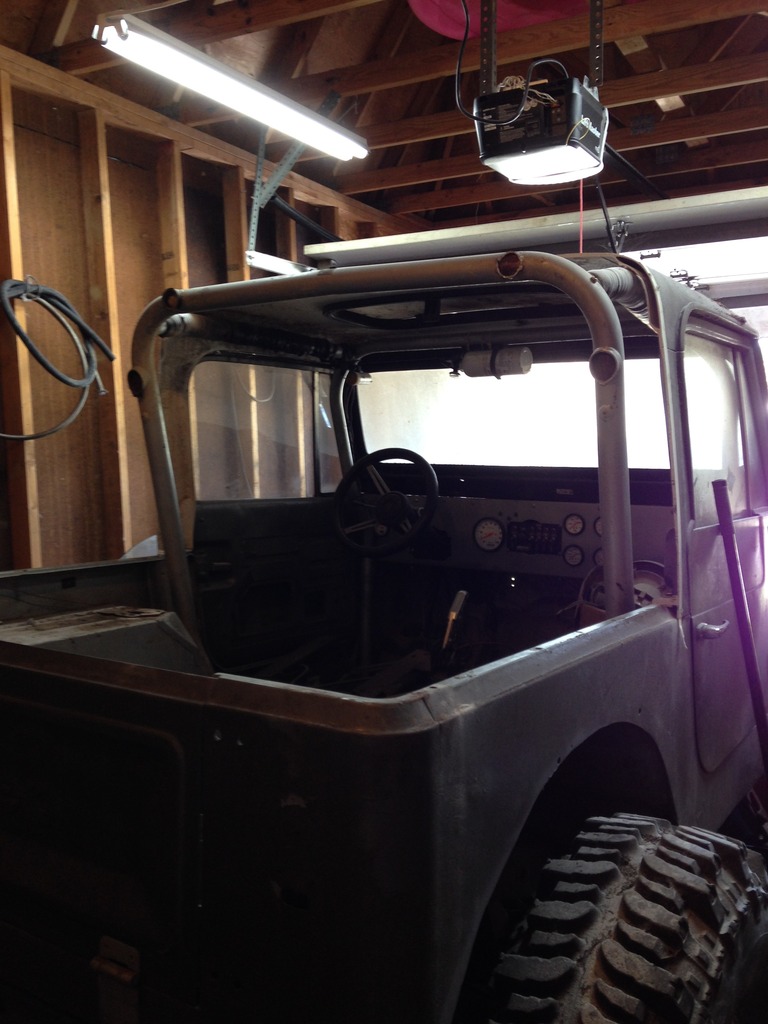
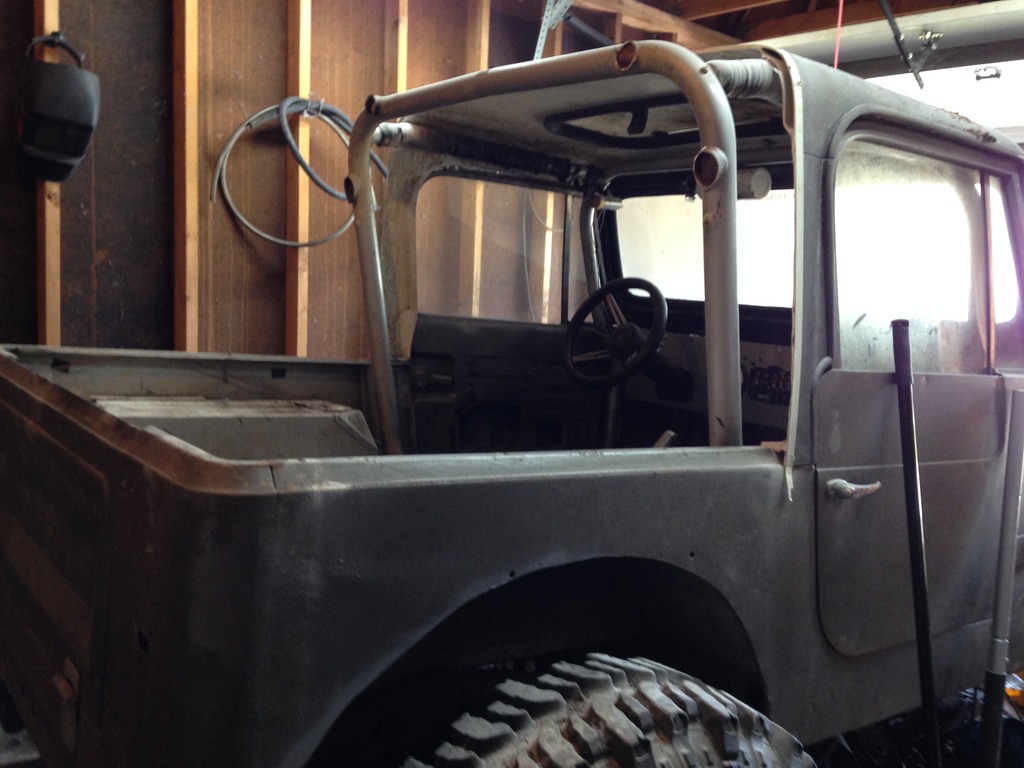
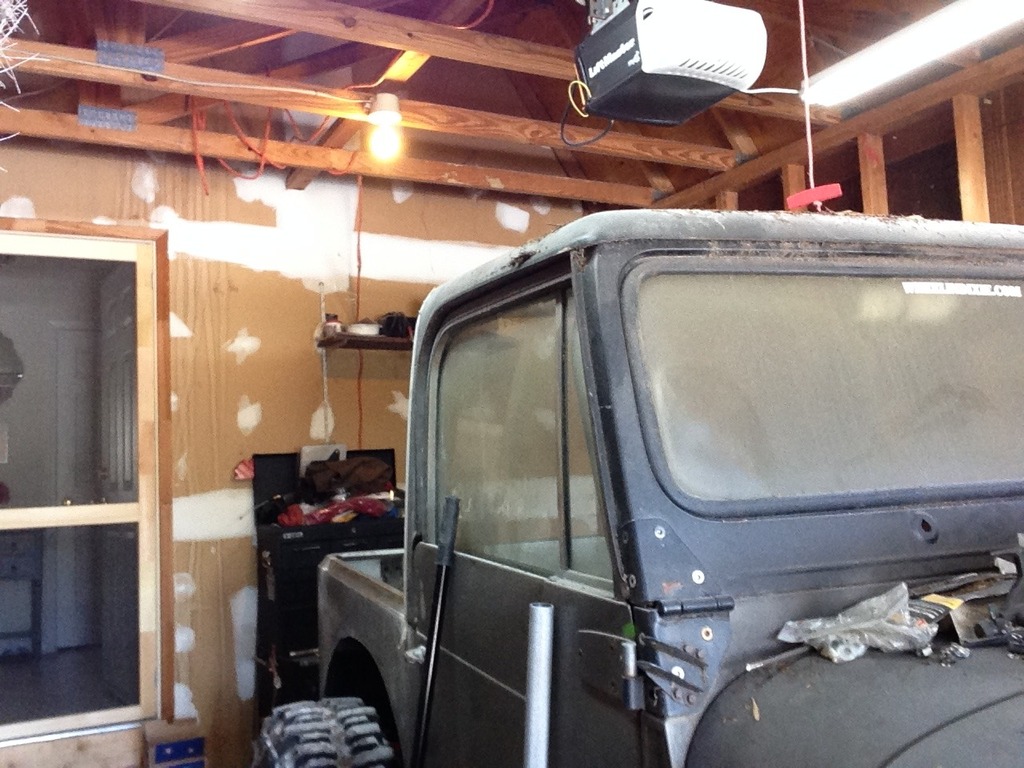
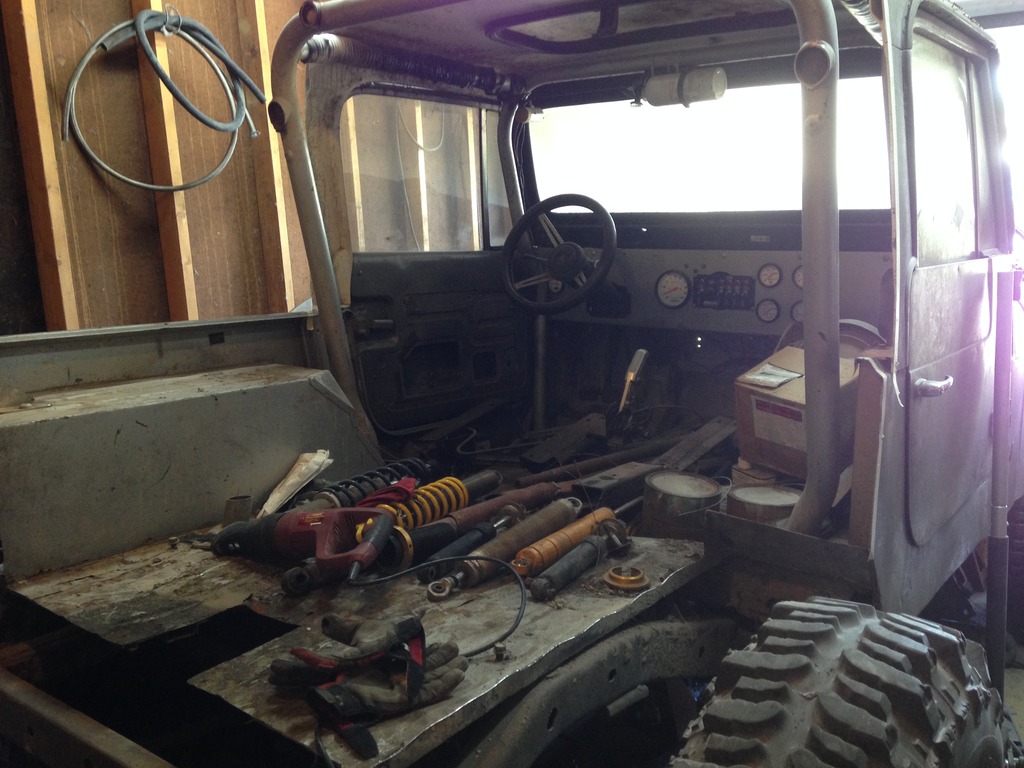
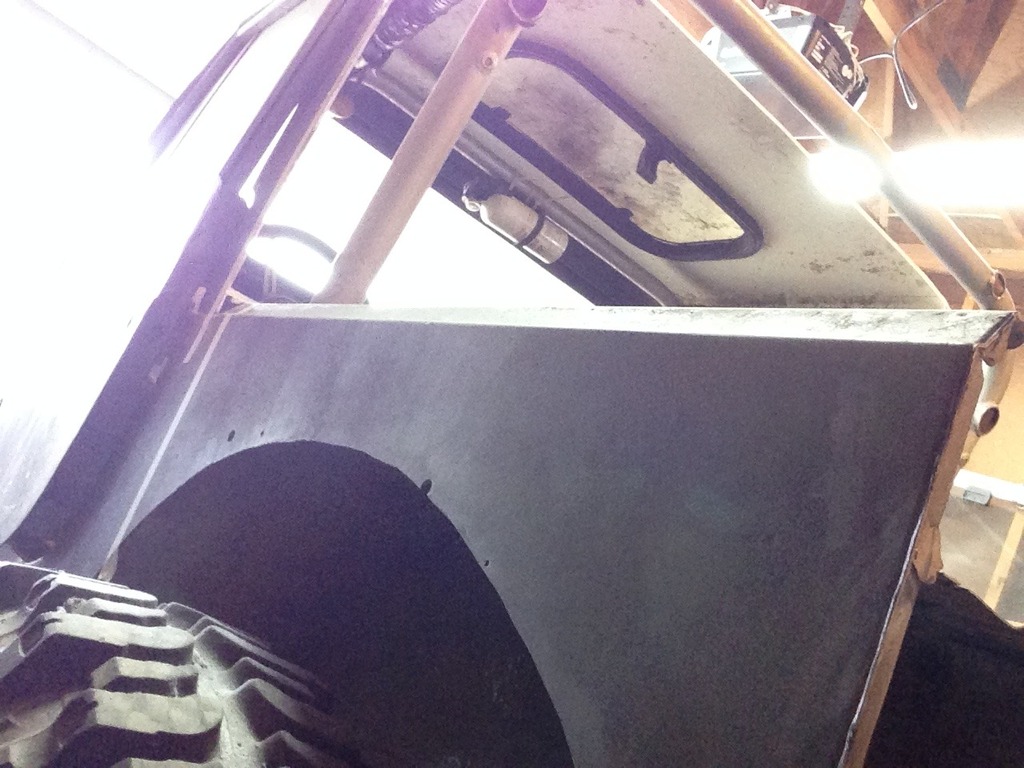
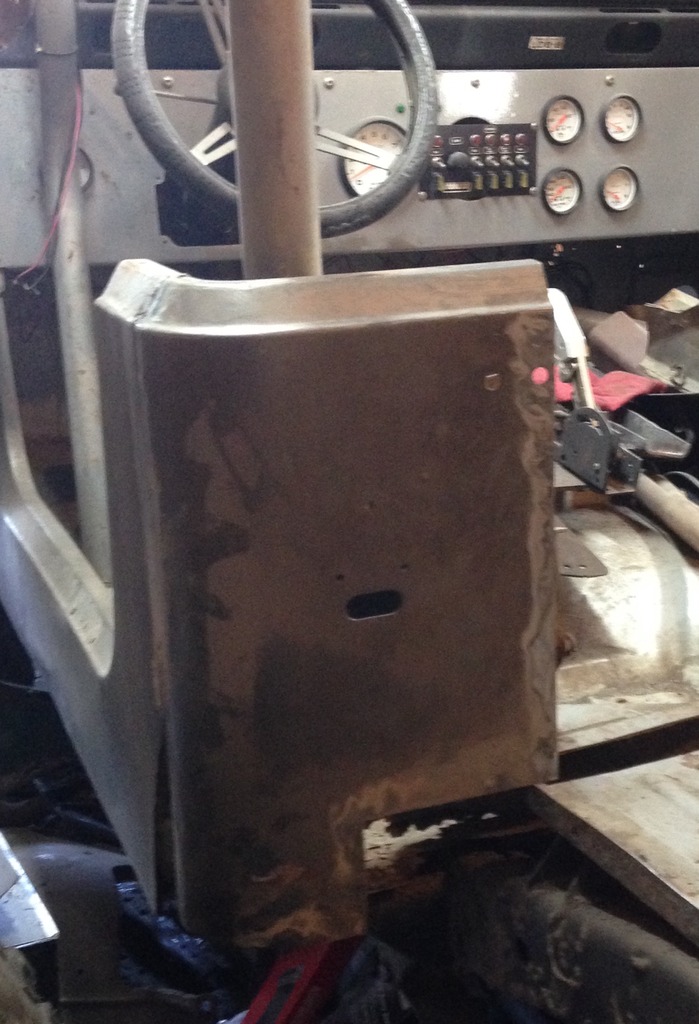
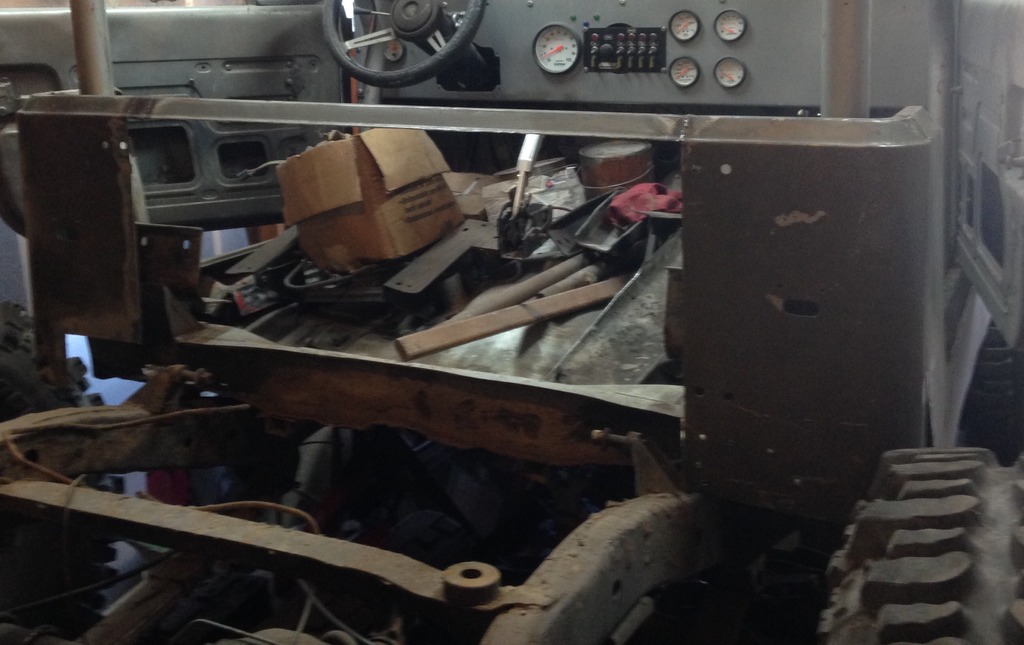
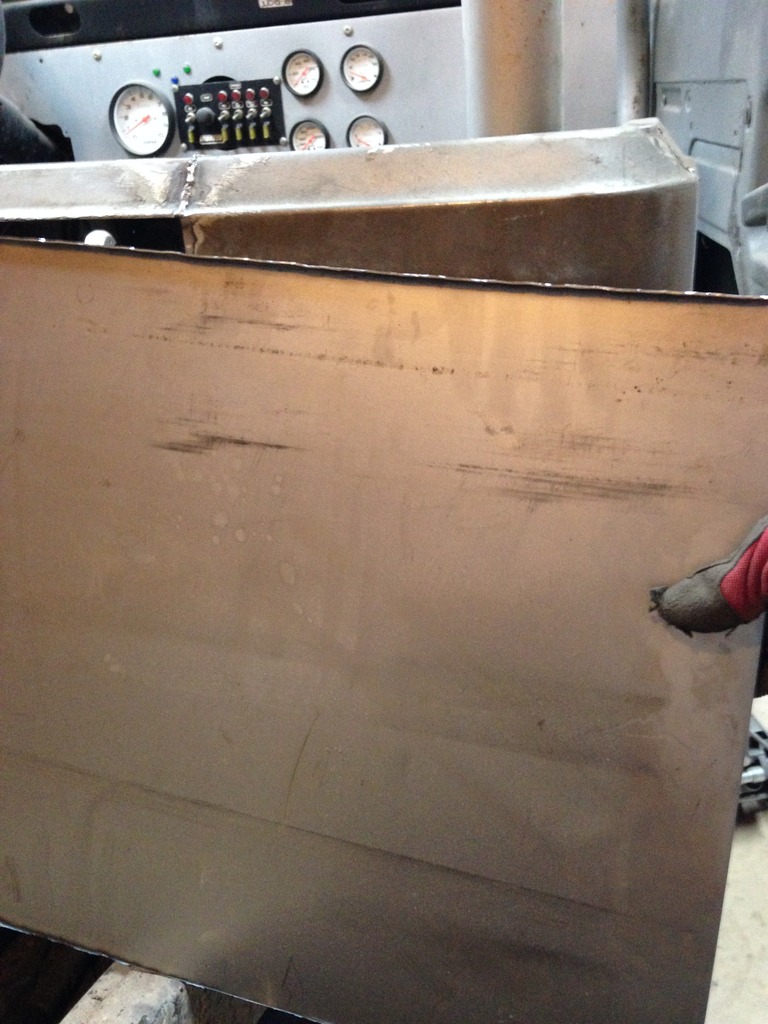
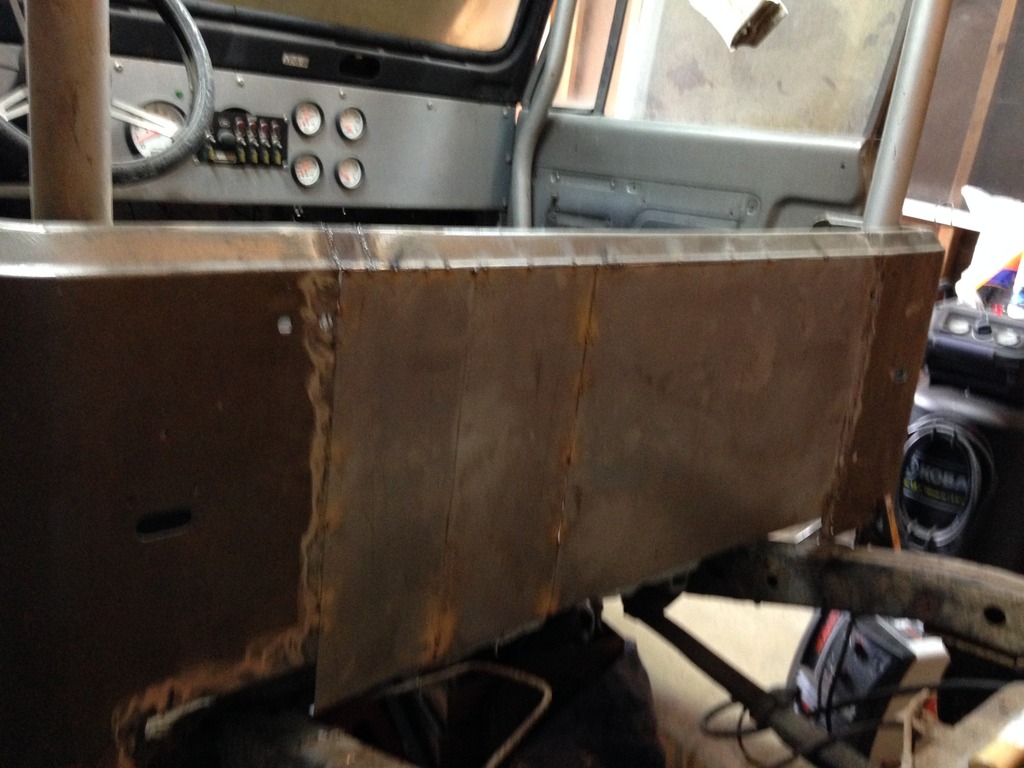
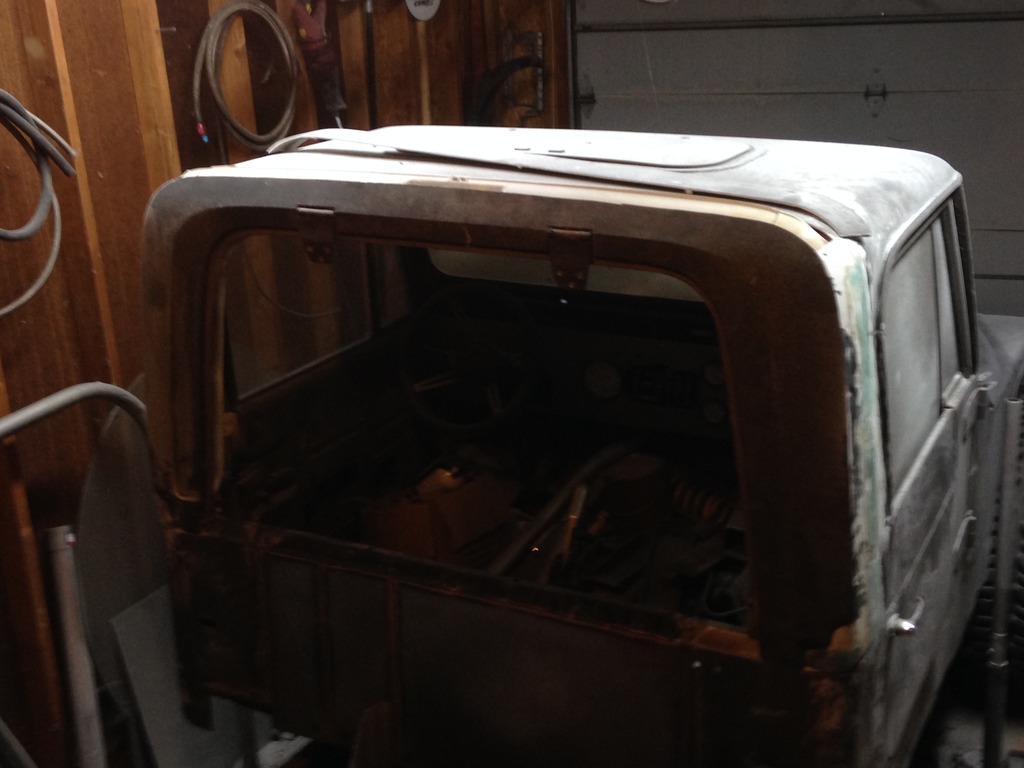
I need to still get that top piece cut and fitted and glassed into place. The only difference from this pic to now is I have bolted the back lift gate back into place to close off the cab. I'm debating whether I want to just fiberglass that in and eliminate the lift gate handle and hinges, or actually close off the cab and put a different shaped window in....but I'm a cheap bastard, and I'm not in this for looks lol.

This is where things came to a screeching halt last summer (2016). While busy with life and everything therein, I had a problem that was bothering me, and ended up needing to go see the doc. Like I said earlier - fuck cancer. To my luck, it was benign, but I still ended up with having a hunk of skin removed from my chest that prevented me from working in the garage until it was fully healed. Life got busy again, and now I have a daughter. I was really hoping to have the cab sheet metal and fiberglass work done before she came along...but I guess fate had a different opinion. Oh well, right? I keep picking at it as I have time (which isn't often at all).
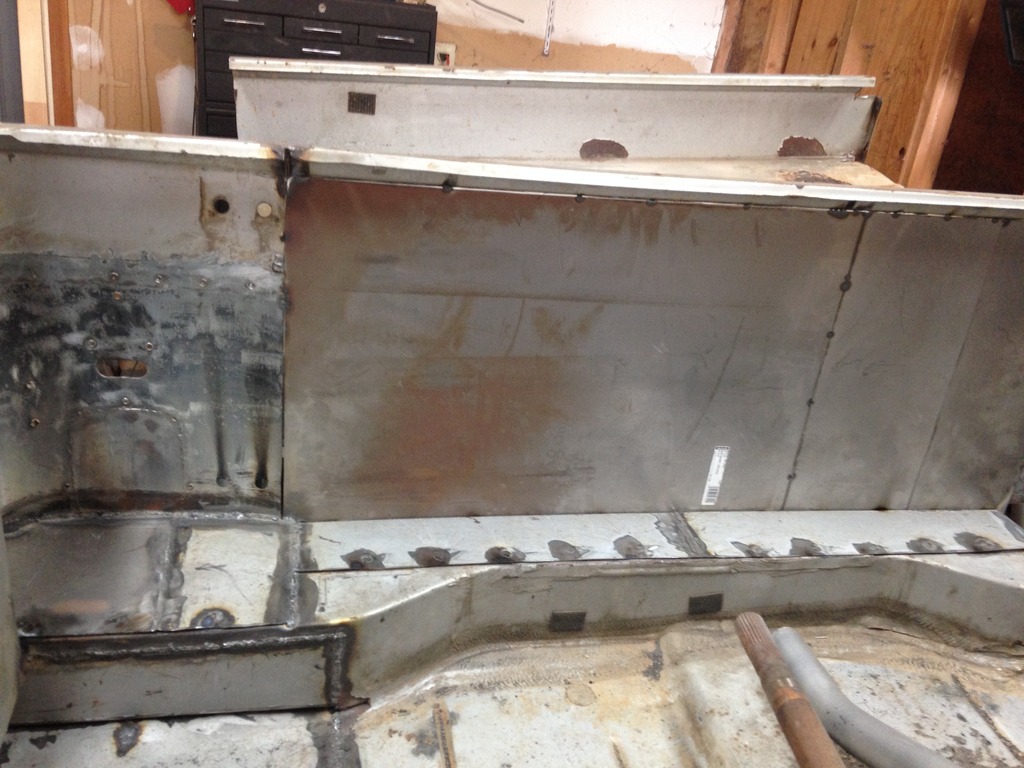
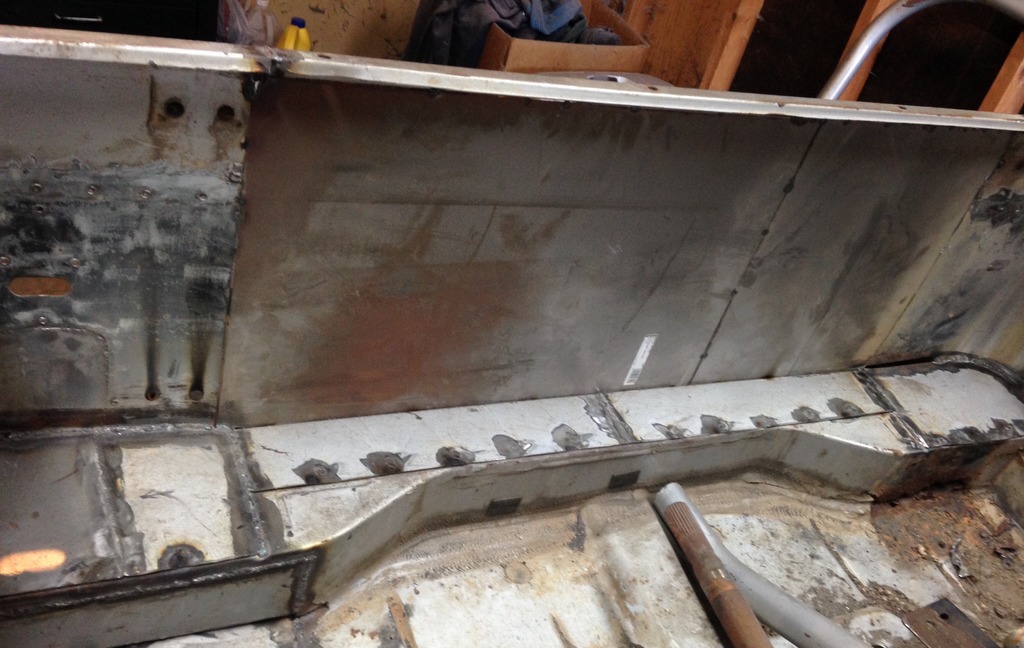
What you see above is pretty much where things sit now. I'm still tinkering with other side projects that will eventually get applied to this. Now that we're all up to speed, y'all get comfortable. This might take a while. :beer:
 
I like a removable back window for those summer days with the doors off.

Only really recommendation would be to fish plate the seams where the frame goes to box.
 
I like a removable back window for those summer days with the doors off.

Only really recommendation would be to fish plate the seams where the frame goes to box.

That's a good point for the doors off cruising. Never thought about it that way. That makes me think of potentially coming up with a way to make it "quick release" with some pins or something. I'd just have to try to make that work from the inside for obvious reasons.

Fish plating the frame splice is absolutely in the plans. Just haven't had time to cut the plate and burn it in just yet.

Thanks for the idea! :beer:
 
Wondering if you could make the hinges like the hood, where you lift up and pull off.

You, sir, are pure genius! Capture the hinge pin in one half of the hinge, make it slip fit in the other. Turn the lift gate handle to open the hatch, and slide it off. Thanks! :beer:
 
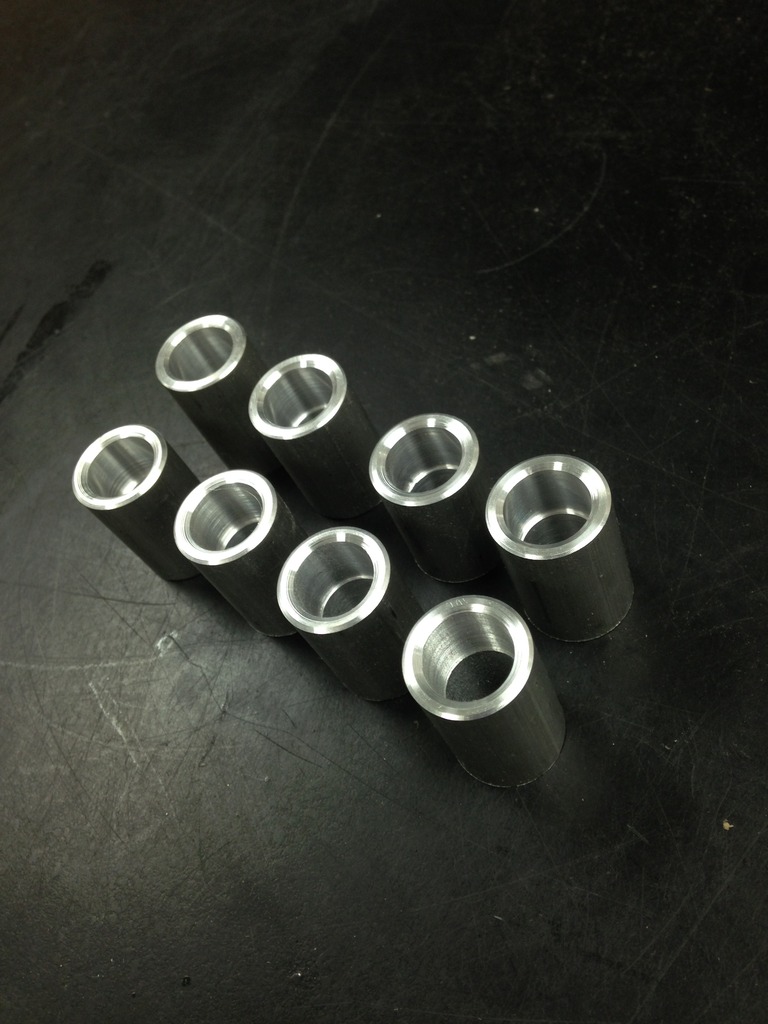
:smokin:Just gonna leave these right here....
IMG_1487_zps8loxlwqw.jpg


IMG_1488_zpsdqq8qtyt.jpg


IMG_1499_zpsolmmagqy.jpg


IMG_1501_zpsfw1nji3h.jpg


I found this piece of 3/4 aluminum bar stock rolling around on the floor in the shop...the safety nazi in me knew I had to do something about it. So, I cut it up into pieces, and made something useful out of it! @Croatan_Kid will probably notice that I made a fundamental error, since I saw him nail somebody else in another post about it...oops! I mean, damn...it's hard to take pics with the safety guard down. Knowwhutimean?

Anyway, this thread will likely turn into a series of random thoughts, since it's hard to keep going in one direction to finish a started project with my daughter being so young, and just being the two of us at home during the day. I do promise, though, that they will all tie together in the end. I hope one of these days I'll actually be able to get some damn work done again.
 
Last edited:
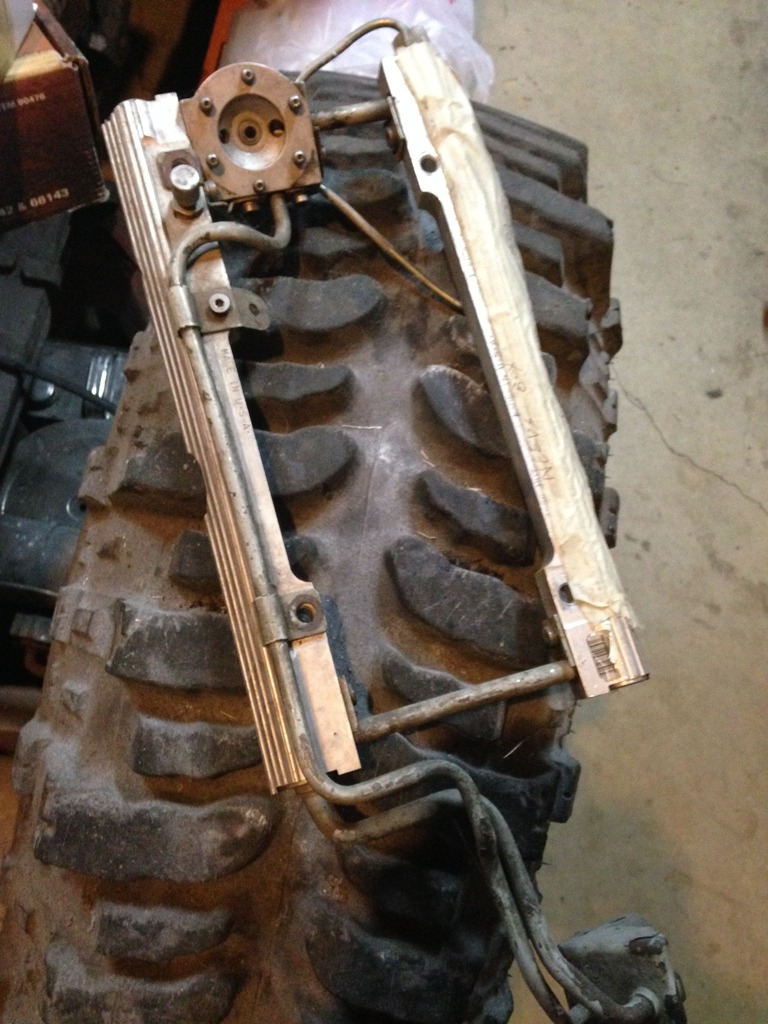
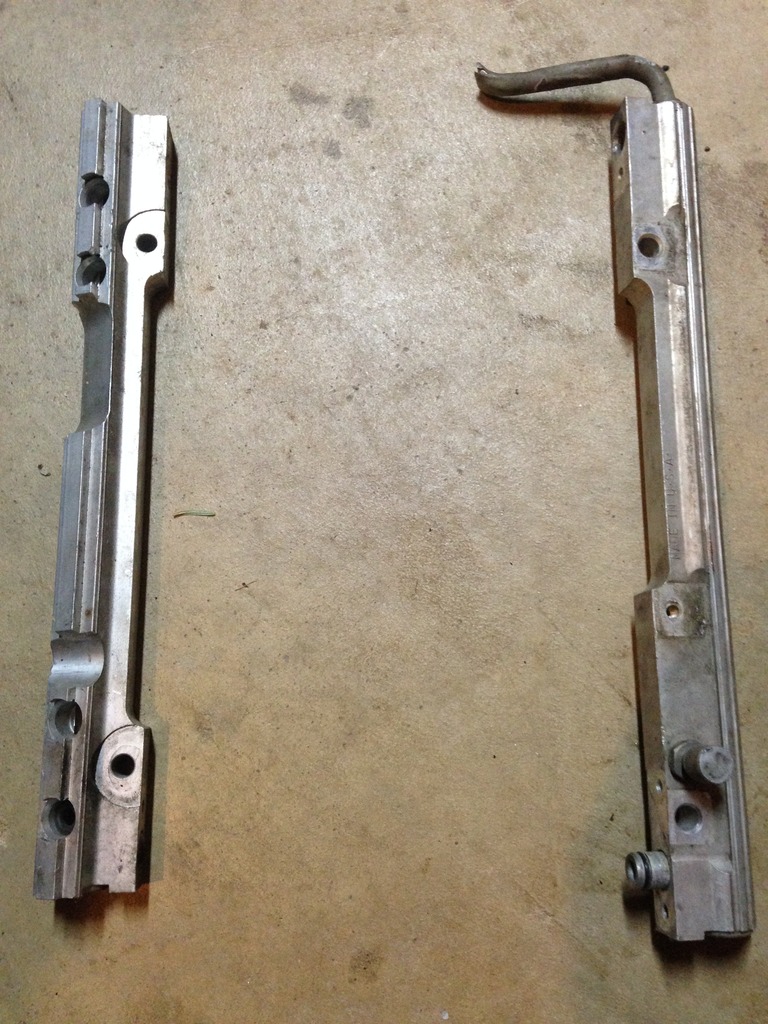
Number next on the list of random thoughts...had this old set of TPI fuel rails laying around. Well, first they were laying around someone else's shop with some other random crap of mine, then they found their way back to my pile. Thanks for not throwing out all my junk! :D

IMG_1502_zpsext61746.jpg


Did you know a stock replacement fuel pressure regulator for this stock damn setup is $80? And I'd still have to get a cover...whatthefawkever....I'll fix that.

Stripped of the crossover tubes, and cut the inlet line to get the regulator out of the picture.
IMG_1503_zpshz5hqgtd.jpg


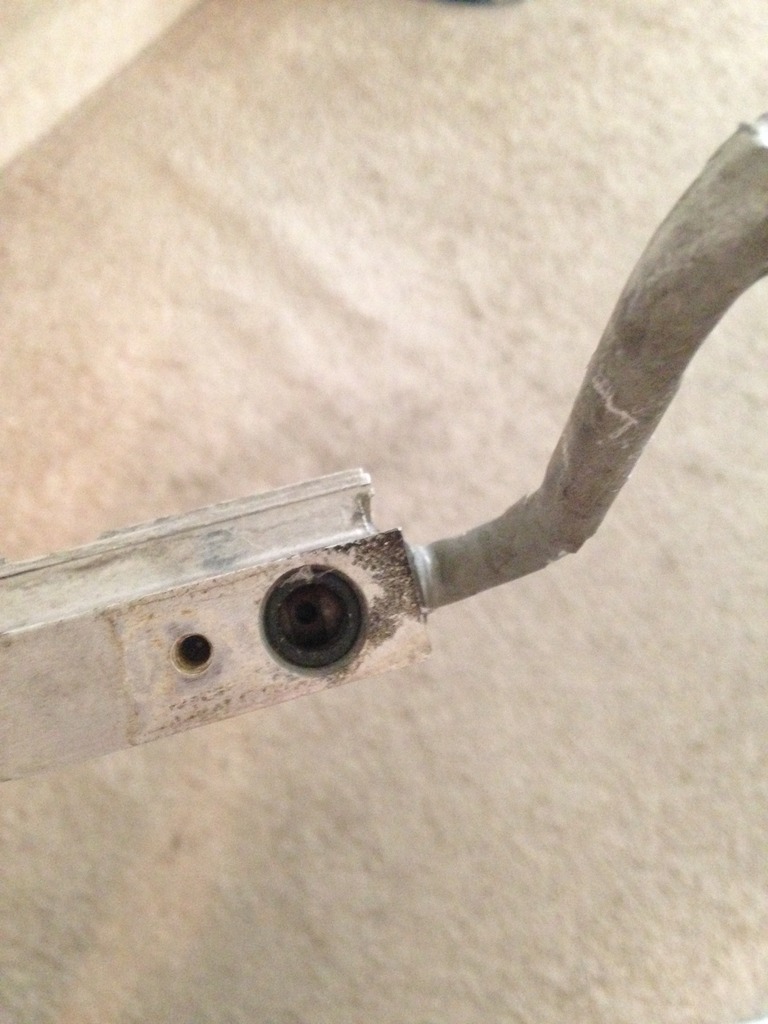
I'd read in a few places that the fuel inlets of these rails has a restriction. Damn, that's a pinhole!

IMG_1504_zpss0ejhfk5.jpg


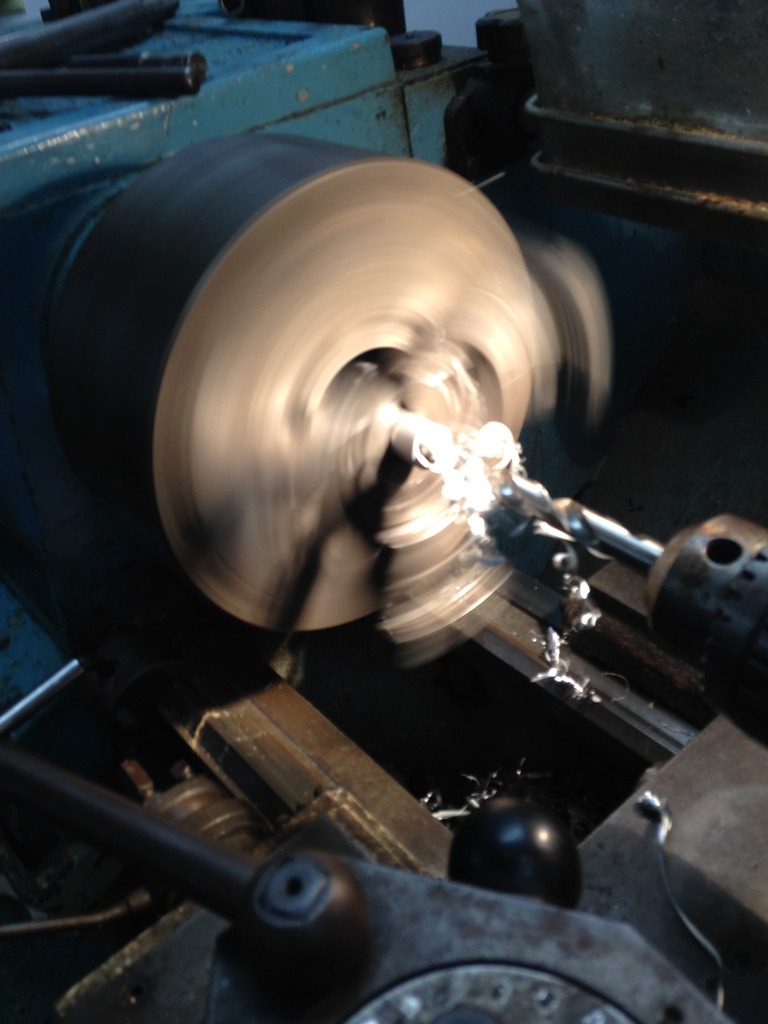
Yeah, that's what the fuel comes in through, and goes through the crossover tube to the other rail...What travels down this rail has a restriction the same size. I'll snap some more pics at work, but they're still being worked on at the moment. I drilled out the ends to accept 1/2" NPT fittings, and drilled the crossover ports to be tapped to 3/8" NPT. Oddly enough, I don't think I can locate a 3/8" NPT tap (without buying one), so I might just turn out some plugs on the lathe and plug it permanently. I'll try to post those up tomorrow.
 
Just for schitzengiggles... here's some pics of my engine build.

Forged (used, obviously) 4.130" bore pistons.
IMG_1569.JPG
IMG_1570.JPG


Forged 6" bronze bushed rods
IMG_1572.JPG


IMG_1573.JPG


Piston installed, other bores have their respective file-fit moly rings
IMG_1574.JPG
 
Pistons installed... then finishing up.
IMG_1575.JPG

IMG_1578.JPG

New timing cover and pan installed
IMG_1579.JPG

IMG_1580.JPG
 
Back
Top