mcutler
Well-Known Member
- Joined
- Apr 17, 2010
- Location
- mt.airy nc
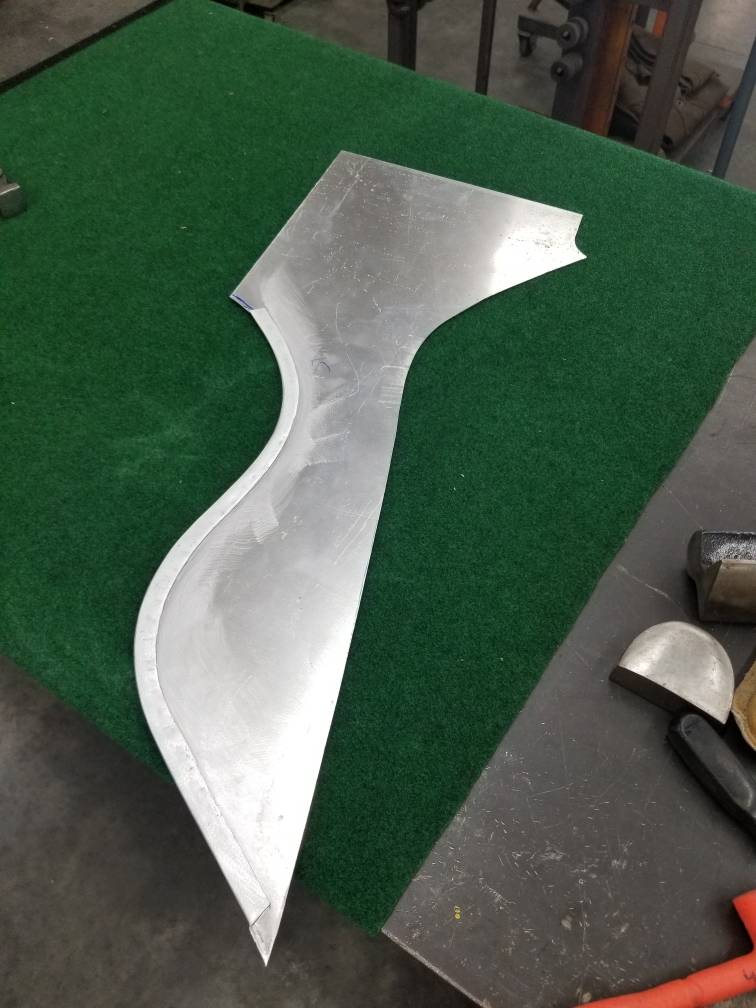
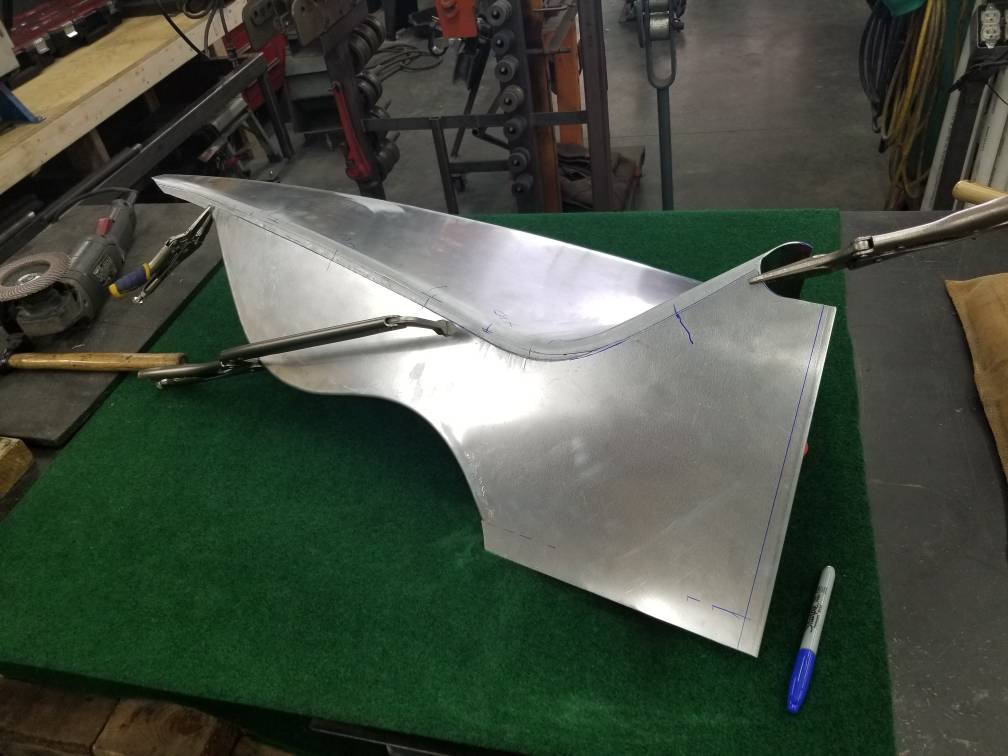
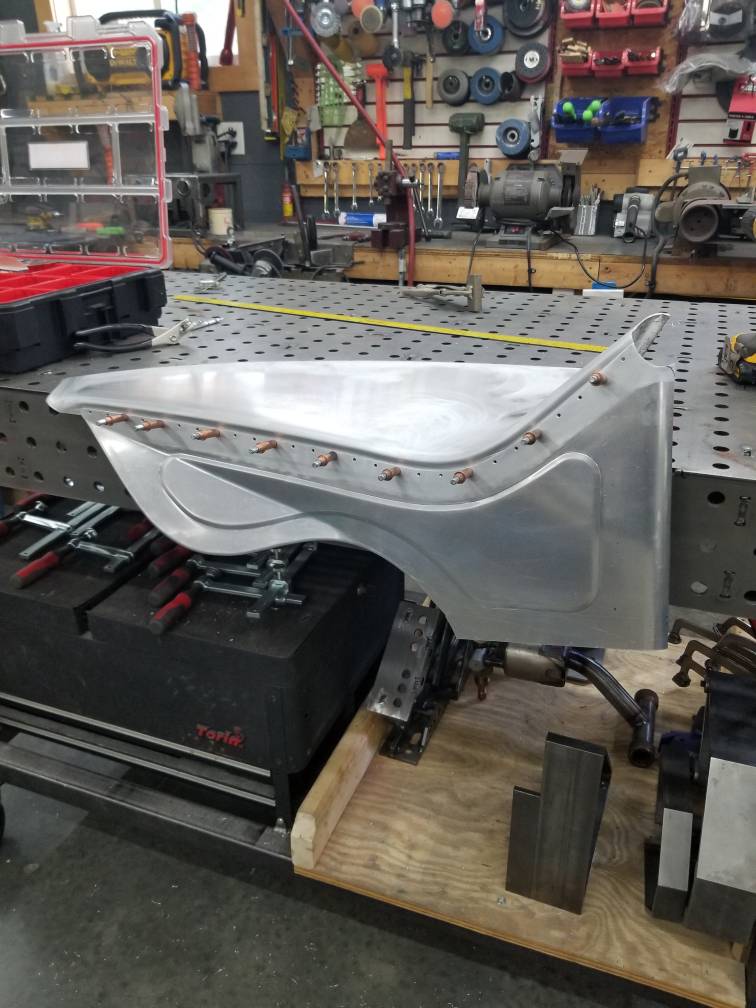
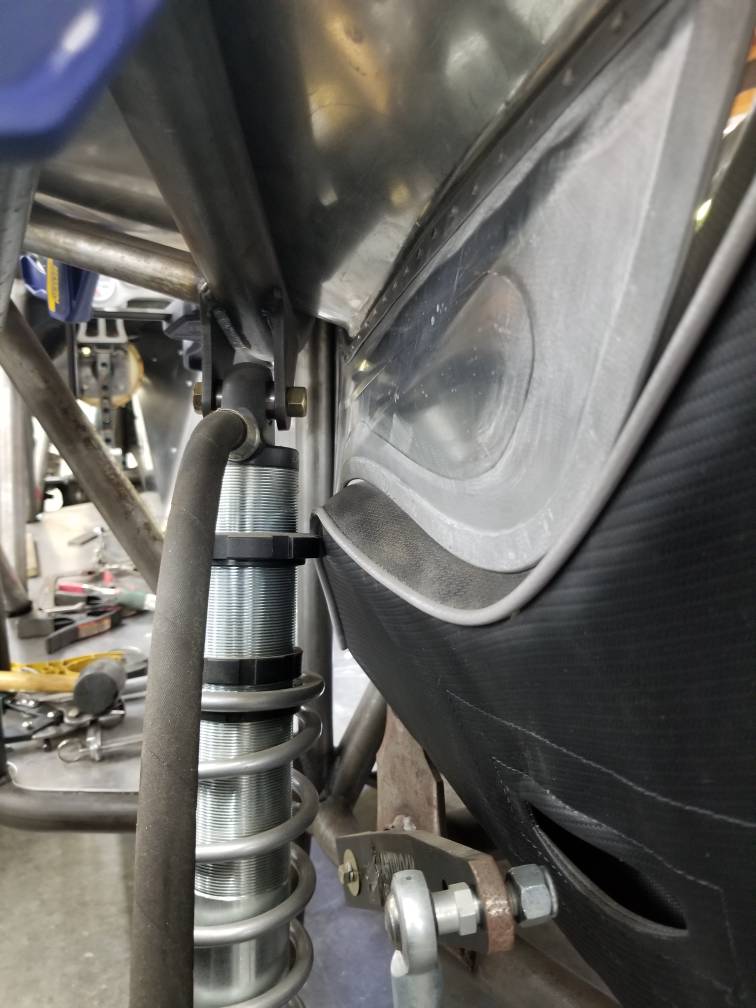
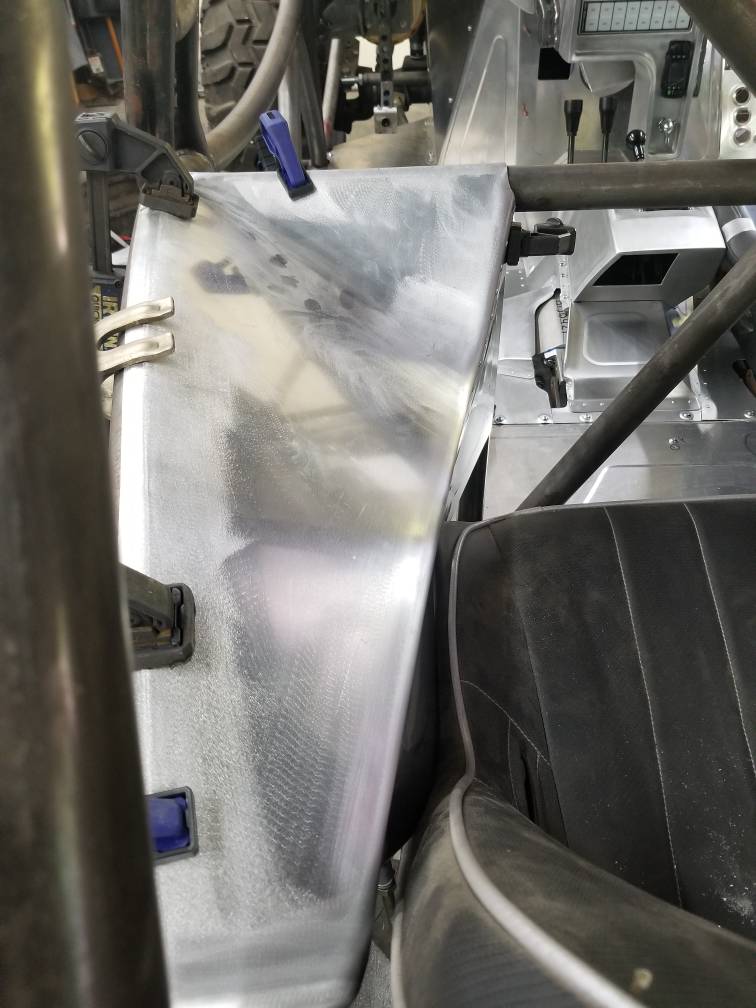
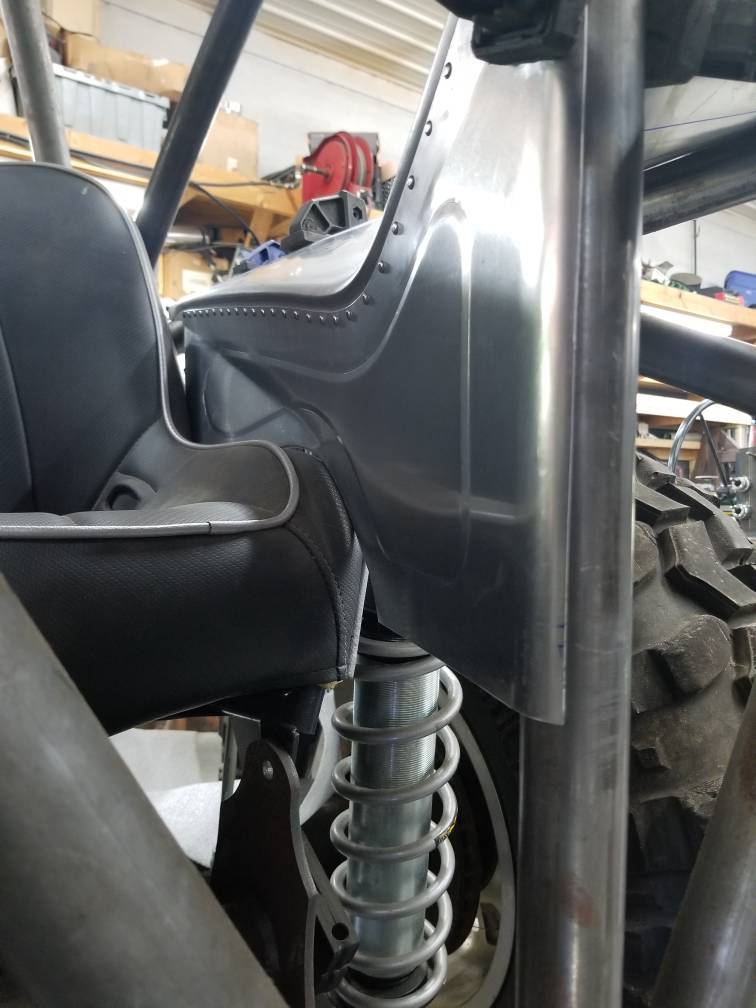
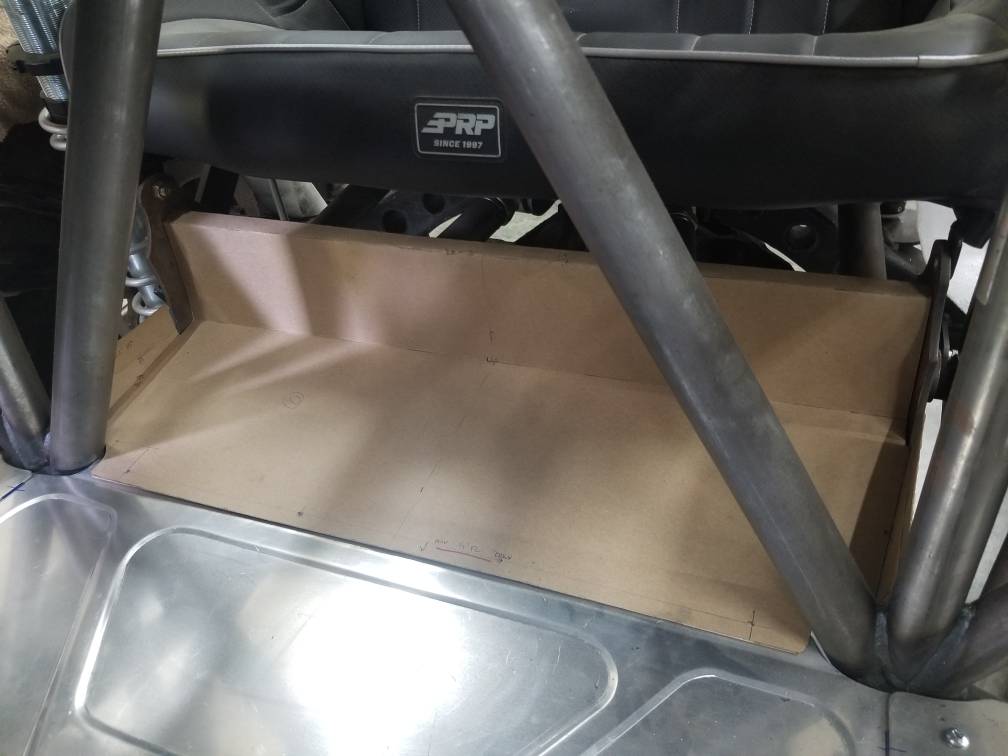
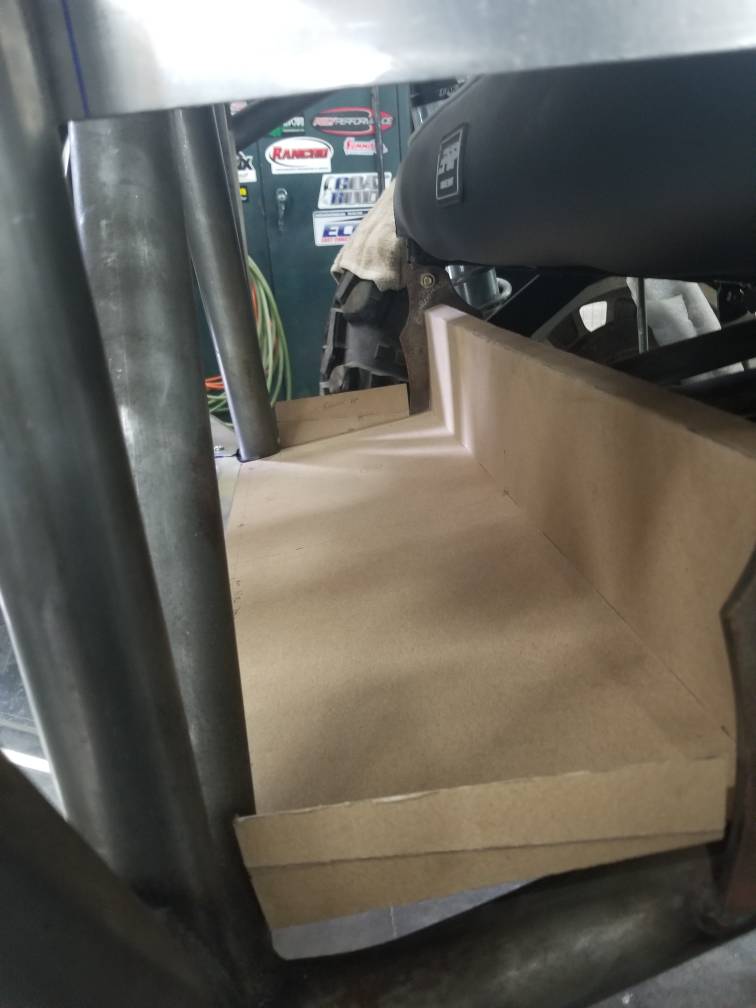
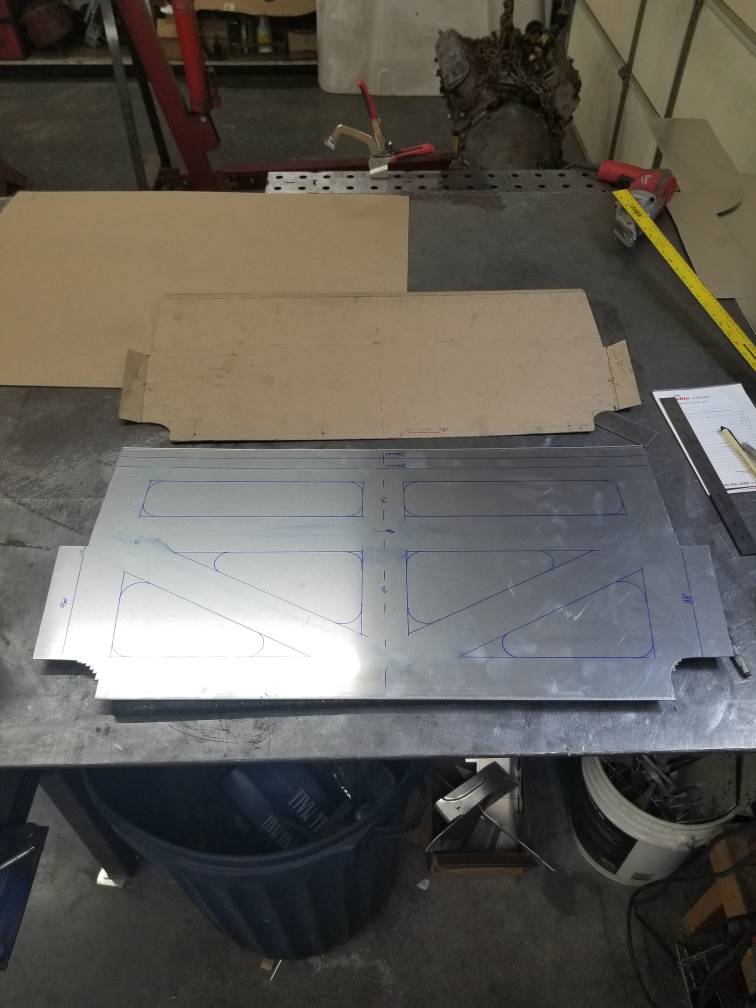
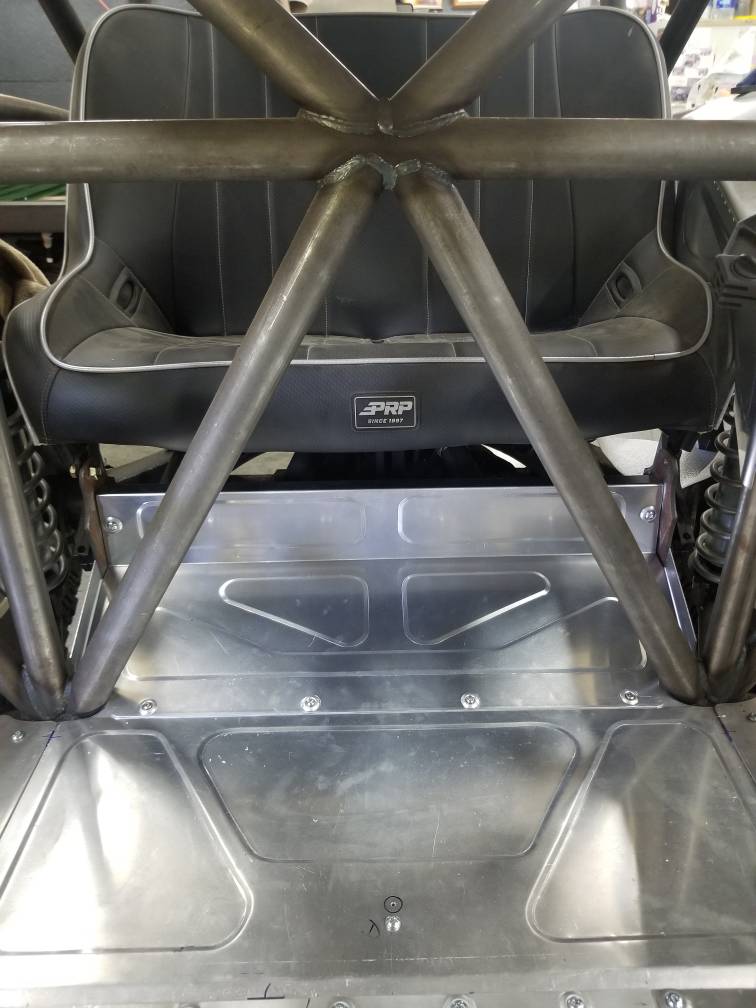
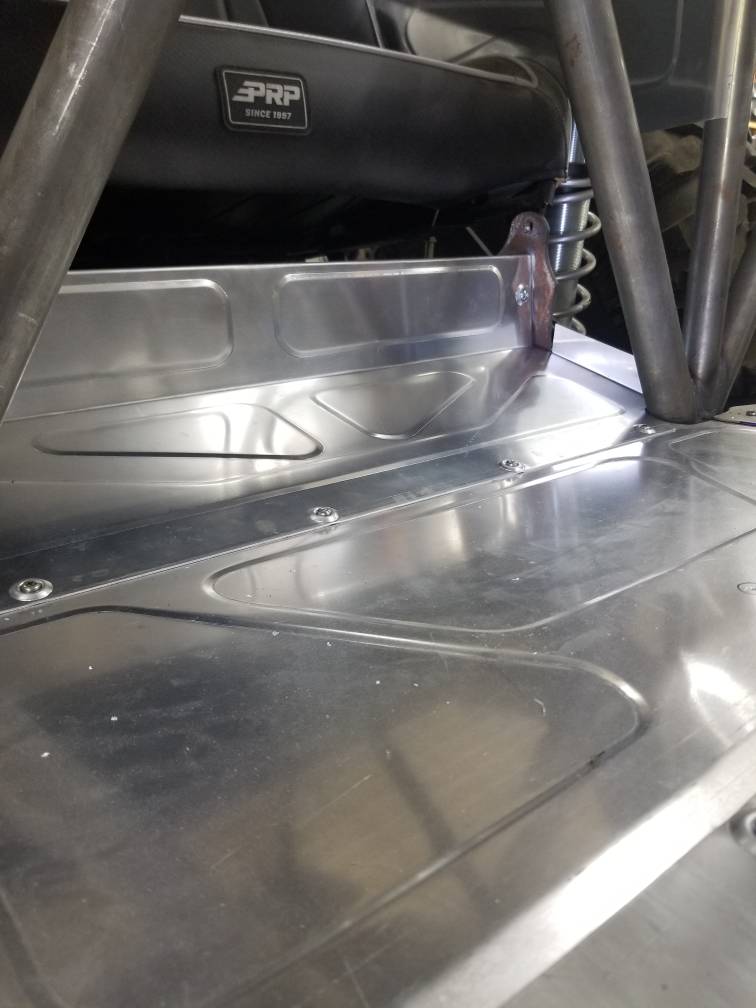
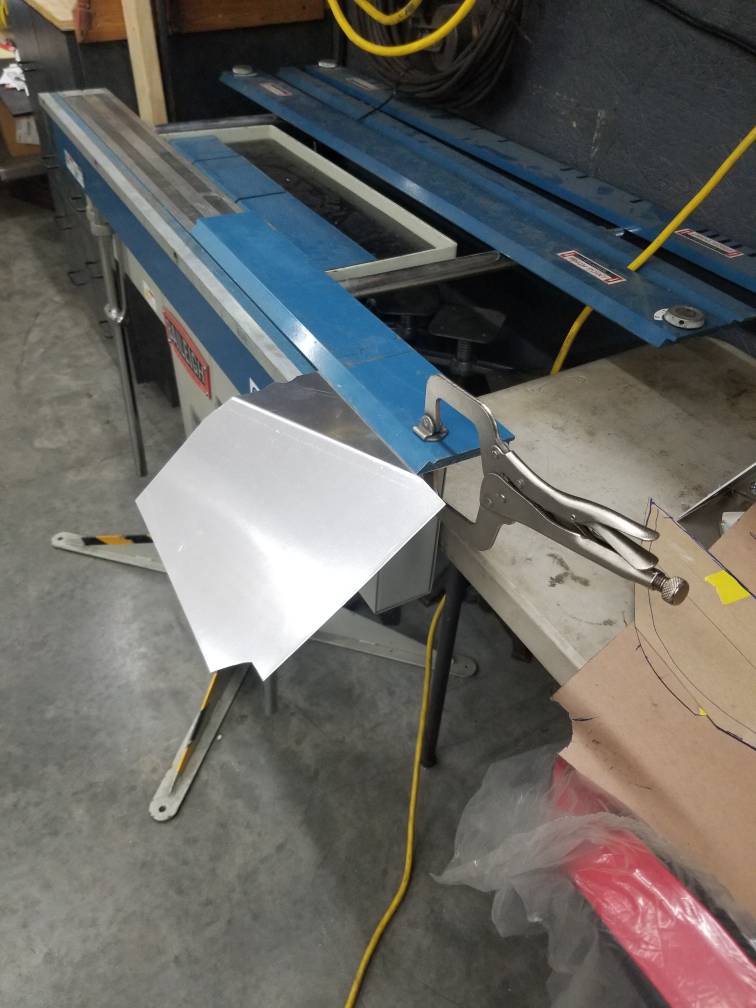
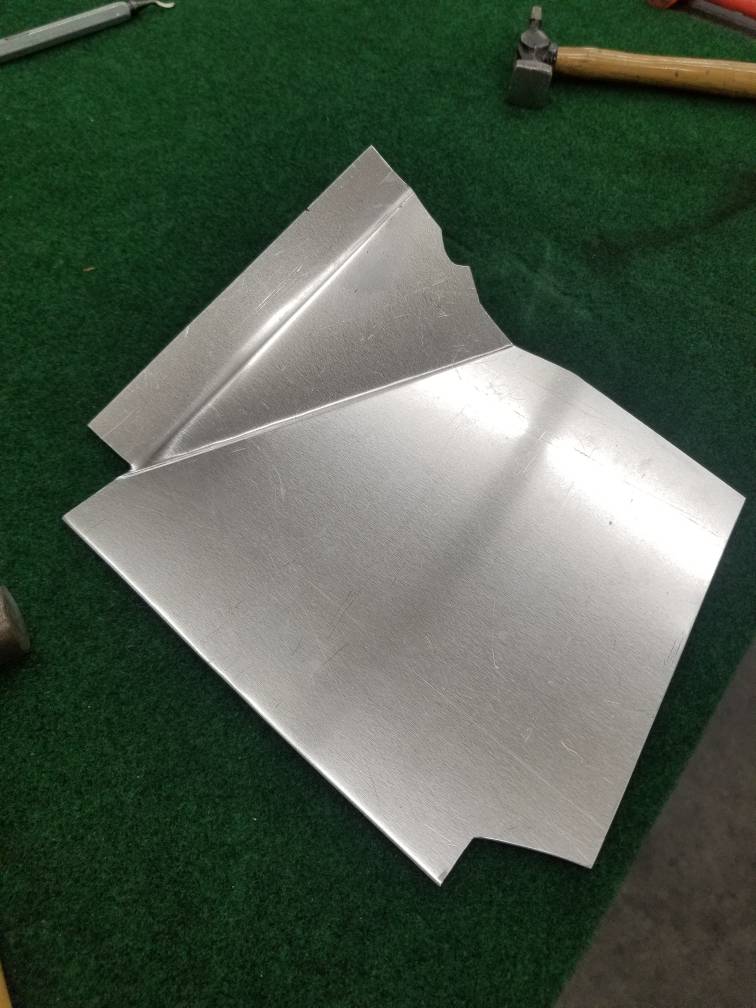
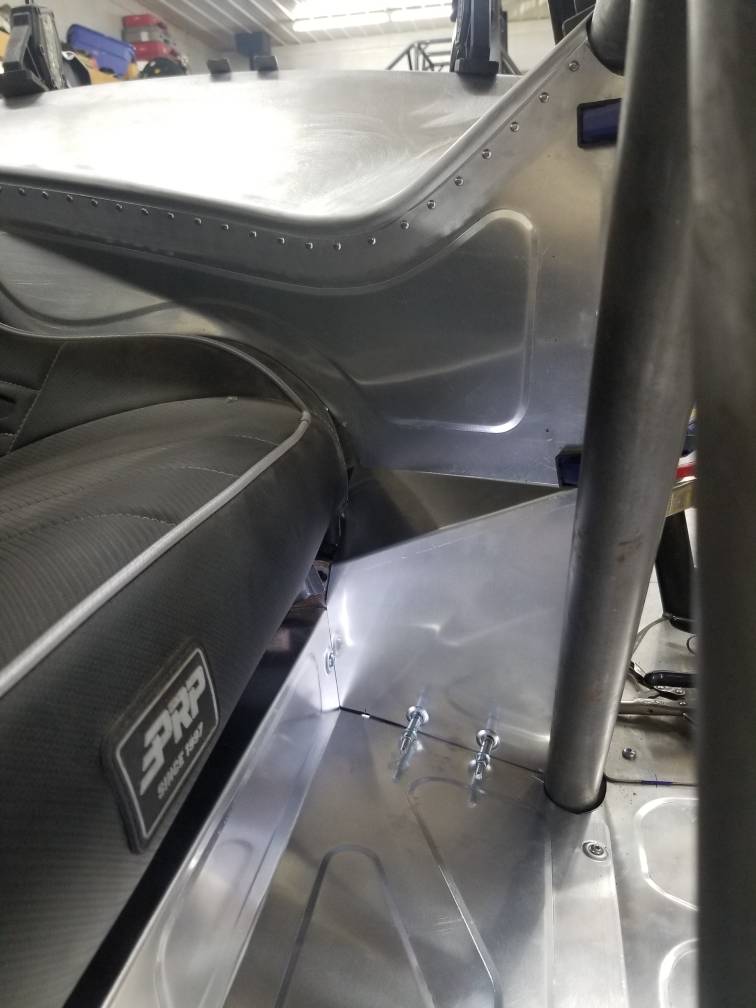
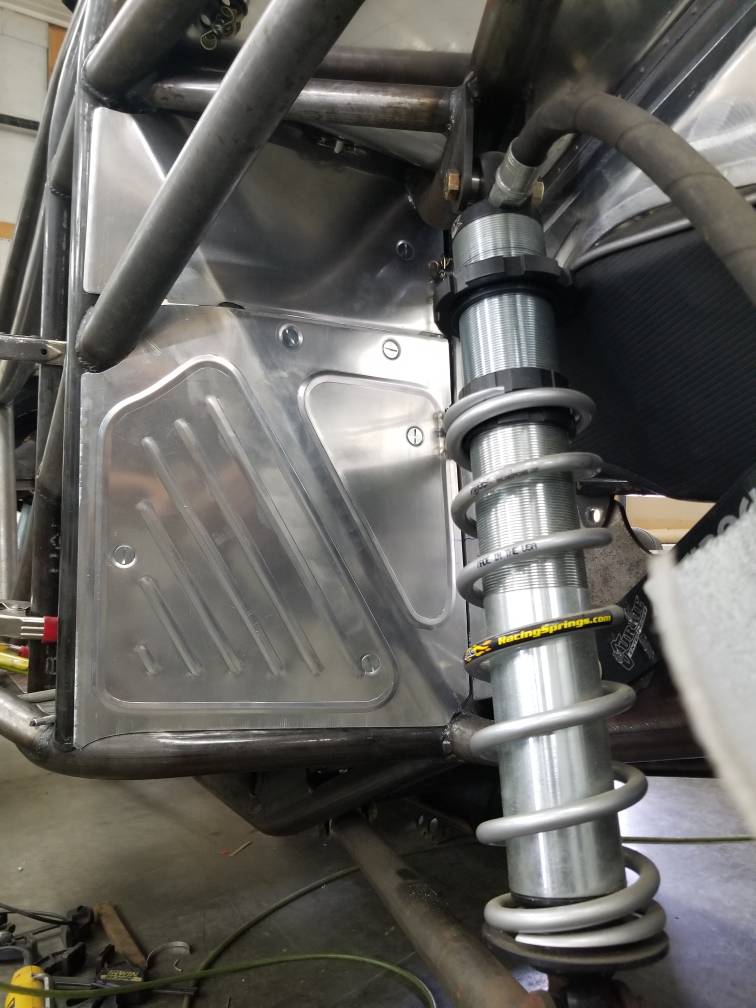
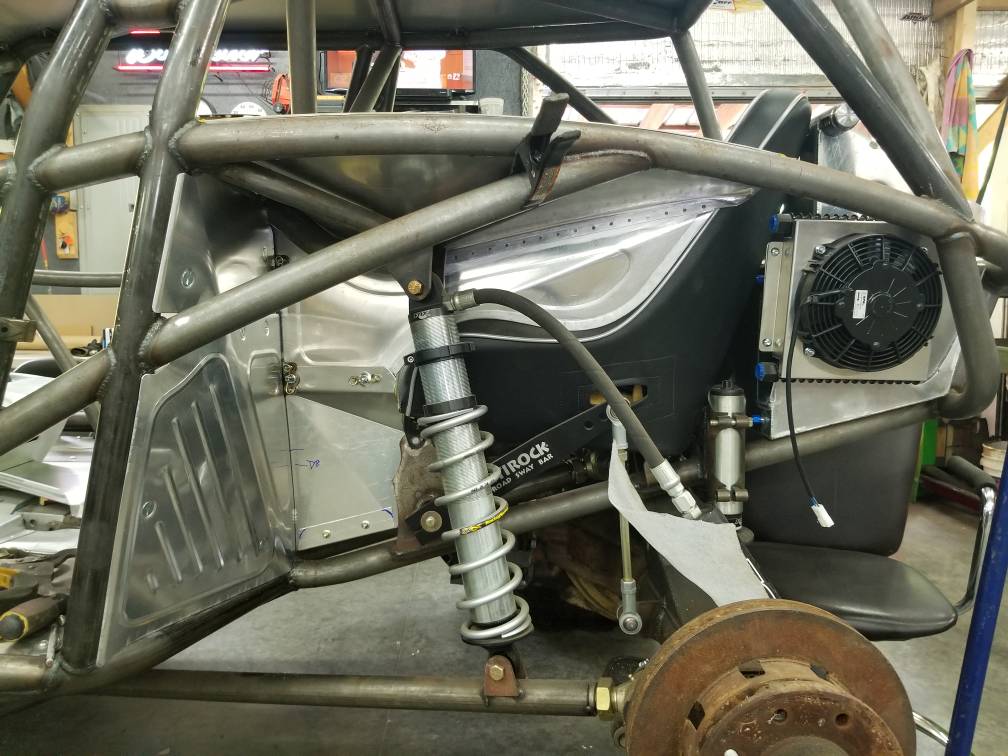
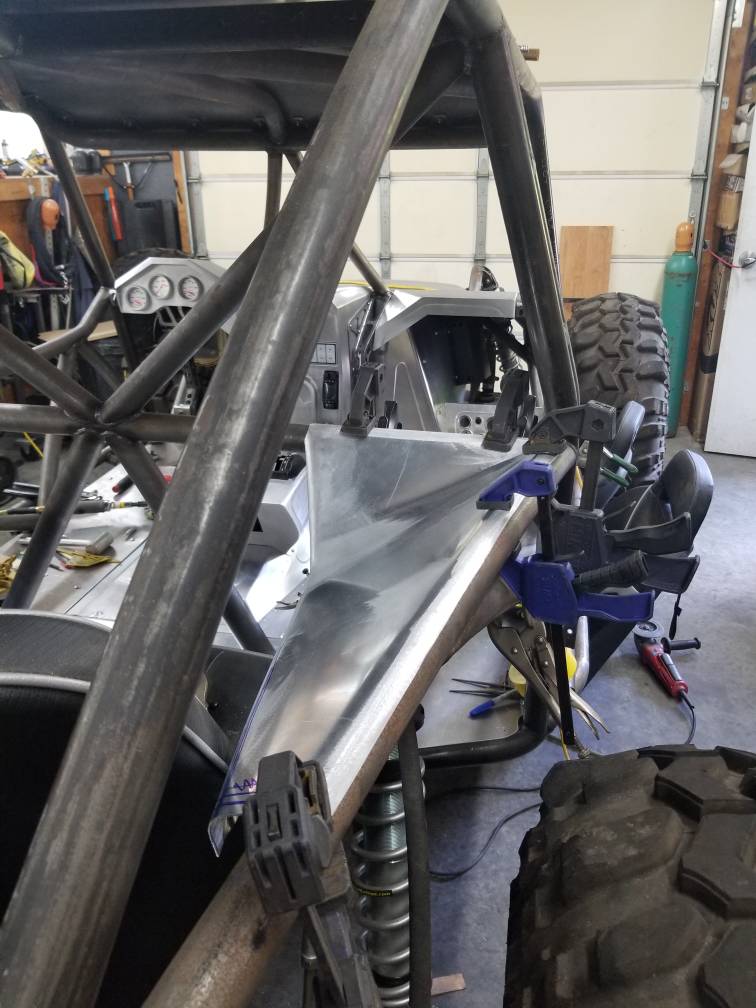
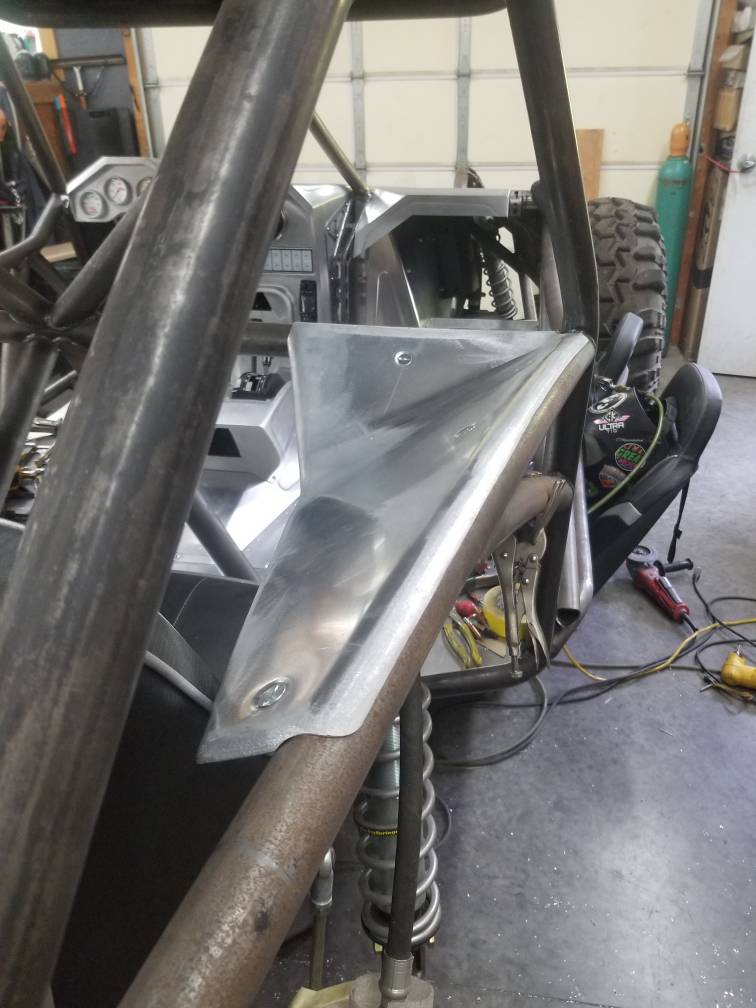
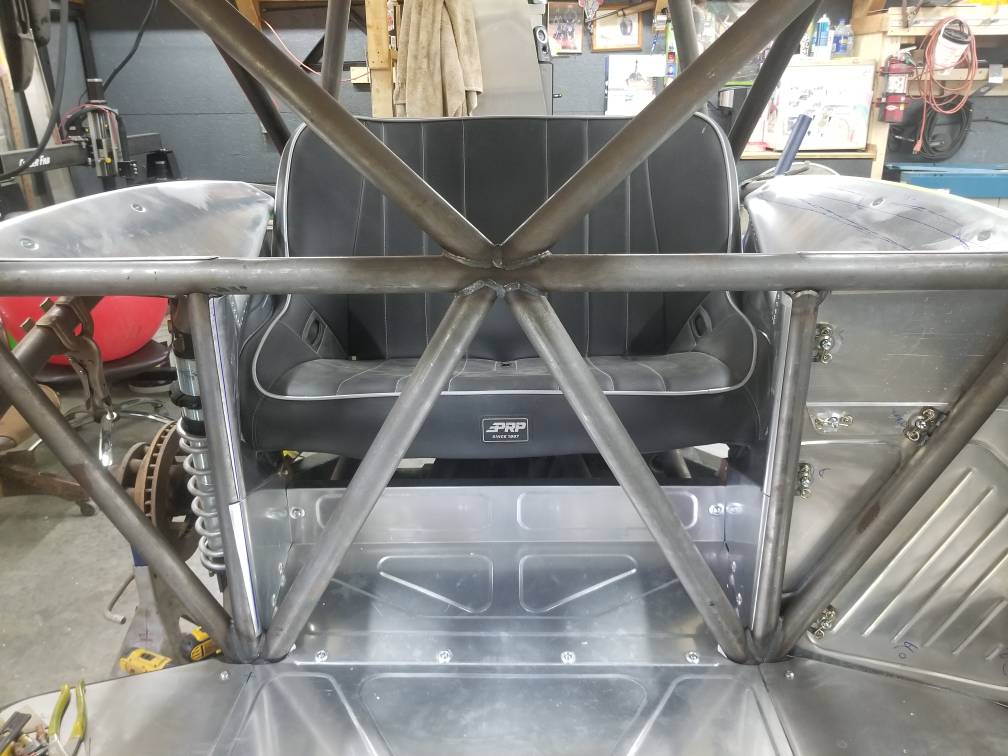
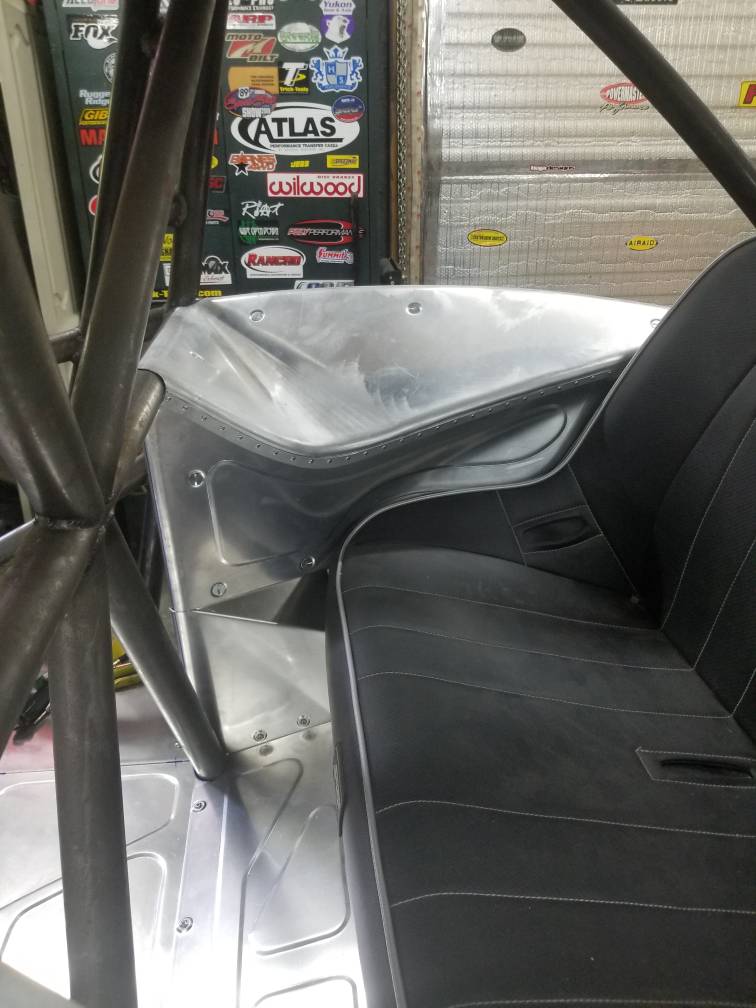
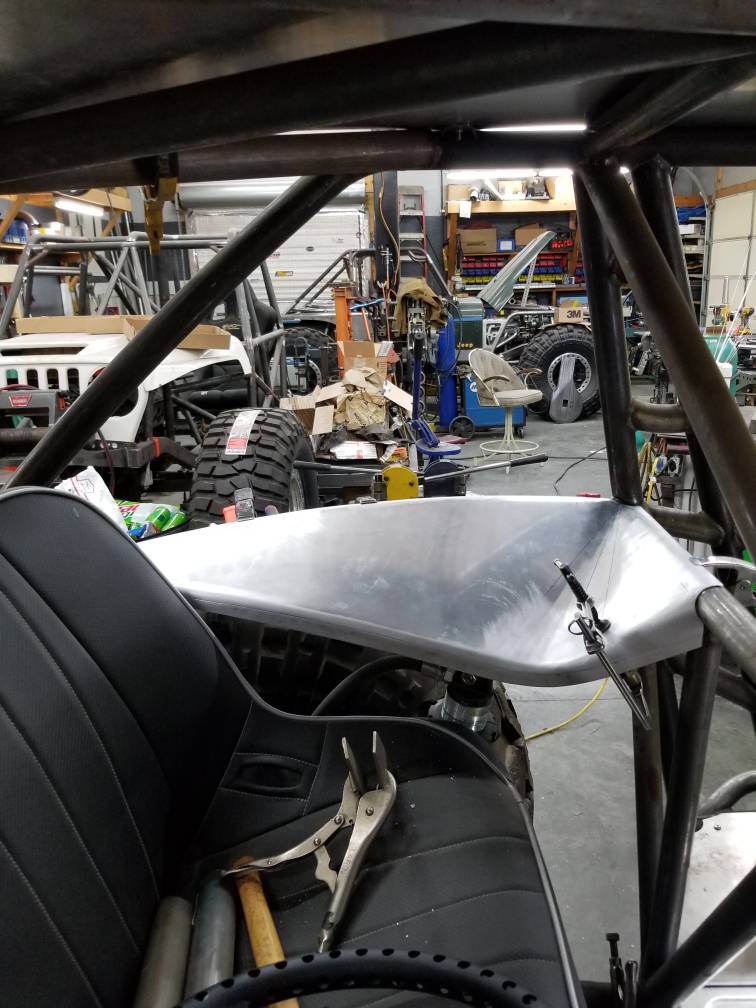
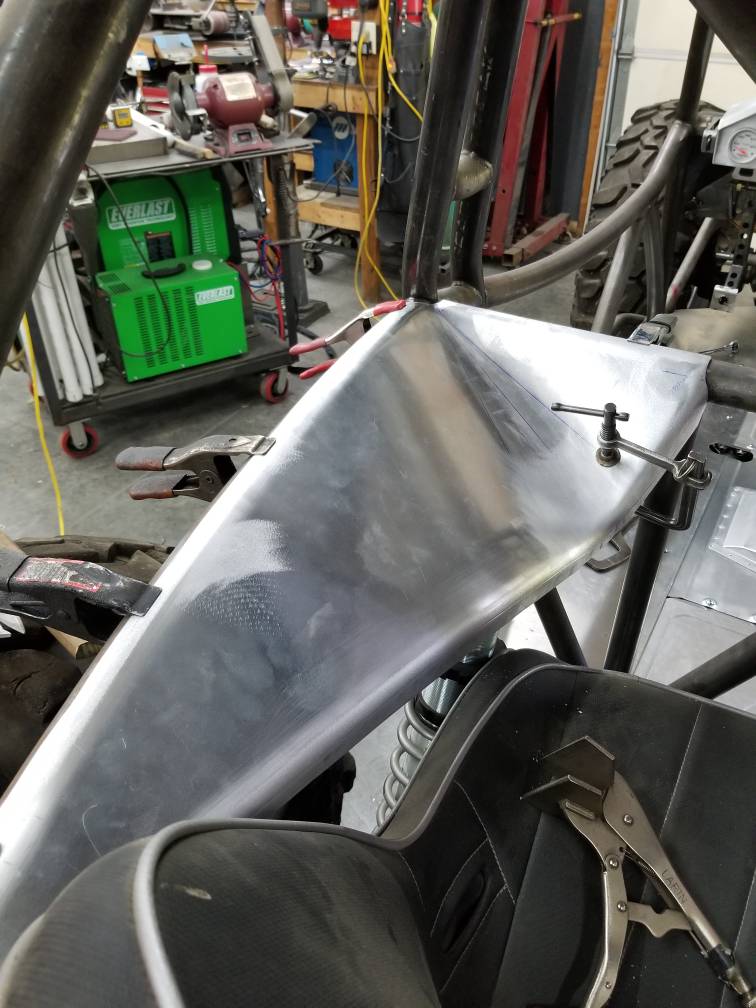
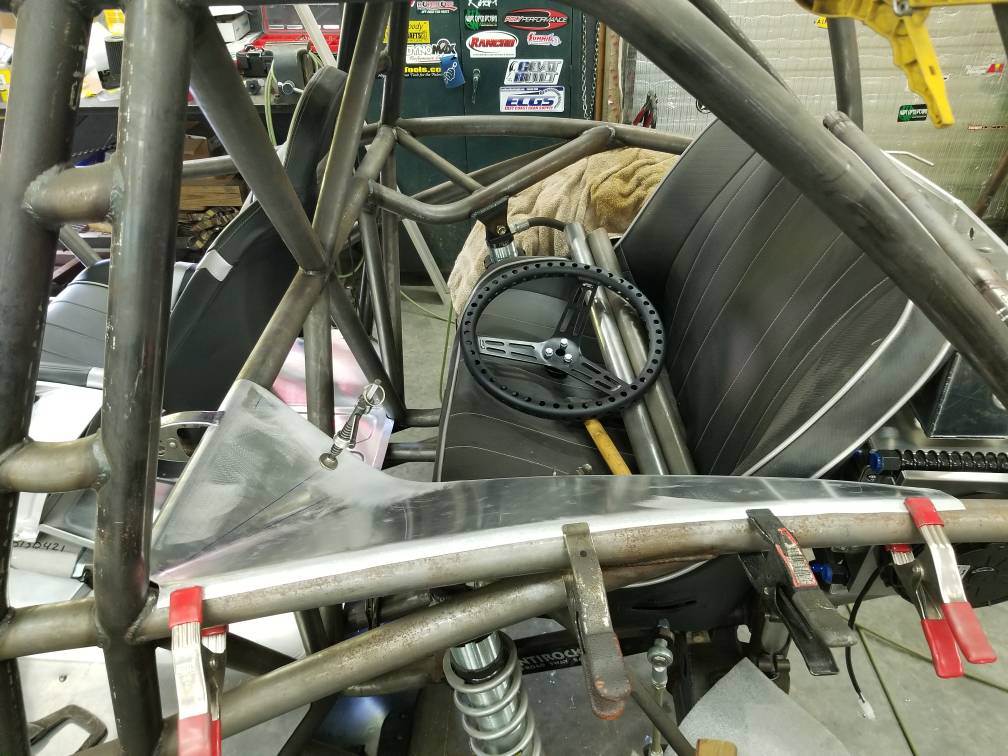
Also got started on the rear seat area for the kiddos... no pinch points!

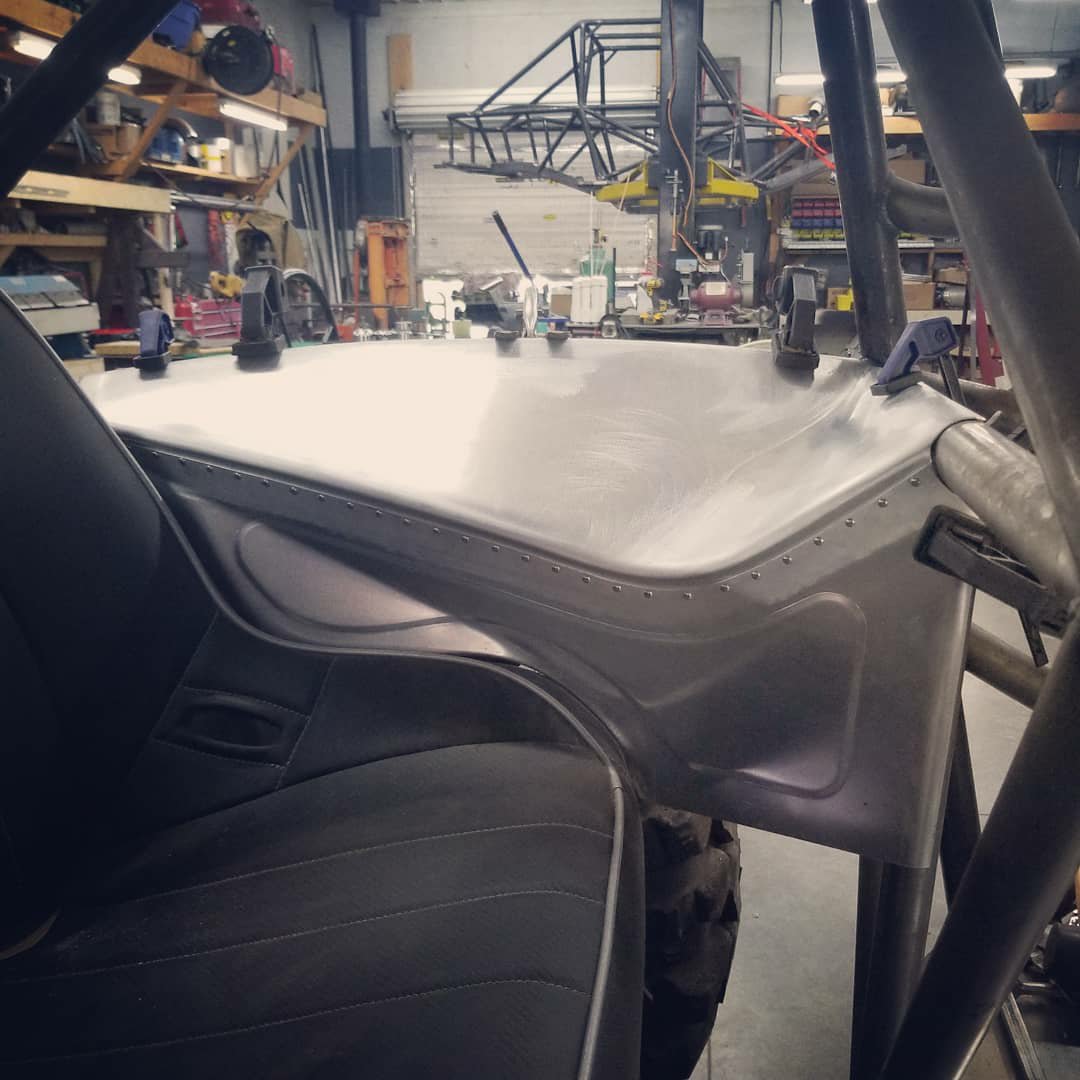
CutlerFab
Sent from my SM-G892A using Tapatalk
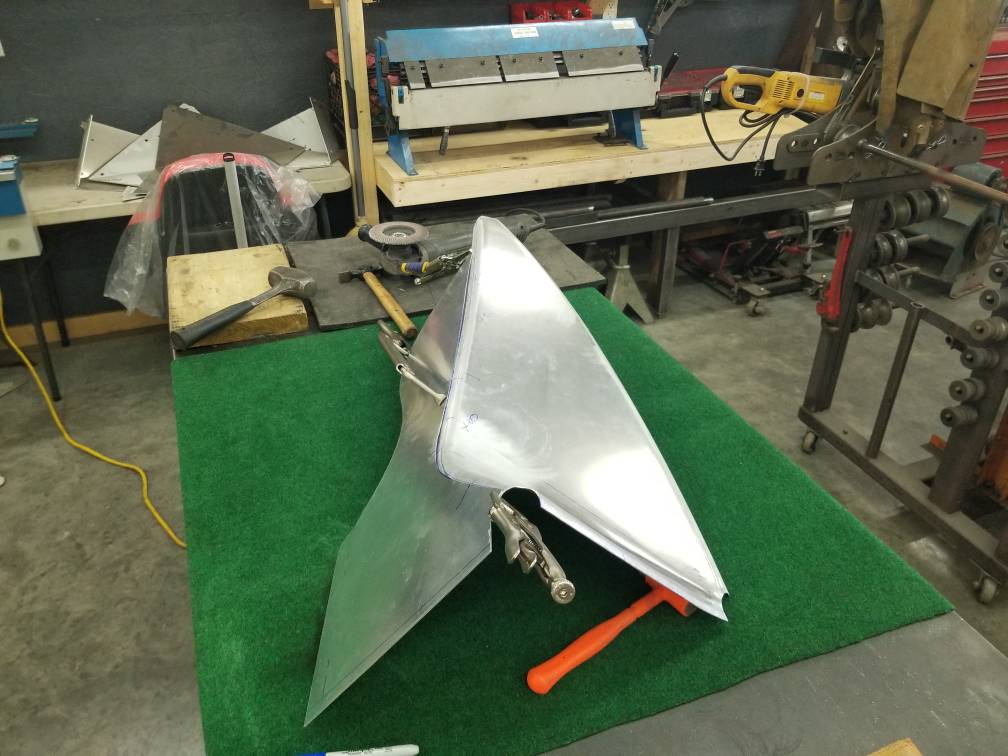
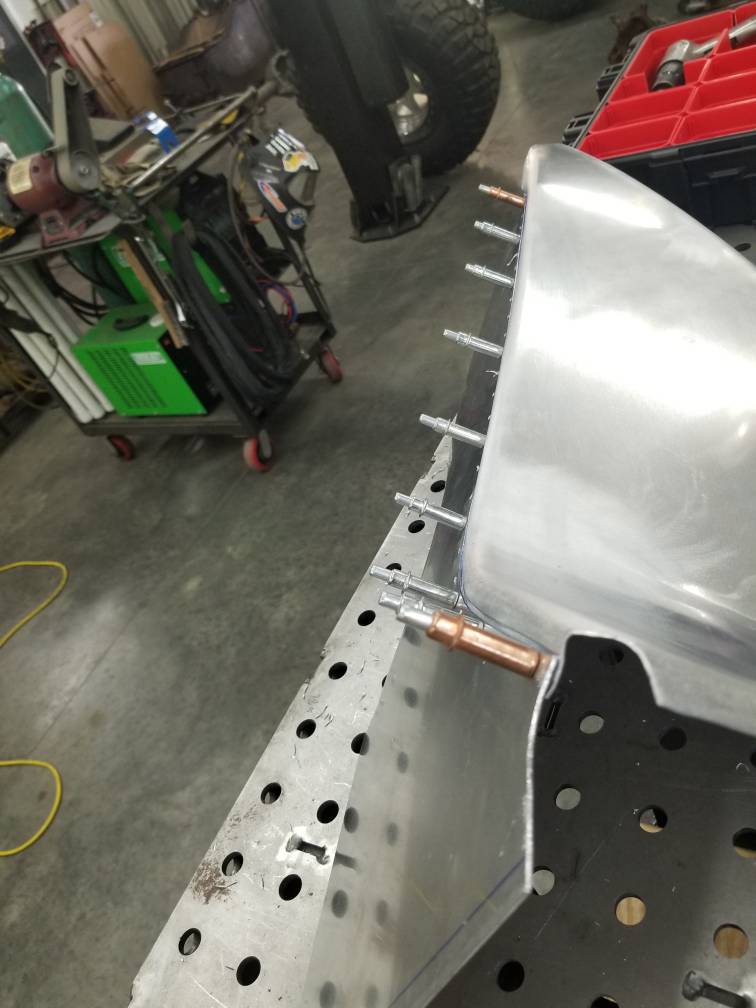
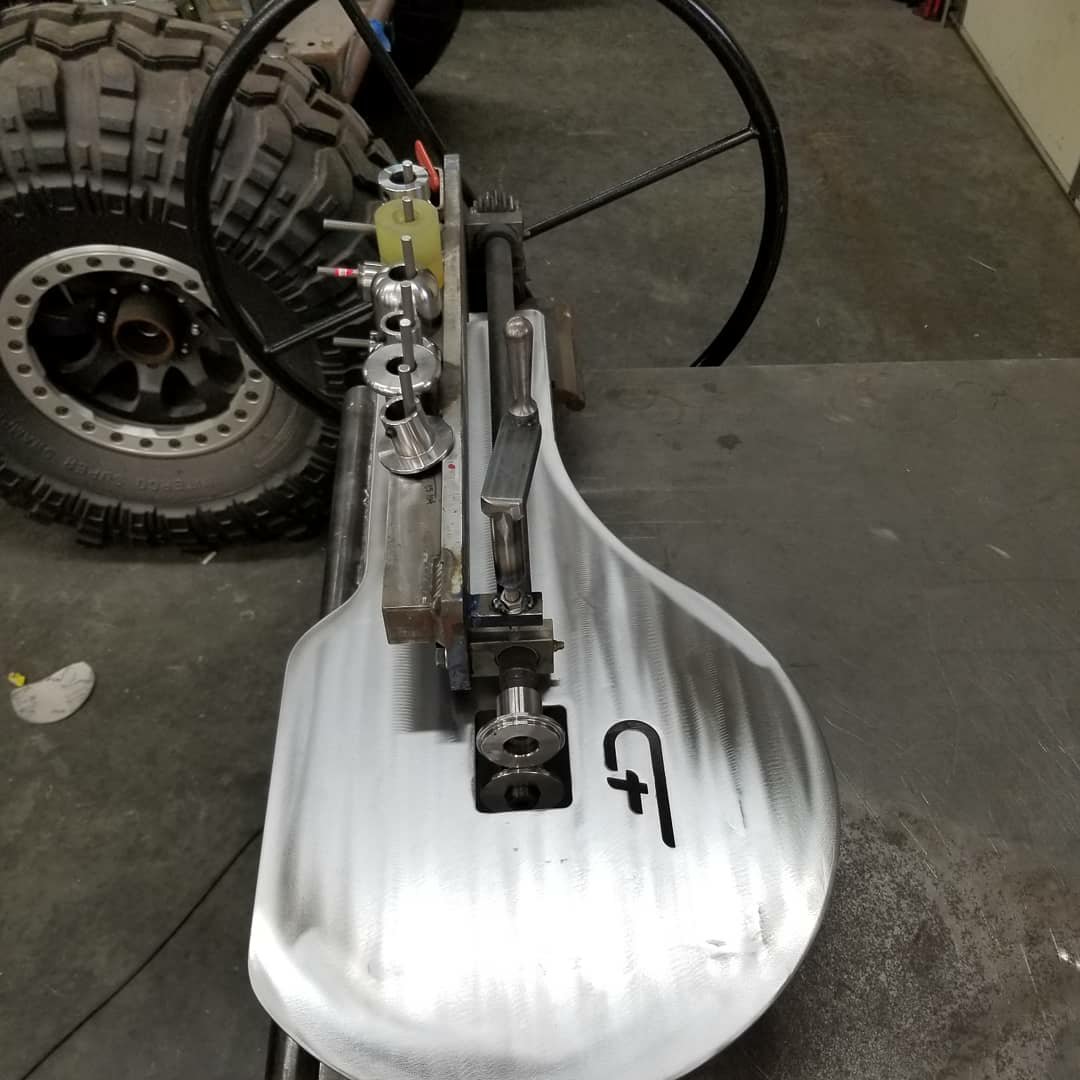
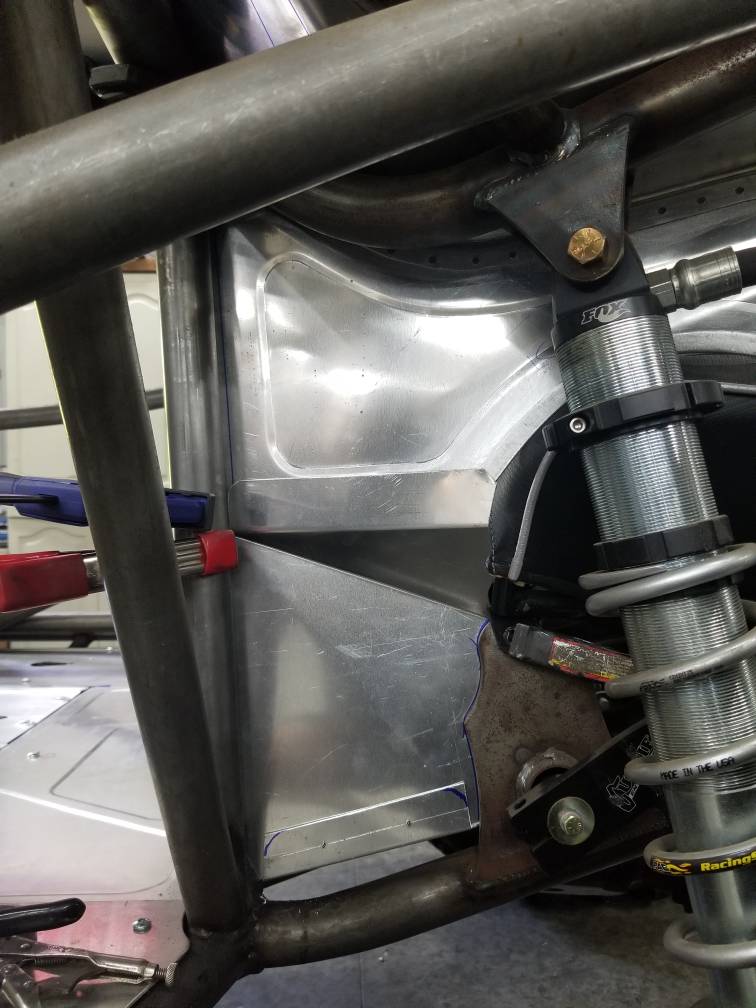
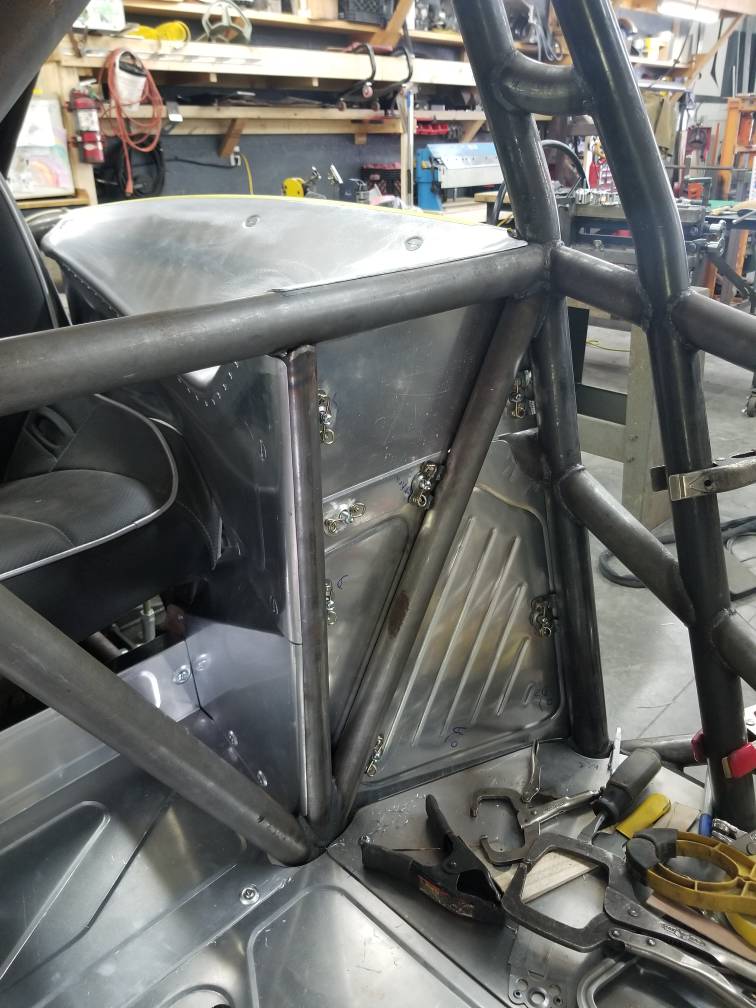
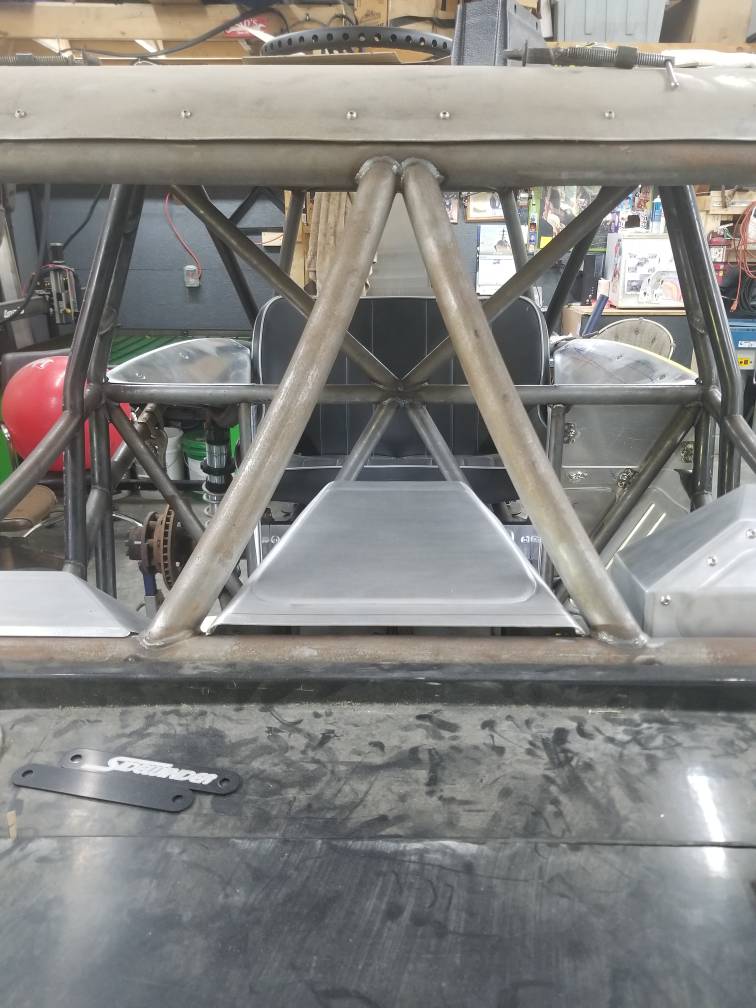
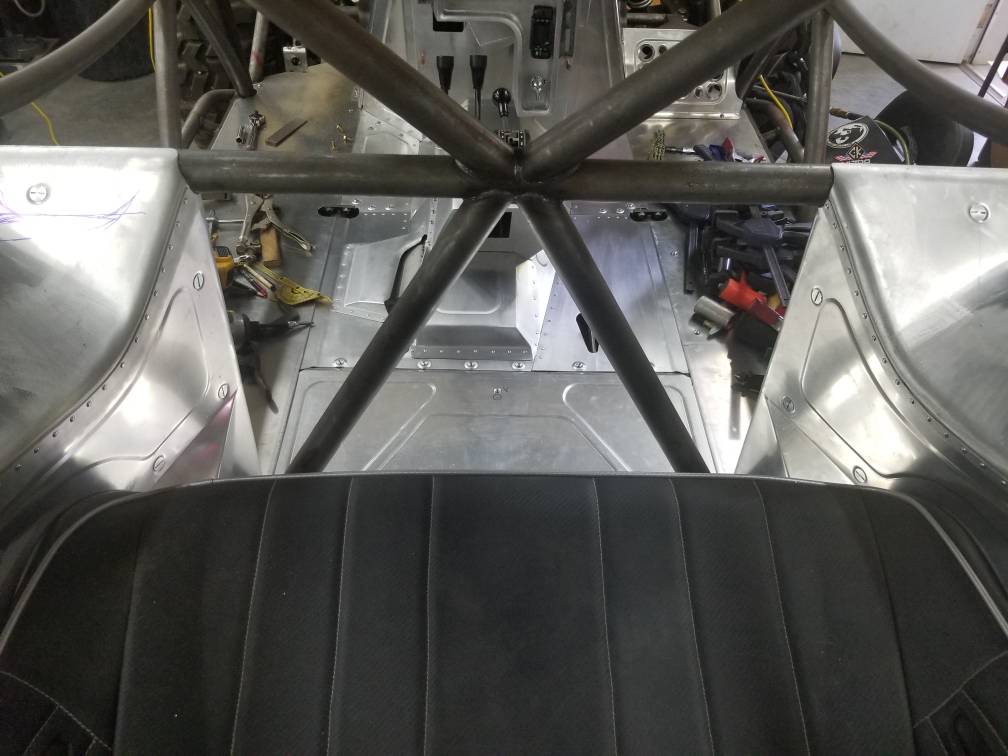
CutlerFab
Sent from my SM-G892A using Tapatalk