Project Brotherly Love

Buffy

Well-Known Member
Joined
Jan 31, 2010
Location
Burlington, NC
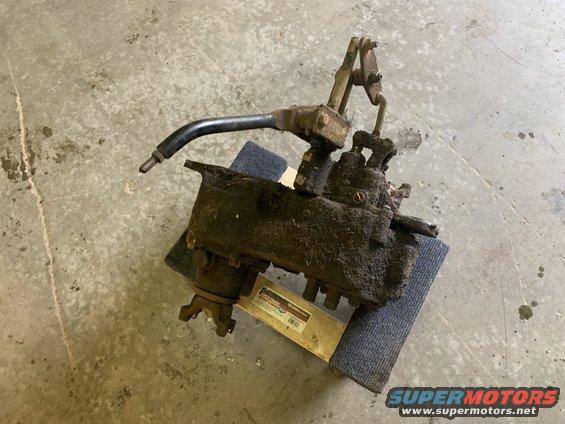
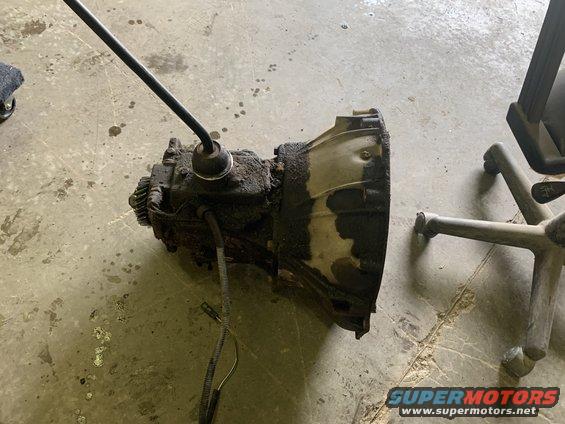
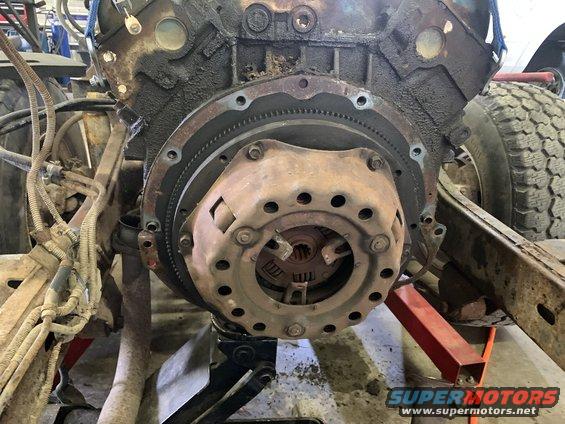
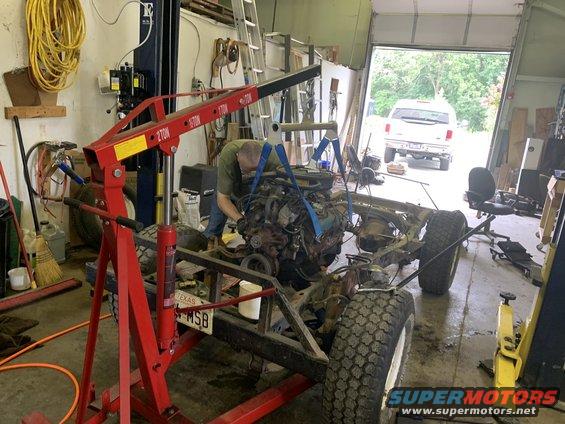
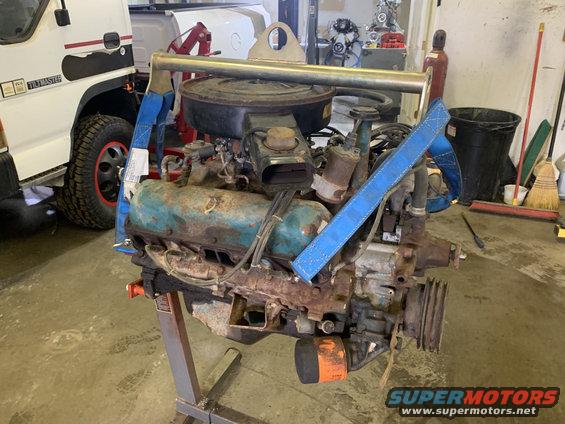
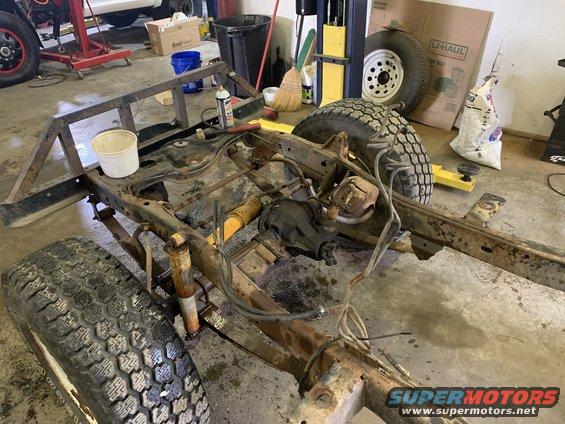
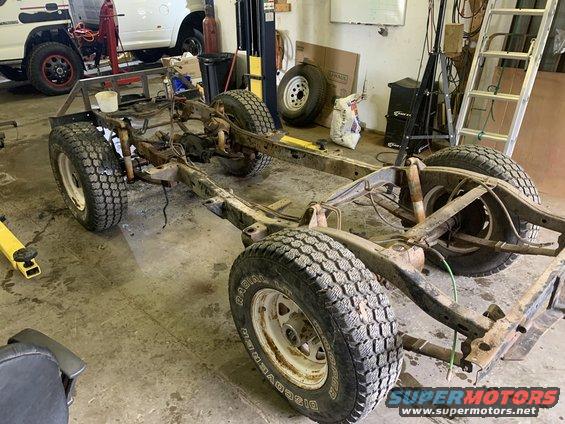
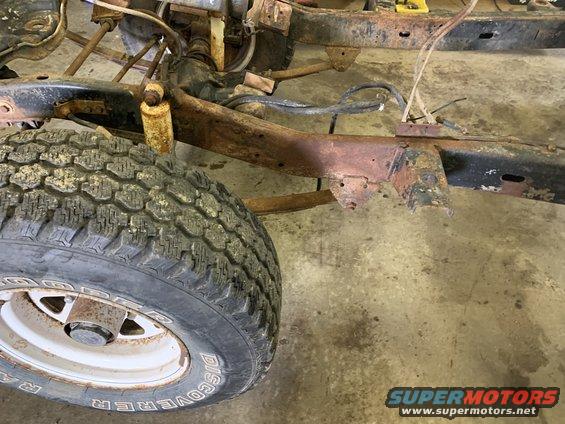
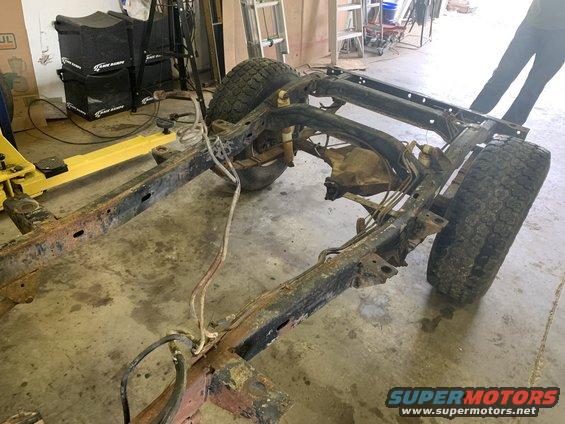
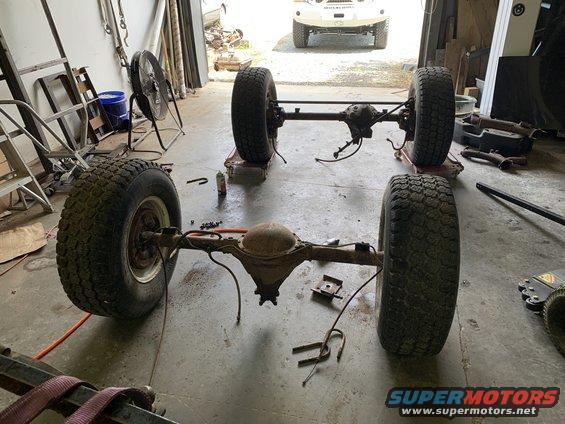
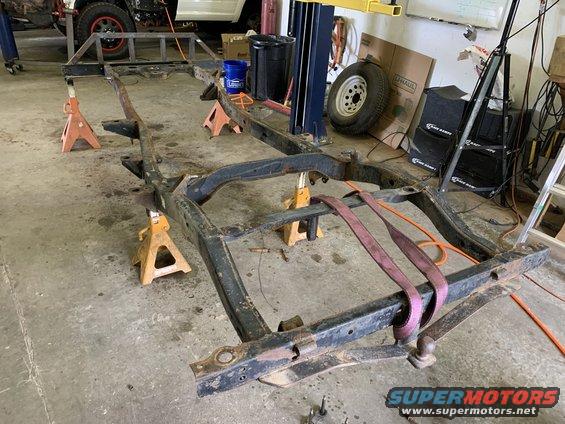
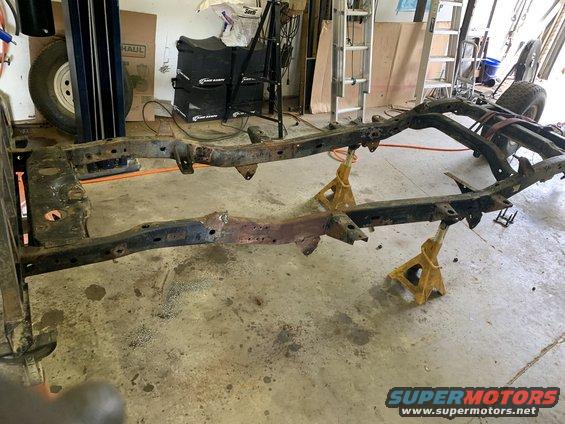
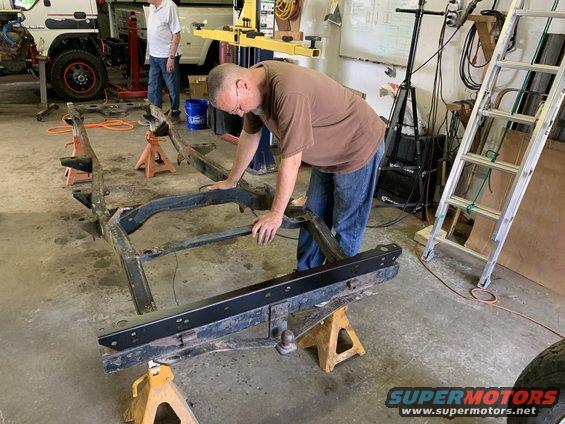
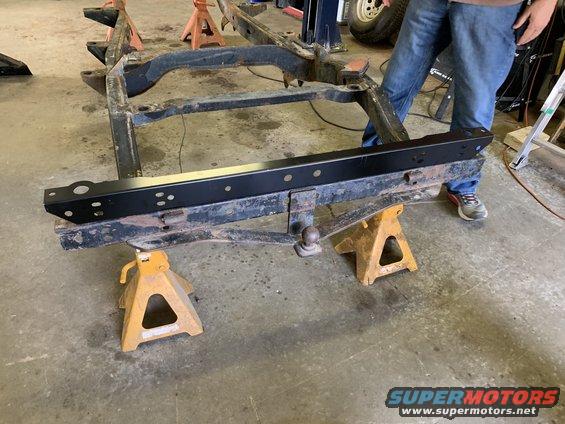
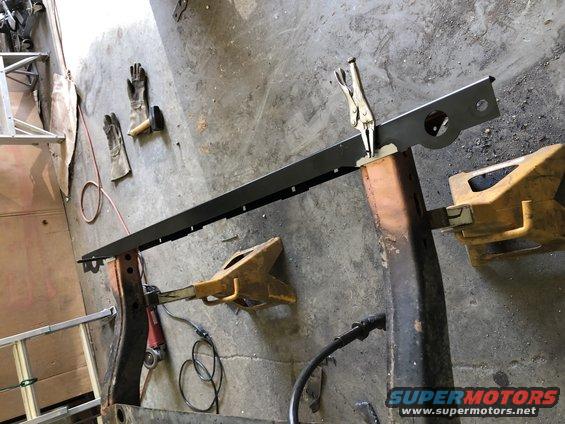
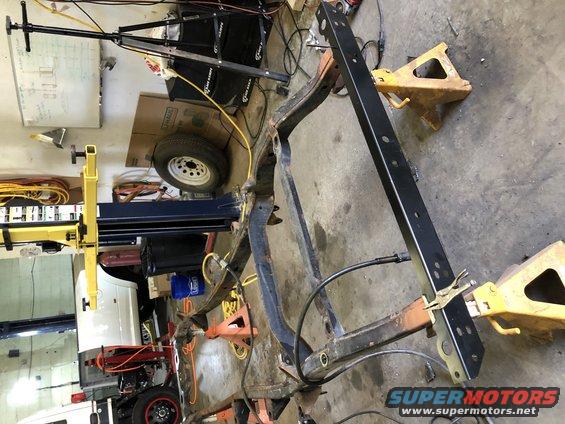
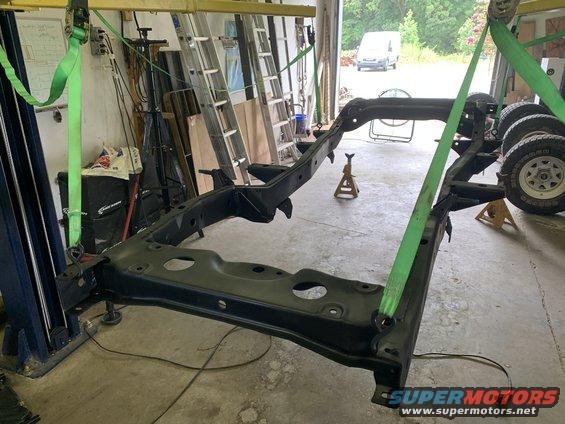
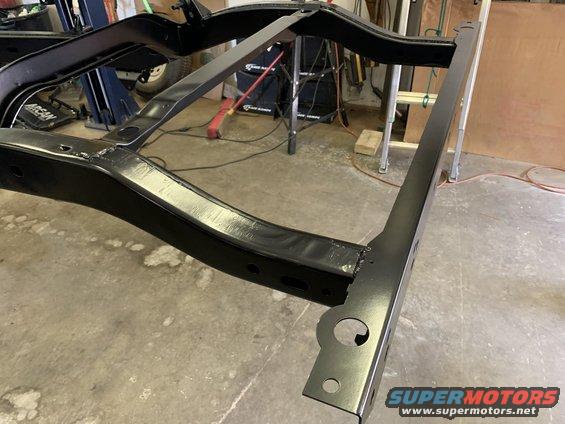
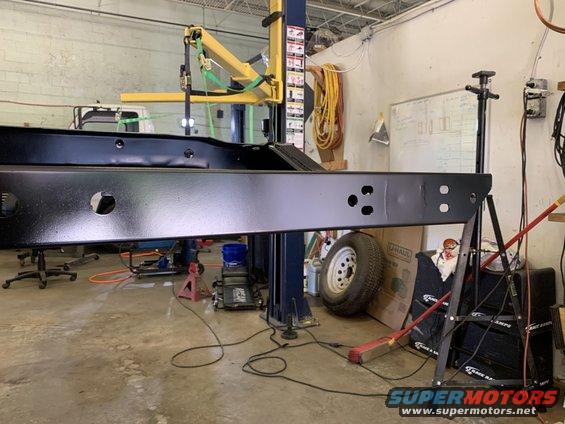
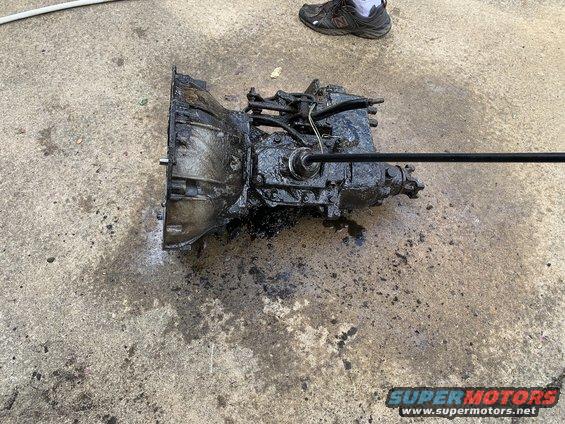
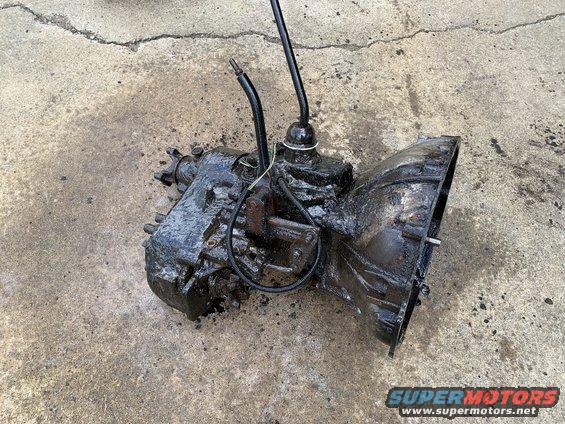
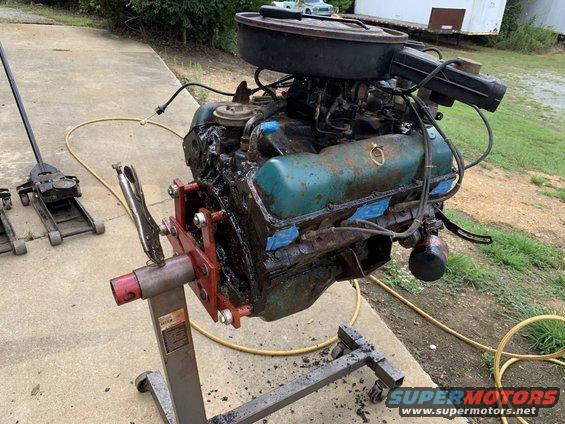
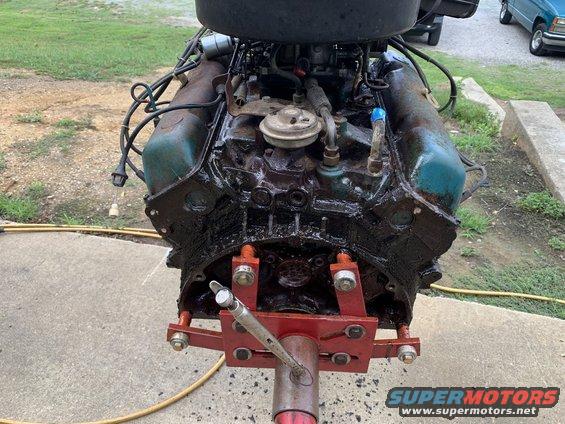
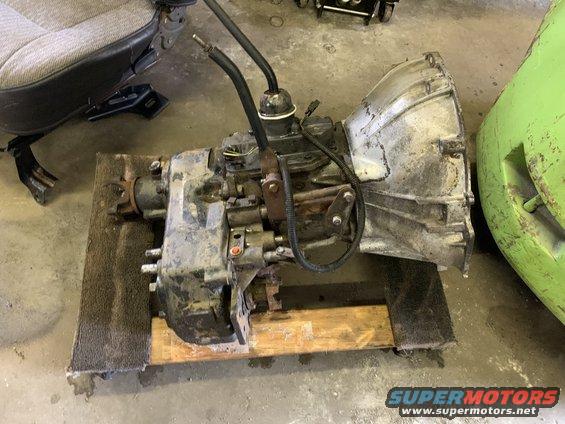
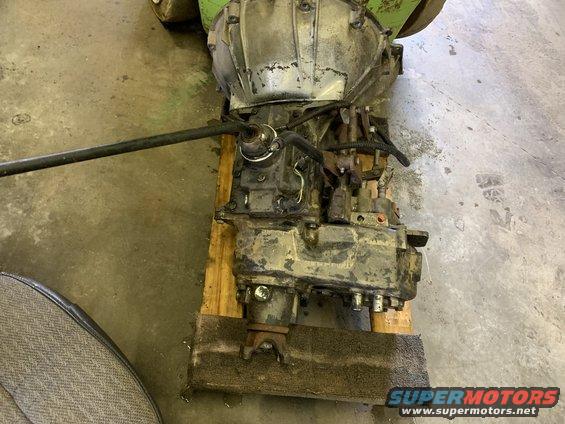
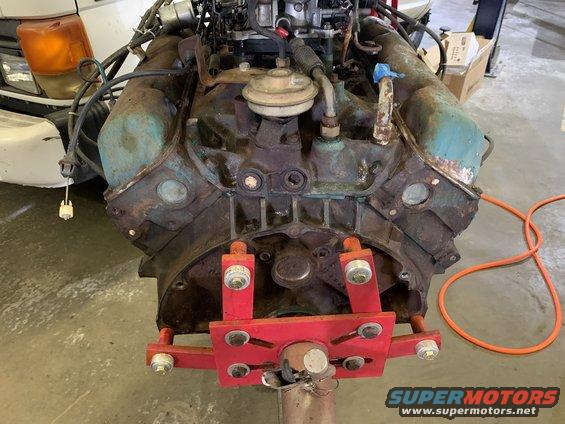
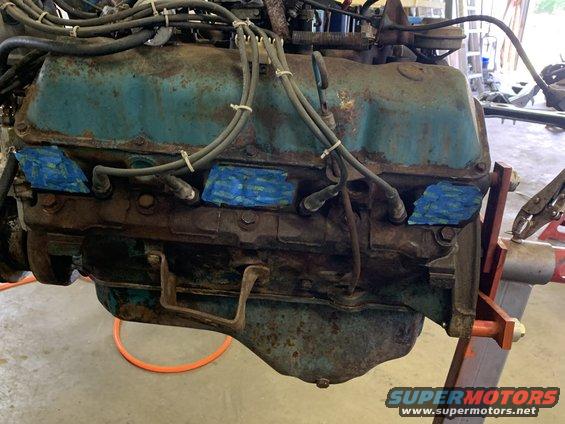
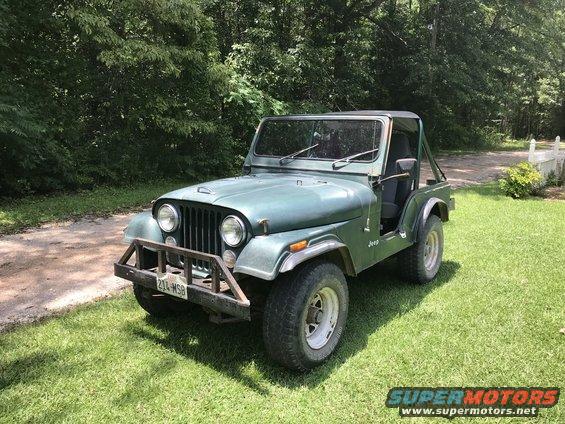
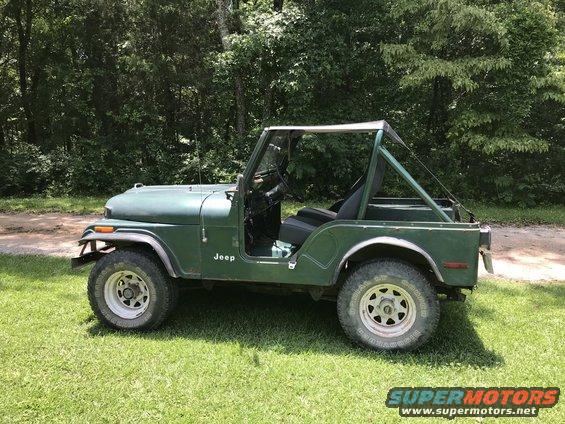
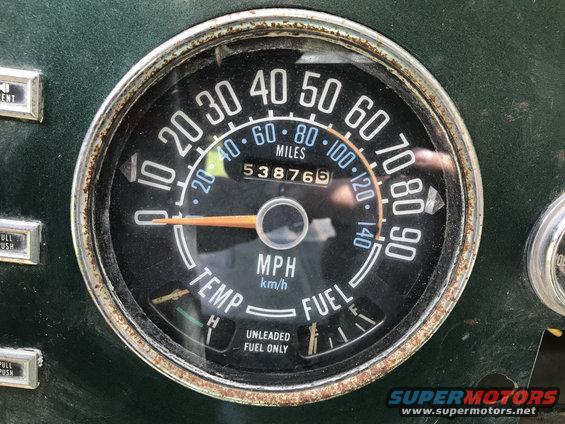
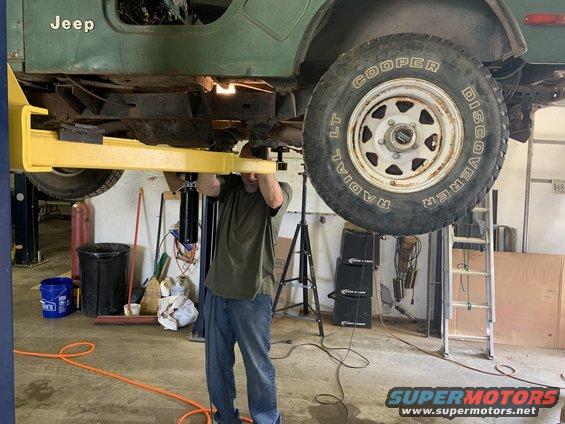
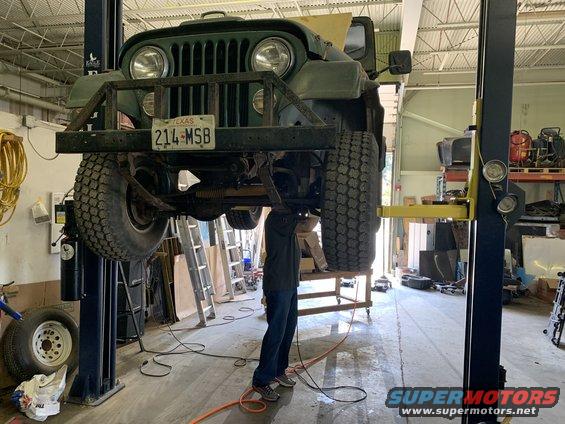
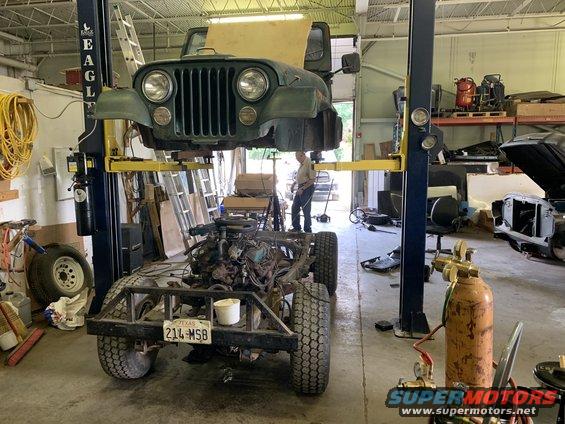
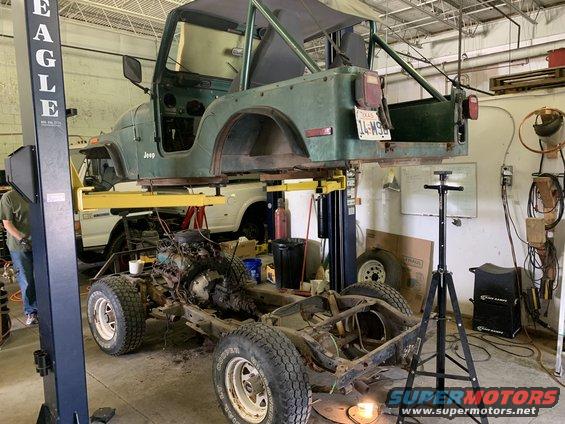
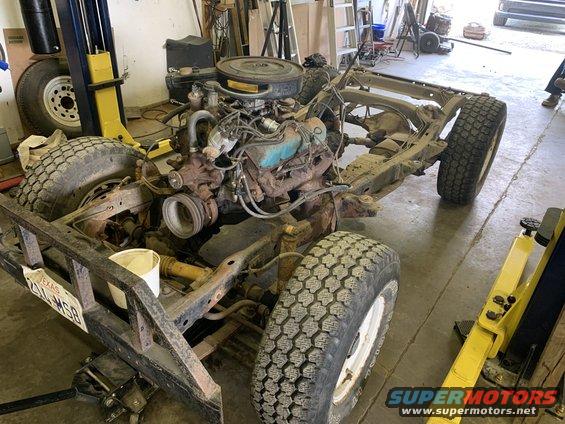
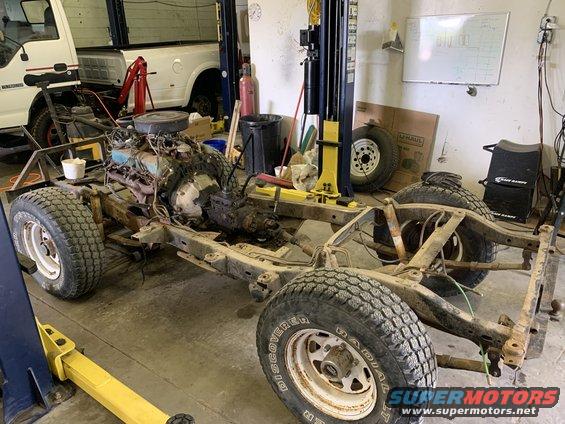
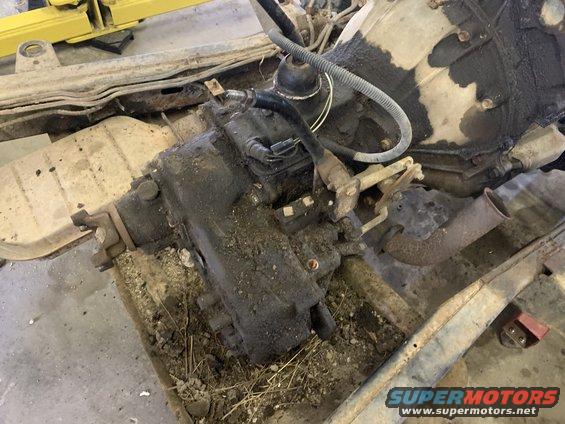
This project is my brother's 79 CJ5. It was actually a barn find. It has a 304 V8, T150 three speed, Dana 20 transfer case, and only 53K miles . The plan is to take it completely apart, replace/refresh what needs to be with some tasteful upgrades along the way. Here it is when I brought it to NC:

3162726c13e143a1b6d9009c96213758.jpeg


9502c7cf67724d4fa3c12ab64257b636.jpeg


8570475818f744bfaeda5fc493579faa.jpeg


c99950c5798649158cdbcd9442ce654f.jpeg


0d2d03fd16004e63a92da19de2c07748.jpeg


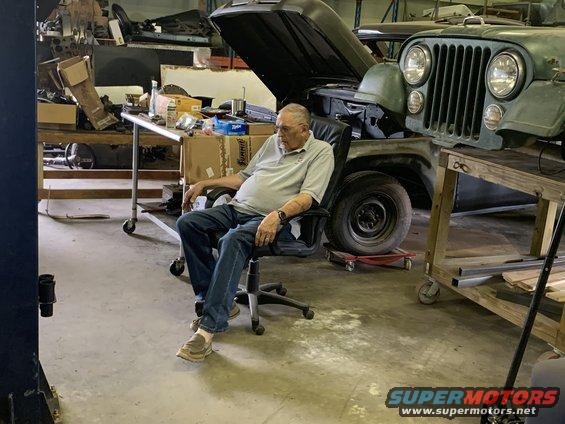
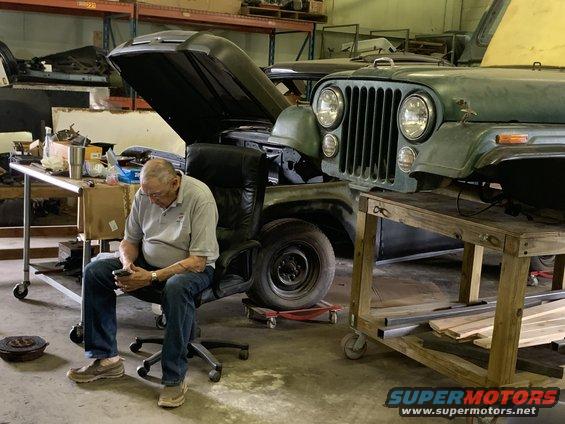
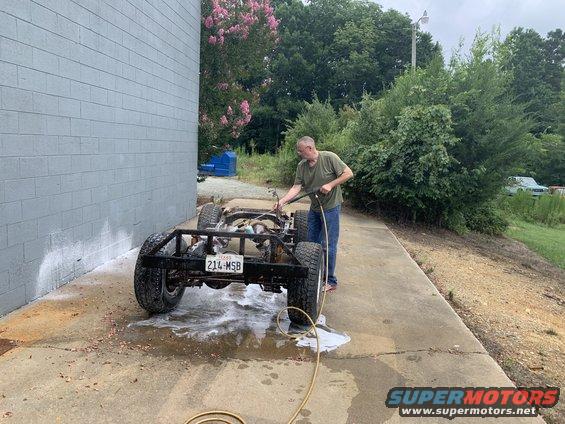
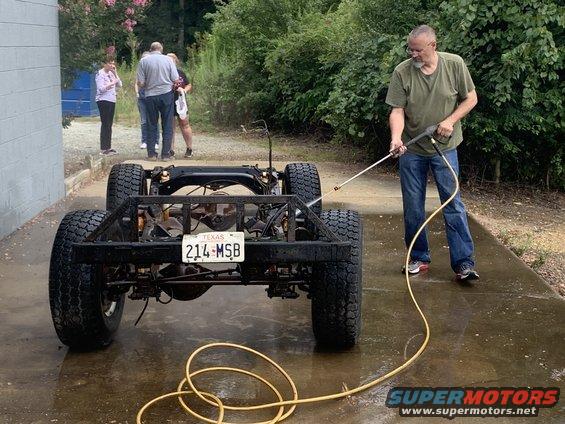
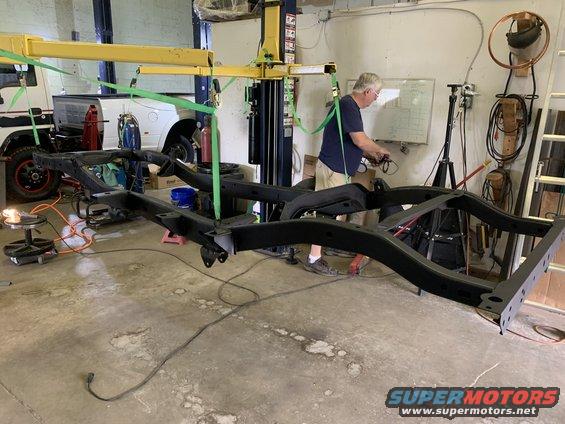
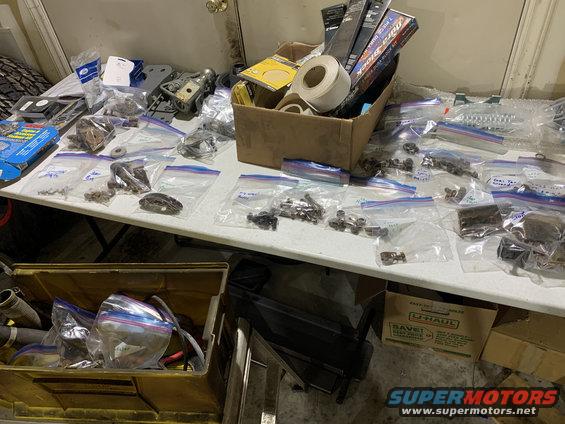
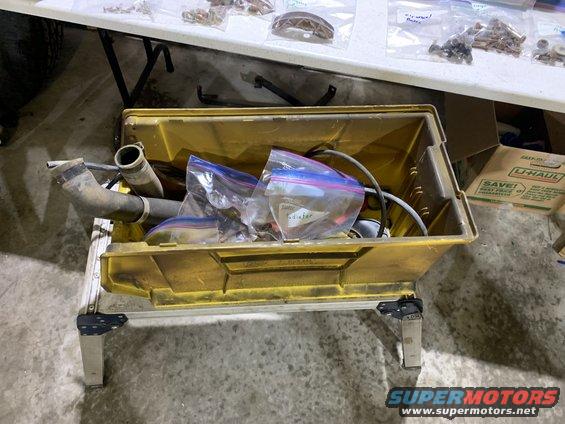
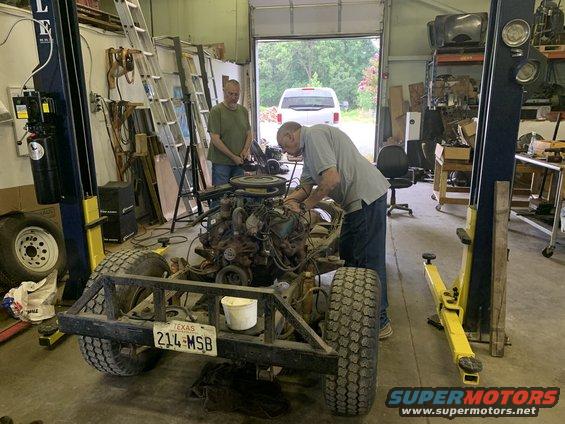
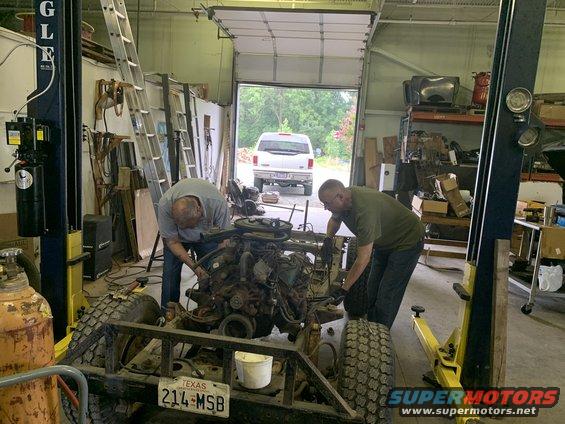
My brother has traveled to NC from Texas to help me work on tearing it apart. He stopped and picked up our mom and dad on the way. Our dad has been supervising our efforts in the shop.
 
Day 2 of wrenching.....

Today our goal was to get the drive train out of the Jeep and the engine on a stand. We accomplished that and was able to get the frame power washed! It was a good day even dad got in on some wrenching.

My dad and brother working on getting the exhaust out. We only had one exhaust manifold bolt to break.

563a2d06ea88429e84cda94f889b0571.jpeg


f199a3a55c9d489695faac08111a88f7.jpeg


That's 40 years of Texas mud and sheep crap built up on the trans skid plate

637736d939de423aa6ee08f347230f3d.jpeg


Dad had to take breaks quite often but we covered for him :)

22877743f7594a52b5bb2bac02ac5693.jpeg


One very dirty Dana 20 transfer case

a1a7b3947fcf4b76a41652c659f36009.jpeg


7d5d0f2bb547463a976bb302047eca8d.jpeg
 
T150 3 speed trans coming out

31998873aa5f456ca8bd74ed62be5320.jpeg


and out...

f872939dbb924b2a96abeaba77f51e4a.jpeg


This was one tired clutch. Looked like someone spent a lot of time with their foot on the clutch, My brother says they used this Jeep to teach several teenagers how to drive... and it shows!

9a3037b5a2194041909a4ddf0f26a3a6.jpeg


Finding those final items still connected! Its amazing how strong an hidden ground wire is!

fec9d59c0f6a40e5bc22f9ff2df362af.jpeg


And break time!

a74fcb3f9816415cada3b971b3f77f4d.jpeg


And finally the engine is on the stand...

2542bcac8eb74264b6cdc2c1b810c420.jpeg
 
There was no shortage of grease and grime on this thing

61efbc7e7583427bb8ad2f352136ec8c.jpeg


b9e138edbb624e2cad32927b79e905e7.jpeg


We made such good progress today that we had time to break out the power washer. I bet we washed 20 pounds of dirt out of the inside of the frame.

3dc3ce308c314fad83b6654edc46a39f.jpeg


146e173bc45a4f15a78c3ec40a610c5d.jpeg


The frame cleaned up pretty well. The worst rust was where brake master cylinder went bad and the previous owners didn't do anything about the brake fluid. the driver side floor pan is the same way. Fortunately it is only surface rust.

1650bf6dca18445184a559a5cfa938cb.jpeg


e9d83f2290914690a7a2048477c59639.jpeg


2ee820137e704d5891aeb7098d0f958d.jpeg


The goal for tomorrow is to get down to a bare frame. May take the axles down to ECG for a rebuild and a limited slip for the rear.
 
Day 3...

We spent the day removing the axles and stripping everything off the frame. Not as taxing of day today but we now have bare frame.

Getting the front axle out was a bit of a challenge. I guess I could have done this n easier way. :laughing:

1669517e302d44fa94f4f34aa8809b43.jpeg


Both axles are out finally.....

742ee7b804e84e129a304e6e9f517090.jpeg


A nice bare frame. It is amazing all the small things you have to take off the frame. I took lots of pictures in hopes I will get everything back where it belongs.

f1668a3b221a441295446e674dad0fa1.jpeg


f74a7f45e1e7418e83dfae1b2d1a8f78.jpeg


My brother inspecting his frame. Either that or he is exhausted. LOL

5c7b7ae765614cc587996cbdfa89e81a.jpeg


The last thing we need to do is cut off the rear frame cross member and replace it. The previous "ranch hand" trailer hitch upgrade doesn't go with the new theme.

0cfb263b87e14608832d2a94c9565f01.jpeg


After much deliberation I believe we re going to have the frame sandblasted. I can do it but something to be said for dropping something off at 8:00 AM and picking it up at lunch.
 
Day 4.....

The only thing we had on the schedule today was replace the rear cross member. After giving it some thought I cut everything off but the small piece where the body mount is. Put the new piece over the old and drilled two alignment holes. removed the last pieces of the old cross member, installed the new piece, dropped in the alignment pins, verify it level vertical and weld it up. In theory it should work! LOL

b06c821954d244b981d0aa658a5725fd.jpeg


1d28a37875a9419c85104028e1915011.jpeg


All welded up...

8444504e7cf444719648713df74c9dce.jpeg


We were done around lunch time today. Decided to swing by the sand blaster and see if we could drop off the frame. Turns out they we slow. They actually started blasting before we left. Went for ice cream and the frame was done by the time we got back. Funny thing is I never broke a sweat eating that ice cream.

One very clean, and rust free might I add, frame and skid plate.

e21aa79e27ce4bed8d9a140a5bcba6a4.jpeg


1275e11ebf6842649fd004be943cd1db.jpeg


8a2a3ce9c3a04fef937ba5fbb350b71f.jpeg


6c5768eb52b14b13b7108f1d38fade4c.jpeg


My plan is to get some rust inhibitor paint on it before the weekend. I may be able to get it in chassis paint if things work out for me.
 
time for an update....

Friday as very different in the shop. My dad and brother (mom and sister in law) left early heading home so it was just me and my thoughts. Reflecting on the week and the good times we had is bitter sweet. While I loved very minute I spent with my dad and brother it was a stark reminder that this would be the last time my parents visited my house. They just cant make that long drive anymore and forget negotiating an airport. The other thing is realizing my dad is becoming more feeble with each passing year a good reminder were the "sinking spells" he would have and need to sit for a while and rest. My brother and I will be trading off going to our parents house to help him take care of his place. I said it before, it truly was a once in a lifetime thing. I will cherish this memory for the rest of my life.

On Friday I addressed some 70's weld quality the really concerned my brother.....

a69375c1952f4c639e05ae146929fba9.jpeg


ade7afff35a14dd8829c3200994a8870.jpeg


9368e2baf728426fa8ca327cf16eda7d.jpeg


I ground done the original welds and rewelded the crap. Wasn't my best beads but it was better than that was there
 
As for those shocks mounts; that was not, factory welding. Not that I've ever seen. Someone else had made some changes for an unknown reason! Glad you corrected it! You guys getting a Lot done!
That's what I was thinking too.
 
I like your Bag & Tag! I Meant to do that when I swapped engines, but most everything was laid out on a table, some in boxes & containers. A few months later, it became which set of bolts or nuts, went to what? I lost a few, replaced some & some were different sizes, between my 2 motors! :dumbass:
 
I like your Bag & Tag! I Meant to do that when I swapped engines, but most everything was laid out on a table, some in boxes & containers. A few months later, it became which set of bolts or nuts, went to what? I lost a few, replaced some & some were different sizes, between my 2 motors! :dumbass:
We keep several boxes of those zip lock bags with the writeable labels on the shelf at all times. Helps keeps things straight when several months have passed. That and LOTS of pictures.
 
Not much to share picturewise this week. Been waiting on parts and quite literally been watching paint dry. Wanted to give the frame plenty of time to cure before putting it on jack stands. the blasting cabinet has been getting a workout that's for sure which puts me back to watching paint dry. :laughing: I am waiting on a stainless bolt kit to arrive, once it does we can get some picture worthy progress made. The downside is everything in my shop, including me, is going to be covered in antisieze. :lol:

I will say my pile of freshly painted parts is steadily growing.
 
Spent some time cleaning and painting (again) today. The proportioning valve was looking pretty sad so I figured I would shine it up some.

Before...

680867f37cc843d6b05a8e66e854a0eb.jpeg


After...

2e49948c174845668fa77d7bd6bc0b25.jpeg


3cf20ff72c894ca88ba07ec6d883da7f.jpeg


While I was fighting with various things to clean the valve up I happened to remember an episode of Road Kill Garage where they showed a tip that I decided to give it a try. Gotta say it worked fantastic! Made me wonder why I've never thought of this.

42762e9939fa4a378f9ccbde5baf18a2.jpeg
 
While still waiting on parts we decided to do some cleaning on the engine, trans, and t-case. I picked the wrong day to wear a light colored shirt. I think I wore home half the grease we powered off.

We coated everything in some heavy duty degreaser after some initial scraping and let it bake in the sun for a while. Here's the before.

2a3e18ae0c8447a89e8ed4e20f78e1d9.jpeg


1e984fee458e4717a337ede7a7c1e86e.jpeg


885510db75464f368c1ef53d9d8578e0.jpeg


5c7b69e315ee4129983c00b97074a629.jpeg


af38c0cdd2894c4fb840362bb03880e6.jpeg
 
Back
Top