Shreddinlettuce
Well-Known Member
- Joined
- Nov 20, 2016
- Location
- Hickory


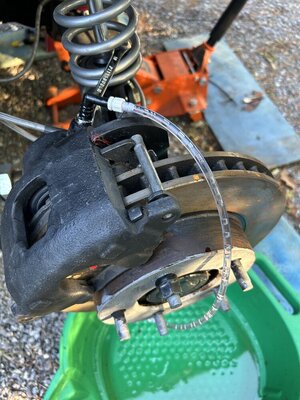
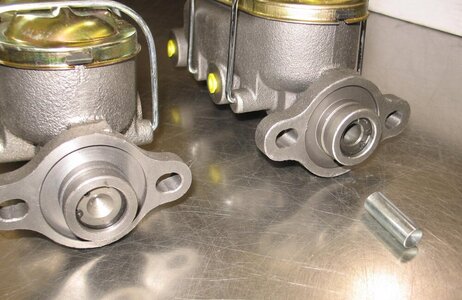
I didn't know Buncombe did safety for something that old? Mine only get a nothing inspection and is good to go.Anyone have experience with Eldorado combo e brake disc calipers and universal cable kit?
I’ve got a set on order that will fit in place of the 3/4 ton chevys I have on. Need the e brake for safety inspection.
View attachment 392355
There’s a checklist. Lights brake turn head (they actually check for min brightness, e brake, wipers, tire tread, seat belts if they came in the car etc. it’s pretty Mickey Mouse but the lights e take and wipers are the main onesI didn't know Buncombe did safety for something that old? Mine only get a nothing inspection and is good to go.
 www.ncdot.gov
I’ll go tomorrow and see if they let update my plates without inspectionOfficial NCDMV: Vehicle Safety Inspection
According to this you should be exempt?
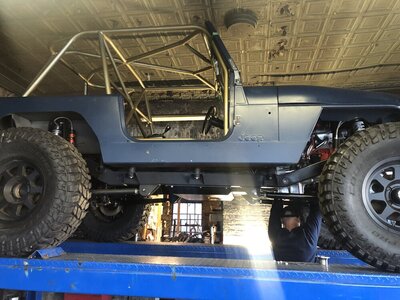
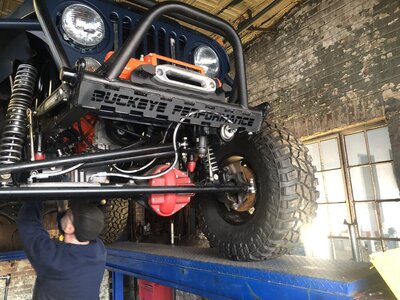
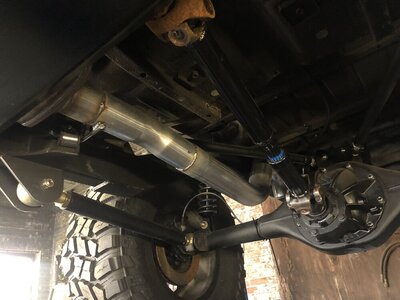
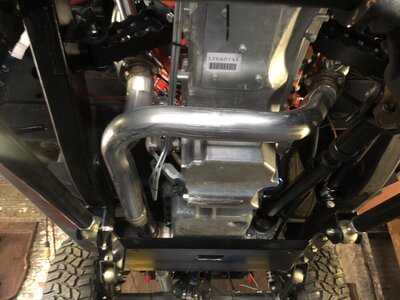
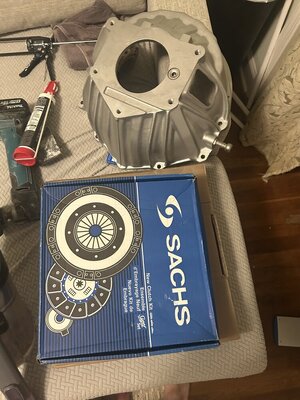
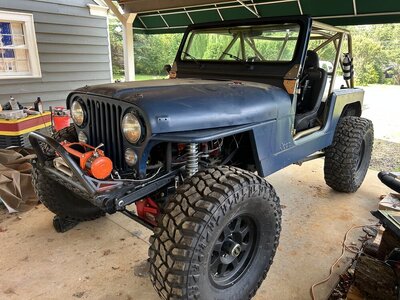
What did you use for the fender filler?Temps were getting up to 240 during test runs after about 5 miles. This is the 2nd e fan I’ve had the first came with the rad and was weak af. The 2nd was the highest rated derale fan from summit and fully shrouded, a lot better, but the thermostat switches kept failing to turn on. So I hardwired it, still overheating. 4 corner steam port goes to the highest point in the system, burped rad, 18lb rad cap, nothing worked.
So I’m going mechanical fan. Also, hated the look of a grill bar, and wanted to section the grill for more access. Also wanted to remove the fenders as they limited travel. I’m going to move the grill hoop behind the radiator, make rad mounts on the grill hoop that make the rad parallel to the fan for shrouding, section the grill, and use some Chris Durham fender deletes, then notch the hood where I get tire rub at full stuff. Might get a Durham hood in the future. View attachment 443024View attachment 443025View attachment 443026View attachment 443027

 cdmracing.com