Surgery!

WARRIORWELDING

Owner opperator Of WarriorWelding LLC.
Joined
Jan 6, 2008
Location
Chillin, Hwy 64 Mocksville NC
Surgery, 87 Ranger

PICT0008.jpg
PICT0009.jpg
Prepped and ready for the knife!
 
PICT0010.jpg
PICT0012.jpg
OOPPSS! Knife slipped.....
 
PICT0024.jpg
Hey doc thats the nose I wanted.:huggy:
 
:popcorn:

Liking the looks of this Drew....I guess you're going to have to trim down that freshly fabbed bumper

Are you sticking with the 34's?

I've got a bald set of 36's you can groove for the Ranger if you need to save some dime....

....28th street is waiting for a rematch...
 
I spoke to the comedian about that and it was pretty funny, however I hope to post up several more pics of progress and already accomplished work. The title and my own banter opened the door for it, so the shoe "fit". This build will not be on the scale of full-on buggy, more like a mini-brushtruck. I hope to document a few decent ideas and some decent fabrication with minimal tooling. Comments both critical and encouraging are apprieciated, I just respectfully ask it doesn't turn into the funny papers. Thanks

The 34's are still up for sale, if they don't go I really have no problems running them. I have some 15X10 beadlocks however that are new and begging to be used so I hope I can move them along to another individual.
 
Flat bed pics

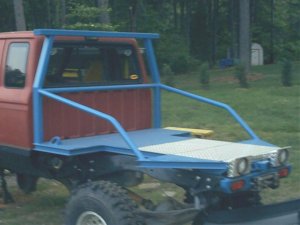
Here's some shots of the flat bed. Constructed of 2x1 channel with 1/8 tread plate.
PICT0006.jpg
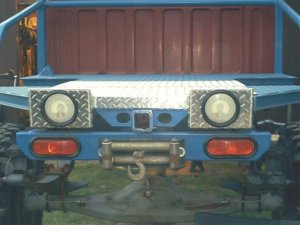
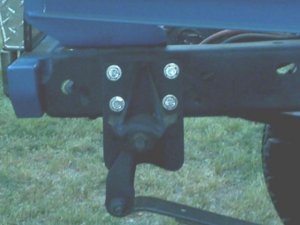
The tail light mounts are 1/8 alum tread plate and tig welded. The hitch was flipped upside down and cut down to make it part of the flat bed frame. The rear bumper is 2x4 tubing with the fairlead fed through it, all of it has been "filled" so to speak so their's no open tubing showing in the hole for the cable.
PICT0007.jpg
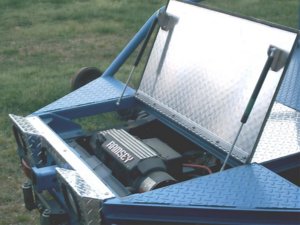
The rear 9000 pound Ramsey hides in here!
PICT0008.jpg
 
Striking resemblance
t1_michael_jackson.jpg

:lol:
Just kidding.....Looks good, one step closer to the trail!:gitrdun:

I was scrolling down kind of quick & that scared the :poop: right out of me this morning
 
A little more progress, finally runs again after narrowing the front nearly 15 inches. Here's older work til those shots get posted.
PICT0010.jpg
PICT0009.jpg
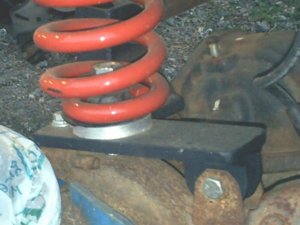
Needed alittle more cheap lift to compensate for the 8 inch front coils. She's alittle too high now and a bit silly looking on 34's.
PICT0011.jpg
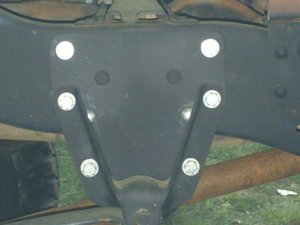
The front coil mounts bolt to the R-arms and attach at the bottom, couldn't find the stock stuff from 10 yrs ago so this is the direction I went.
 
[Here's my orbital valve and matched T/C style pump from Performance Off-Road. The mounts are all 1/4 plate.
PICT0012.jpg
PICT0013.jpg
PICT0015.jpg
 
Sheet metal.

Toed the front in 15 3/4 inches so the fender had some surgery.
Just after the knife.

PICT0040.jpg

A few stitches later.

PICT0042.jpg

And finally healed.

PICT0041.jpg

What do ya'll thinks?
 
I thought seriously about leaving the bare welds but I wanted to use the chance to learn to use body filler. I know its pointless on something thats liable to be damaged at some point but I take on custom work from time to time and want to be well rounded in my abilities. I've always been the metal man and never worked a custom sheet metal job through prep and paint. The filler isn't more than 3/32 deep at any place on the panel, and I didn't dolly anything after welding to save time on this project. Thanks for the feedback, begining to think nobody had an opinion on anything thus far, I know it's basic and to some :poop: but its what I got so on we go:driver:!

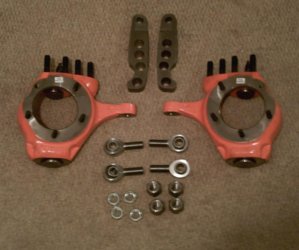
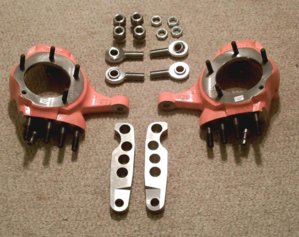
Here's a teaser for the next evolution!

PICT0043.jpg

PICT0045.jpg
 
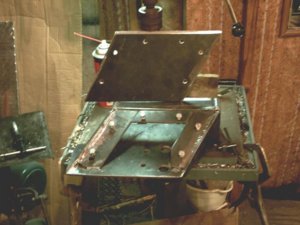
Stareted on the steering ram mount. Made a simple jig to get things rolling, had to mount it alot closer to the diff than expected. This called for a removable main plate and a permanent stand for the rest.


PICT0046.jpg

PICT0047.jpg
 
Looking good. I have been thinking of doing the same thing to my ranger.
 
Ill be followin up on this!! Looks great so far great work!! And love the hidden winch in the back..
 
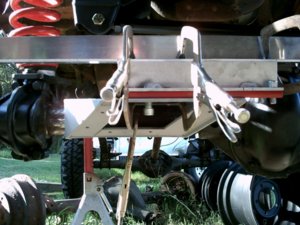
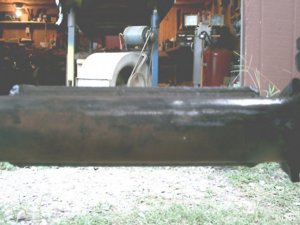
Don't follow too close I tend to get bogged down with family stuff and things get slowed down, this seems to be the best progress I've made in months. Here's a few quick shots of the mount with it's access "Skid" for mounting the ram. And finally check, double check and burn it in on the tube.

PICT0050.jpg

PICT0002.jpg

While working on the main bracketry I made one 3" weld on the inside and ran out of gas on my Mig unit, glad I never sold the Stick/Tig machine. The previous post and this shot shows its work! 7018 rods have always preformed well for me.

PICT0004.jpg
 
Got some assembly done. Progress is going to get slow, again.......I got asked to coach soccer for rec. ball and forgot how to say no.

PICT0005.jpg

Hired help, he's gotta repay the "soccer coach." Just kidding he's my son and loves to help out.

PICT0008.jpg

Finally no jack stands. Even my son was tired of looking at them.

PICT0009.jpg
 
I couldn't agree more. I bought these before looking aroud at what sizes people nowdays are runnin. When I got my front coils I ordered to much spring to boot! The 34's are brand spanking new and selling them would require to big a loss for my wallet. Tried earlier and everybody seemed to want "much bigger" tires or a yardsale bargin.
 
Back
Top