Coronavirus project thread

Fence looks good, but that isn't a bad looking coop... plus it's alot harder to walk over in the morning and gets eggs now.

Sent from my SM-G970U using Tapatalk
Ehh it ends just behind the tree on the right. Easy to walk around. And we dont get offered any eggs. The chickens they have barely lay any. We aren't on the best terms anyway ever since they cleaned out the coop and just threw it on my property in the woods. They let the chickens free range and they spent 95% of their time in my yard.

Sent from my SM-G960U using Tapatalk
Chicken,it’s what’s for dinner. Your property your chicken.
 
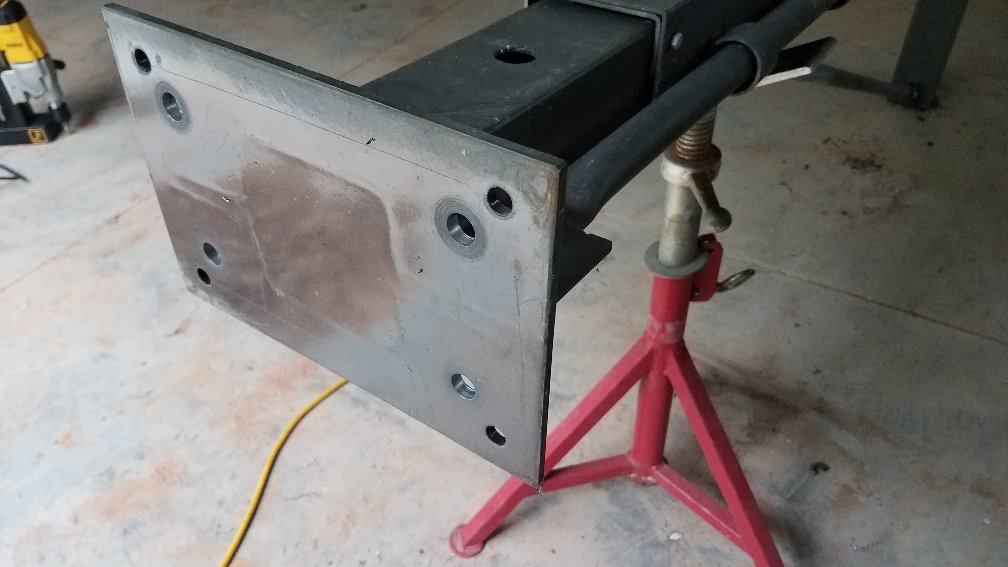
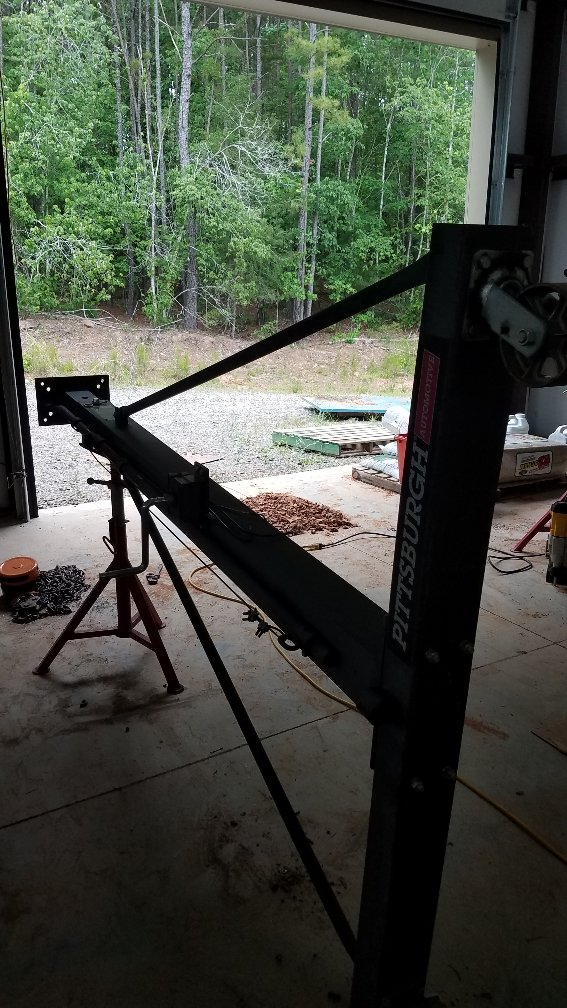
Spent the afternoon making my harbor freight gantry crane wider. Going from about 92" inside the posts to 144".

Beam is 6x6", stock HF beam was about 3x4 and thin.

Going to add some diagonal braces from the beam to the uprights, replace the pipe braces from the uprights to the bases with something more substantial, and put some decent casters on it.


2a10b5f7a5fb17018c81d327807583a2.jpg
bf01ae6e1a7f405c68d8eb628ad86bb9.jpg
cee16bb32a08b6598e980f3d513a78e3.jpg
cf84e8942bf6c4970e037f281d1e2b96.jpg
7c0ce2f812b50282d2de4f8ce1f0b702.jpg
f189f2b69105a9bdf300e33575aec6d4.jpg
9b051fdfc10ce0af15ff7e668449e59e.jpg


Sent from my SM-G930V using Tapatalk
 
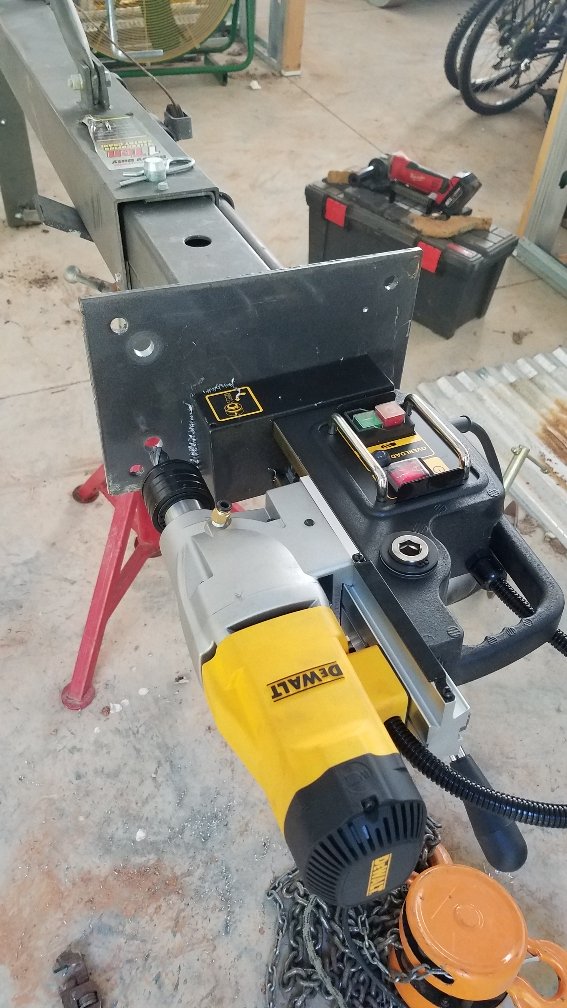
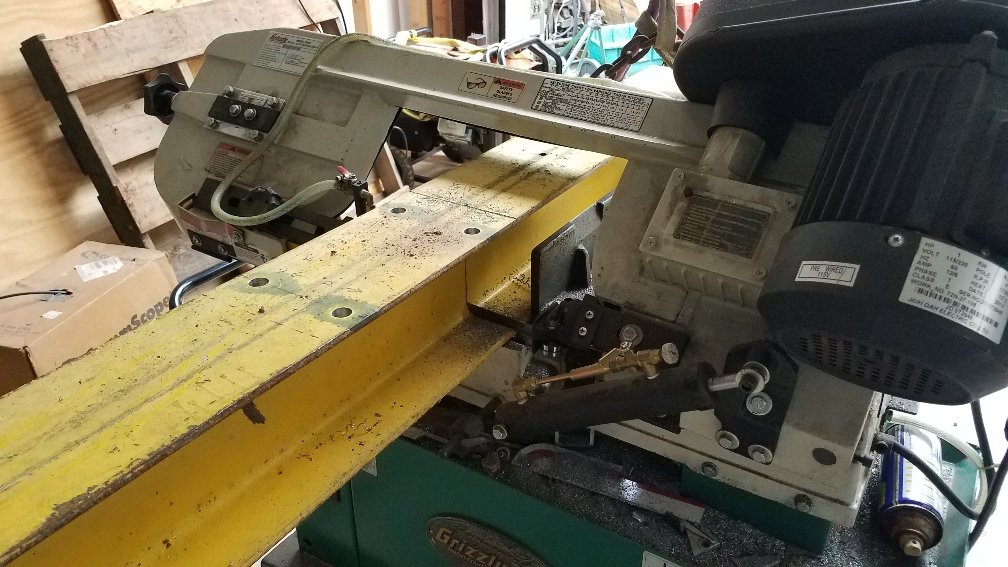
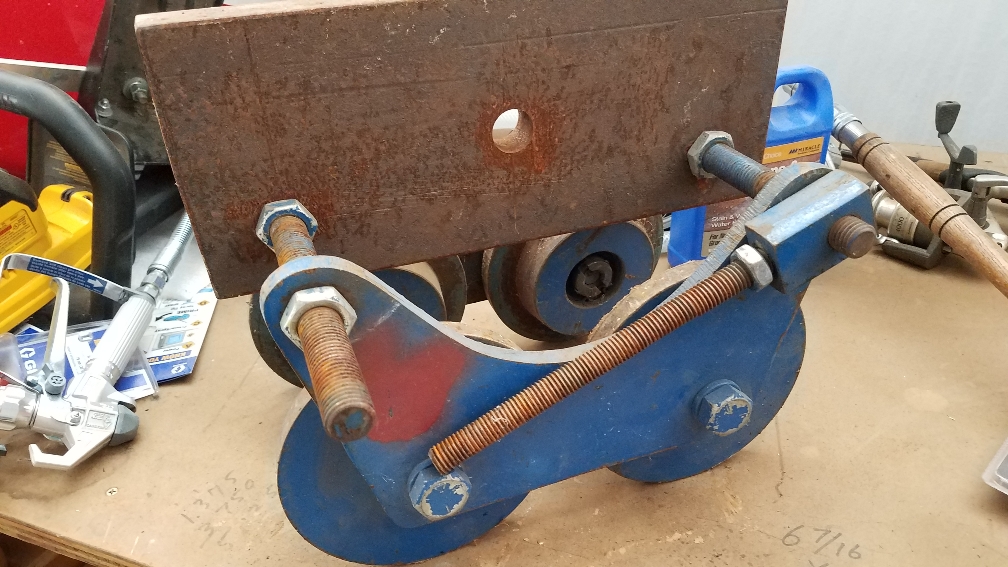
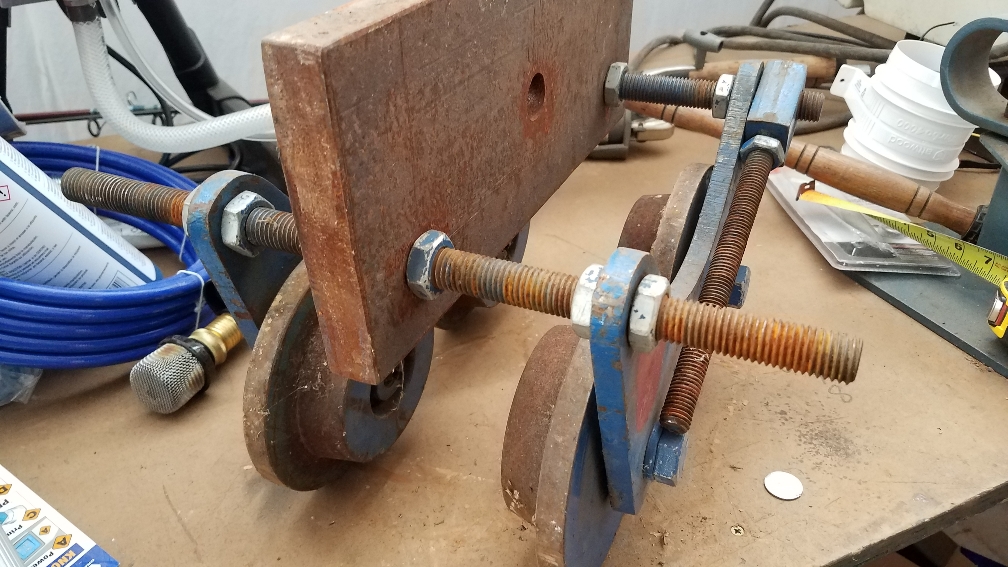
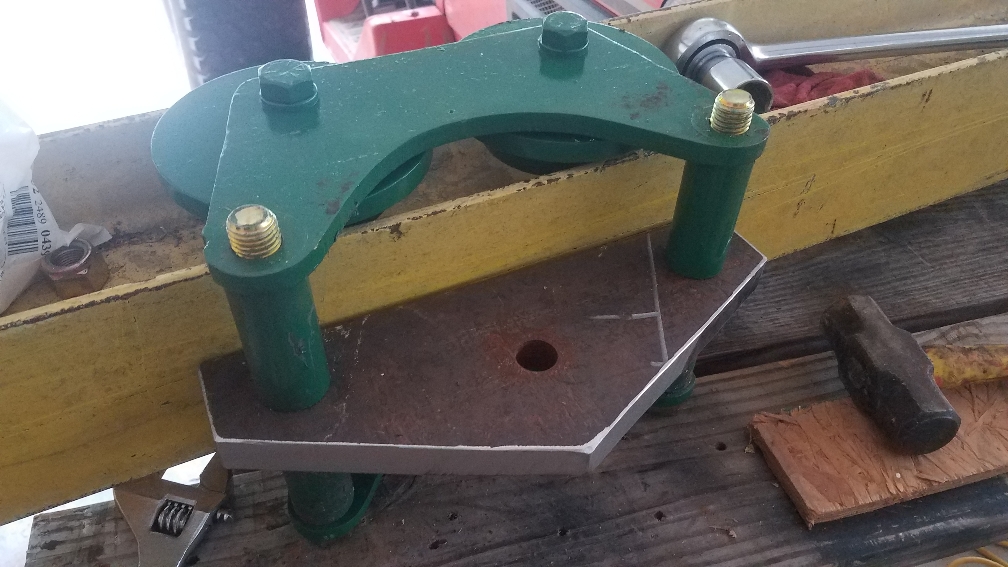
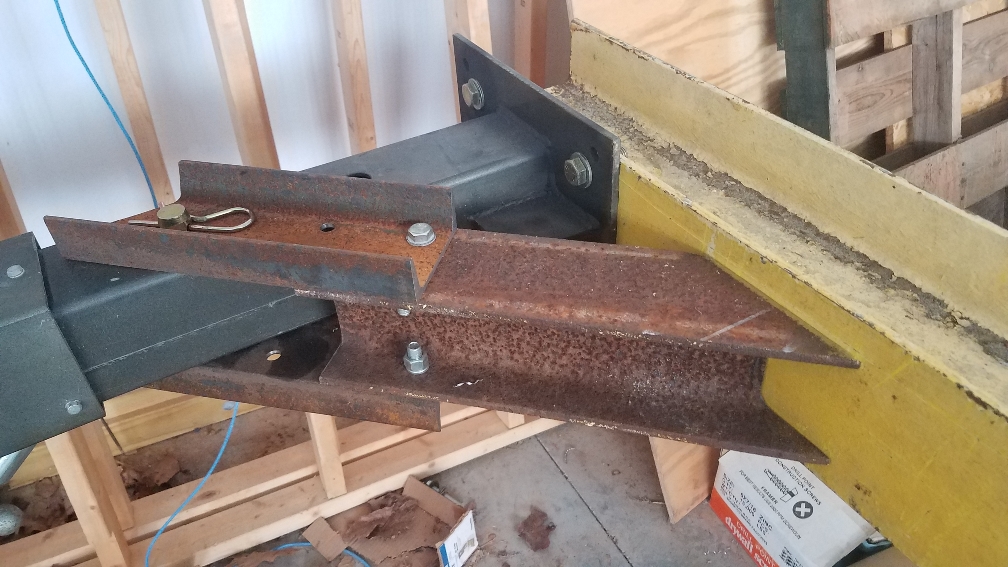
I got pieces of a trolley off a friend. Side plates and rollers are decent. Going to trim up the center mount plate, and probably turn the wheels down to match the flat flanges on my beam.. I don't know how strong that threaded rod is in that configuration....it's 3/4". They used it like that for years. I got some 7/8" x 10" GR8 bolts laying around, and some 7/8" ID DOM (5/16 wall). Thinking I'll cut some solid spacers from it, weld to the side plates, the some gussets from the DOM to the plates. Eyeball engineering at it's best.


a7487c0707dc9a65d24cd8bb08c0f909.jpg
c7d52850ab66dea5910da5224f44ecc6.jpg
 
Last edited:
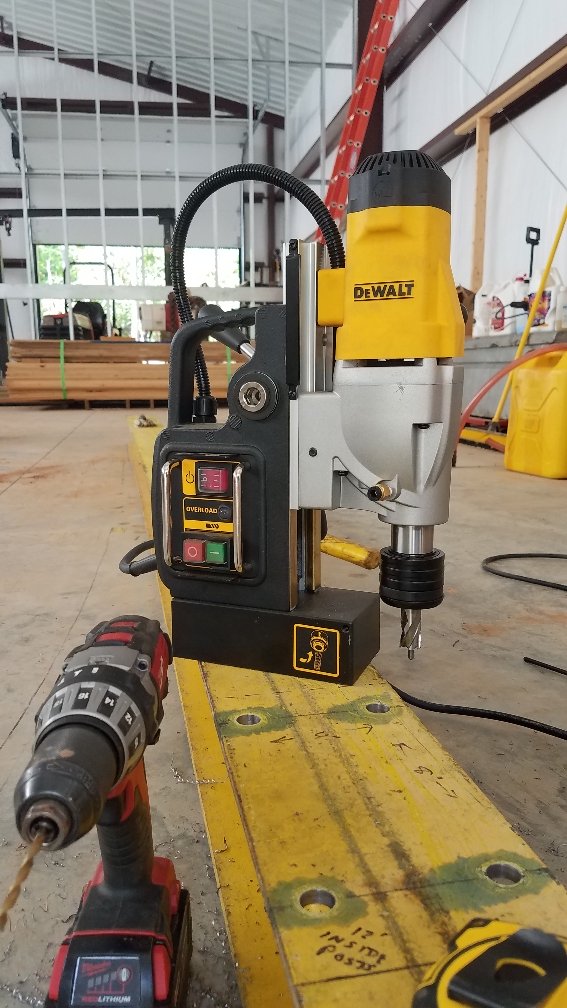
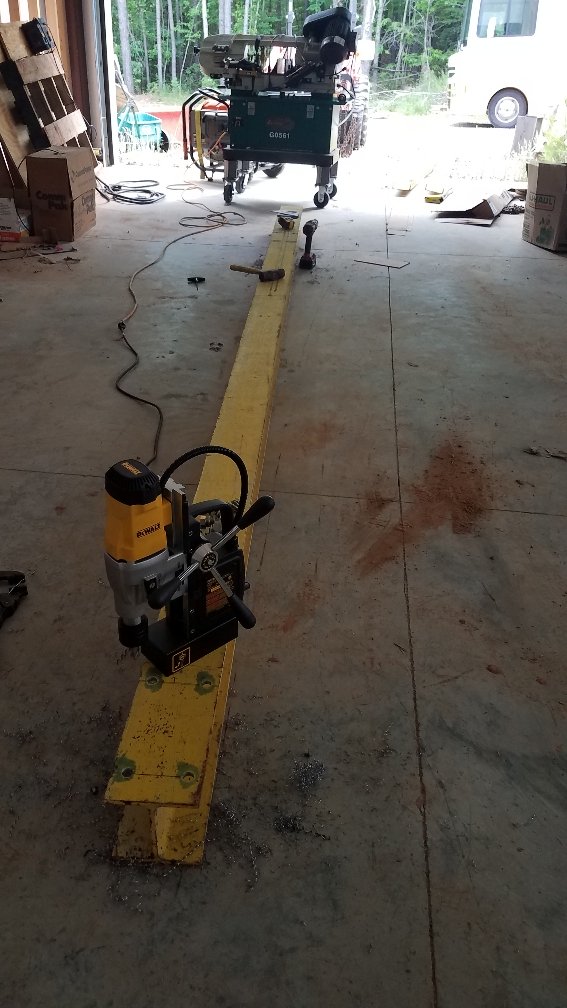
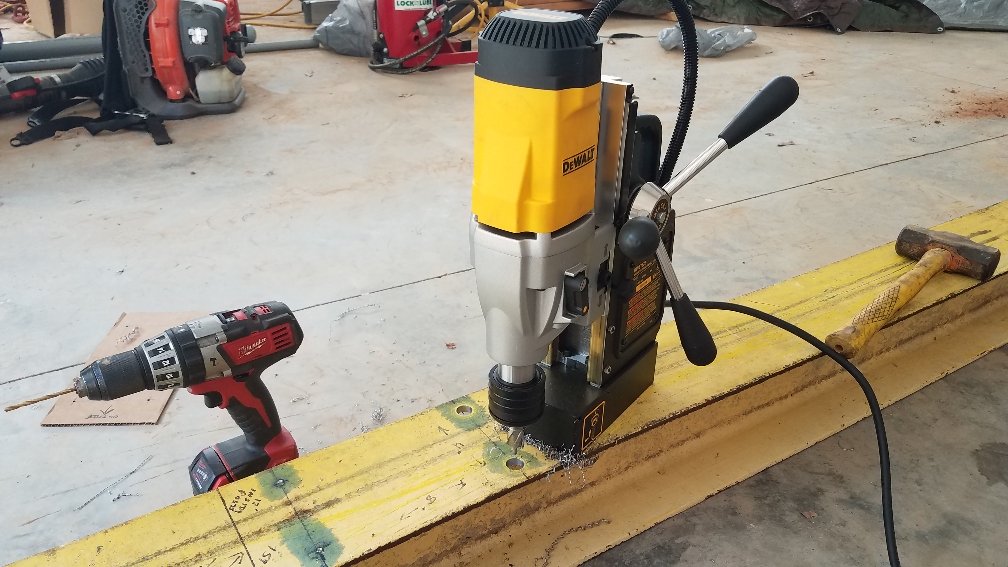
Super jealous of that mag drill.

I bought that last year. Really has paid off on a couple of projects that I can't drag to the drill press. (BTW, the annular cutters work so good, I got an annular cutter adapter for the drill press.)

Just about my favorite metal-working tool, next to my Milwaukee M18 metal cutting circular saw. I am cutting a lot of sheet and plate with that, instead of the plasma now.

When I finally get my new welding table done, a mag drill stand and material clamps will be built into it. Some good ideas on youtube. I often find the need to locate and drill sequential holes in square tube, flats, or angle. Plan to set up the table to automatically align to a fence front to back in 1/2" intervals to center on tube, and then use holes and stop pins to set distance between holes. Might rob a microwave and make an electromagnetic material clamp, too. Spare time activity.
 
Well Iv been busy w all kinds of chit and working 40s, so the house had to wait.View attachment 317868
Then I went to the other corner ..
View attachment 317870
View attachment 317871 View attachment 317872
Now Im gettin better, I put another brace above the soffit. Had to glue the deck to the new rafter and bracing. The $3 nail puller from NT and the $12 painters tool are worth much more. The $20 harbor freight oscillating tool made cutting the old trim to the shingles and cutting the nails under the shingles in the rafter easy.View attachment 317875
Please tell me there's at least a C clamp or something holding that 2x onto the ladders
 
Please tell me there's at least a C clamp or something holding that 2x onto the ladders


They're 8' ladders and they have a strong,OSHA approved foundation.
I picked up all the crushed beer cans before taking the pic.


20200518_190324.jpg


I do have a T bar pounded in the ground to hold the 28' extenension at about 45*
It's not hard to get on the scaffold, I climb a few steps and put my right foot on the fence,then my left on the 6 rung and I can put my right hand on the corner of the house to get "Onboard".Getting down is harder than getting up.
 
Last edited:
So the post about replacing the rotted end of rafter shows a plate to join the old and new .I put screws in the rafters cause I did'nt want to bang on the ends putting nails in them.The screw heads stuck out 3/16s or so and I thought I could hold the trim board up tight and make marks to drill the backside of the pvc board by hitting it w a hammer. It did'nt work. Then I painted them w a magic marker and pressed the board against them, did'nt work. Then I went and got another beer and had an Idea.........I got a butter knife and a jar of peanut butter, dabbed the screw heads w the PB and put the board up again. It worked! Took a drill bit larger then the heads and drilled shallow holes where the PB was stuck to the pvc board and then the board fit flat to the rafter.
20200514_172742_resized.jpg
 
I use paint for that. Works well. Dab pain on them press board against and whala!
 
Got a couple more hours in on the HF gantry re-build today. Got my diagonal braces fabbed up, except I found that something caught the trigger on my Miller 210 and busted it, so had to order that. Also got the trolley pieces cut out and the whole thing painted. The 7/8 bolts I had were an inch short, so ordered some 10" from Zoro. They shipped today from SC, so hope to have it all buttoned up in a couple of days.

I don't think that the governor needs to relax the restrictions on Friday....I'm getting too much done around here.
 
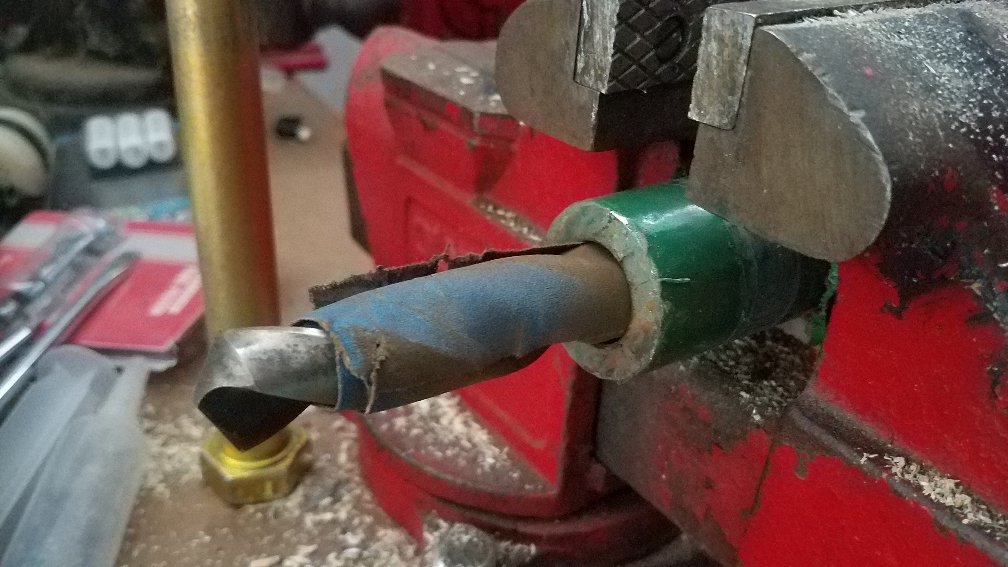
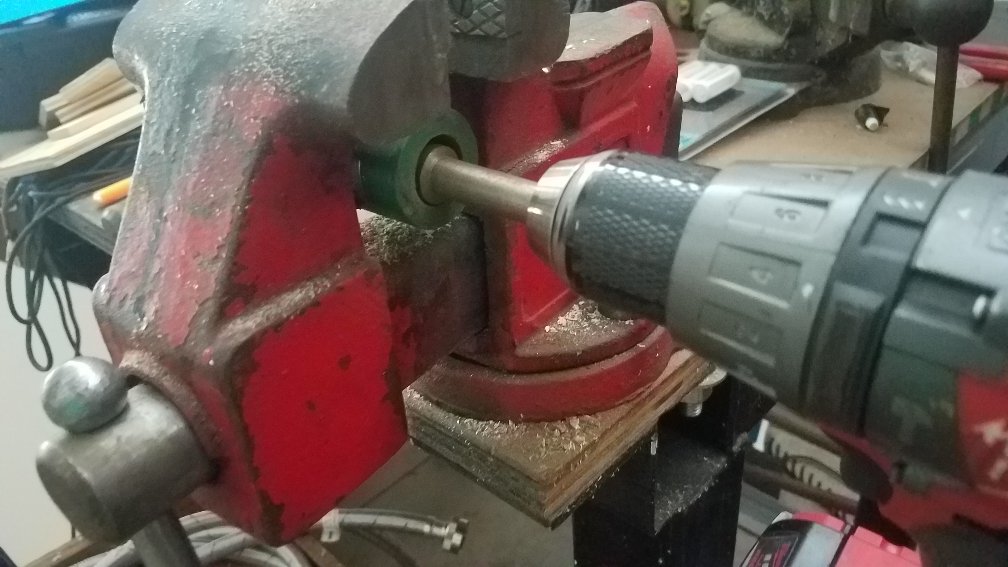
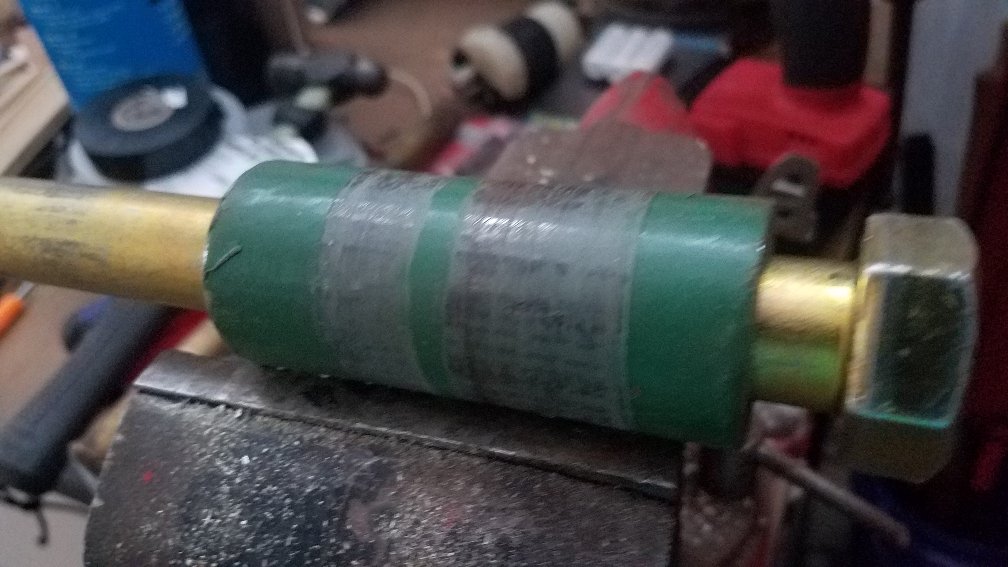
Had to do a little redneck machining today. I cut the spacers for my trolley out of 7/8 ID DOM. But...the threads for the bolts would slide right in, but the non-threaded part was just a hair too big. That would be one heck of a job to ream out on the drill press, so went down a couple of sizes with the drill bit (buddy gave me a set from an auction he went to a while back, 3/8 to 1" by 64ths), wrapped a turn of sand paper around it, and used that to enlarge the ID. When it moved freely, added another wrap of paper and worked it again.


854ed9f0d72beb058013372db2389f09.jpg
5a0651bda01eff48d64524c58f85eefb.jpg
7332de9ae280a3d8b2d828d14f084c05.jpg
 
Last edited:
Got it mostly together. BUT....dummy ordered the wrong length bolts. When I added up the center hanger, spacers, etc, I evidently left out the two half-inch side plates. Grrrrr....hit zoro up for some 12" grade 8 x 7/8 bolts (which for some reason are cheaper than the 10").


89afd0664b42f2ce484c297c47674e46.jpg


This is the corner brace. Used what I had. Going to weld the 4" beam to the 6" where it 45's. The channel will stay bolted to the 4" beam -- has to be, if I ever need to disassemble to move. Going to add 2 more 1/2" bolts to each side.
d77335ea23f6d2a8f7026c794973219a.jpg


Sent from my SM-G930V using Tapatalk
 
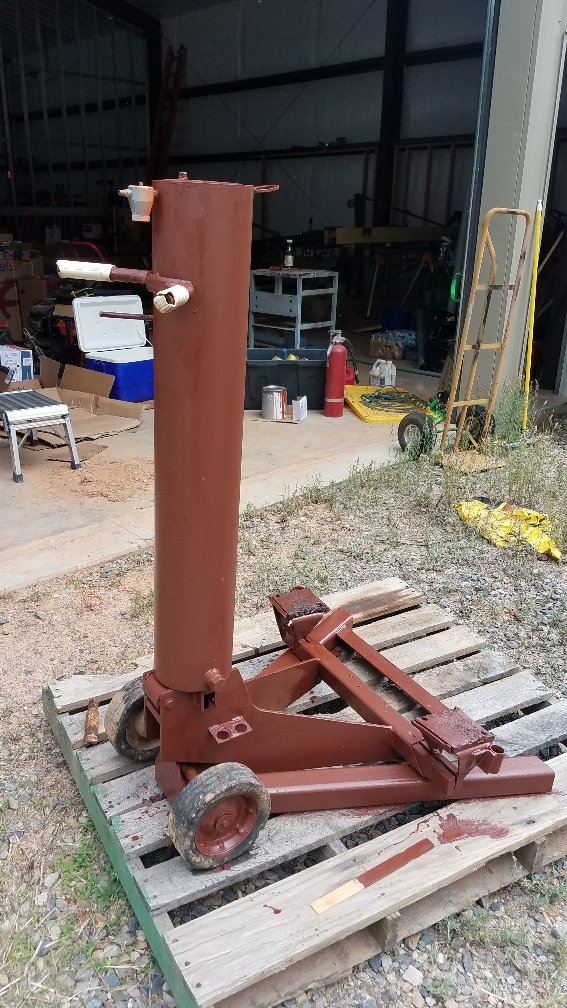
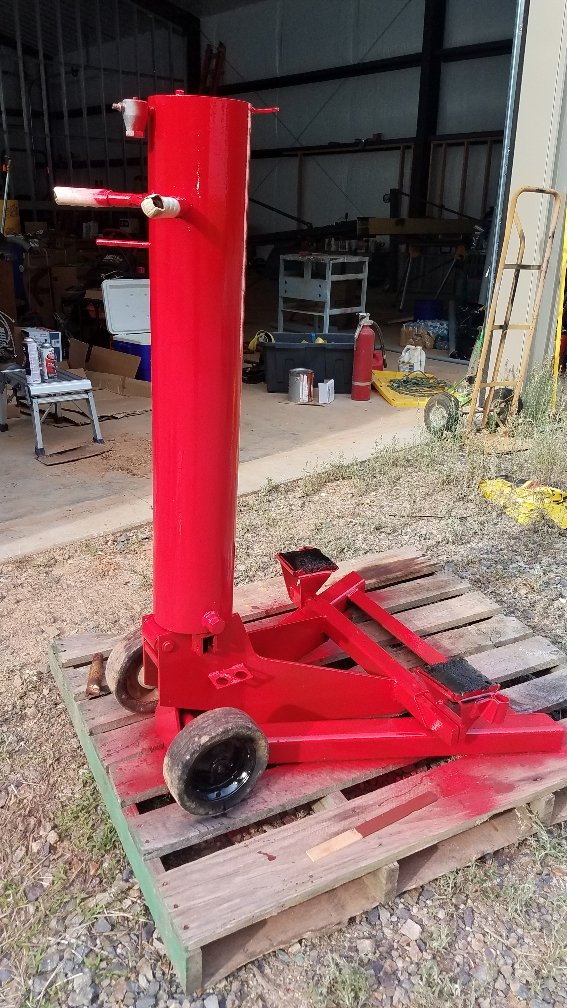
Lazy Sunday repainting the frame jacks...

Next bit of fun is extracting the remainder of the brass exhaust valve that broke off when I moved to the new shop. Flush with the cylinder.


1d92df8fa18ba3cf845aa35840976edf.jpg


Sent from my SM-G930V using Tapatalk
 
Last edited:
We bought this bench several years ago so we would have somewhere to sit near my son's playset. A couple of years ago I hit it with the riding mower and broke one of the back legs off. I put the broken leg in the garage and figured maybe I would fix it later. Well later finally happened. The bench was looking kind of rough, so my son and I brought itiit the garage. We glued and screwed the broken leg back on, sanded the bench down, and restrained it. I'm enjoying teaching my son how to repair things and fix them up. I should have taken a before picture.

IMG_20200524_065215.jpg
IMG_20200522_152214.jpg
IMG_20200524_182116.jpg
 
Last edited:
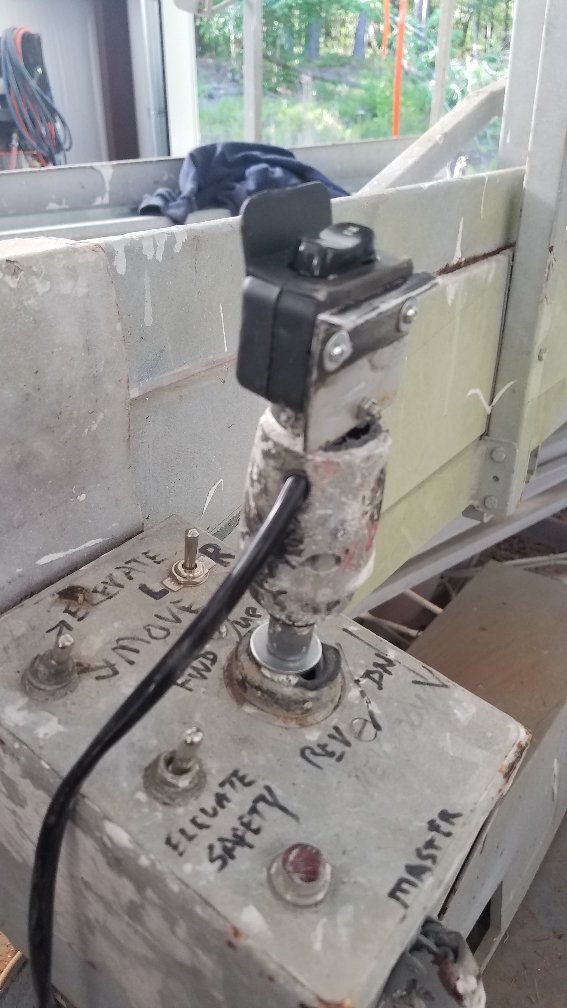
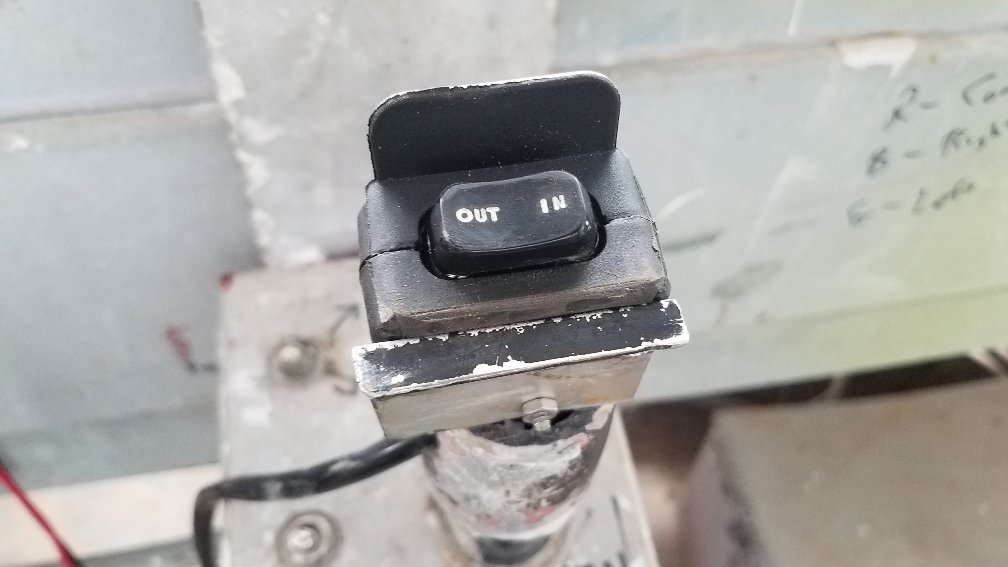
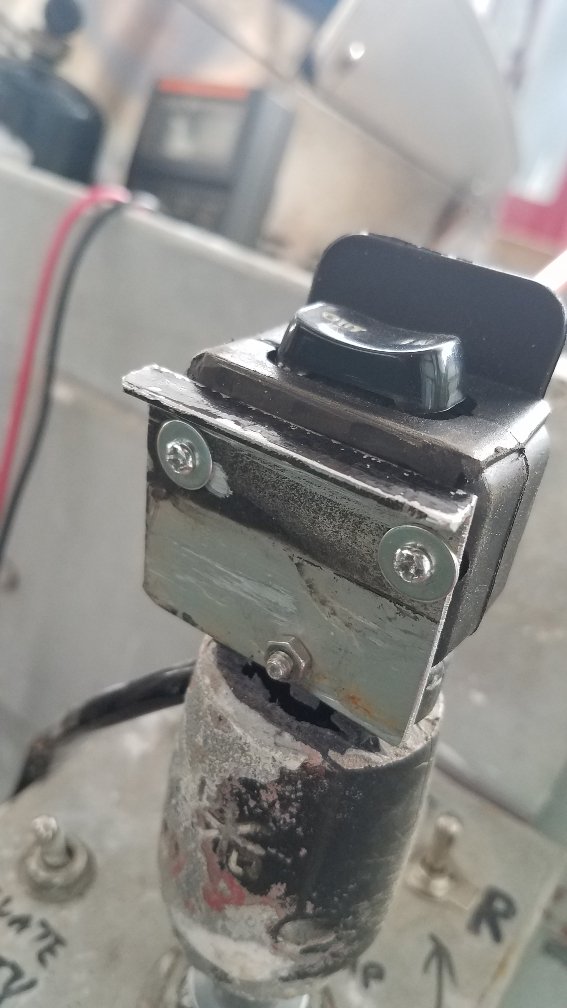
I was watching random stuff on youtube last week. Went to sleep, autoplay continued....woke up a couple hours later, to see Andrew Camarata jury rigging a new switch on the joystick of his Lull lift. Exact problem I have with my scissor lift joystick.

My aux switch was left/right steering. I had put a SPDT switch on the panel, but driving was then a two handed job and steering wasn't intuitive.

Also got rid of a safety interlock on the stick that was sticking and took two hands to clear.

Quick trip to Amazon for an ATV winch switch, and I am back in business:


b6d903d47af7921fff8fdc084fd19555.jpg
5681f669853b04c1a693abef188c099c.jpg
76e768f51bd10f0b25105baeefec7a09.jpg


Sent from my SM-G930V using Tapatalk
 
Back
Top