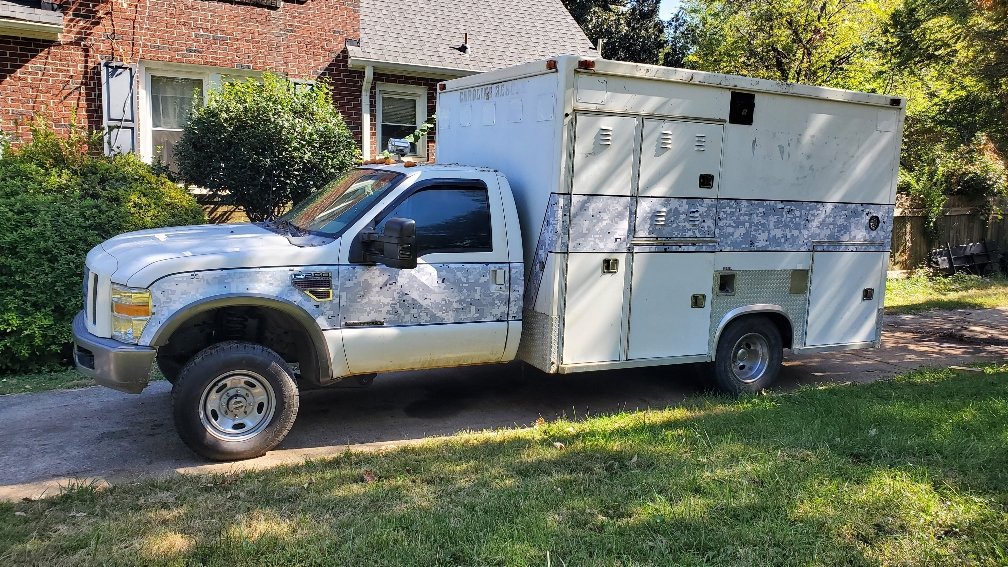
The Base Camp - Super Duty Ambulance Conversion

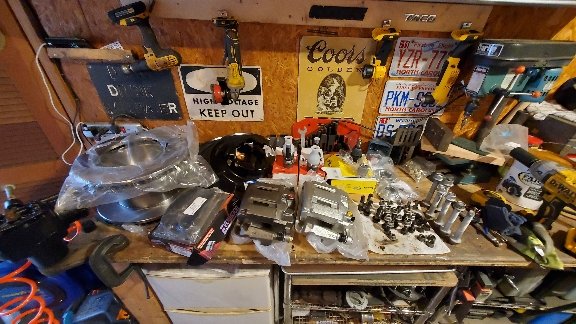
Lots of boring tasks make boring pictures; its more impressive when still all piled on the bench.

New rotors, calipers, pads, backing plates, ball joints, trackbar joints, axle seals, and brake lines:

b9d02874a1dd8148adef9083e8bf746b.jpg


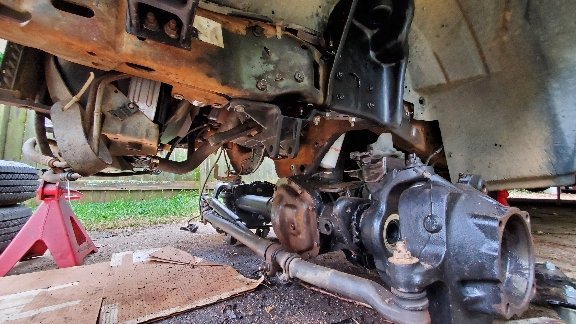
Fab work continues to be minimal. So far I've had to redrill the frame holes for the steering box and locate and drill holes for the trackball mount. A right angle drill made this much easier.

8b1c96b167a19fe13f6f09b3a85ed044.jpg


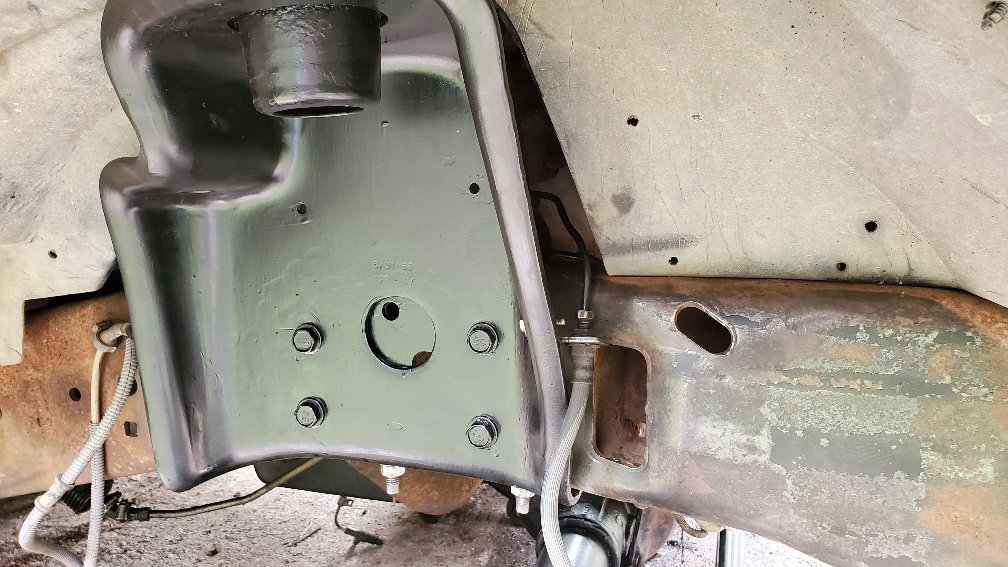
The most ambiguous fab work is the brake lines, which run to the rear of the coil bucket on the old truck, and to the front of the new. Got the tude bender out and rerouted.

9c7d5c82d102ba42c53f5ea748ba26df.jpg


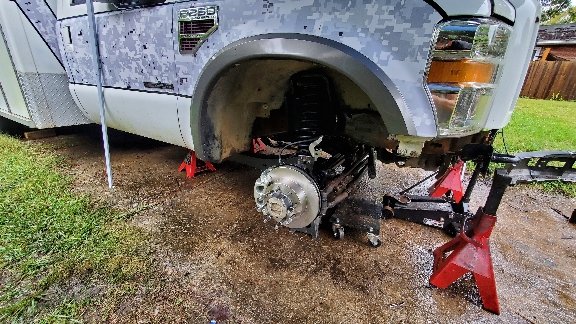
After installing all the shiny new parts its now sitting on its own weight, albeit still on jack stands.

0ac1afd0b33ec3d912f070754b8497fa.jpg
 
Alright, actually on a computer today so I can type up a summary of parts here for internet posterity. I used several Ford forum threads and trial/error to piece all of this together. Hopefully it will be useful for someone else doing this in the future. For the purposes of sourcing, some parts can be 05-16, some have to be 05-07.

Parts needed:
  • Complete axle with radius arms, steering, trackbar, and frame side hardware (05+)
  • Steering box with pitman arm (05+)
  • 3X M14x2.0x140 Class 10.9 bolts for the steering box. These cannot be sourced from a donor truck, the frame thickness is different
  • Radius arm frame brackets (05+)
  • 12X M12x50 or 1/2x2 bolts/washers/nuts for radius arm brackets
  • Coil towers (05-07, or modify 08+)
  • 12X M12x50 or 1/2x2 bolts/washers/nuts for radius arm brackets
  • Coil springs (05+)
  • Coil spring isolators (05+)
  • Shocks to fit your needs
  • Swaybar with links and hardware (05+)
  • Trackbar bracket (05-07 only)
  • 5X M14x50 bolts/nuts for trackbar bracket
  • Brake hoses (08+ for ease of fab)
  • Frame side bracket for brake hoses to fit whatever year hoses you used.
  • Power Steering pressure hose - Hydroboost to box (05-07 only)
  • Stock replacement PS Box to Cooler line, or replacement O-ring for the original
  • 16X M14x1.5 lug nuts (studs may be swappable, I didn't attempt)
  • Brake fluid, ATF (for power steering)
 
That is list is most appreciated...makes it seem very possible to swap my '01.
Very possible for two guys to do it in a weekend if you have all the parts on the ground. Working by myself took a bit longer as I had the axle torn down completely to make it lighter for the install as well as other refreshes.

Other considerations:

*A right angle drill is all but required. If you had step drills that go up to 1/2 with a good depth of cut you might get by with a standard drill motor.
*you need a good method for cutting rivets. I cut the heads off the outside of all rivets on a bracket then welded a nut onto the bracket over one of the rivets and threaded in a bolt. This pulled the bracket off the frame leaving the rivets in place, then go in and grind all rivets flush and they'll pop right out.
*The brake hard lines need to be bent to route to the front of the coil bucket (if you are going 2wd to 4wd). It would have been much easier to do this prior to installing the new buckets. If going leaf to coil, just be aware of where the hard line wants to route.
*The anti-crush spacer in the frame for the steering was blocking the holes on the inside of the frame after drillin. Its not welded in, just put a pipe in from the front of the frame and beat on it.
*Leave the steering damper bracket on the truck, the placement of the new one interferes with the lower rad hose on a 7.3. The original frame side placement works fine with the new steering.
 
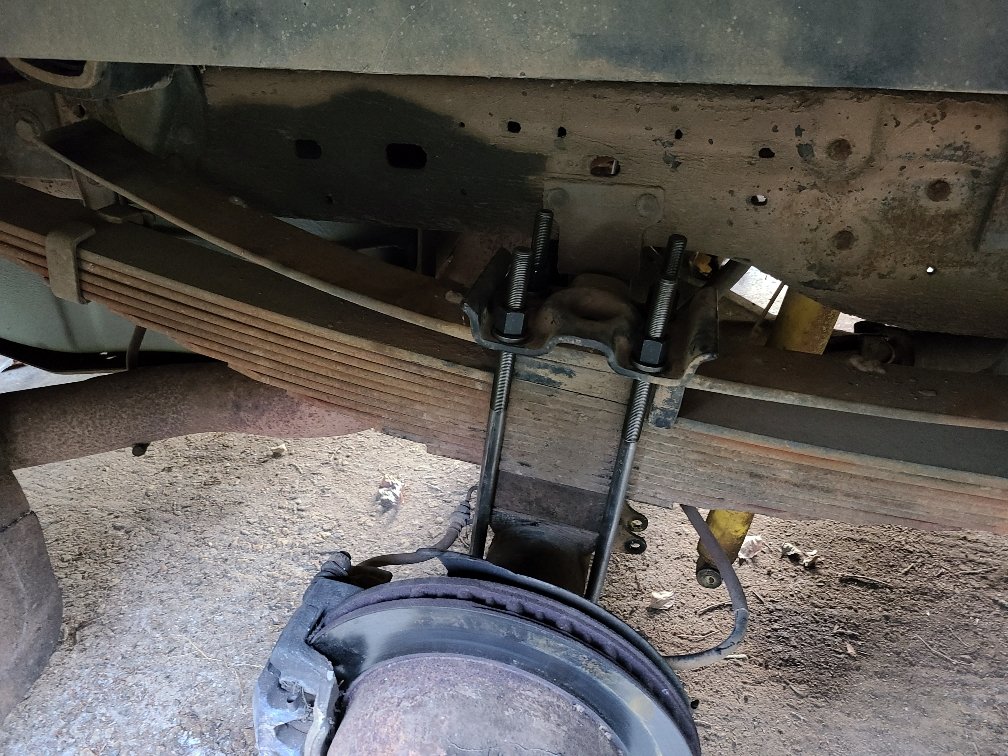
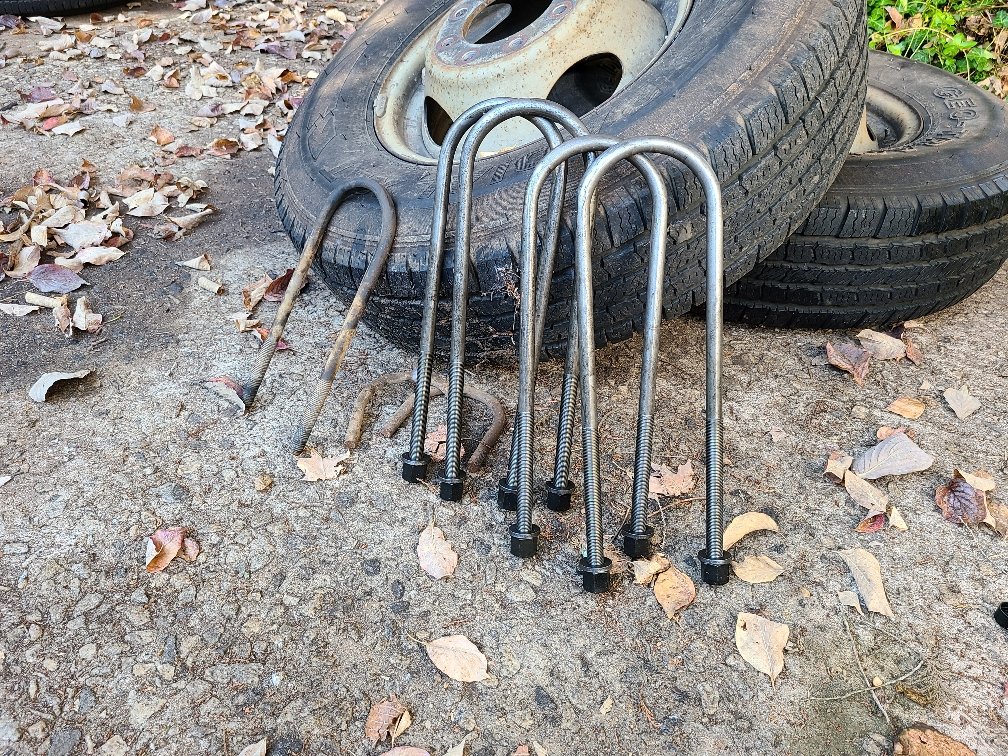
Went to Walmart and got some heavy duty croquet stakes to try out some lift blocks from the donor truck:
82336ea8c2045fb74a67b22577c90991.jpg


I got 3" longer than stock, but the blocks already had are the stock 2" units from the donor. By the math I need 2.5, but I figure I'd try it out before buying something new.

a7d0c4970c75e5ff8ba7925bfa6e2308.jpg


Unfortunately it doesn't look like it will be enough. Even completely empty it still ass drags with 2"ers. Looks like I'll be purchasing some taller bricks.

829060107eb5244a56171a70abc9b7eb.jpg


Sent from my SM-G986U using Tapatalk
 
I think I have some 3 or 4 inchers if you'd like me to check.
 
I'll check when I get home.
 
They're a 4" tapered block. Not sure if that'll do you any good or not. They go from 3.875 down to like 3.75".
 
Thanks for checking; that will be a bit too much for me. The internet says there was a 2.75" block from the factory on *some* 11-16 SDs. Now I just gotta find out which ones so I can scrounge a part number.

I'd bet once you get it loaded (full tank of fuel, tools/parts/gear, food), 4" may be spot on... you're already toting a lot more weight than any "regular bed" SD :D
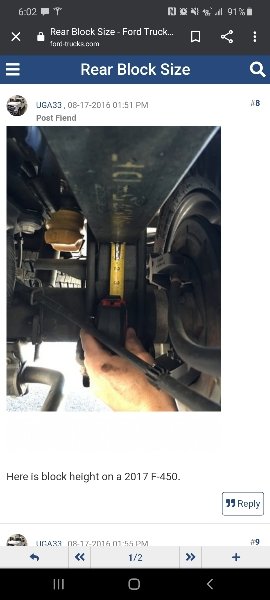
 
I'd bet once you get it loaded (full tank of fuel, tools/parts/gear, food), 4" may be spot on... you're already toting a lot more weight than any "regular bed" SD :D
You're probably right actually, unless the 11 leaf pack has anything to say about it.

For some reason I have an aversion to the hollow nature of the Ford 4 inch block. I also don't feel like shelling out for another set of u-bolts. However, it does seem like a factory 2.75 block is a phantom. I may have to shell out for some custom units if I want to keep the bumps top tang.
 
Get the box sorta level and cut into the box and make wheel well a bit bigger.....
I think i had to do ~2" on mine...
i used the tire when i draw the line....
just my .02
 
I'm pretty set on tire clearance, the wells are actually pretty big. Just trying to get as level as possible.

And, apparently it does exist:
7792b88a297d16fc915c187e4a35a84a.jpg


Now if the parts catalogs available publicly weren't terrible.
 
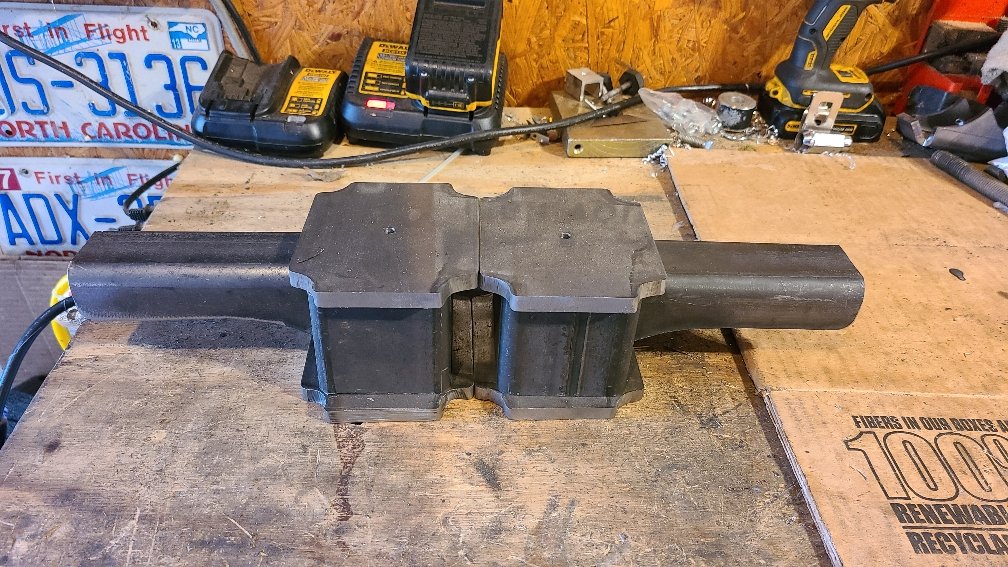
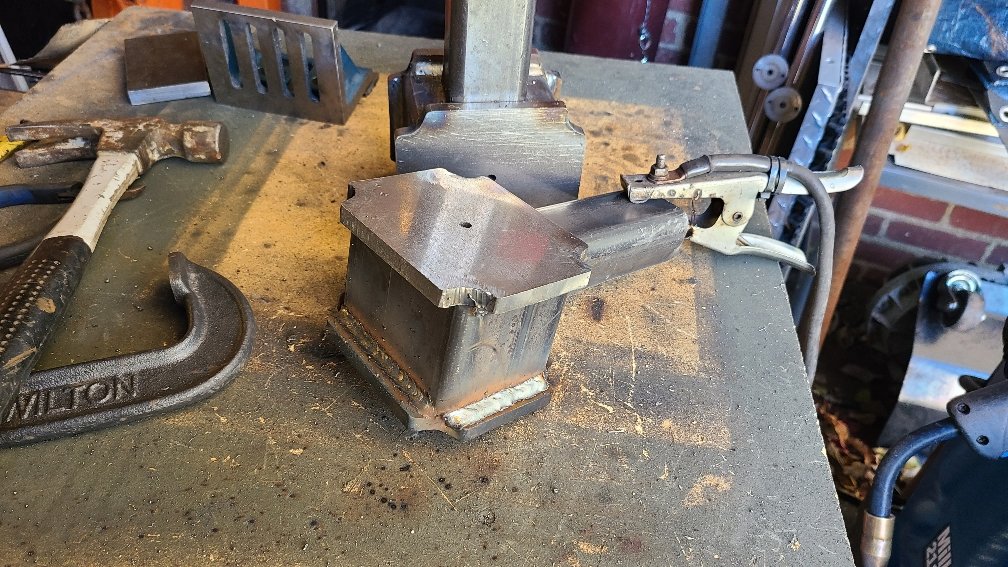
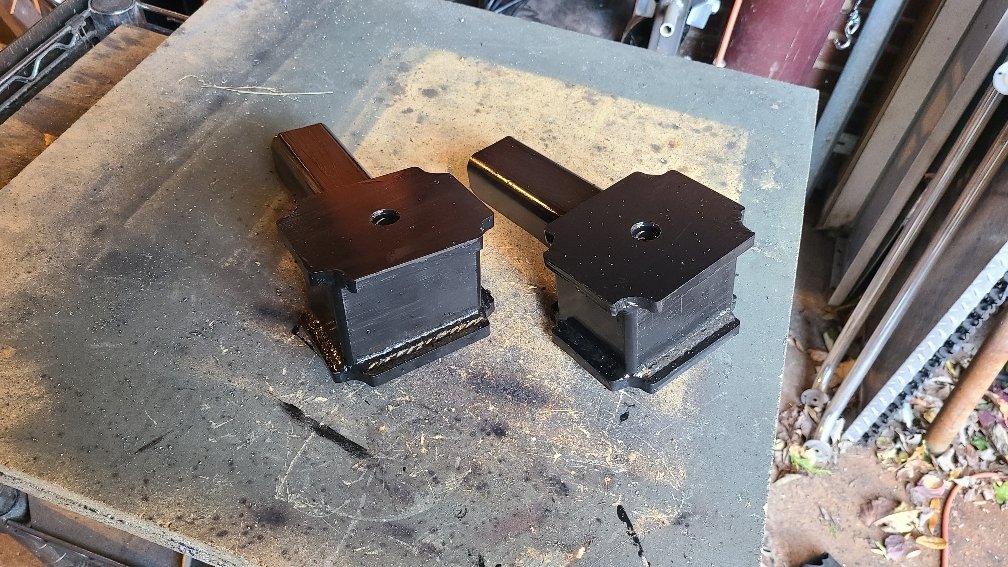
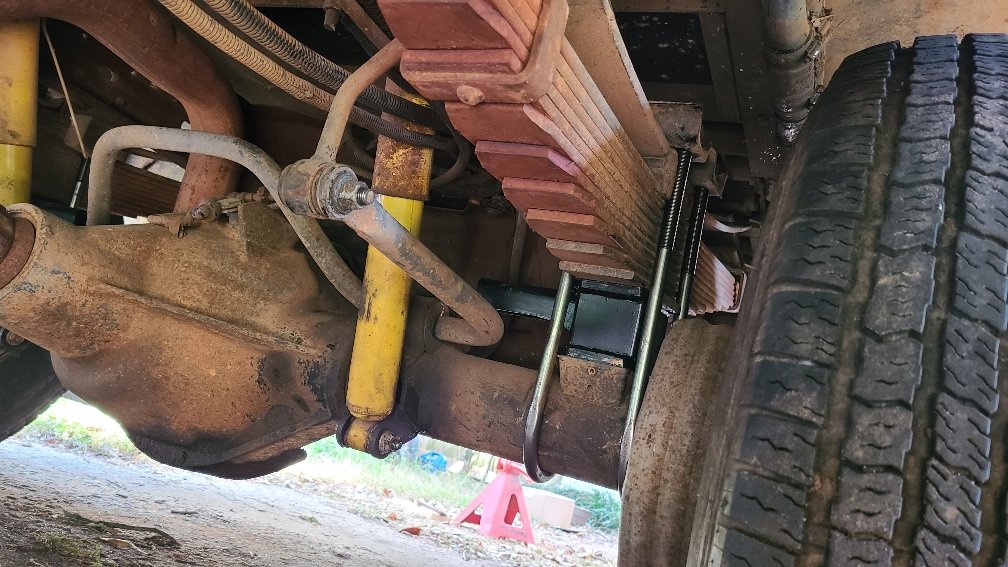
I don't know where my head was at spending so much time trying to find the right size block, when you always have access to the right size block with a welder. I landed on 3-3/8"

Also, this was cheaper.

2a4381c19d8295322667549adc37ced0.jpg


783b404f312baeb50972f255af1de9e1.jpg


The Rage 3 got a serious case of blade clap during the last cut. Had to finish with the angle grinder, but everything came out even.

4b0c925898279f39708fc6bdd556600b.jpg


Engage extra splatter mode:

86deff162ef14436ce3c765d0115cea4.jpg


Finished with some tractor paint:

dc78d7947318797ed49c7f1e47bb7e7c.jpg
 
Spent yesterday up at Windrock enjoying some fresh air. Today was supposed to be the button-up day for everything on the Hambulance. Didn't quite get to the finish line since the I'm still having issues with the swaybar interfering with the trackbar bracket, but I did get the rear all torqued in, raised up the rear shock mounts, another brake bleed, and bedded the new front brakes in.
9d11ac8557eec9b73f2ff496301d162c.jpg


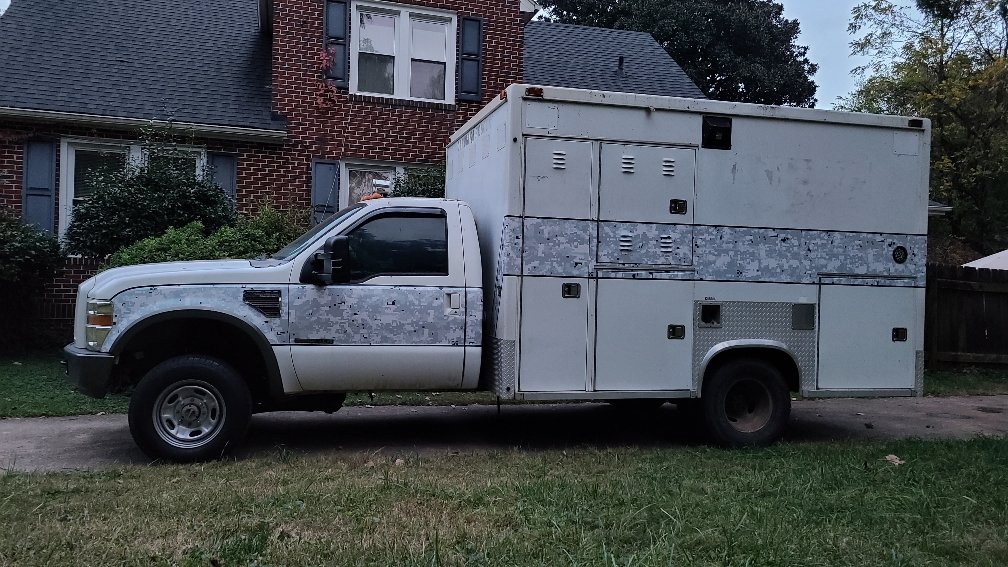
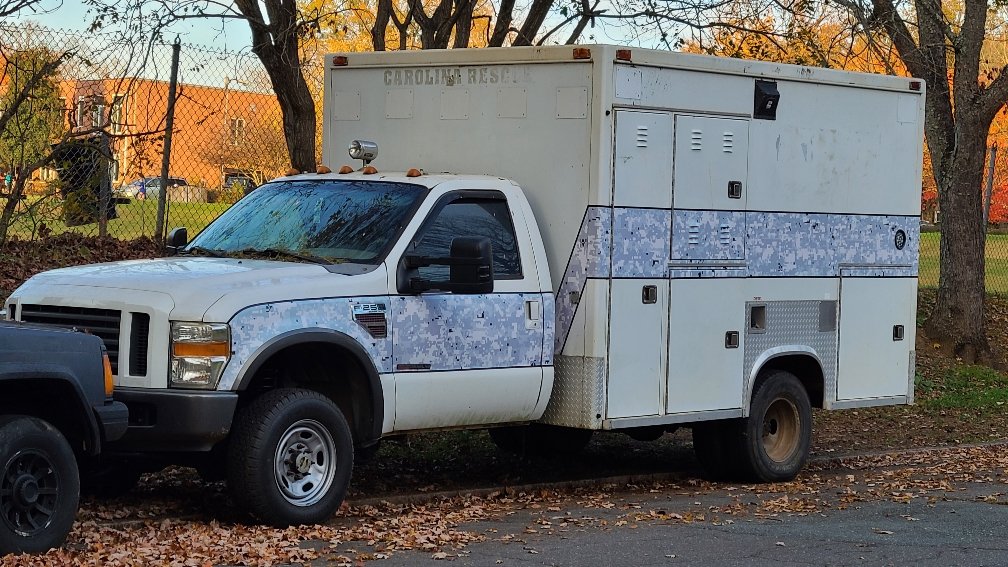
Ride hight looks pretty good. It measures level, but I may end up taking some out of the front depending on how it looks with the final tire setup.

334ae0134840a1c87197289a51ad35f3.jpg
 
It's gunna look a little odd just because the fender wells are a different height and shape, but I'd probably leave it how it is.

What's going to be the final tire size and flavor?
 
It's gunna look a little odd just because the fender wells are a different height and shape, but I'd probably leave it how it is.

What's going to be the final tire size and flavor?
Right now I'm planning on HMMWV load range E's. They're the only thing under 42" that that make it to the 4500lb per tire I need.

And that picture perspective doesn't help the perception of lean. Here's one that shows more what it looks like in person.
751089417496777e815d9bf3bf1d0f3d.jpg
 
While I was taking measurements for sizing the rear blocks I found that one is was sitting about an inch lower than the other. Never saw it before, now I can't unsee it.

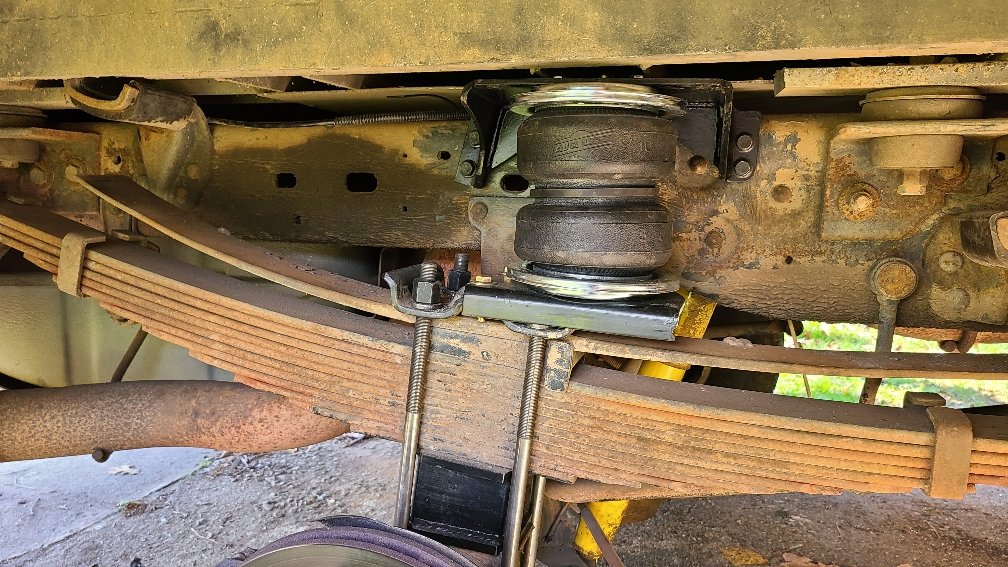
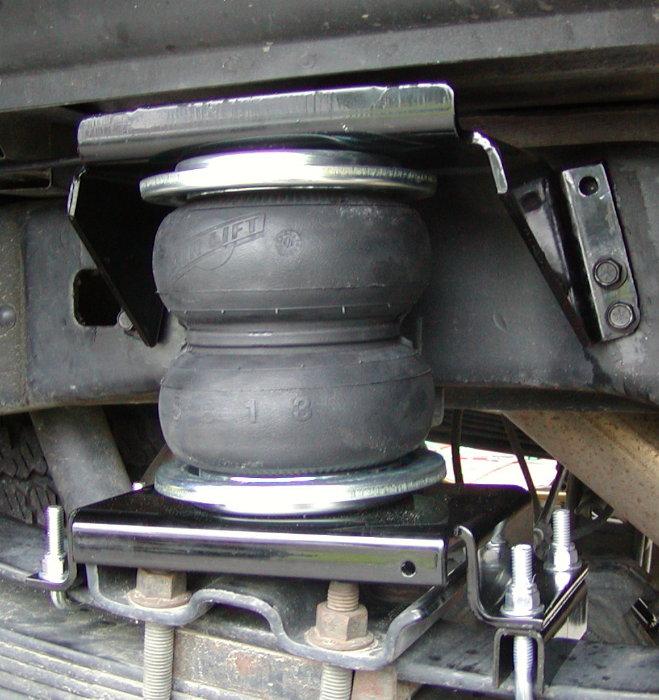
So I splashed out for a rear airbag kit. Supposed to be bolt on, some drilling required. Ended up needing alot more massaging.

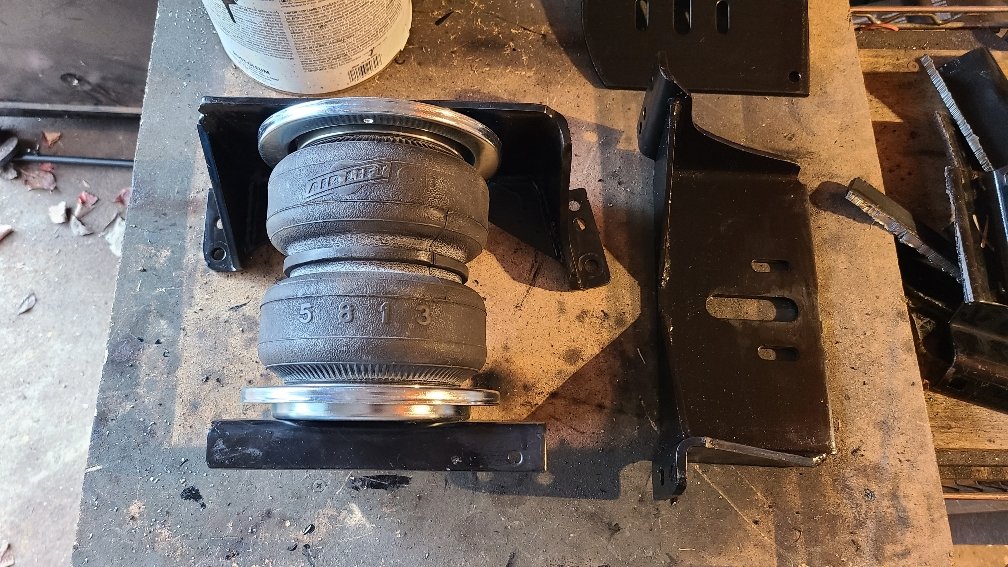
For reference, here's what it should have looked like:
e8421088ba76c8360b488547ae85ff09.jpg


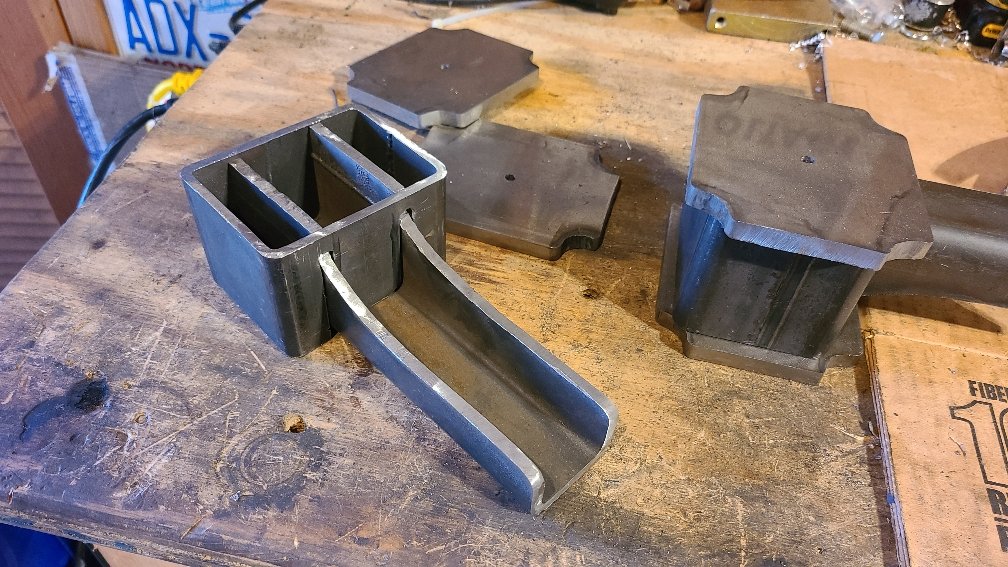
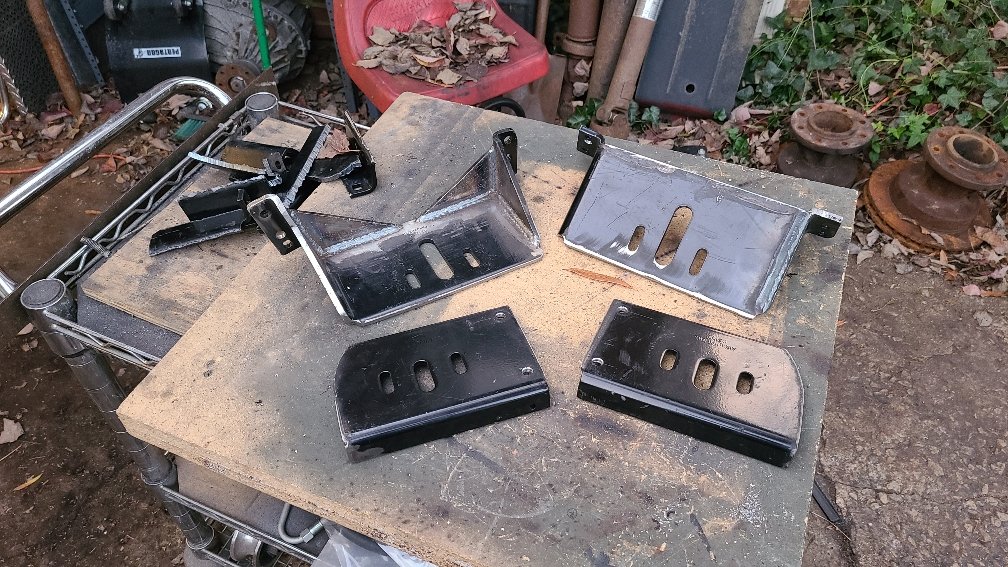
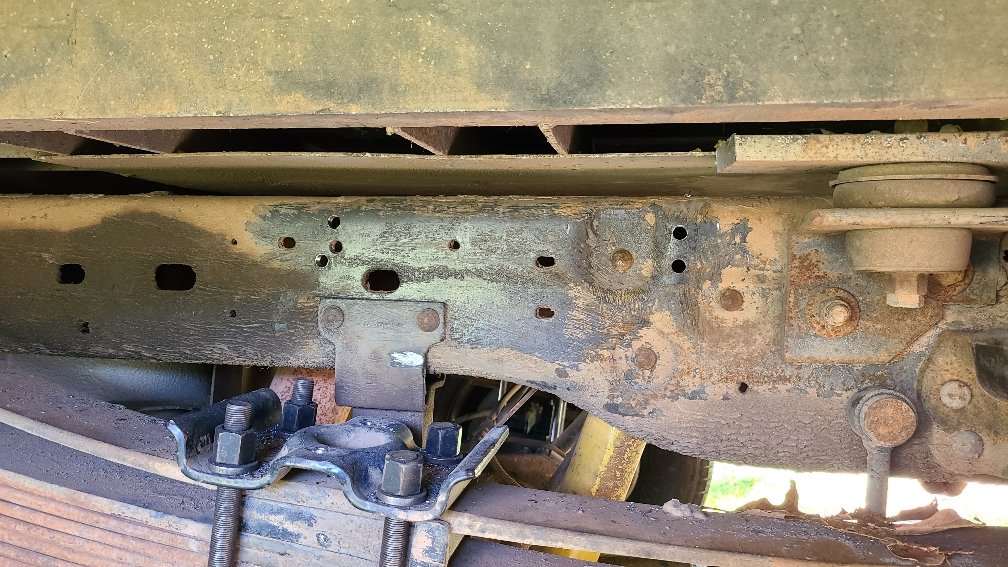
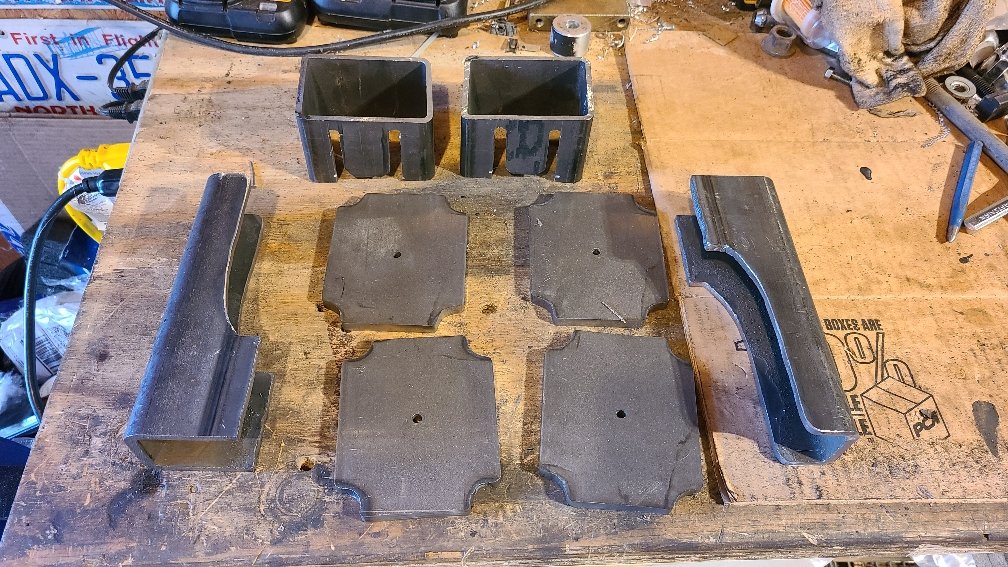
Fist problem i had was not getting having enough vertical height above the springs. To increase space they got shifted forward, the upper bracket lost its flange, and the lower bracket became direct bolt on to the spring plate. With the move forward, the upper bracket also got into a coined section of the frame, so the mount pattern had to be adjusted. Here's what I ended up with, along with the pile of scrap that fed the plasma cutter:
a9add6088e27ab3361adfd7c07d8f8a6.jpg


The front mounting holes here show the difficulty in finding space:
0554f0de1904c007f8101f8389f95159.jpg


Airbags and brackets had to be subassembled for lack of access afterward
31388bfd93bfb20d743c68e5f4fe55b5.jpg


And bolted in place
c394a9fd8a481668563ec50d32f16ce2.jpg
 
Last edited:
Back
Top