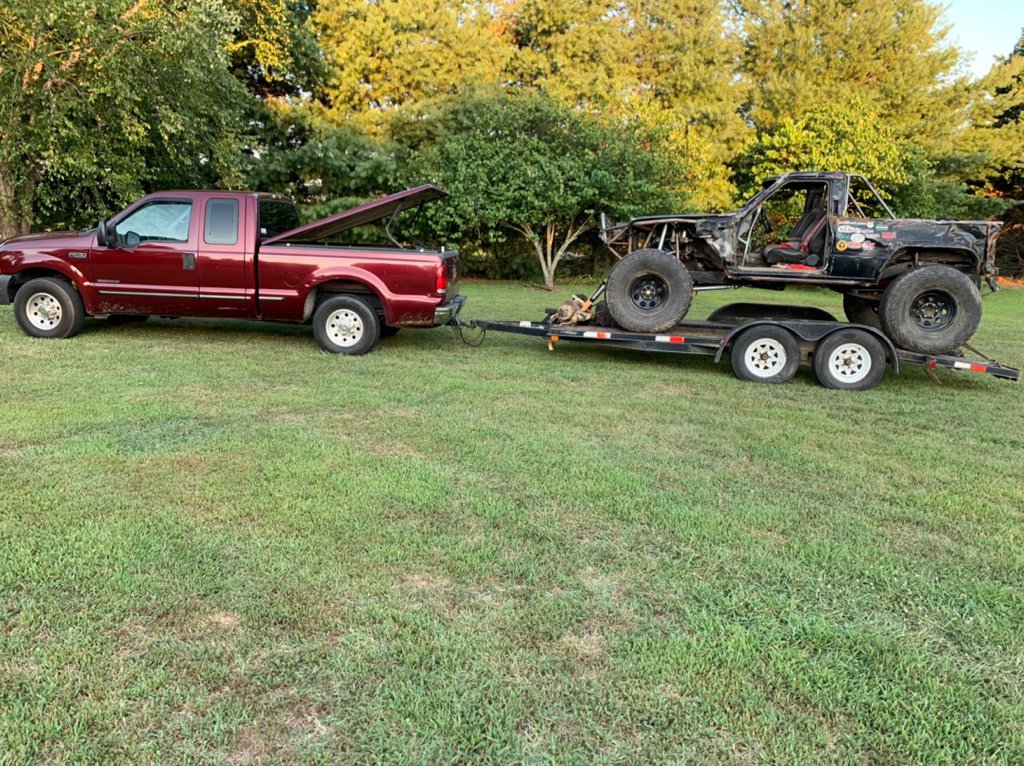
Finally getting around to a Harlan update.
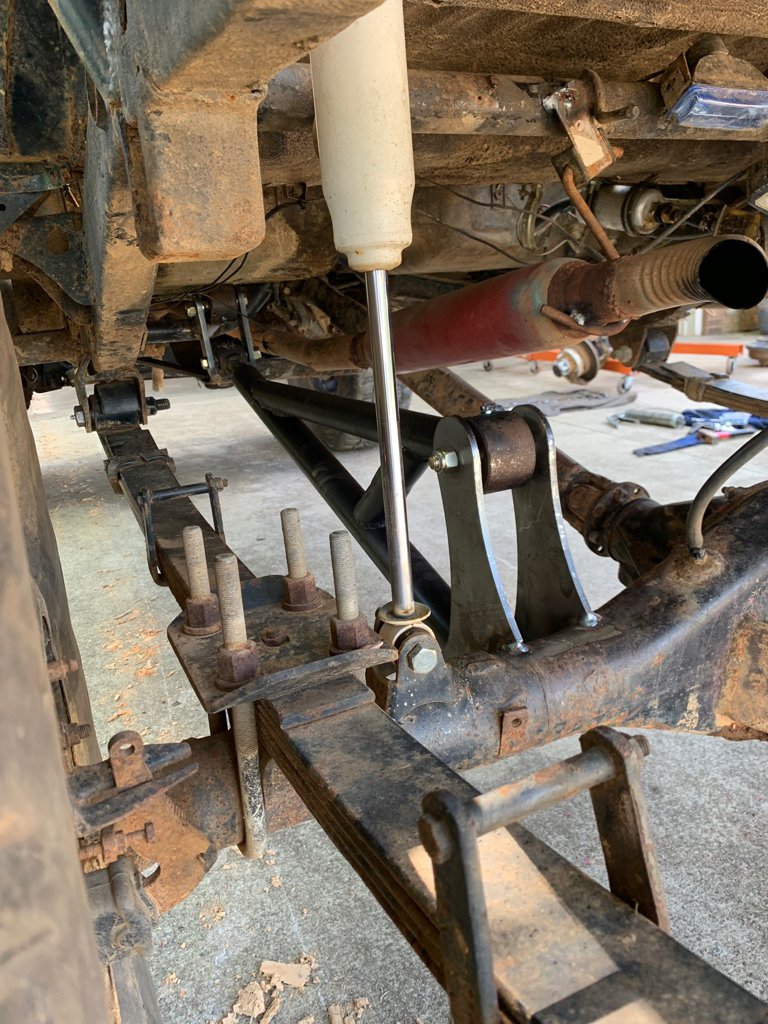
Well first off my front output nut on the tcase came loose and my drive shaft fell out. On the way to the trails... WTF?? I wouldn’t have thought of checking it in a million years, but I will now torque check each time I see it...
Someone in my wheeling group said “you only break in the strangest ways.”
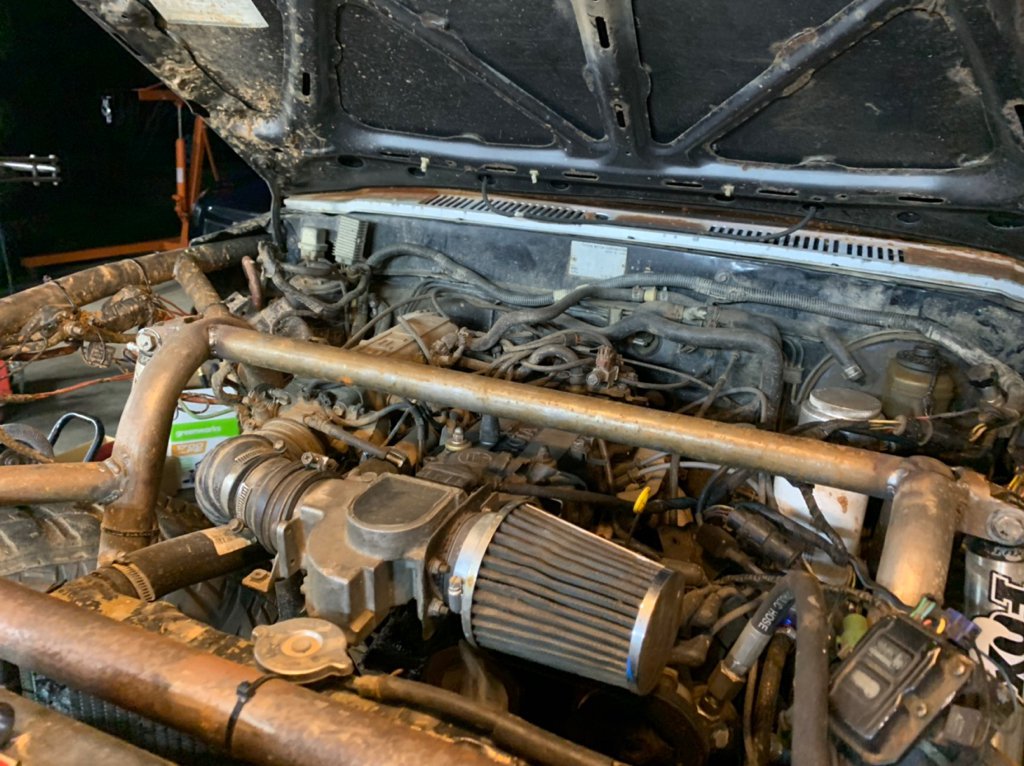
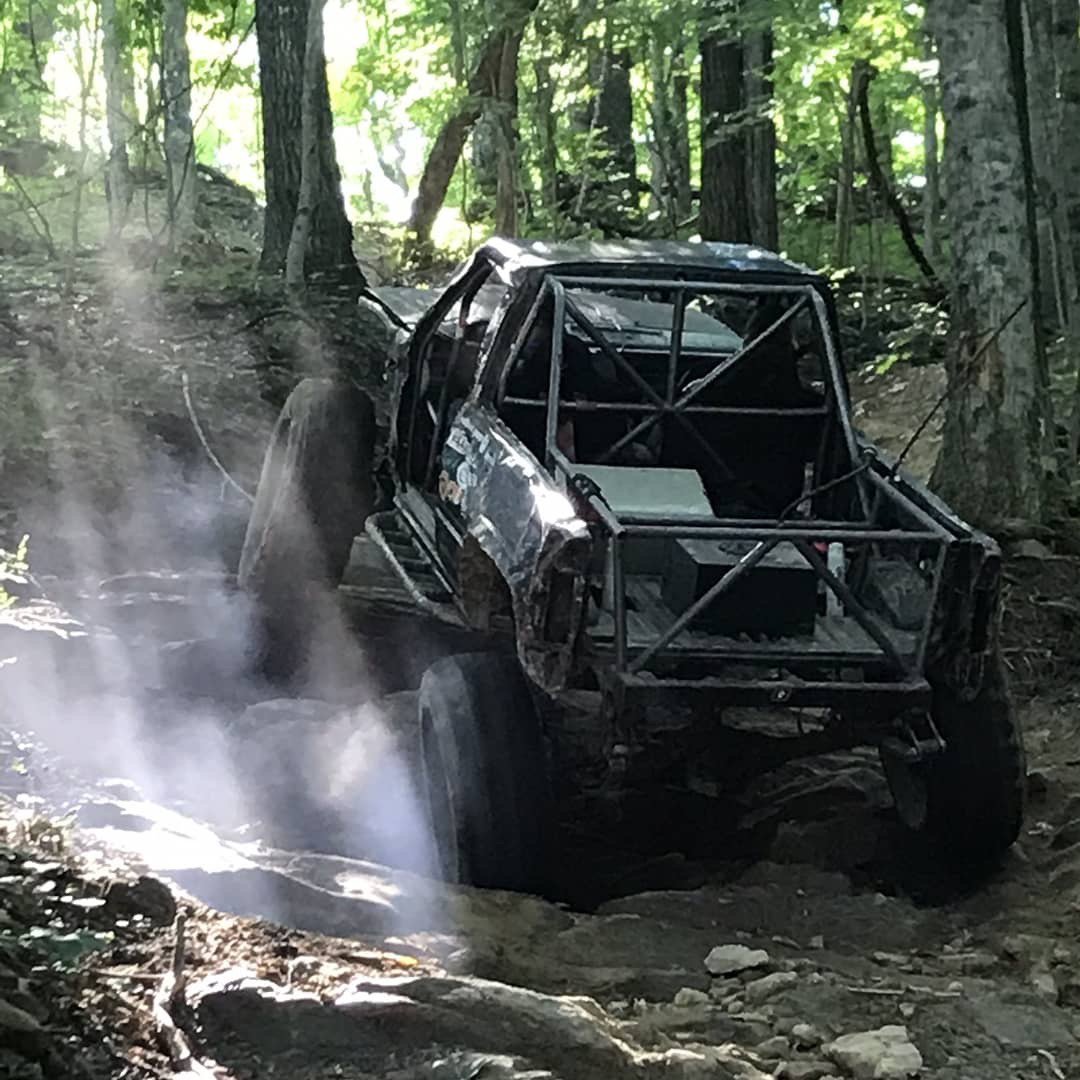
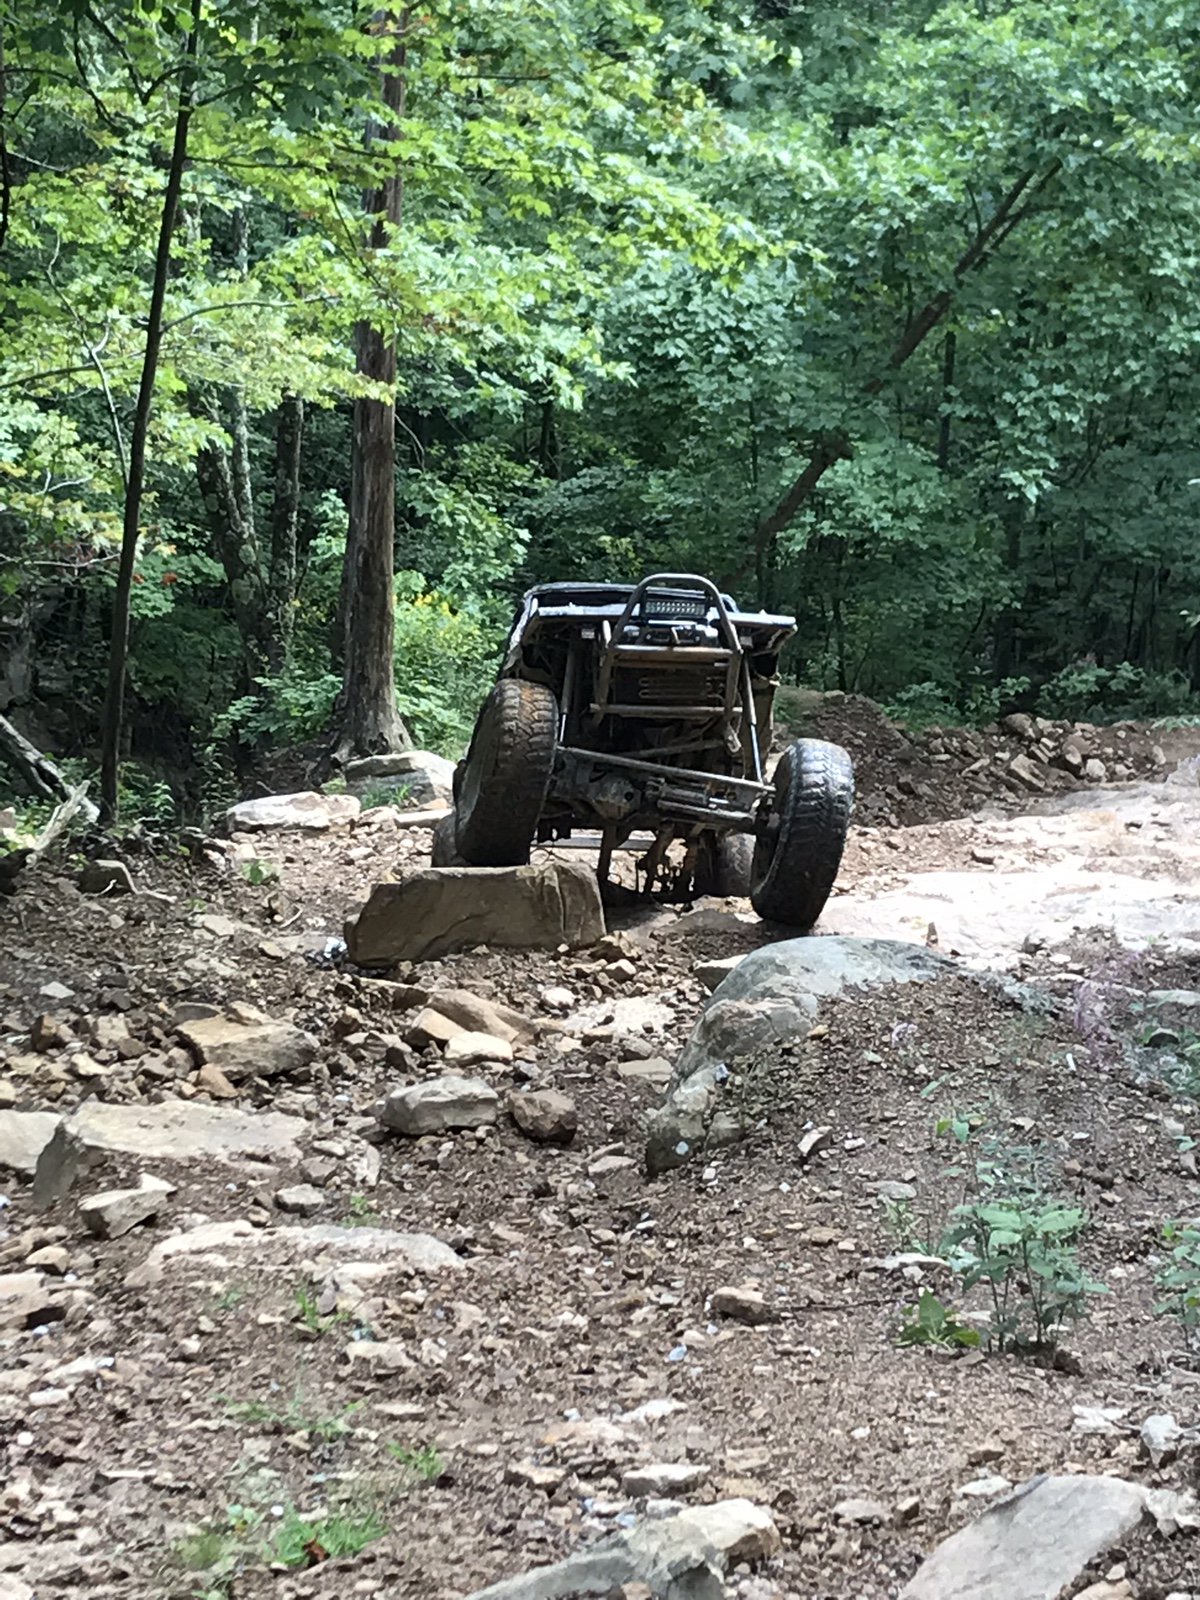
Next, The steering is tight, insanely tight. I deal with it for the extent of the day. Worrying that some hydraulic steering component is broken or unhappy.
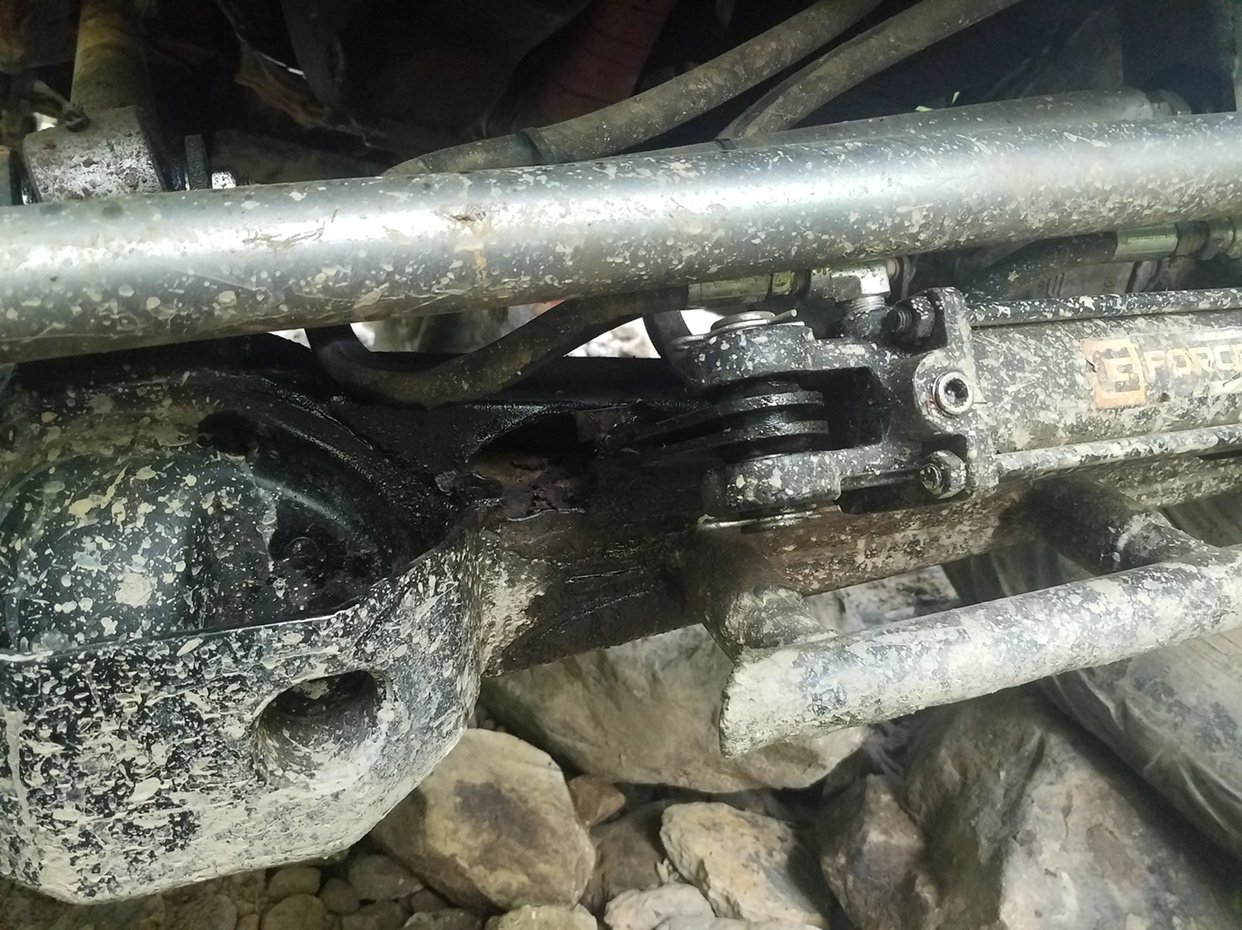
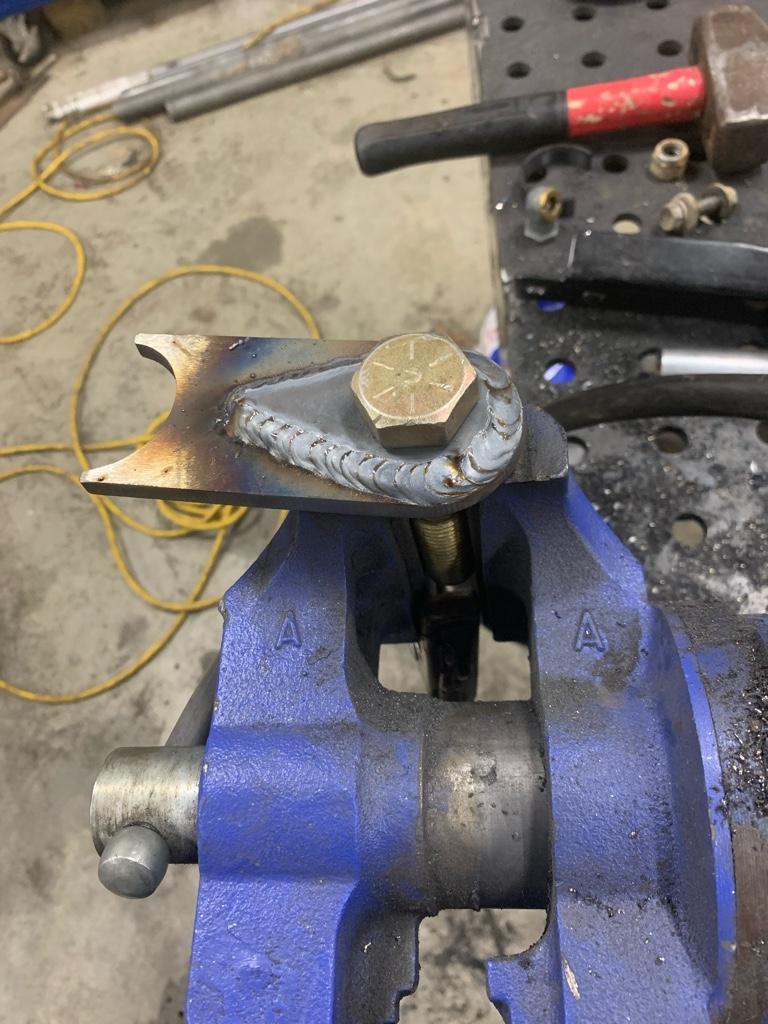
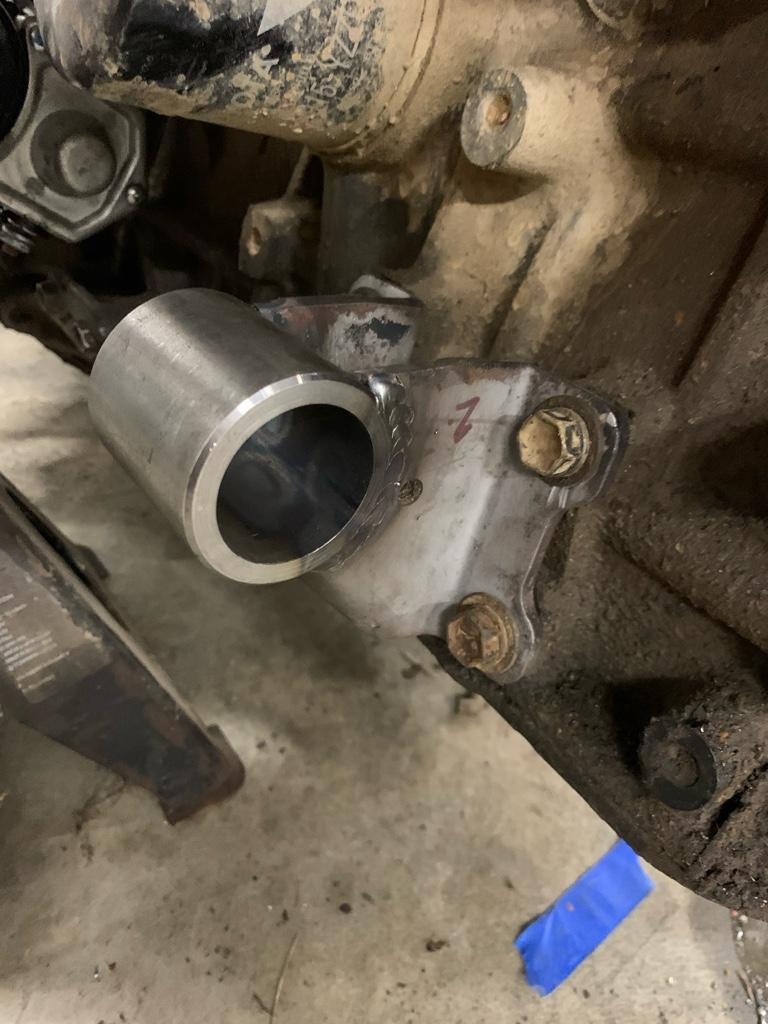
Well I find out that it isn’t the pump, ram, or orbital when I rip my steering off at the bottom of upper rock garden. Whoops!
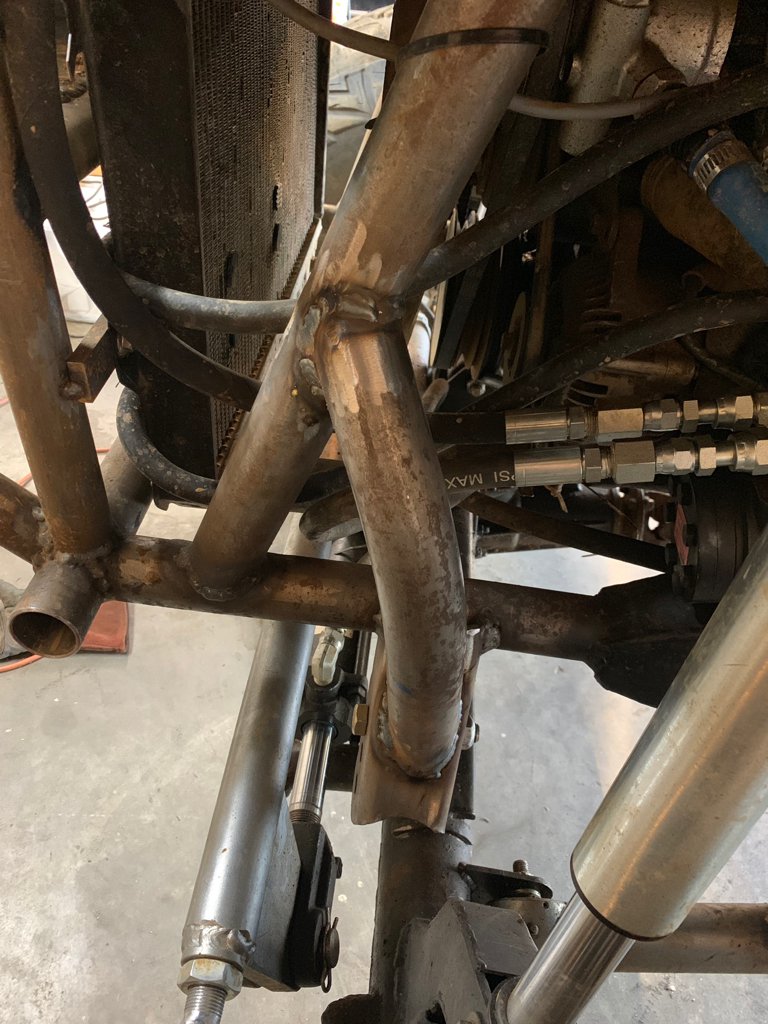
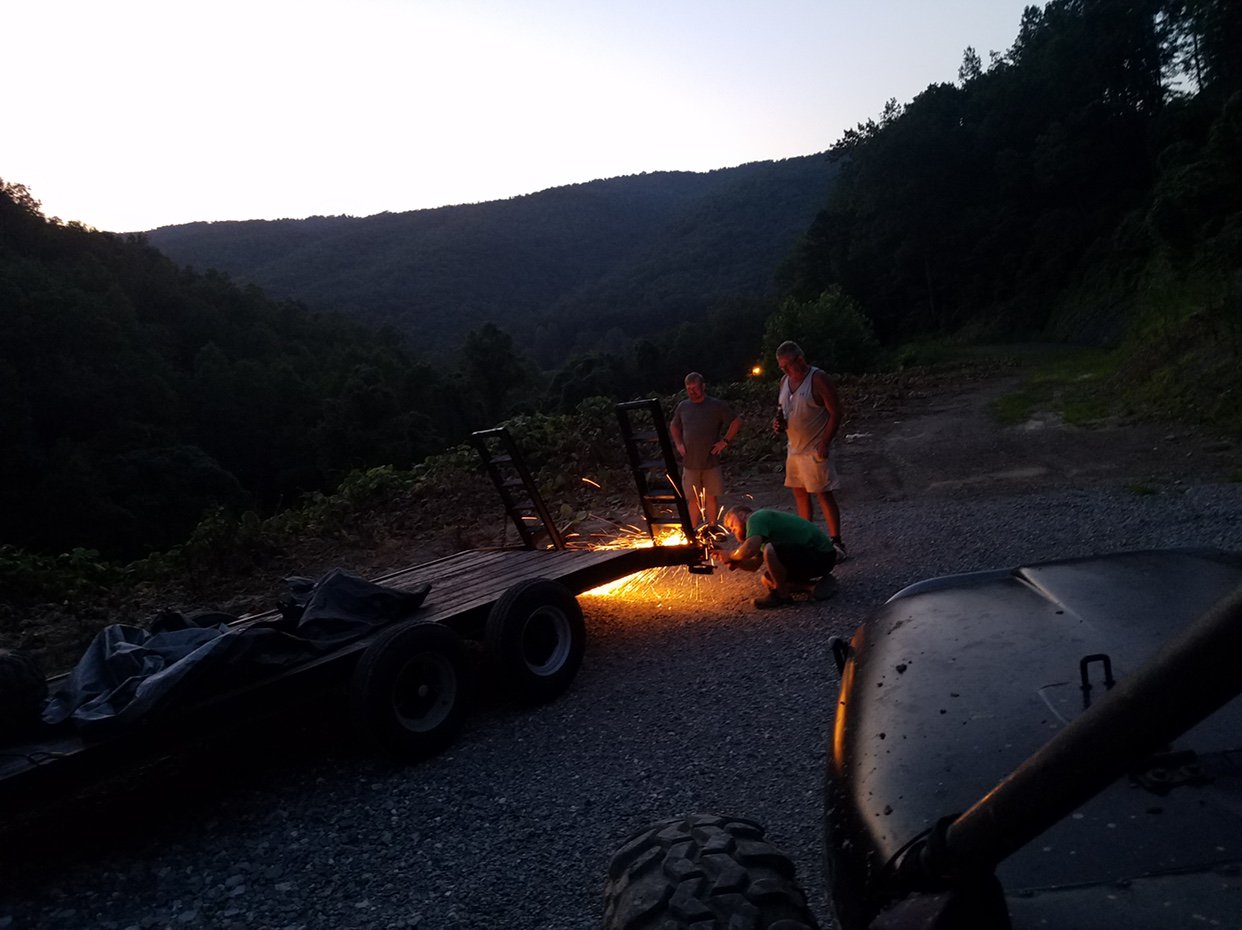
If you look closely the truss material the mount was welded to was 1/8th if not smaller. Trailgear... for some reason I didn’t bother to check before burning it in. The mount ripped the metal right off. I beat myself up over that one for a while. Luckily with some of @RQ ‘s 1/4” C channel from his trailer and a flux core welder and generator I was back in business for some Saturday wheeling.
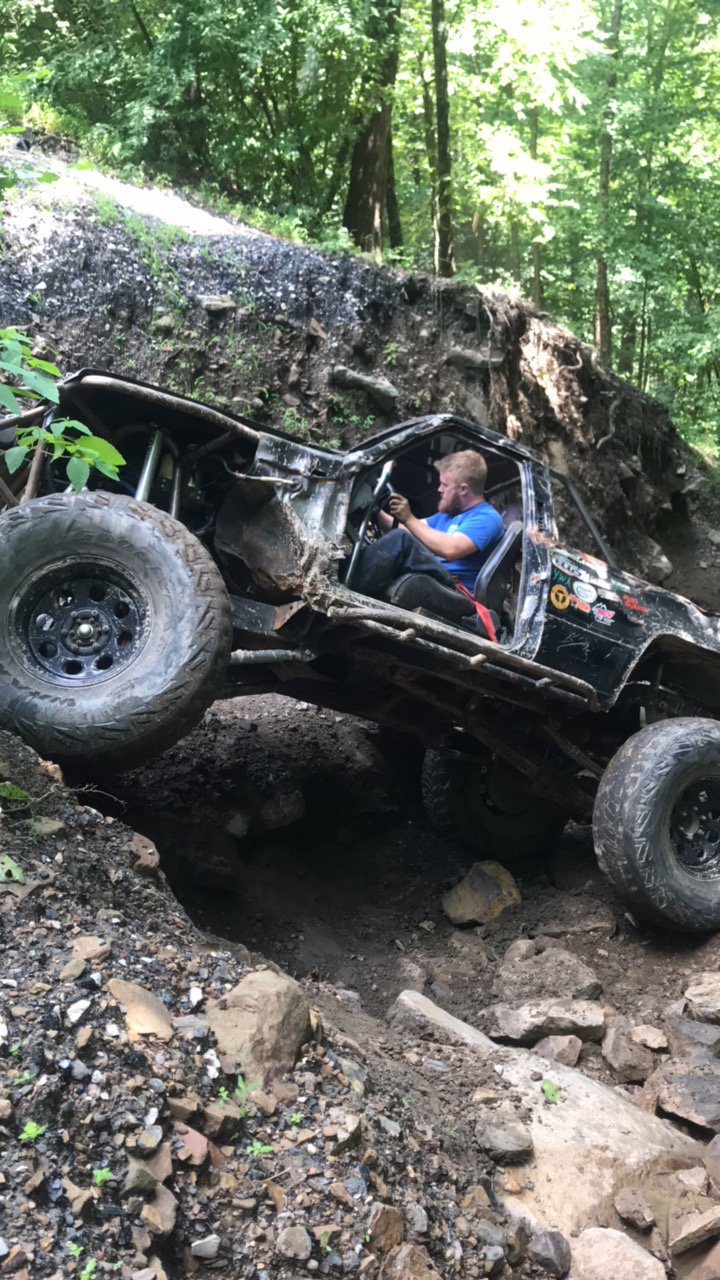
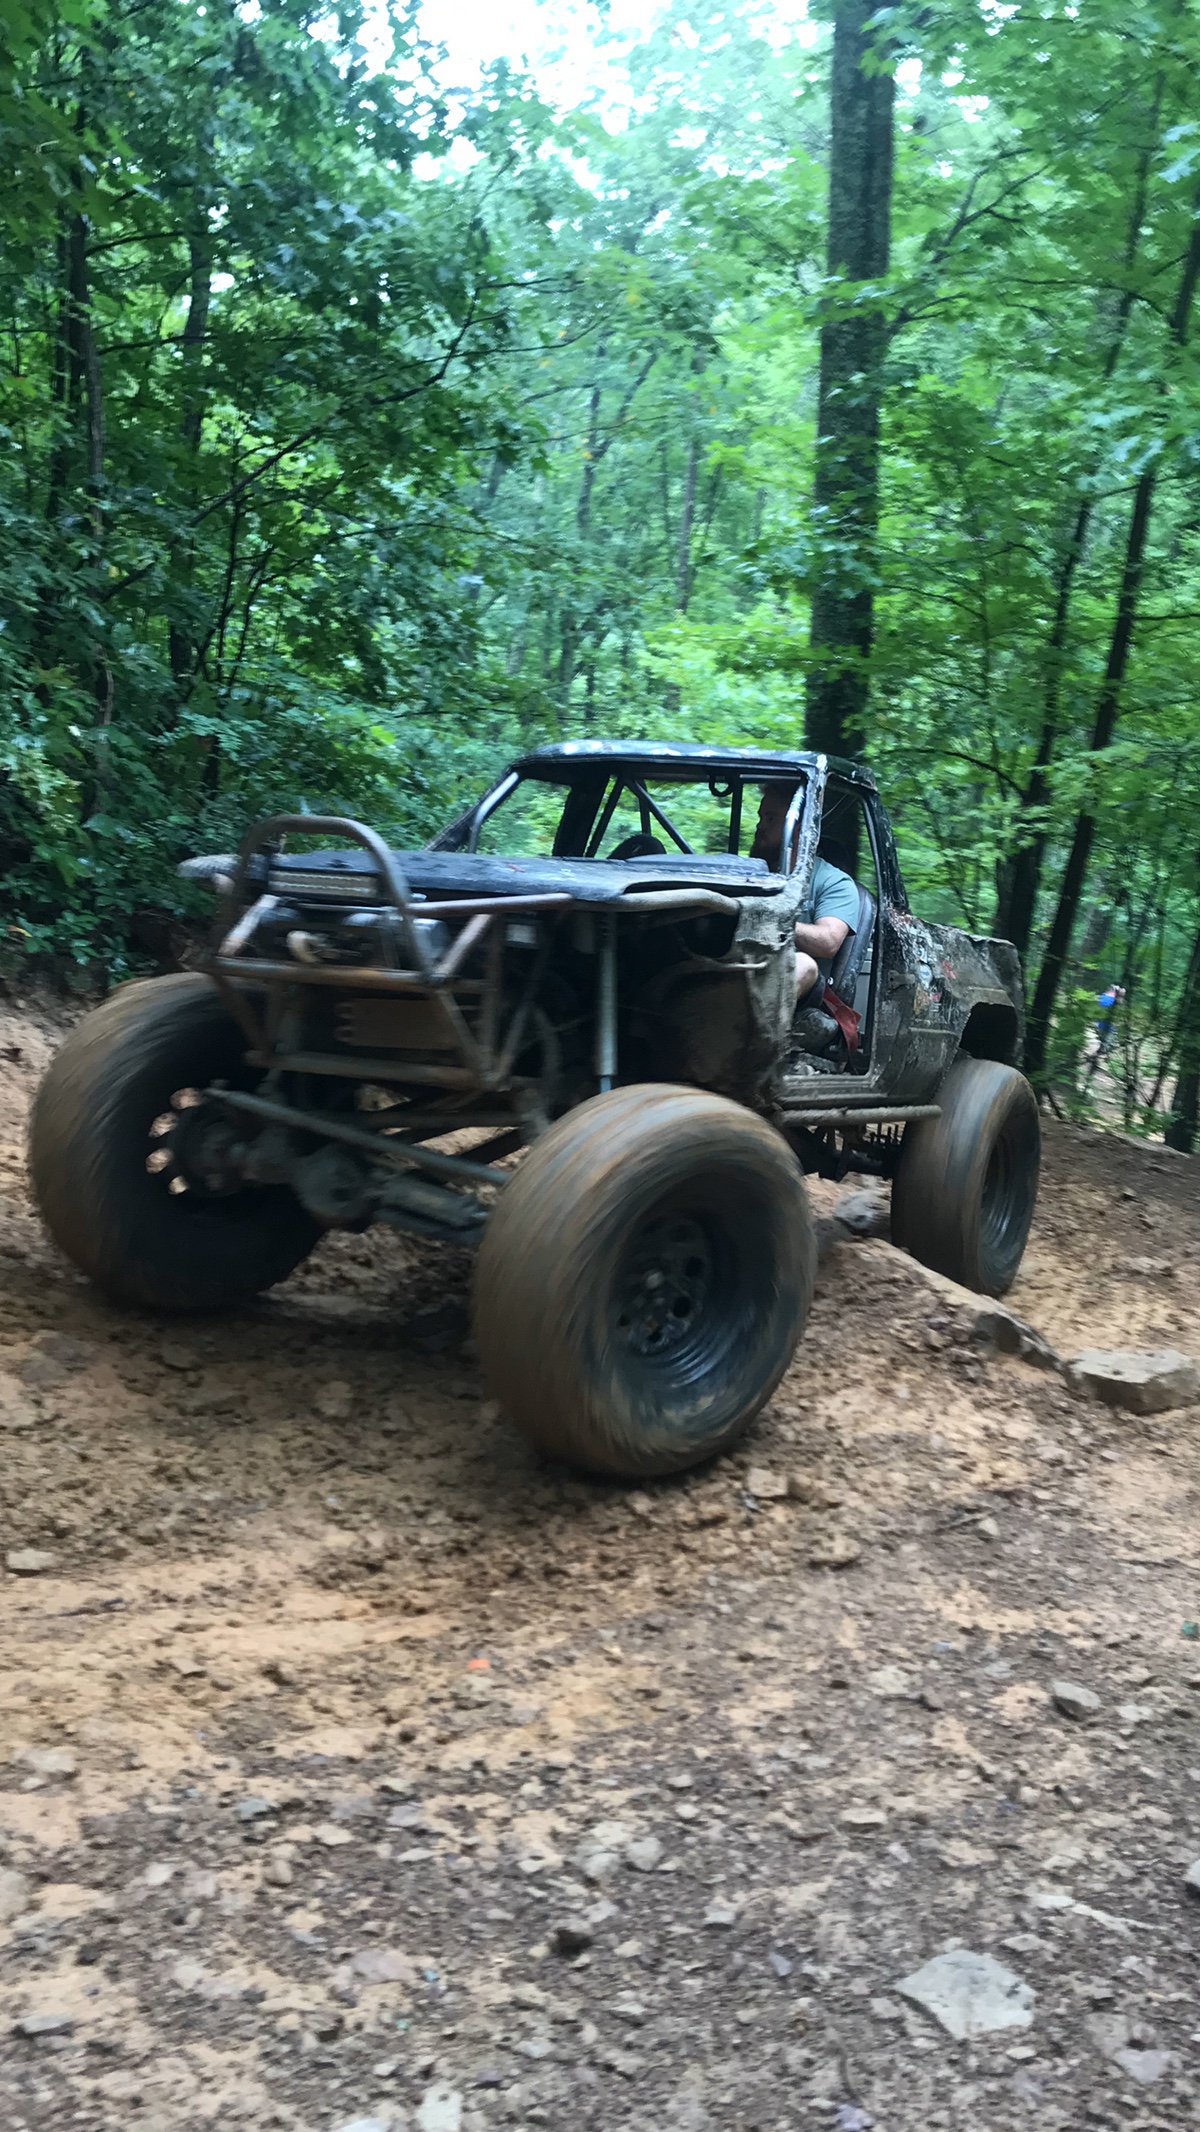
Saturday went well. I didn’t destroy my steering again, but only stabbed myself trying to cut a ziptie. Through my thumb the knife went.
Ran a few trails, had a good day and the went back to the cabin.
Sent from my iPhone using Tapatalk