YJJPWrangler
Well-Known Member
- Joined
- Jul 19, 2005
- Location
- Charlotte
Let's talk woodworking. I know there has to be some other people on here with this hobby and I'm always wanting to learn new techniques. This thread will be for anyone to add their projects as well. This is something I have fallen headlong into when the wife asked for a farm table for the house. I was able to pick up some nice chestnut slabs from a friend for the top. The wife pulled a design off the pottery barn website where that table sells for $2500. I think I have about $750 into it including new tools and materials. Bottom is made out of 4x4 and 2x4 douglas fir that I picked up from lowes. Everything is held together with 3/8" 6" long lag bolts. I covered up the bolt heads with walnut dowels. On to the pictures...
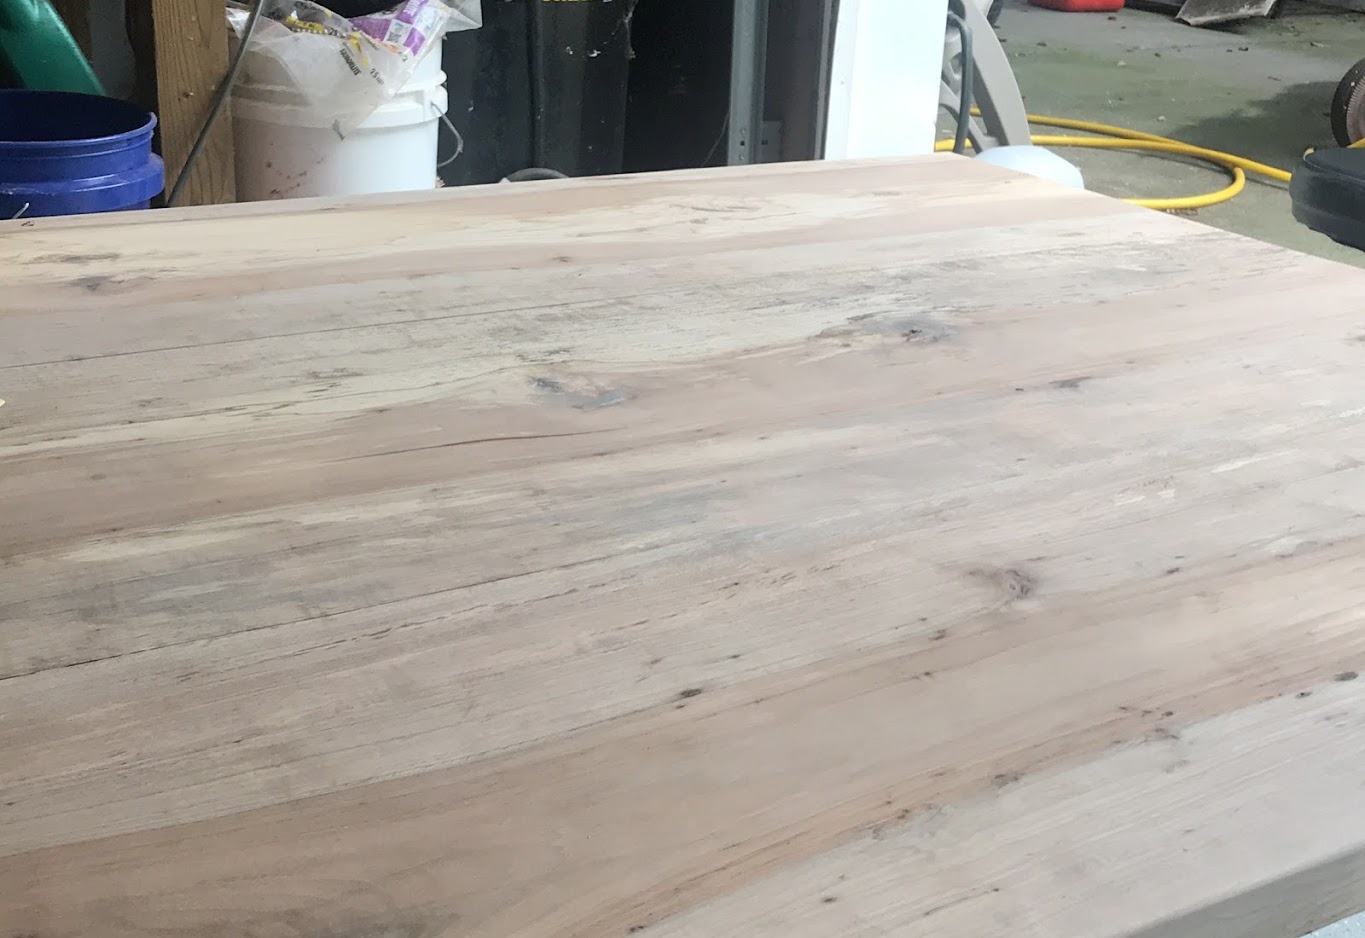
The table measures roughly 7' x 4' x 2.5" and consists of three slabs. I used biscuits and pocket hole screws as well as a ton of glue to mate the top together. The glueup consisted of two parts. Two slabs joined and then the third one added. I don't have a jointer or a planer so the joints were planed/sanded by hand. I think they came out very well with my limited tooling and experience. Additionally, we found that the top had a lot of spalting as well as ambrosia in it after we hand planed the top. Here is what the base looks like.
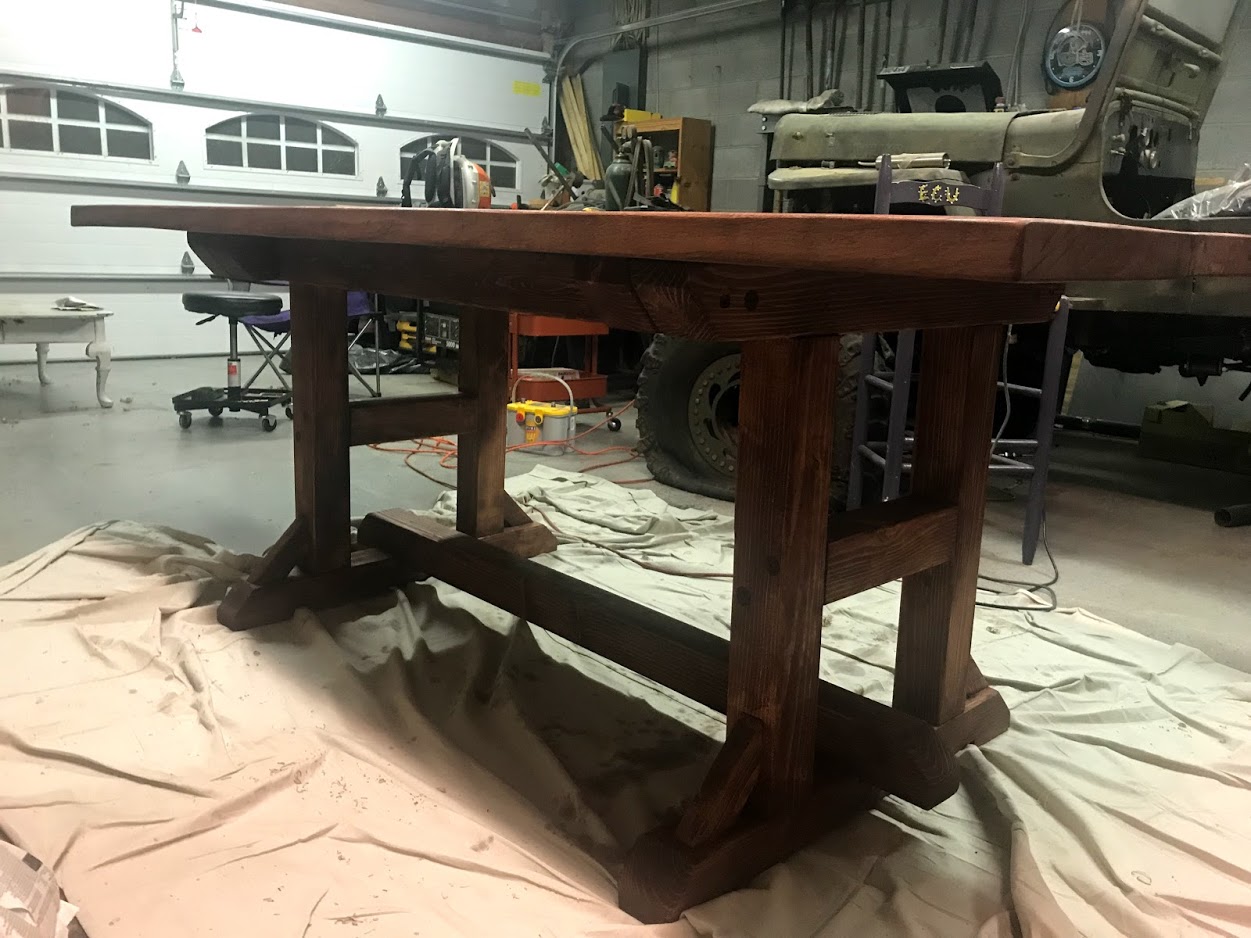
The wife decided on a stain for the table, Minwax Red Chesnut. The base got 1 coat of stain and was left alone after that. We started staining the top.
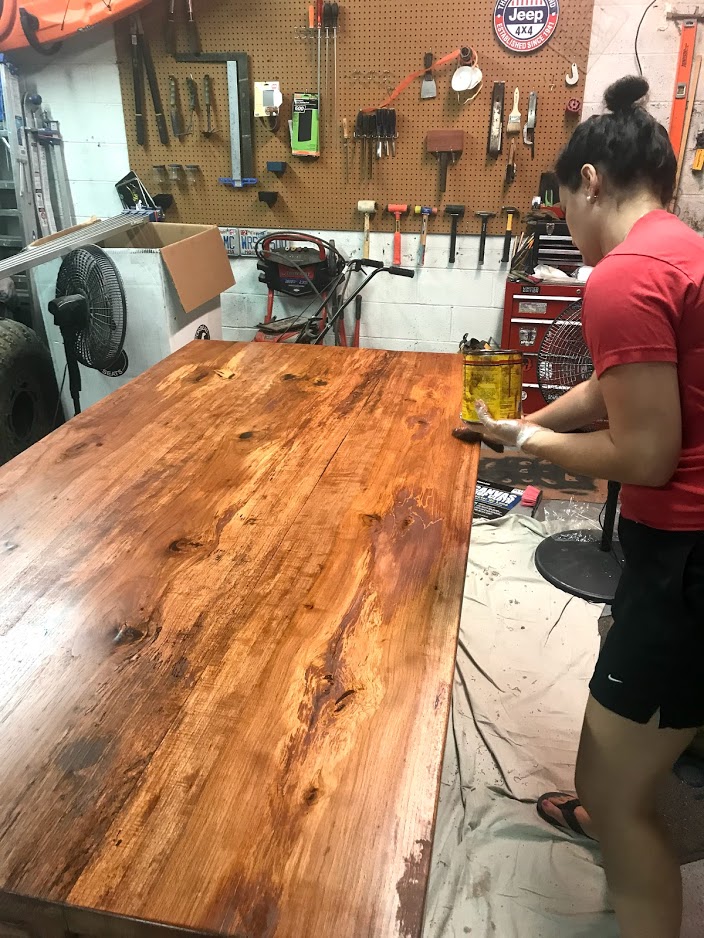
At this point we loved the look and decided to leave it alone and shellac it. The shellac dried poorly even after coating it three times and sanding between coats. I don't know if it was either humidity or inexperience with the coating that caused it. I stripped it back down to bare wood and stained/shellac again. Same results . Sanded back down to bare wood and decided to not go with shellac but go with a polyurethane coat as poly stands up better to hard use/abuse and is not subject to heat/temperature changes like shellac. Stained it again and it came out looking like ass. Stain was very heavy, almost like paint and you couldn't see the grain pattern.
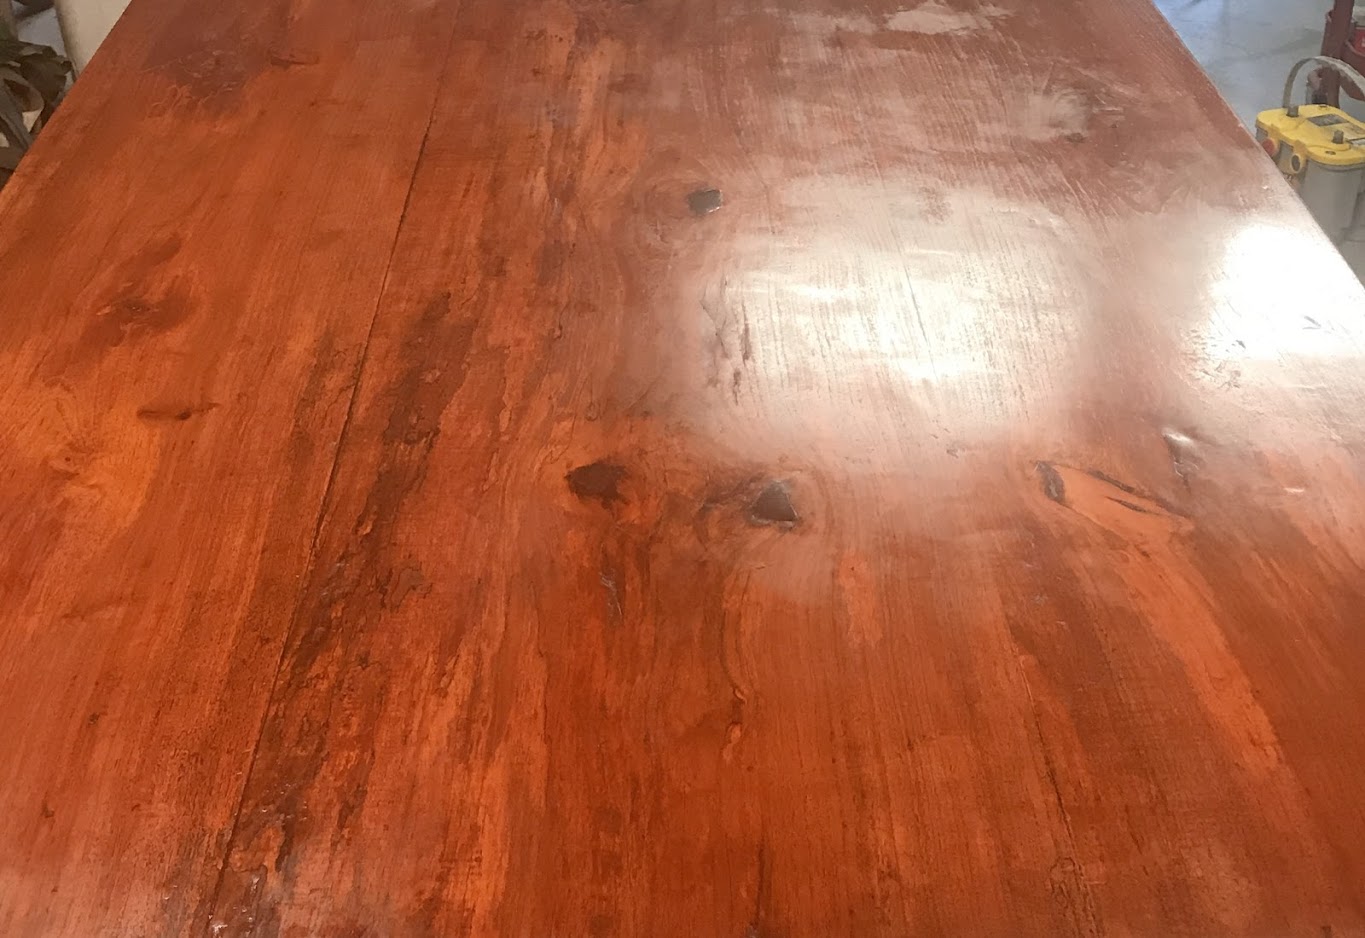
To hell with this table....Wife and I decided to spend all Friday night sanding it back down to bare wood
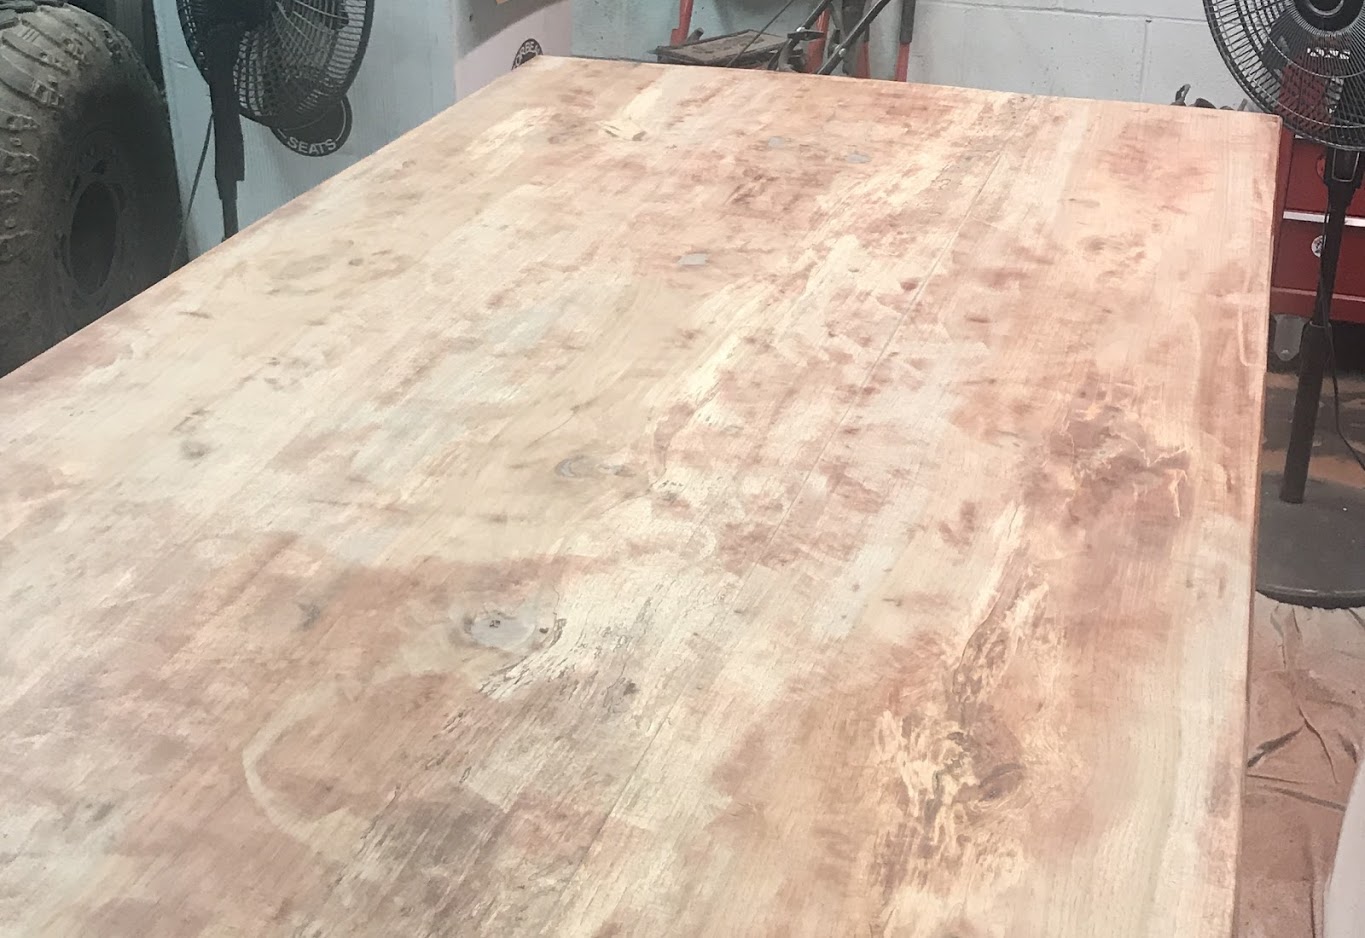
At this point, it was obvious that time/frustration level with this project was pretty high. The Willys was covered in sawdust and was feeling neglected and I was tired of working on this table. We decided to just cover it in polyurethane and see how it looked. I think we made the right decision.
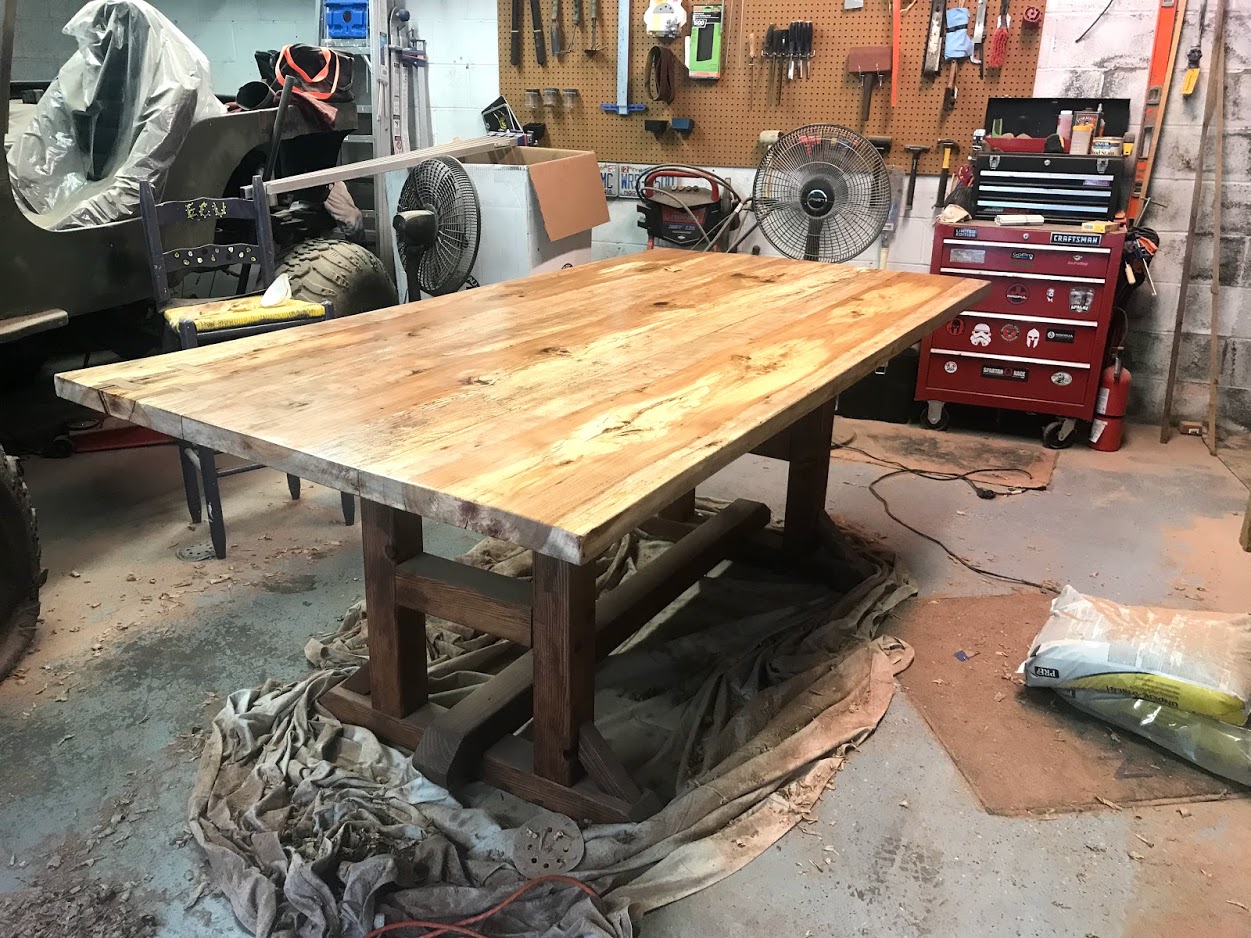
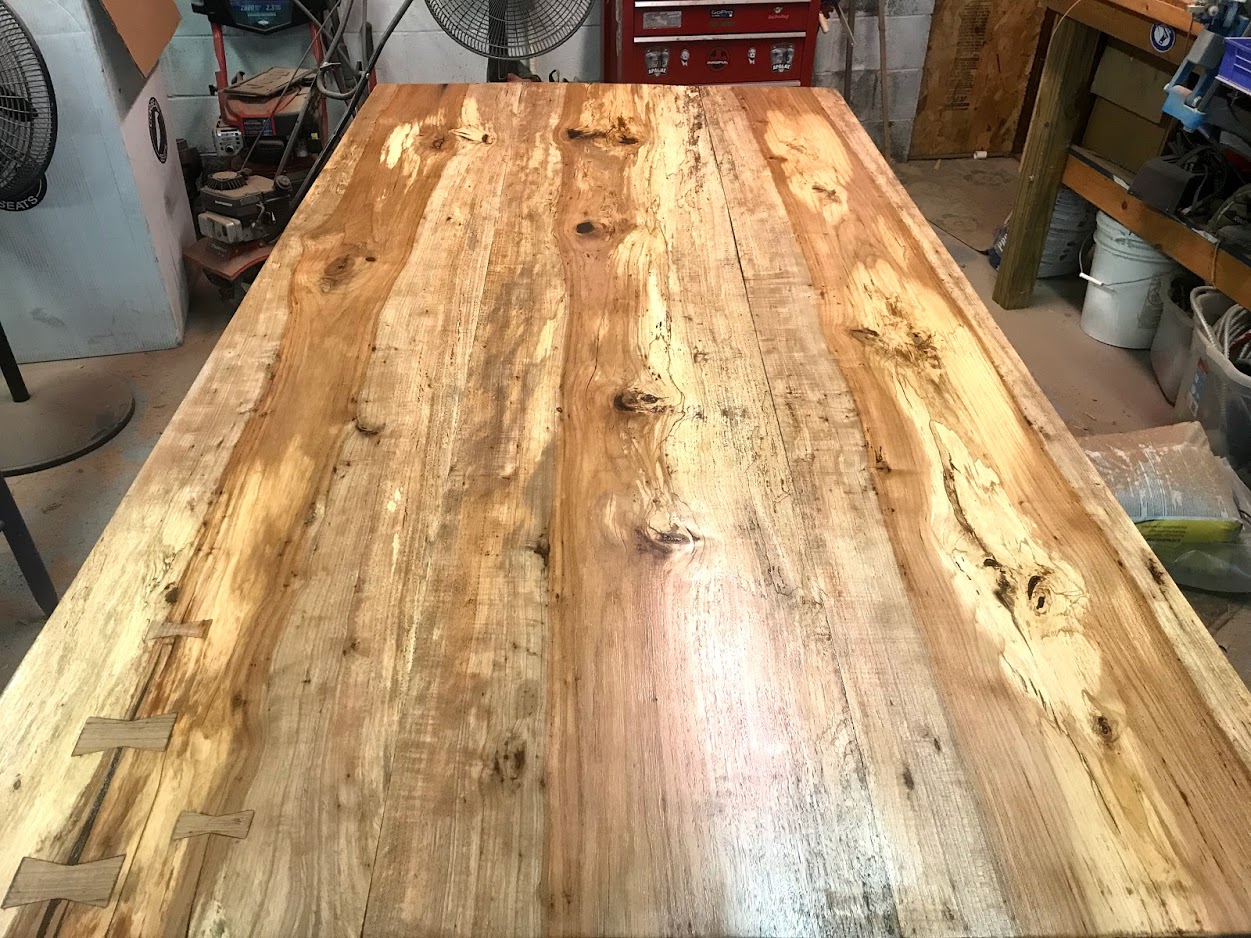
Happy wife, happy life. As you can see, I had to add some bowties/butterflys/dutchmen(whatever you want to call it), to shore up one end of the table. Additionally, there were some deep knots in the top that we filled with clear epoxy so you can see into the table. The top is connected to the base with 1" walnut dowels that allow the top to expand/contract with the changing seasons. The top is about 125lbs and the base is about half that so its plenty stout. Now the wife wants a bench to match the table so that's the next project. Anybody else into this?
The table measures roughly 7' x 4' x 2.5" and consists of three slabs. I used biscuits and pocket hole screws as well as a ton of glue to mate the top together. The glueup consisted of two parts. Two slabs joined and then the third one added. I don't have a jointer or a planer so the joints were planed/sanded by hand. I think they came out very well with my limited tooling and experience. Additionally, we found that the top had a lot of spalting as well as ambrosia in it after we hand planed the top. Here is what the base looks like.
The wife decided on a stain for the table, Minwax Red Chesnut. The base got 1 coat of stain and was left alone after that. We started staining the top.
At this point we loved the look and decided to leave it alone and shellac it. The shellac dried poorly even after coating it three times and sanding between coats. I don't know if it was either humidity or inexperience with the coating that caused it. I stripped it back down to bare wood and stained/shellac again. Same results
 . Sanded back down to bare wood and decided to not go with shellac but go with a polyurethane coat as poly stands up better to hard use/abuse and is not subject to heat/temperature changes like shellac. Stained it again and it came out looking like ass. Stain was very heavy, almost like paint and you couldn't see the grain pattern.
To hell with this table....Wife and I decided to spend all Friday night sanding it back down to bare wood
At this point, it was obvious that time/frustration level with this project was pretty high. The Willys was covered in sawdust and was feeling neglected and I was tired of working on this table. We decided to just cover it in polyurethane and see how it looked. I think we made the right decision.
Happy wife, happy life. As you can see, I had to add some bowties/butterflys/dutchmen(whatever you want to call it), to shore up one end of the table. Additionally, there were some deep knots in the top that we filled with clear epoxy so you can see into the table. The top is connected to the base with 1" walnut dowels that allow the top to expand/contract with the changing seasons. The top is about 125lbs and the base is about half that so its plenty stout. Now the wife wants a bench to match the table so that's the next project. Anybody else into this?


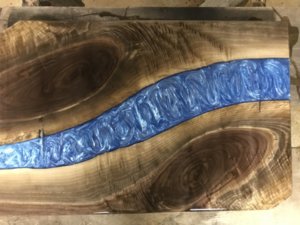
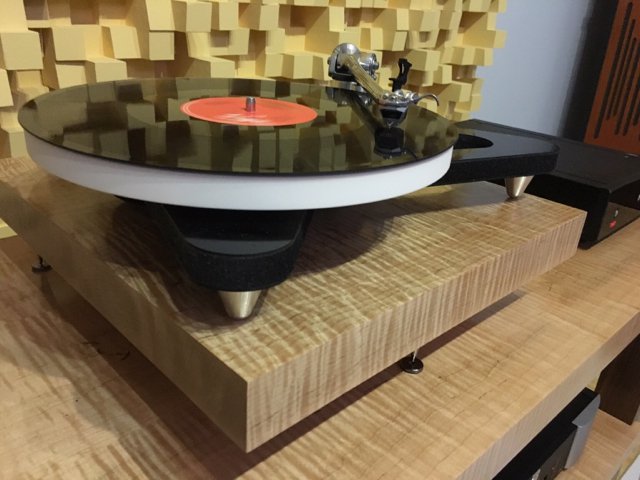
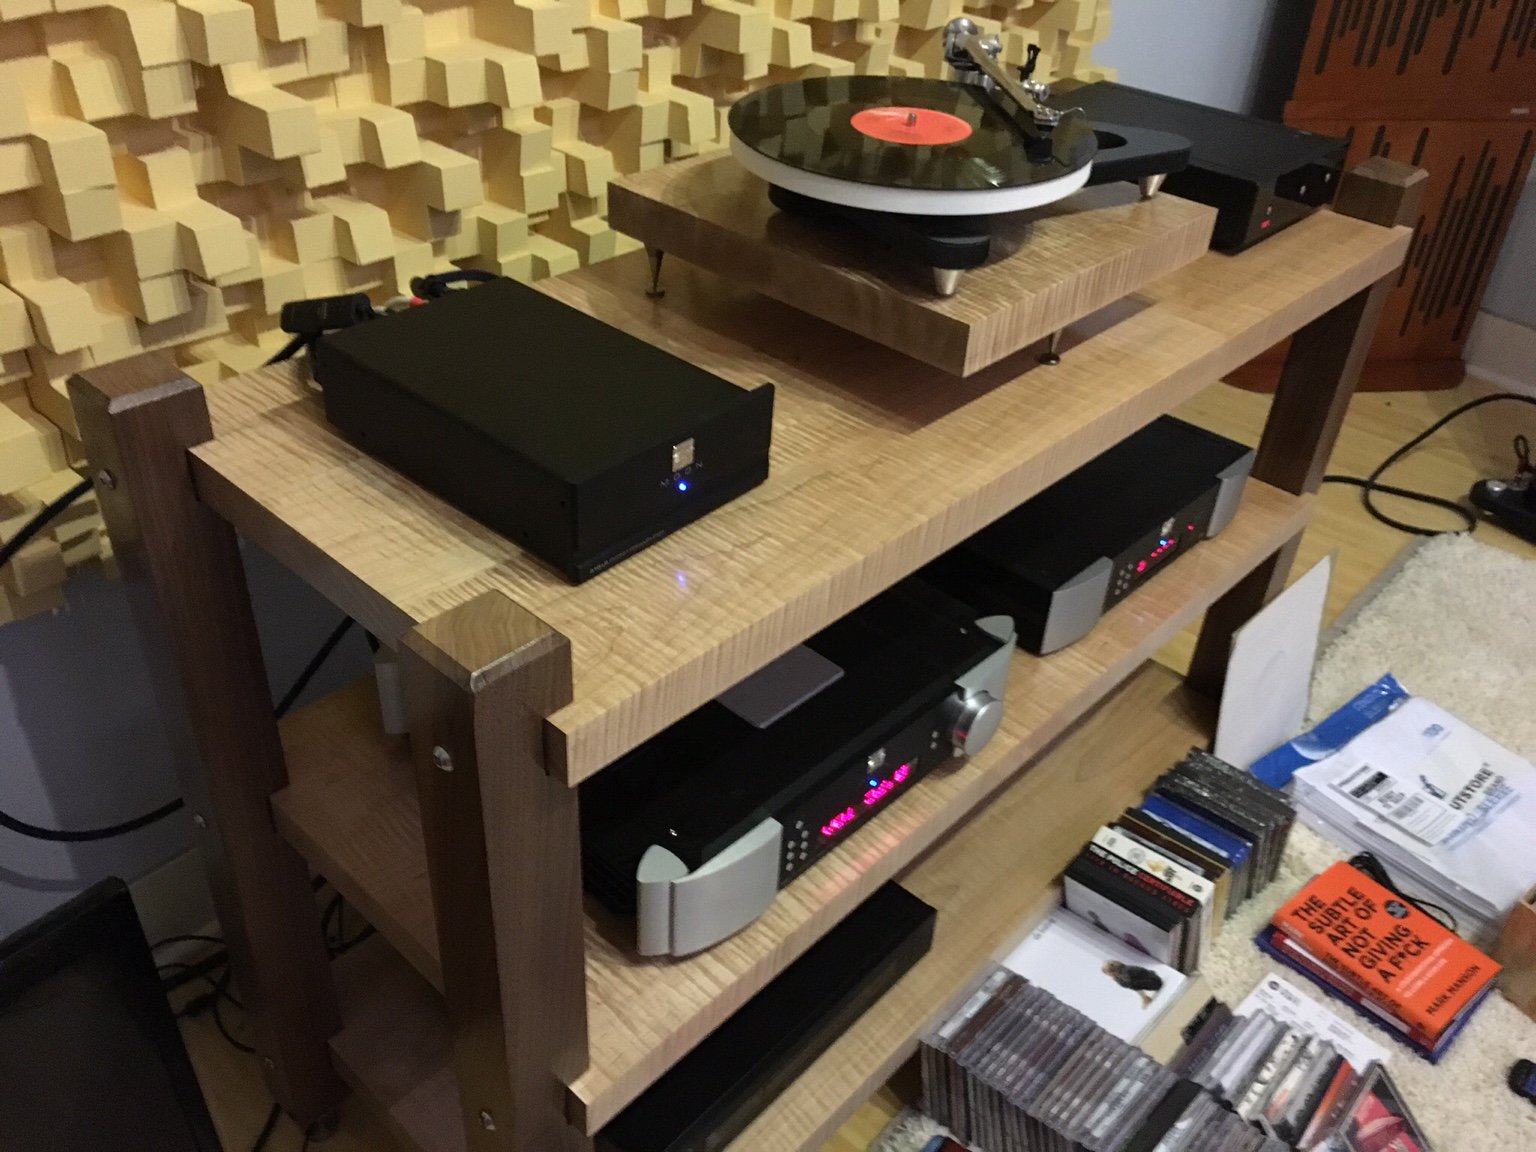
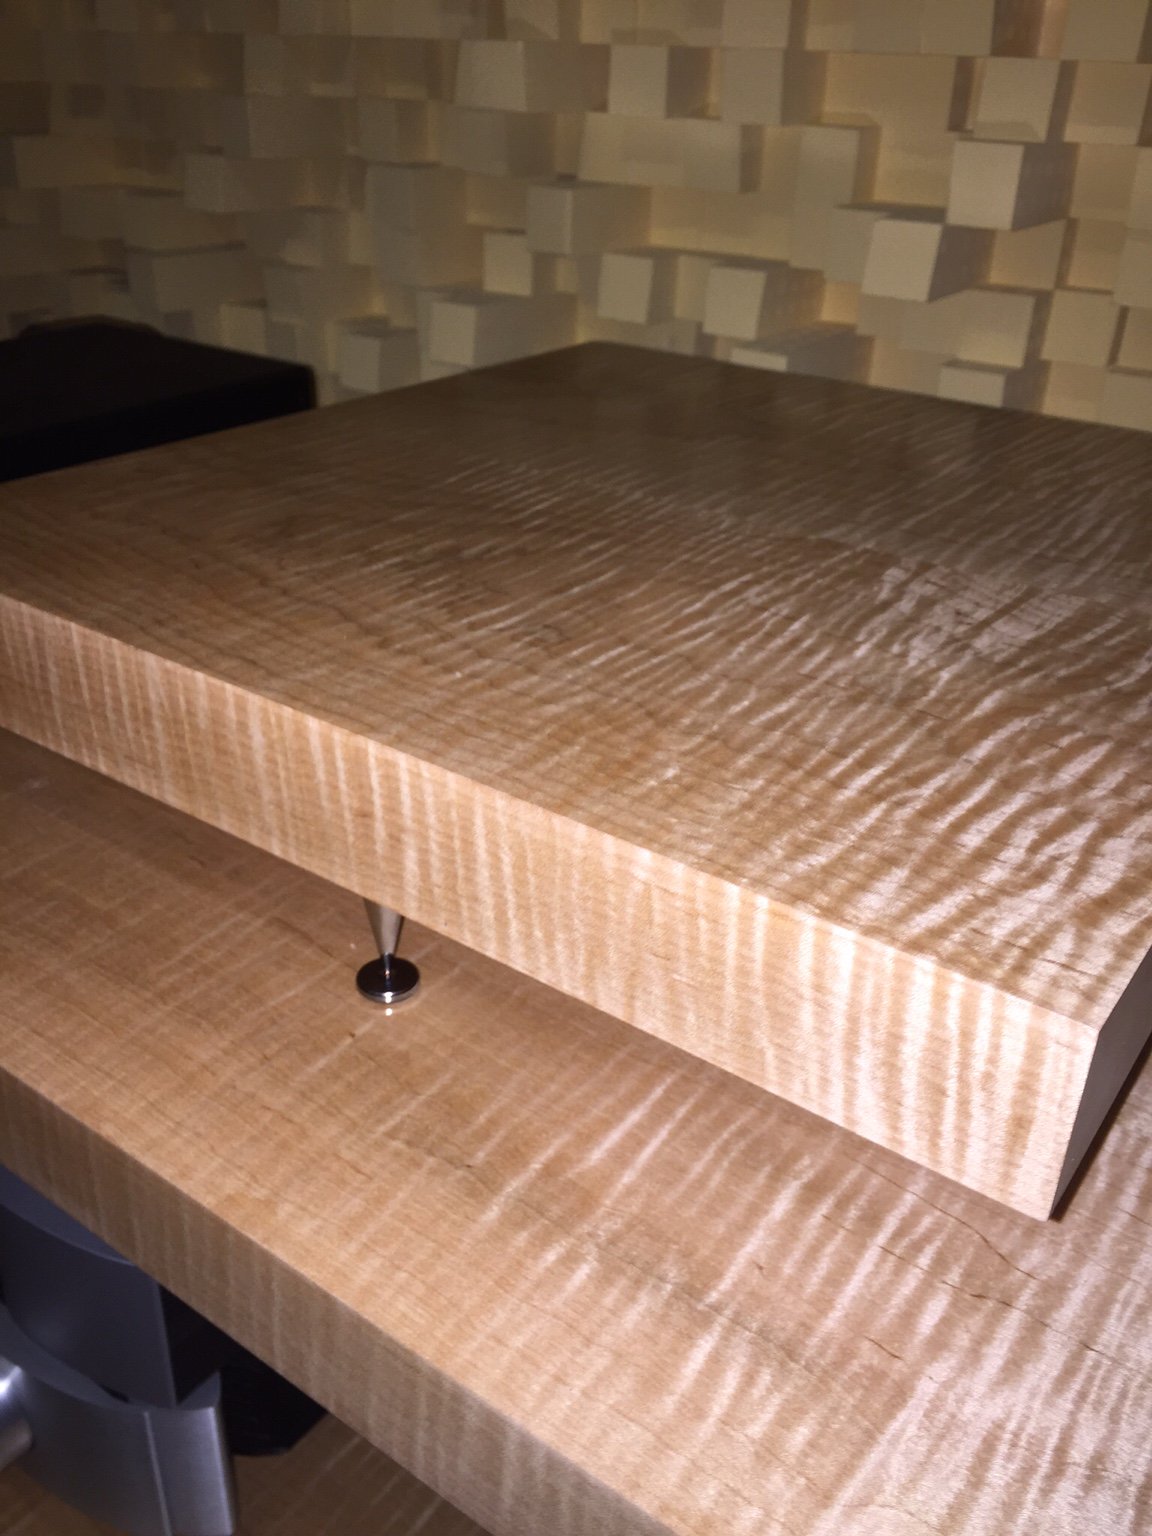
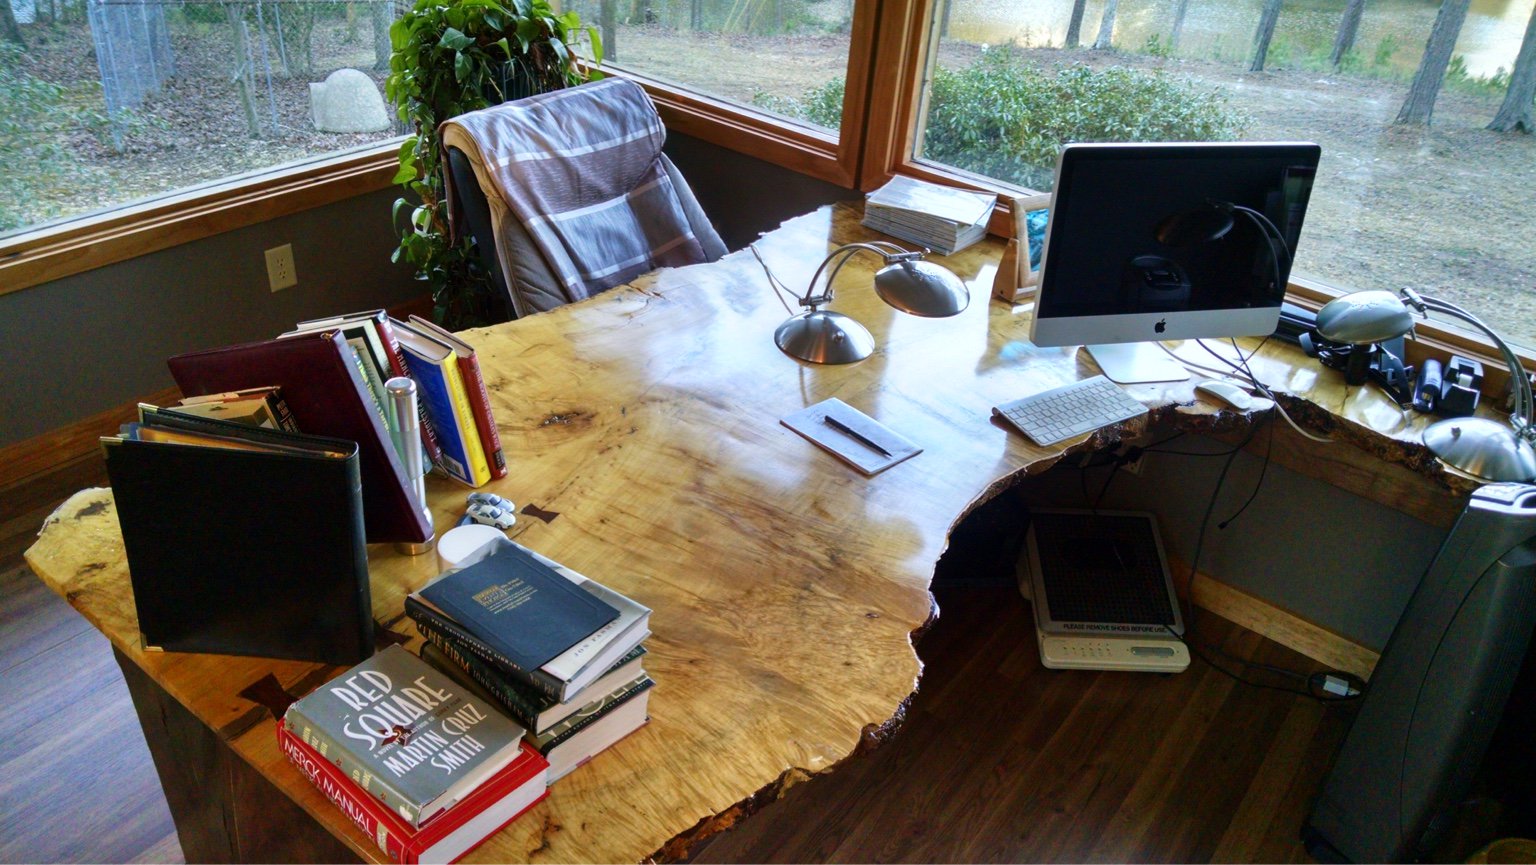
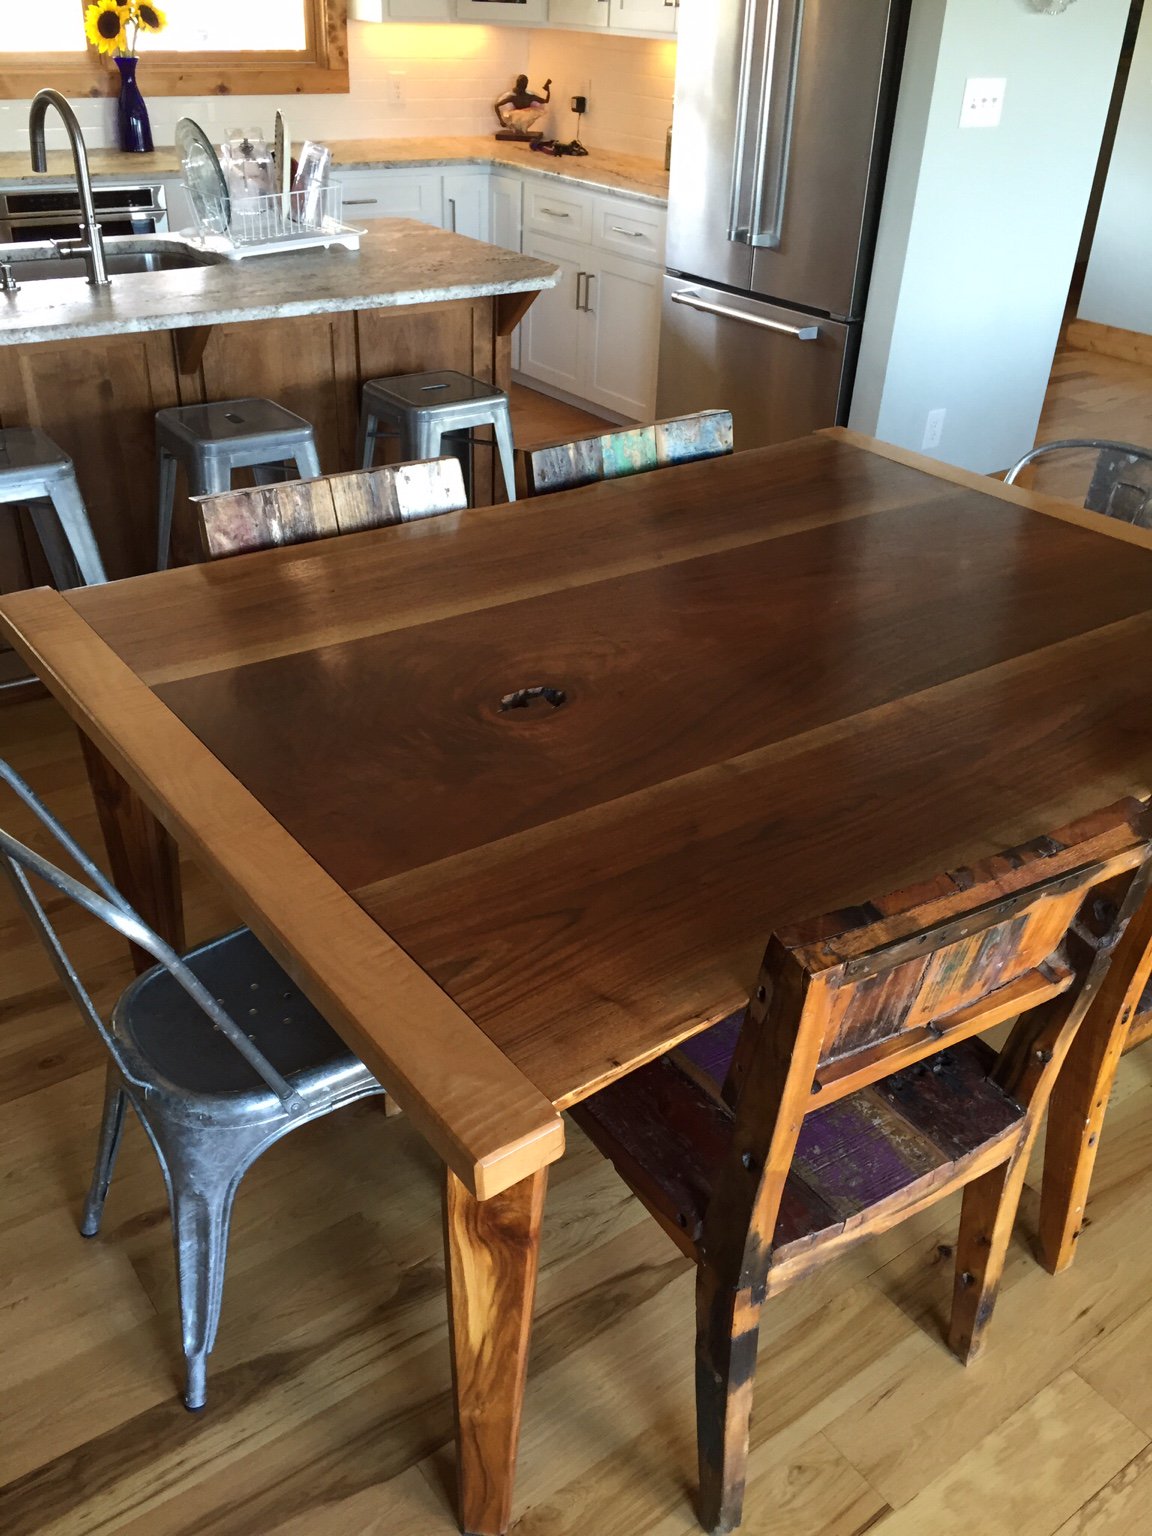
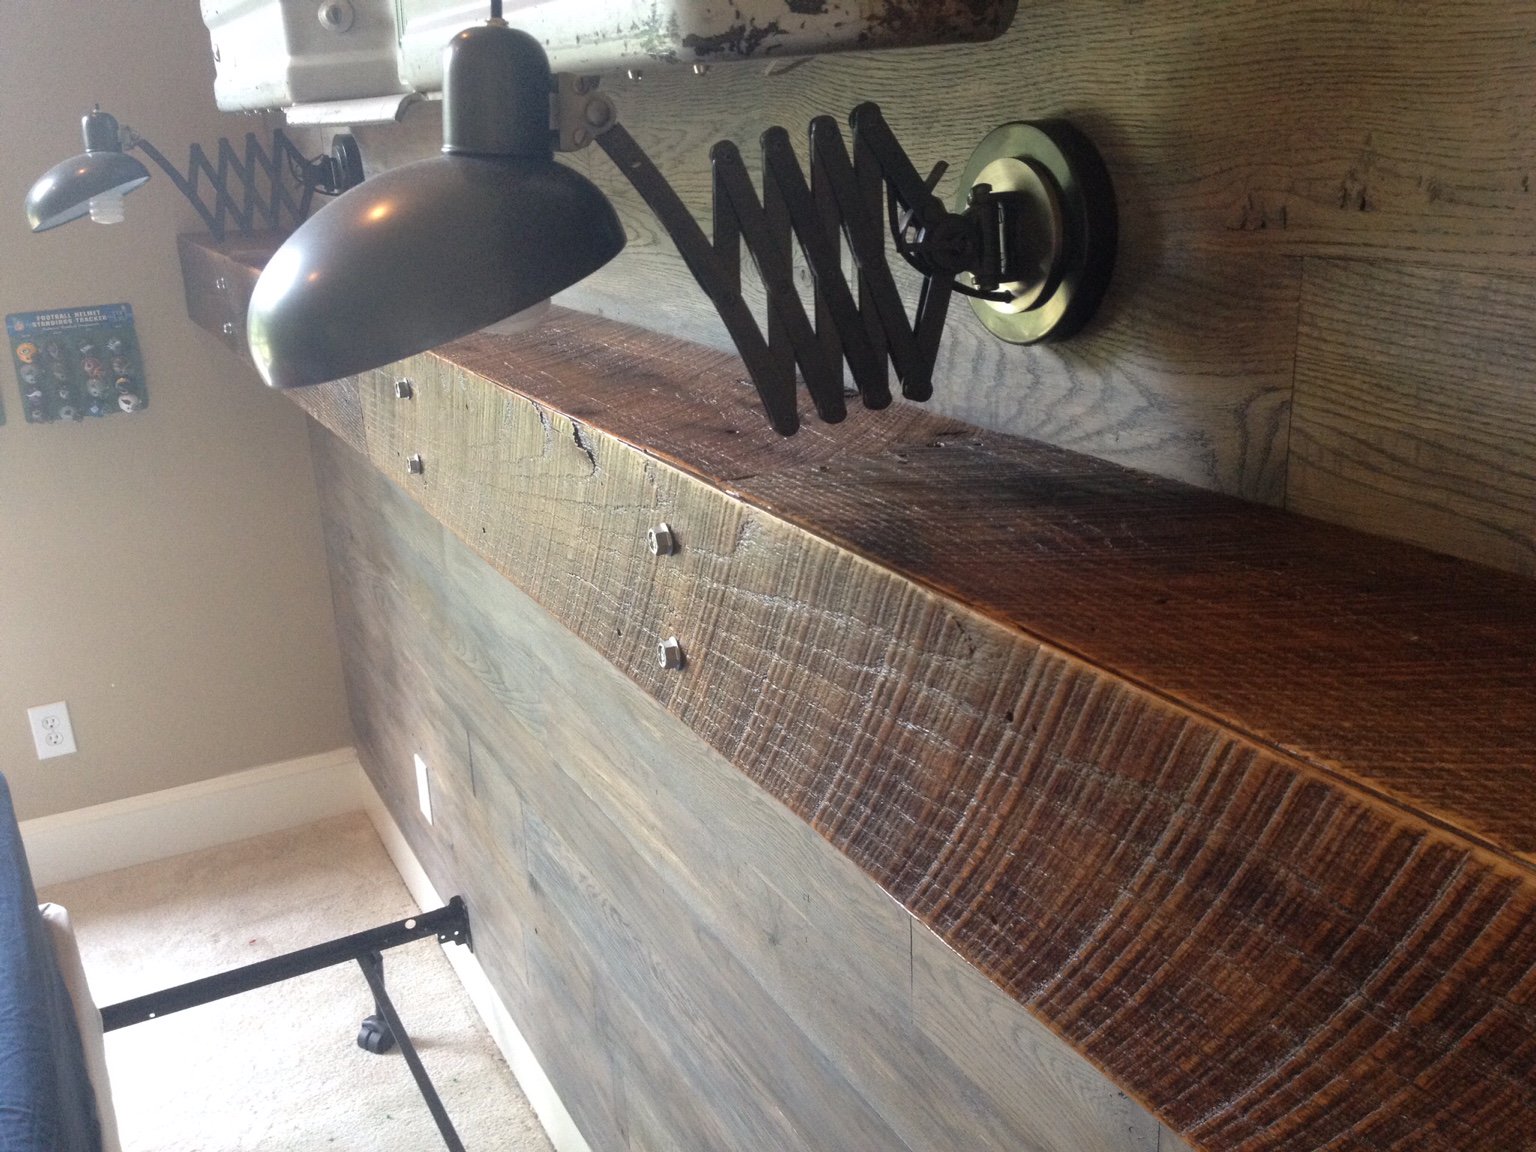
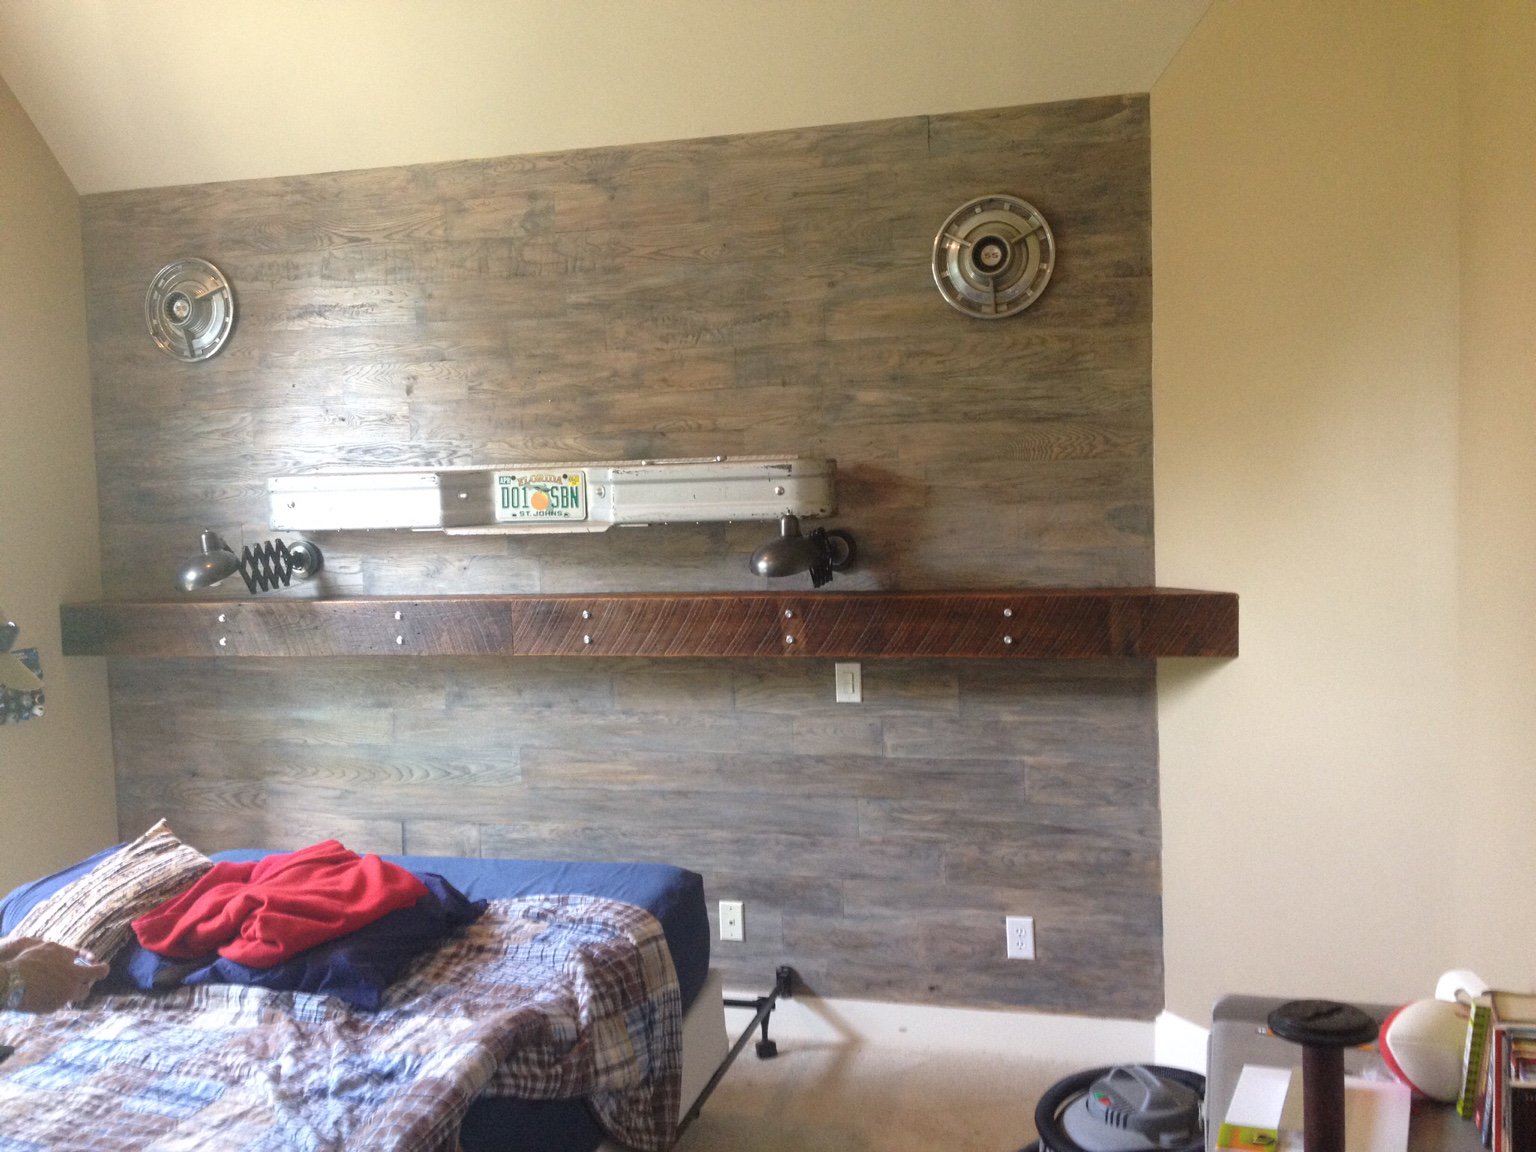

 . Love the live edge desk. I really want to do a epoxy river coffee table with the live edges. What kind of wood is the cabinet for the stereo equipment?
 . But I did get some material to build a router sled.