78 k10 step side daily driver build

I dig this entire thread. It's the escence of buy build and make it something more. The use of accessible tools and budget for the average Joe is awsome. What shines is the learning, creativity, and want too!
Much respect.

BTW, how old are you?
 
I dig this entire thread. It's the escence of buy build and make it something more. The use of accessible tools and budget for the average Joe is awsome. What shines is the learning, creativity, and want too!
Much respect.

BTW, how old are you?

Thanks, I really enjoy making things one of a kind and making them my own. I'm 18.
IMG_7590.JPG

Carolina squat lol. I couldn't help but snap this pic while taking out the jack stands.
IMG_7591.JPG

Back from my test drive. The clutch pedal is way easier to push now, and it shifts great. Hopefully I can get the break in done by the end of the week; Then we can see how it runs at wide open :driver:. Its gunna be hard to not do any burnouts or drifts this week.
IMG_7589.JPG

While I was putting the distributor cap back on I noticed a big crack in the exhaust manifold. Looks like headers are in the near future. I think it may have cracked while I was lowering the back of the engine to pull the trans.

This round of repairs was more than just a trans rebuild. I changed the clutch, had the flywheel resurfaced, replaced the trans mounts, installed new motor mounts, and painted a bunch of parts.
 
I finally got my clutch broke in. Everything is good just had to adjust the pedal a couple of times. The other day I was headed home and I looked at the odometer, I realized that I had passed the mileage for the break in. Next I proceeded to drift my way around the next round about. And with all the rain it has been non stop drifting and sliding the truck every where. The new motor/trans mounts mean the truck is much more responsive to steering the truck with the throttle.


IMG_7614.JPG

I want to continue to expand my fabrication skills, so i'm slowly building up some more fab tools. I found some inexpensive dimple dies recently and decided to start with two different sizes to play around with.
IMG_7621.JPG

I have also started to link my suzuki. I have already removed the axle and suspension and cut off the shock/bumpstop mounts.
 
IMG_7654.JPG

I started mocking up the links with pvc, and using the least permanent ways I could.
IMG_7691.JPG

The panhard bar, the tie rod, and the drag link are all fighting for space with the frame.
IMG_7690.JPG

A little bit of stretch and a lot more flex means that 'm going to be doing a bunch of trimming.
IMG_7707.JPG

I used 1.5 .250 wall dom for the links. Its beef!
IMG_7708.JPG

I Tigged the links together, It took 4 passes.
IMG_7711.JPG

Here it is with the weight sitting on the front springs.
IMG_7750.JPG

Here I was checking the shackle angle. I decided I could make it a little better so I moved the front mount forward about .75 of a inch.
IMG_7793.JPG

I think the new spring hangers came out pretty slick. And I finally got to try out my new dimple dies on an actual project. It took me over 5 days to come up with a design I liked.
IMG_7796.JPG

This was when things got serious. Cutting the fenders for a 6.5 inch stretch. I had to remove the fuel fill because the tire would have gotten into it. I am trying to trim enough to retain the stock flairs even when I link the rear(possibly with trailing arms) in the future.
IMG_7797.JPG

The plan is to install a jeep style inner fender that goes all the way to the back of the tub.
IMG_7862.JPG

Since I was already planning on adding power steering, I figured that I should do it while i'm doing everything else in the front end. I made a weld on wedge to correct the angle of the tracker box and cut down the steering shaft.
IMG_7786.JPG

Because my zuk wasn't ready for zuwharrie and I wanted to go any way I took the k10. It did great and drove right up rocky mt. loop. Pretty good for the tow pig:driver:
 
IMG_7881.JPG

I got the new jeep style fender well welded in.
IMG_7882.JPG

I capped the back of the fender well. This is why jeeps tailgates are narrower than a suzuki.
IMG_7884.JPG

This is where the fender flair is going to sit 2.5 inches up and 6.5 inches back. Plenty of room for uptravel and maybe bigger tires.
IMG_7888.JPG

This is the new down bar for the cage.
IMG_7889.JPG

How i'm planning on mounting the rear shocks.
IMG_7890.JPG

Slider extended and a filler piece for the quarter panel. I still have to cut the flange off the bottom and weld it back on at a different angle.
 
IMG_7891.JPG

With the right rear about done I wanted to start back on the front. I installed the front shocks, and took out the springs, Then I removed the oil pan to measure how much to notch. This is about a half inch from bump.
IMG_7892.JPG

Its really low, the top of the fender is waist height.
IMG_7893.JPG

This is full droop. Not to bad with a 9.5 inch travel shock. The spring unseats a little but not bad.
 
Glad to see this is still going!
 
IMG_7910.JPG

My custom inner fender forming tool.
IMG_7920.JPG

I added two panels to the inner fender where i notched or removed material. I also cut off and capped the front bumper tube. At some point i plan on fixing that awful body mount(I didn't do that).
IMG_7921.JPG

Once I finished the inner fender I mounted the fender flair. It overhangs the front a little bit, so I will go back later and trim/reangle the end.
IMG_7930.JPG

It sits pretty good now. The old rear spring hangers are going to get cut off soon. In the future I would like to rework the front bumper for a better approach angle. I'm planning on mounting the winch under the grill between the frame rails.
IMG_7933.JPG

I welded the shock mount right to the spring plate. I went back and welded the inside as well.
IMG_7938.JPG

Another idea i've had floating around my head was to shave the diff. Since i'm running 31s I constantly smack the rear diff.
IMG_7943.JPG

All finished welded
IMG_7946.JPG

Gained a ton of clearance.

K10 realted
IMG_7935.JPG

When I was towing my boat the other day and the speedometer just quit. Turns out when I reinstalled the trans I changed the routing of the speedo cable, and that made it rub the front drive shaft.
 
IMG_7960.JPG

I was driving along and heard this clunking noise, that increased with speed. I thought it was going to be the drive shaft falling out, but the bolts where tight. I just had this bad feeling that I had broke a tooth off the ring gear, when I dumped the clutch the night before. I popped the cover and found I was right, a broken tooth.


IMG_7989.JPG

This carrier bearing went bad and caused all of the damage.

IMG_7988.JPG

And it wasted the carrier at the same time. Its good I decided that to go ahead and put in a limited slip with the new gears since I didn't find this until I tore it down to rebuild.

IMG_7992.JPG

The new gears and limited slip installed. It took a couple hours and a lot of brake cleaner to get all the metal out of the diff.

IMG_7991.JPG

Here's a gear install tech tip; wait for everyone to leave the house and then preheat the ring gear in the oven in the kitchen.

IMG_8007.JPG

Not 2 days after I finally got all my brakes sorted out, (eldorado calipers, new master cylinder and new combination valve). I was stuck on the side of the road with a dead fuel pump. I had someone bring me a spare and swapped it on the side of the road. When I pulled it I saw that the pivot rod had actually wore out the body of the pump and it all fell out when i pulled the pump.

I have tested the limited slip several times since I finished the gear break in and I have seen two lines from the rear tires no matter what, grass, pavement or gravel.

IMG_7984.JPG

Some where in all the broken k10 stuff I managed to work on the samurai. This is the shackle hangar for the traction bar.

IMG_7985.JPG

This is the traction bar. That long notch took a long time to fit.

IMG_7996.JPG

Fits great and is completely parallel to the drive shaft.

IMG_7997.JPG

I've had this crossmember and shackle waiting to install for a year or two now.

IMG_8011.JPG

The angle of the trim, I could trim it more to fit bigger tires in the future but I wanted to keep the flares for that factory look.

IMG_7999.JPG

Its looking pretty mean with the lower ride height and the stretch.
 
IMG_8034.JPG

I really knocked out the rest of the work on the samurai, finished out the back, and went through and made every thing final.

IMG_8037.JPG

We were running almost no exhaust but I got it drivable for uwharrie. I broke a rear shock mount, but the front suspension was flawless. It felt stable enough for me to put it on inclines and side hills that I wouldn't have before.
IMG_8059.JPG

Trying the middle line on dickeybell. I got denied at the top because my worn out engine couldn't pull it.
 
IMG_8110.JPG

Made a trip to the flats with the samurai. I tried to pull this incline but when I lost traction and slid back I couldn't go forward and and couldn't go back without rolling, so I just pulled cable.
IMG_8109.JPG

The samurai ran really good the whole time but there are some things with the skid plate underneath I want to change to get hung up less.
IMG_8087.JPG

Ive had to do some maintenance stuff to the k10; front brake pads, balanced the tires, and an oil change. I also had to fix the fuel gauge, it had quit working because the wire splice the previous owner had installed.
IMG_8113.JPG

I had a birthday roll around last month and my brother got me a set of gibson MWAs. So I took this as an excuse to order my headers and exhaust stuff for the samurai.
IMG_8112.JPG

For a center inlet, offset outlet muffler I don't think it gets more strait through than that.:D
IMG_8123.JPG

After looking for a few months I finally found the bead roller handle and started to mess with it, I feel like I got the hang of it pretty quick. This will show up a lot in future builds.
IMG_8140.JPG

I finally got the samurai exhaust built. This was my first time pie cutting mandrel bends and I got them all on the first shot.
IMG_8138.JPG

All tucked up nice and tight and away from the rocks.
IMG_8143.JPG

Flexed out on poser rock.
IMG_8130.JPG

And I bought another project truck. I really want something to drive to the trails and to run bigger tires. The samurai is staying for sure, but this one will be really wild. I will start a build thread soon. It needs a headgasket and to be put back together and I'll have it driving around.
 
Exhaust looks :huggy: what'd you use to make your cuts? Also nice score on the new truck.
Thanks, I used a vertical bandsaw to make all the pie cuts.
 
IMG_8161.JPG

I broke the third gear snap ring in the sm465. It didn't like the bangshifting.
IMG_8189.JPG

Then the whole cooing system was filled with sludge from the heater core.
IMG_8197.JPG

I replaced every thing, the radiator, the water pump, thermostat, overflow jug, and heater core.
IMG_8225.JPG

The blown out exhaust had gotten really bad, I installed my gibson M.W.A.s and it sounds much better.
IMG_8253.JPG

Next a wheel bearing ate it self on my way to work and took out everything from the spindle out. I installed a new spindle, hub, bearings and a new lockout.
IMG_5451.JPG

Took the samurai wheeling at the flats, I had a great time.
IMG_8257.JPG

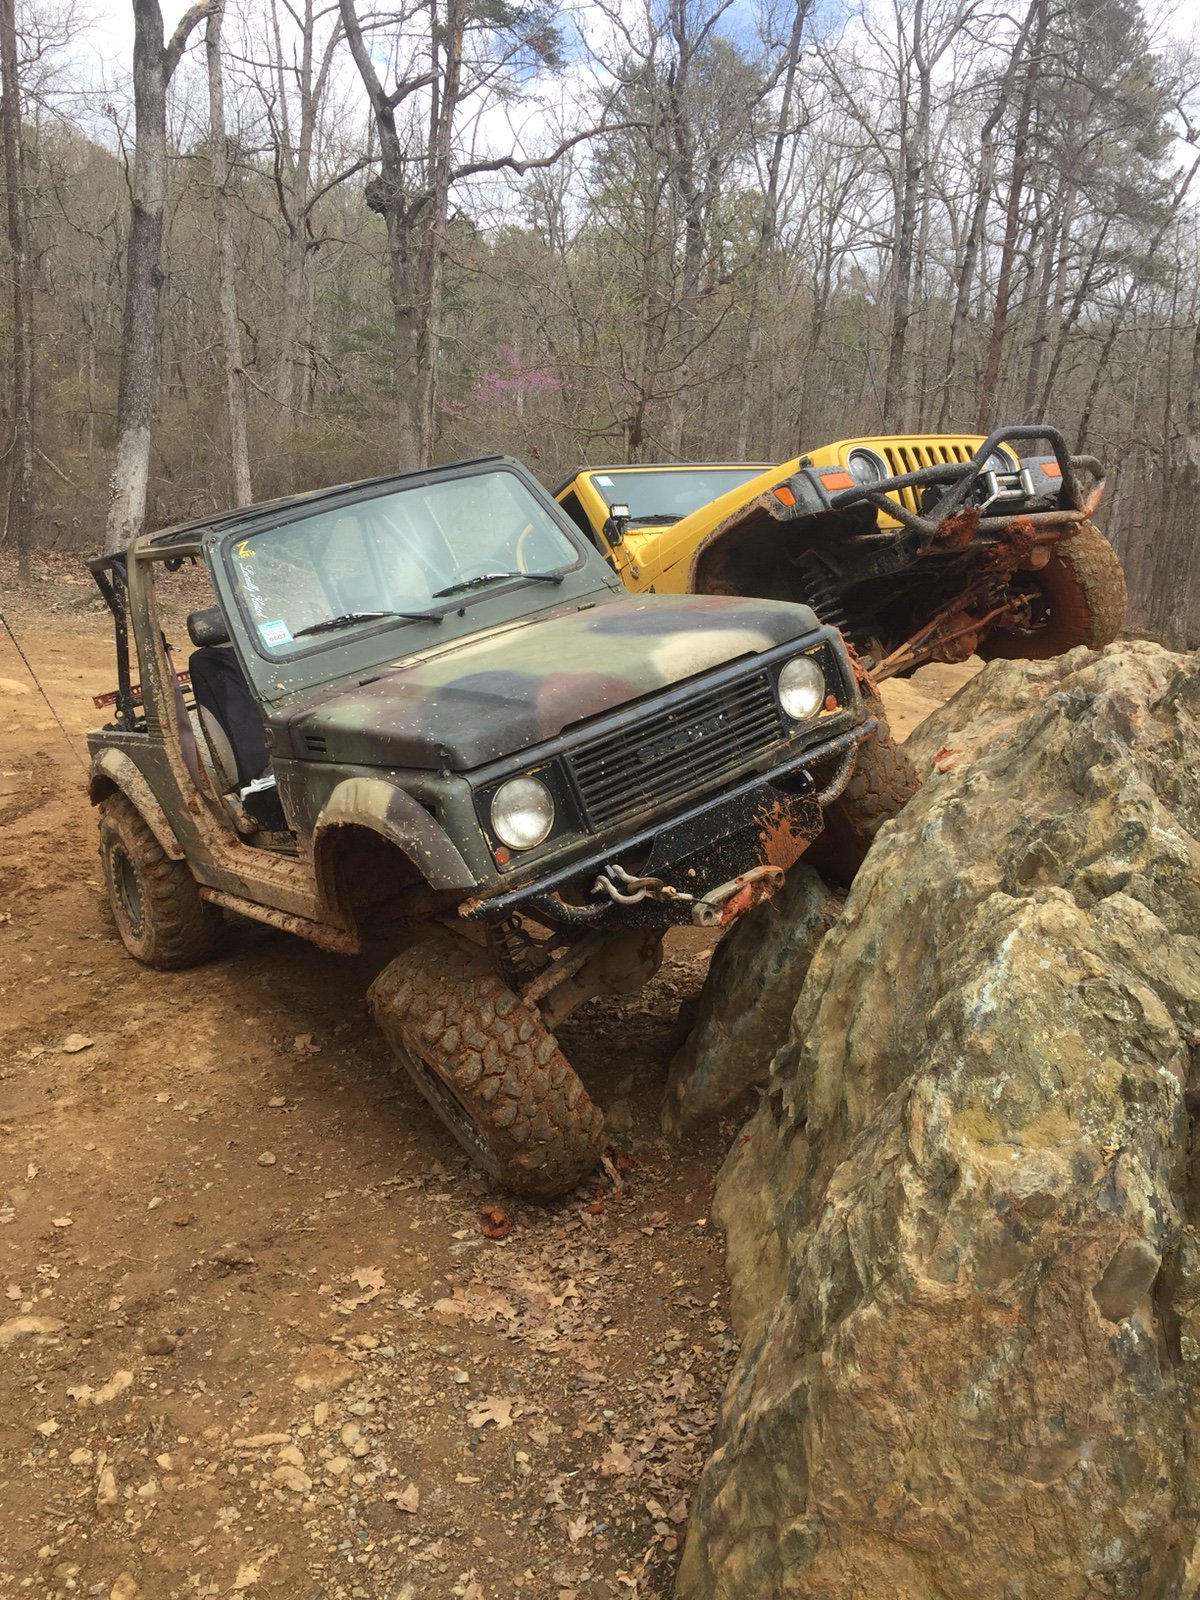
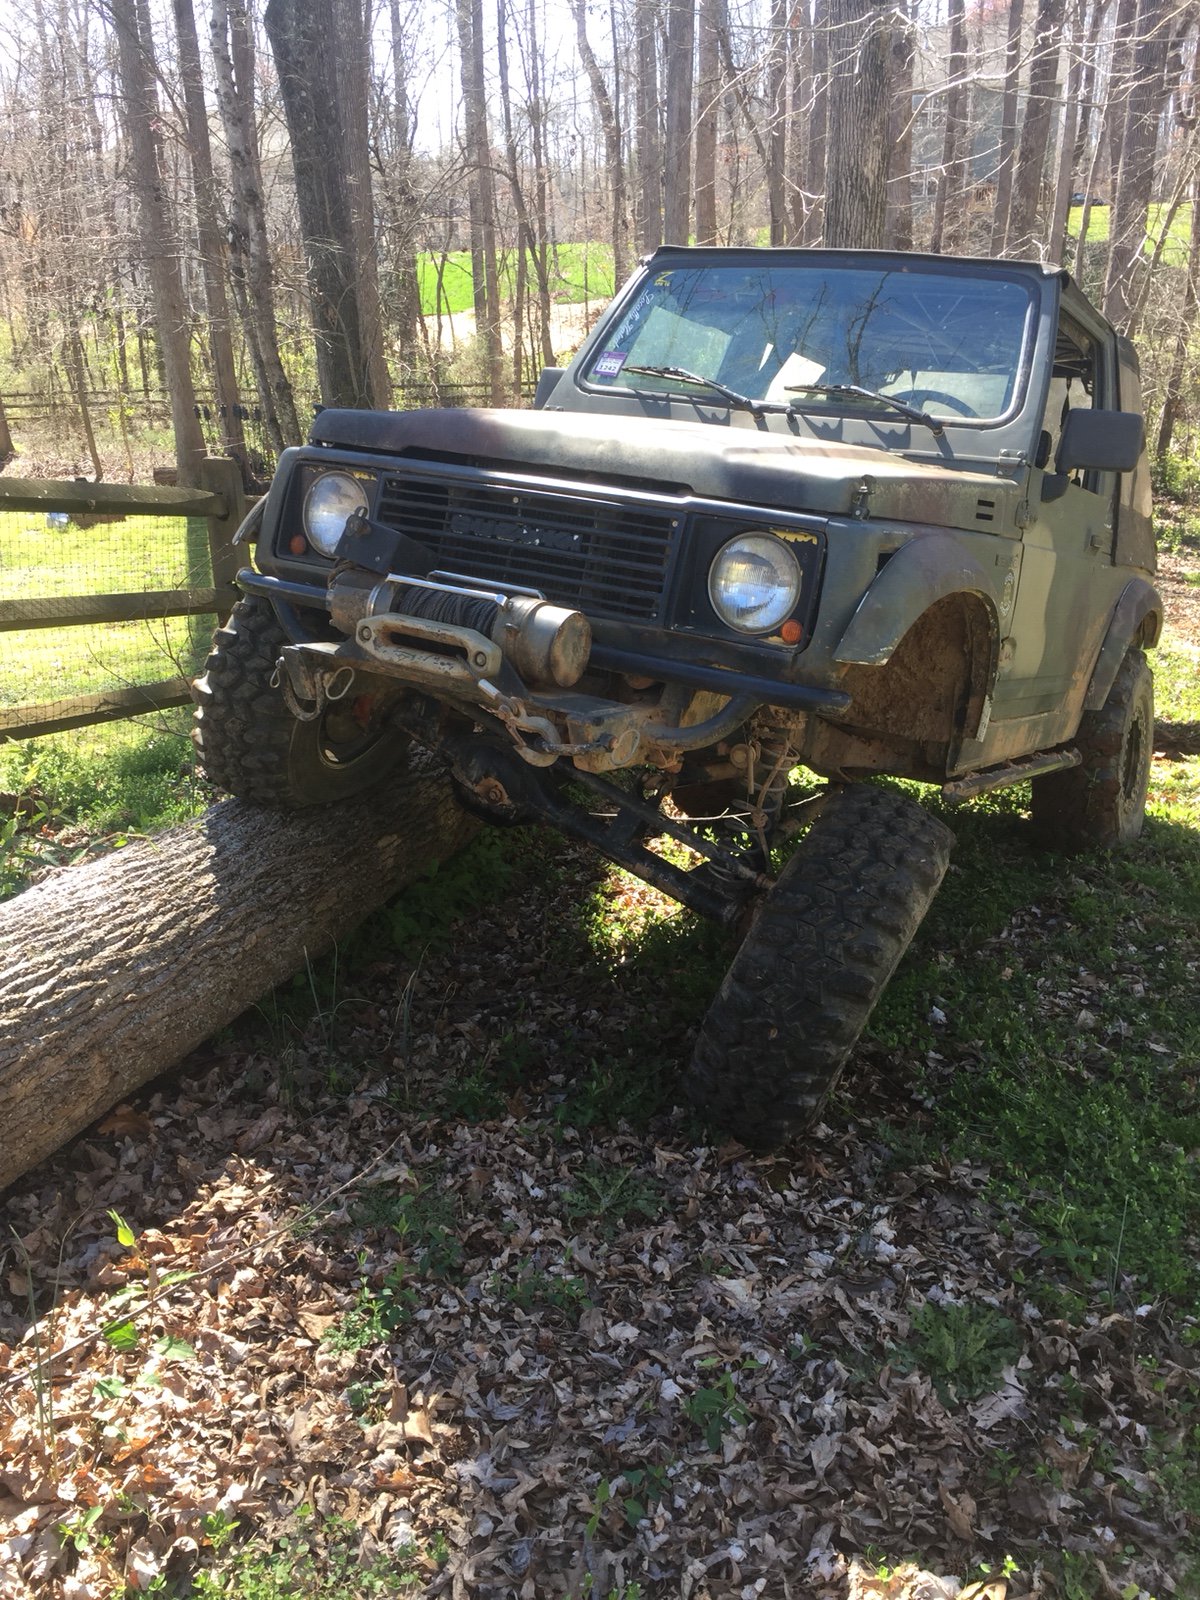
I couldn't be any happier with the suspension on the samurai. It works really good. My girlfriend wasn't having the photo:lol:
IMG_8290.JPG

I built this axle for my buddies tj. Gears, lockers, Super 88 kit, and a artec truss
 
IMG_8358.JPG

In preparation for going to the gulches soon I decided to improve the samurai cage.

IMG_8361.JPG

The windshield spreaders should add some strength to the cage, as well as the gusset in the bend on the passenger side. I had to make a big notch for the windshield wiper motor and never really trusted it.
IMG_8410.JPG

I also cut my tires for more flex. These tires are so stiff and the samurai is so light they don't flex much, even at 5psi.
 
c61ee82fd524044fb8c47e1b751b7959.jpg


So it was a bit of a personal goal of mine to get the approach angle as close as I could to 0 degrees on 31inch tires. So the winch mount had to change. I wound up getting it really close but the steering box and radiator kept me from pushing it back as far as I wanted.

a537f3e9aebbf5052f0c5fca82f364d1.jpg


This was the finished product

07ea8d189931d0ccb6962ce53542a7c7.jpg


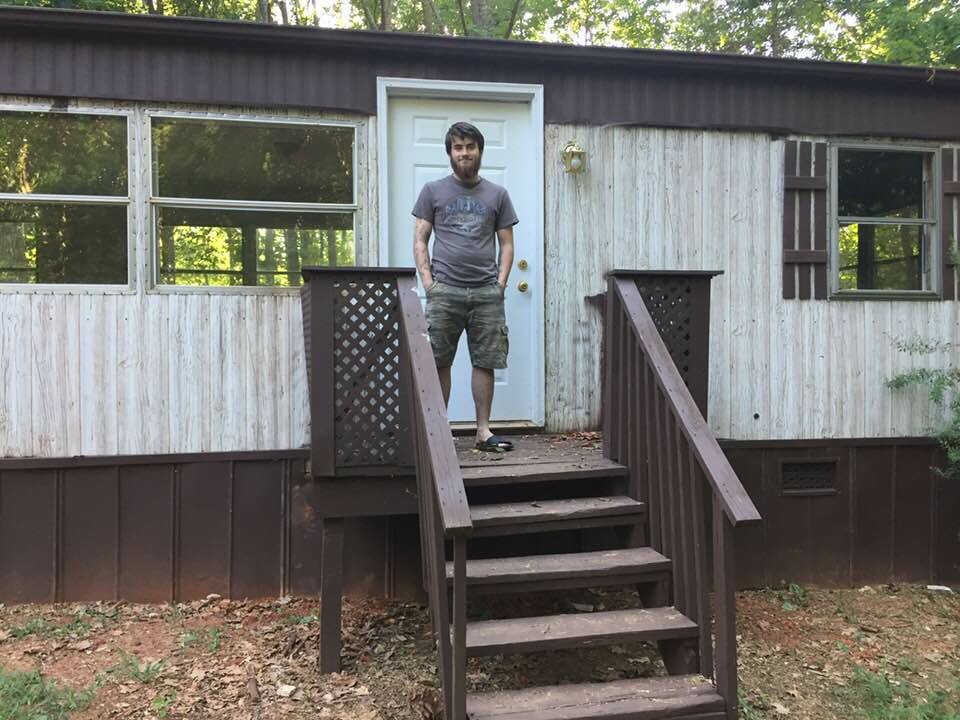
Then I went and did one of my proudest accomplishments. I got to be a home owner at 19. I worked my ass off for it, but now I have a little trailer on 1.64 acres to call mine. Yeah I know it’s just a single wide but it beats paying rent.

9b96d66568d6665de369a3d09504d67f.jpg


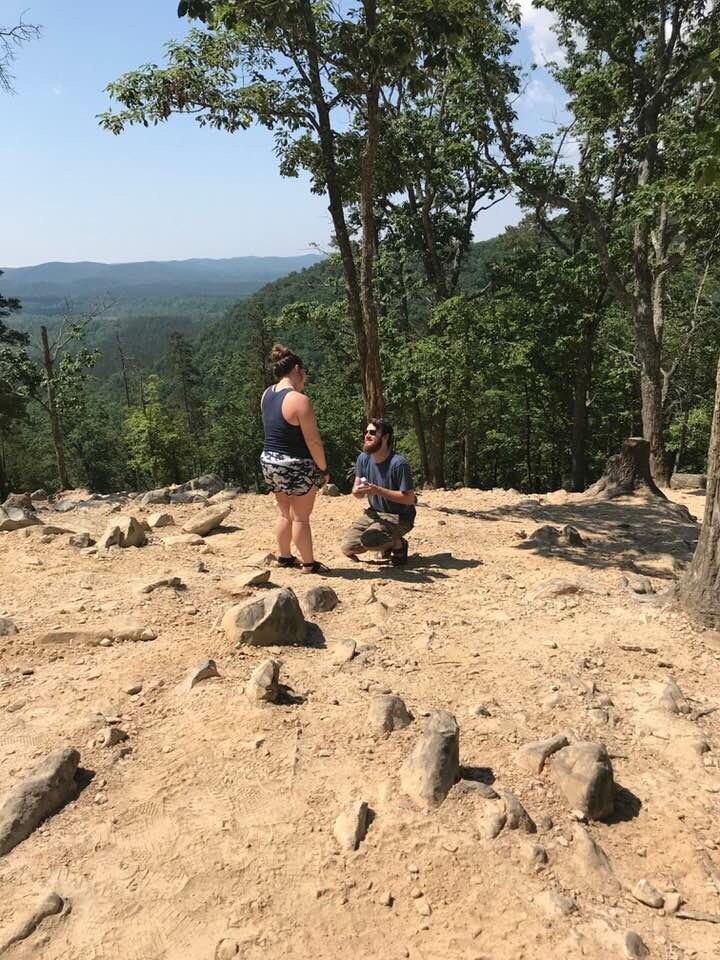
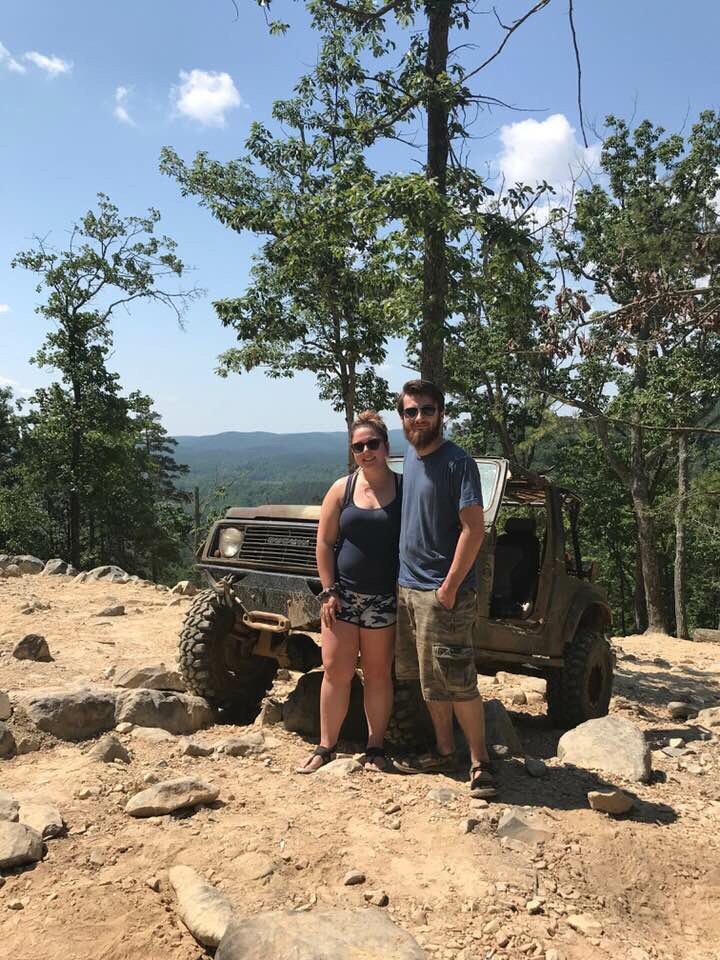
And I did this. Me and my fiancé love going rock crawling so I decided to propose at the top of the rock garden on Daniel.

e791bb124e4ef4271df2434f992bd1f7.jpg


She said yes and even wants to go wheeling in Harlan for our honeymoon

49a78cc93e83d957c4aa98af8360a34e.jpg


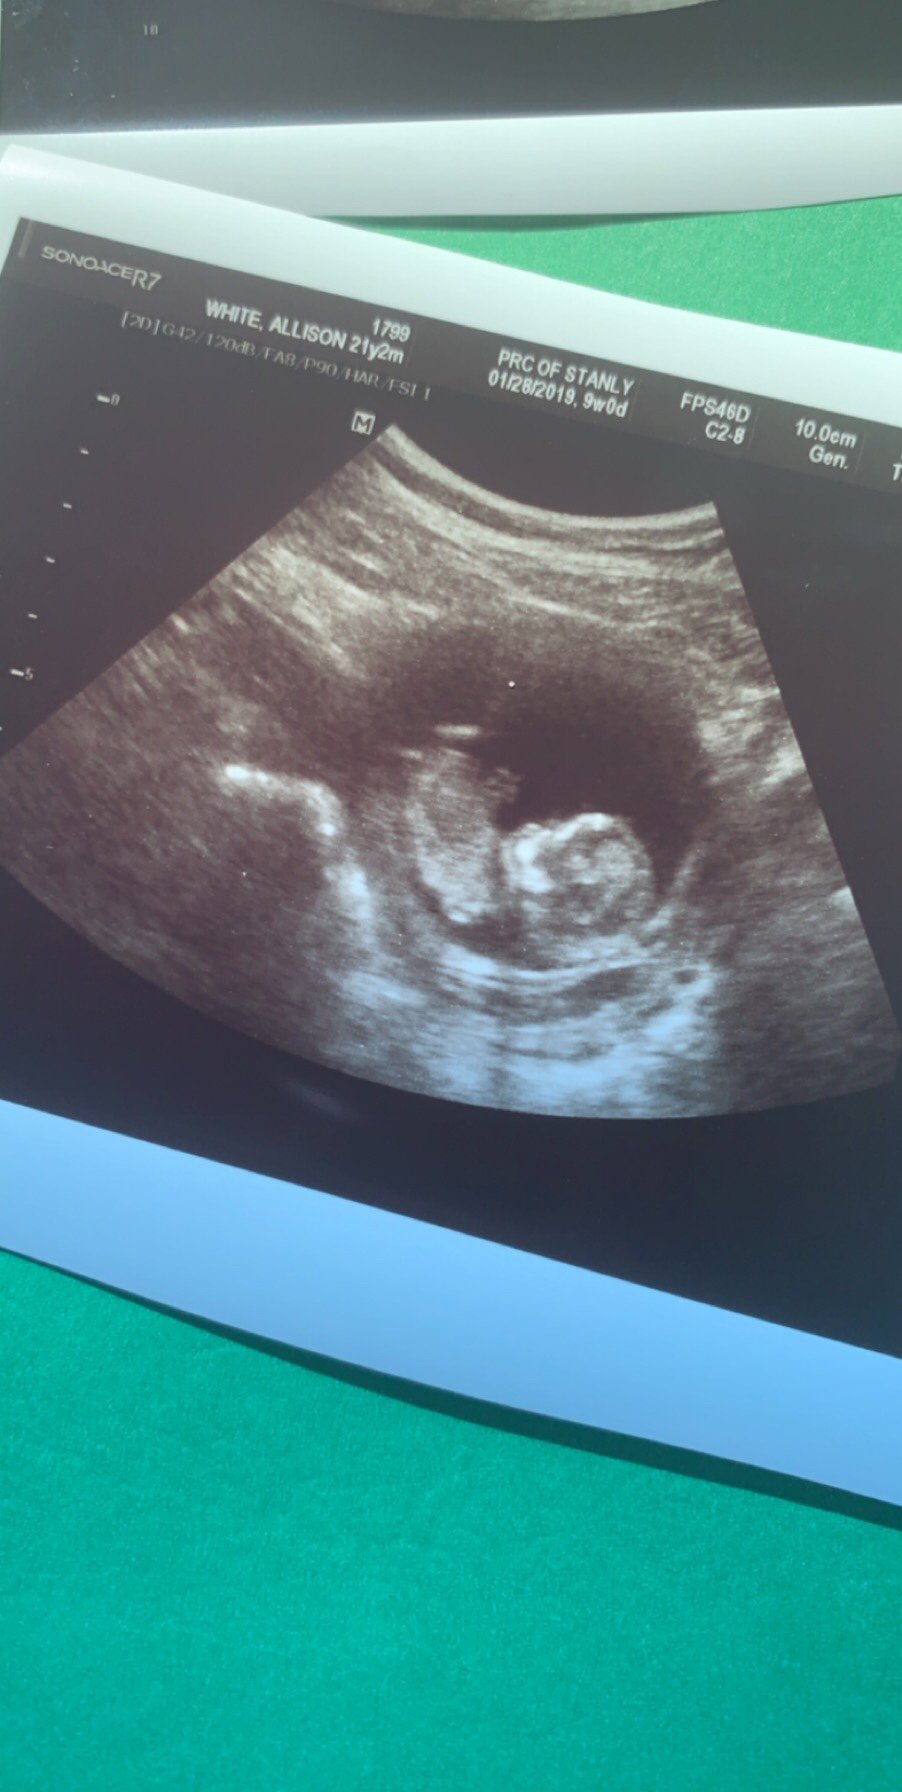
And while all these other life changes are happening, I get to be even happier by having a little girl. She’s due on October 11th and we can’t wait.
 
Congratulations! That’s a lot to wrap up in just a single post. Whole lotta good in your life. Sounds like you’re doing it right!
 
Long time no update. I got busy with life, family and getting a new daily driver.

Back in November 2019 we bought a car that I could drive to work. So the k10 was used just for pulling the trailer and hauling stuff. It has gotten used for a back up daily driver a few times. I drove it for three months straight in 2021 while I worked on my other truck.
IMG_0310.jpeg


IMG_8542.jpeg


I really didn’t fix anything on the truck the last few years, and it shows. The exhaust manifolds were cracked badly and the battery cables were in bad shape.
IMG_0679.jpeg

I bought headers back in 2018 and lost the collectors so I never installed them. I had the idea a few years ago of how to take care of that. I cut the collector flanges off and welded on v band clamps.
IMG_0681.jpeg

I added a battery disconnect under the front bumper
IMG_0680.jpeg

New battery and battery cables as well.
IMG_0683.jpeg
 
IMG_0840.jpeg

I’m working on a mini me of the k10 for a Christmas present, my daughter loves riding in the “blue truck”. I bought an axial scx24 and a proline 78 k10 body.
IMG_0841.jpeg
 
Back
Top