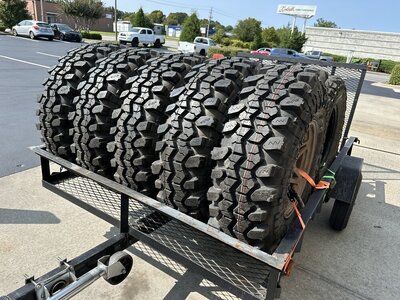
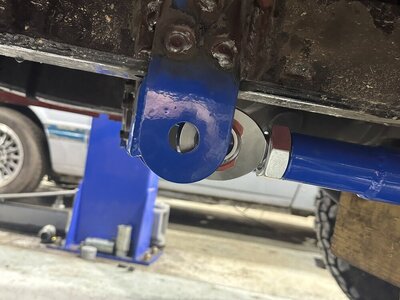
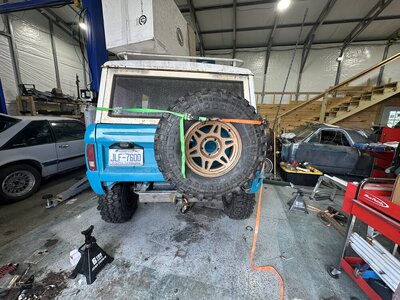
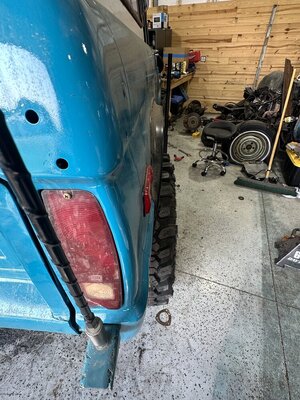
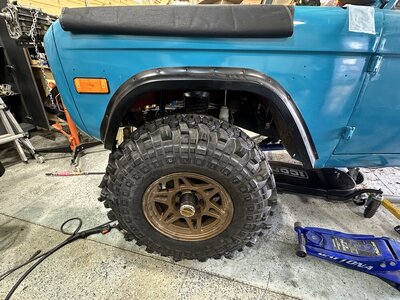
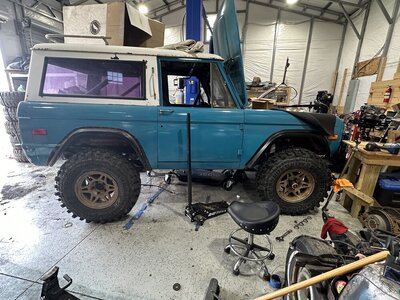
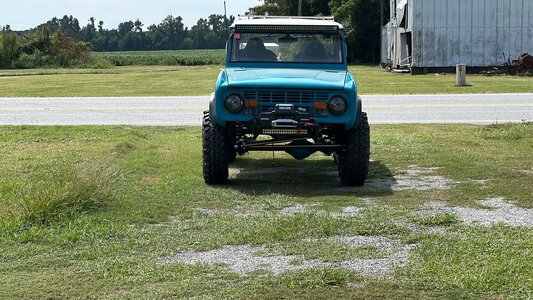
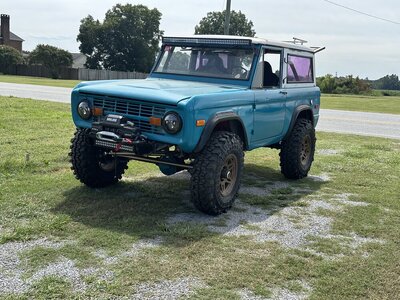
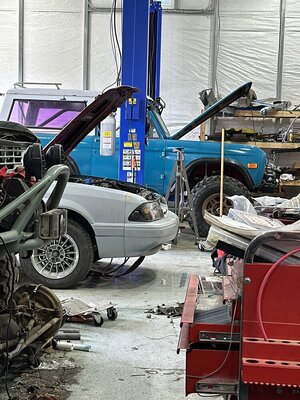
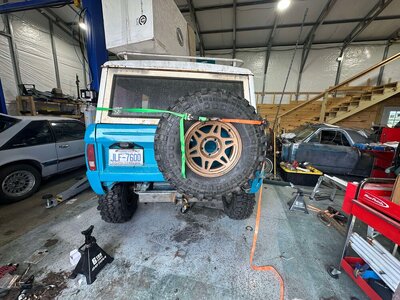
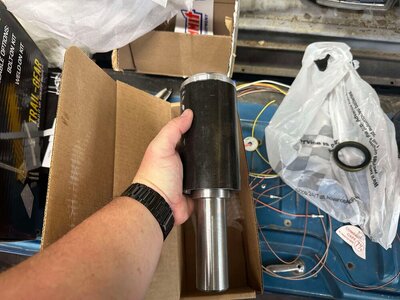
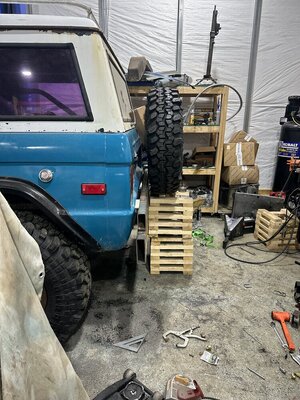
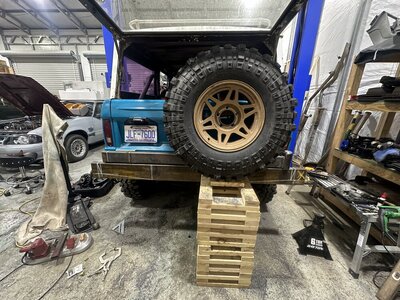
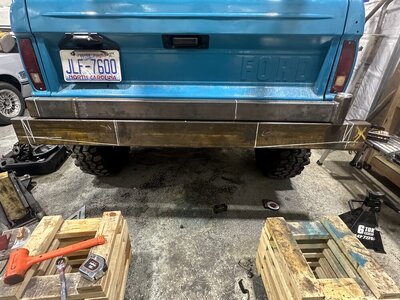
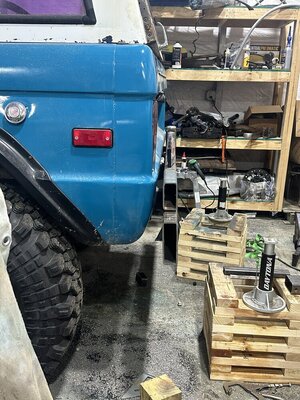
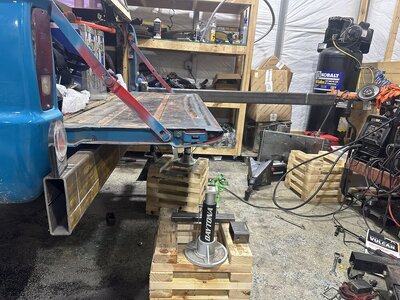
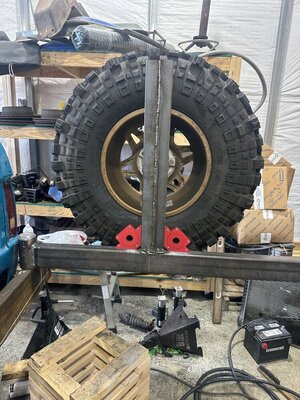
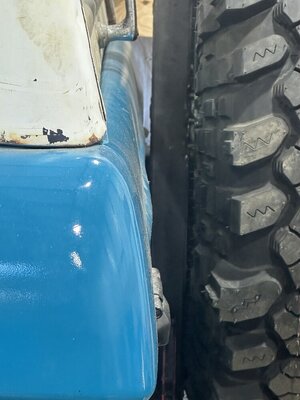
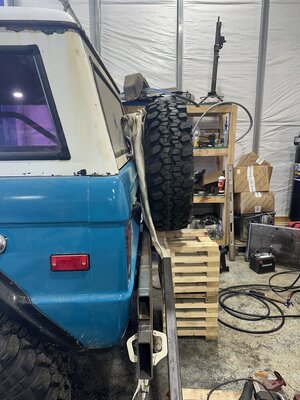
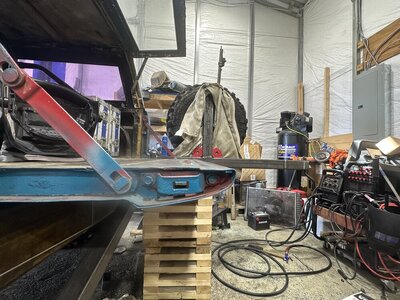
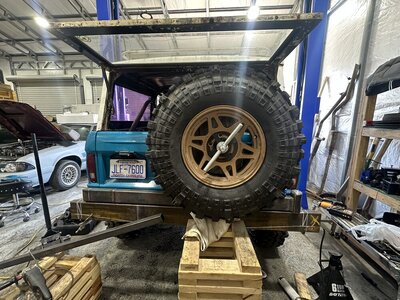
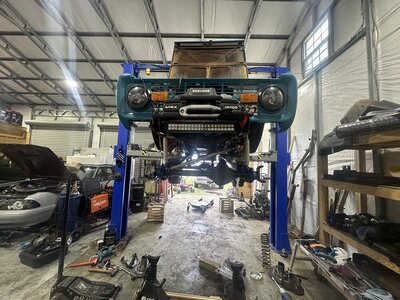
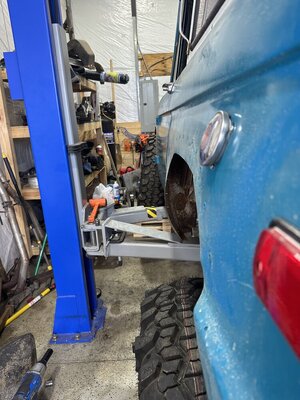
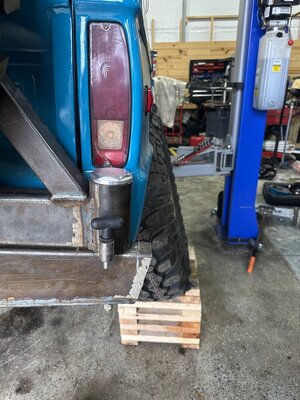
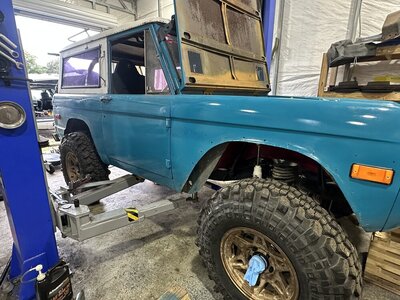
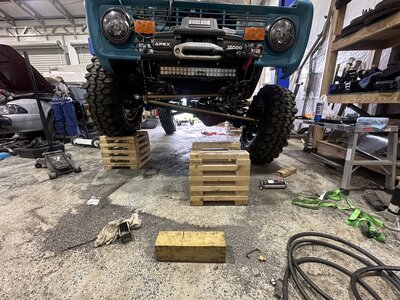
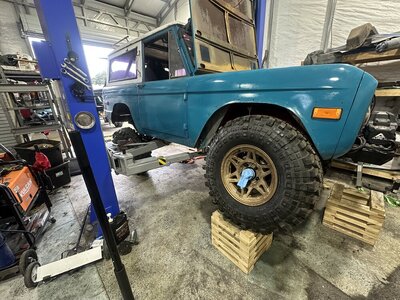
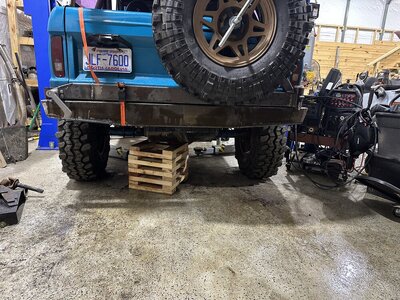
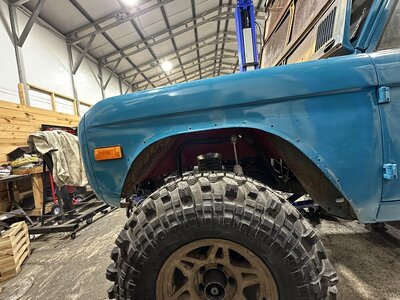
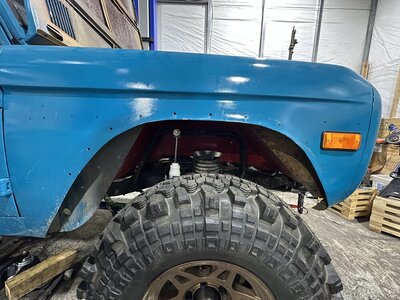
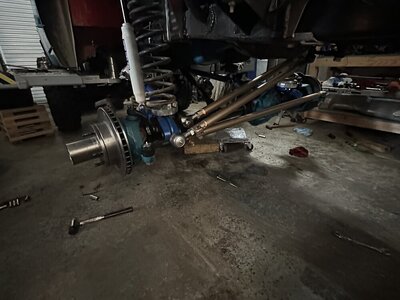
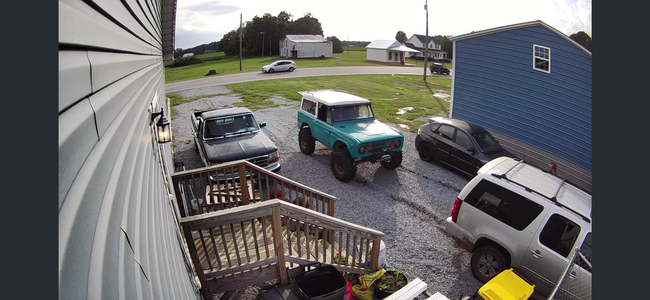
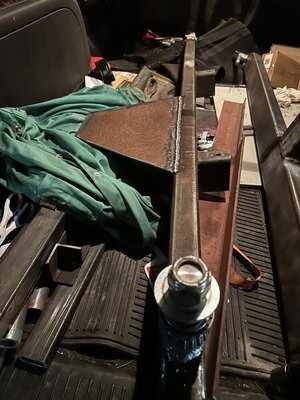
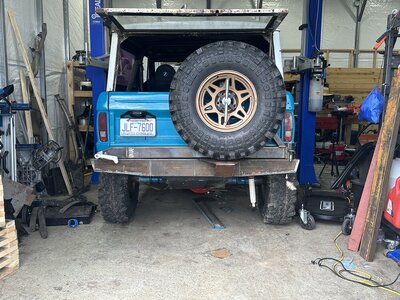
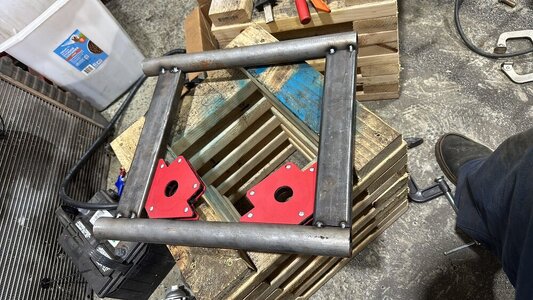
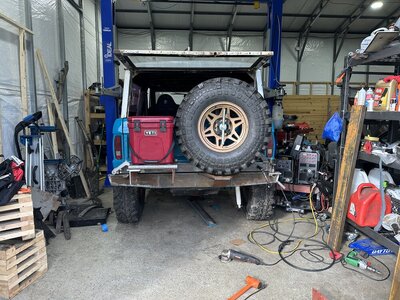
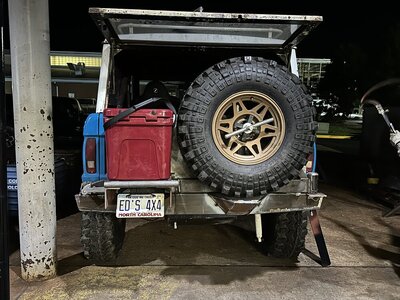
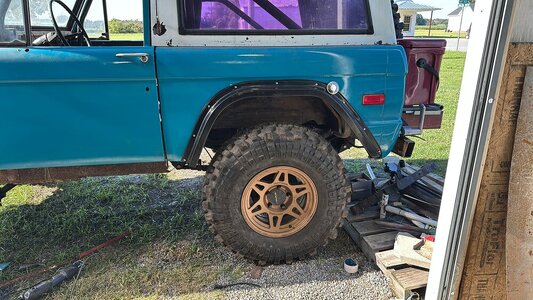
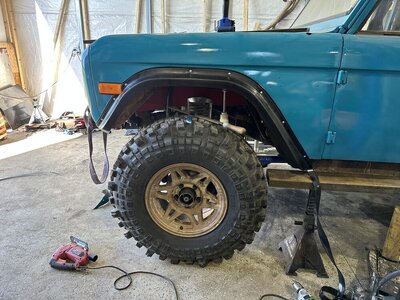
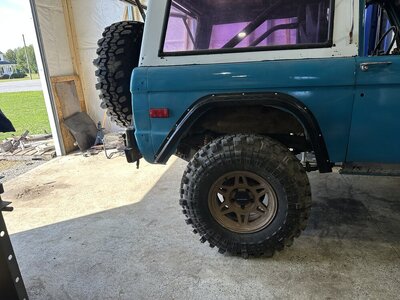
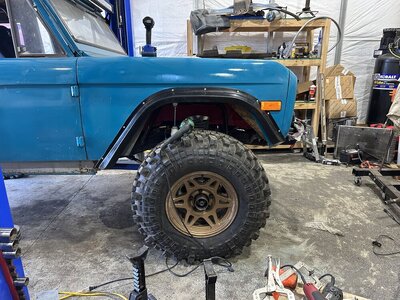
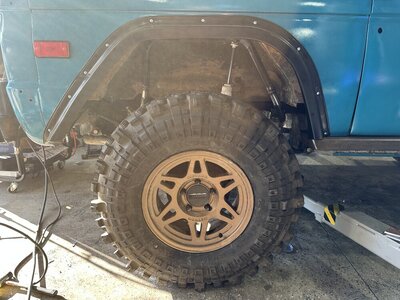
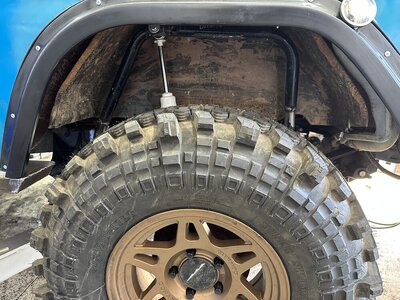
Got the new tires mounted today, got them home and on and they look great! Test fit the spare to see if it was going to look right where I plan to put it with the new bumper. As I was looking the front tires didn’t seem to sit right in the wheel wells. Checked the openings and they are roughly the same. As I looked closer. I guess I messed a measurement up when I was setting everything up and I’m about 3/4”1” off on one of the radius arm mounts. So I’ll be spending tomorrow cutting that out and cleaning the frame and bracket up for another pass when it’s corrected. Unfortunate and wish I had caught it sooner but it just wasn’t as obvious with the 35s. Live and learn. Submitting my bumper plans for my fab class tomorrow hoping to get started on it next week.
You are using an out of date browser. It may not display this or other websites correctly.
You should upgrade or use an alternative browser.
You should upgrade or use an alternative browser.
Bronco #2 The wheeler
- Thread starter YJKrawlin
- Start date
ghost
Well-Known Member
- Joined
- May 25, 2006
- Location
- Hartsville/Camden,SC
Nice those look like SXII's. What size?
Nice those look like SXII's. What size?
37x12x17
Got the brakes knocked out today, gravity bled them enough to get the bronco pulled out of the shop and cycled to the lift bay. Gotta dial in the suspension, get everything torqued and a quick and dirty alignment. Still need to finish the radius arms welds but want to triple check the measurements before I burn it all in.
Attachments
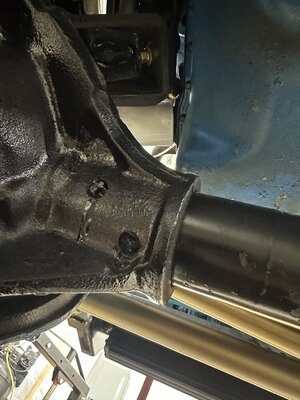
Well it looks like the front axle I got for the swap is bent… I struggled getting the shaft back in but figured it was just how tight the carrier was. Got it in no big issue.figured m My measurement was off, no big deal. Well now I have a leaking axle seal and the axle is weeping gear oil from the plug welds….. frustrated and exhausted from this thing right now….feels like too many coincidences for it to not be bent. Not sure what the best route moving forward will be….any tips? Any way to know for sure? Feel free to call me an idiot. I should have looked closer. But not sure what I could have done different at the time.
Attachments
Last edited:
ghost
Well-Known Member
- Joined
- May 25, 2006
- Location
- Hartsville/Camden,SC
Seem like I saw someone on here use some I beam to straighten an axle.
iwaxmyjimmy
College Web Wheeler
- Joined
- Mar 10, 2007
- Location
- Greenville NC
Need to figure out what plane it’s bent on. If it’s just a simple frown, you could anchor it and put a bottle Jack under the bend to straighten it and weld a mini truss to it to keep its shape. But that’s all in how much time and effort you want to put into it. I’d figure out how bad it’s bent before I decided on anything. see if it’s the tube or where it goes into the housing, or if housing end is cracked or whatever.
From what I’ve been dealing with, it seems like the passenger side is bent rearward. Hopefully I’ll know more this weekend after I tear out all apart and start looking at it.Need to figure out what plane it’s bent on. If it’s just a simple frown, you could anchor it and put a bottle Jack under the bend to straighten it and weld a mini truss to it to keep its shape. But that’s all in how much time and effort you want to put into it. I’d figure out how bad it’s bent before I decided on anything. see if it’s the tube or where it goes into the housing, or if housing end is cracked or whatever.
Last edited:
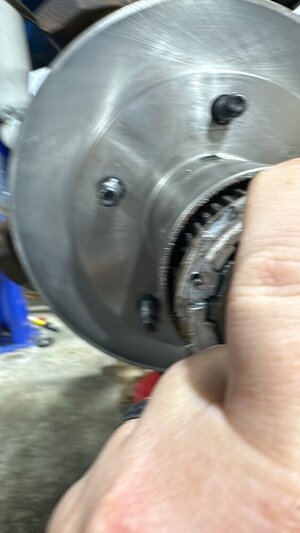
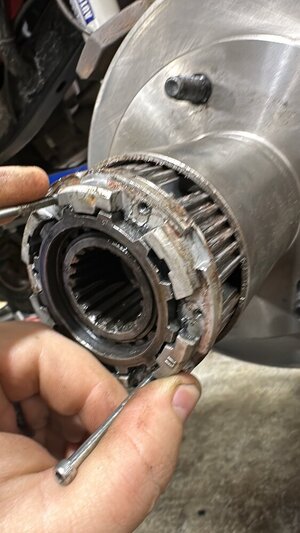
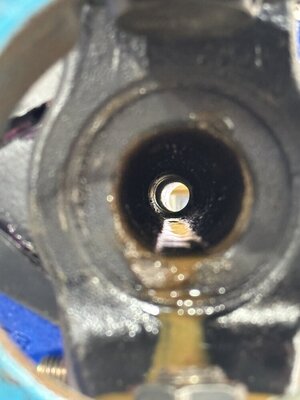
Started pulling the passenger side apart. Here you can see where the axle shaft is pushed towards the front of the hub. When I was installing it, I didn’t think anything of it since it moved back into place, but it has some tension on it pushing forward. Would it hurt to let this axle just leak to where it wants to be, Then wheel it in November and worry about it later?
Attachments
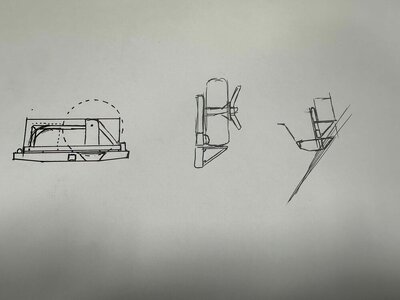
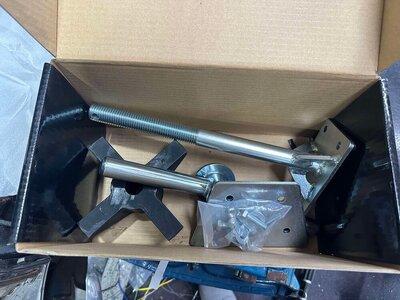
Well I have plans to go and get another axle on Thursday, in the meantime, back to making plans for my welding class projects. Currently planning on 2x6 sliders and a swingout tire carrier. Ordered my steel already, ordered a trail gear tire mount similar to Genright's spindle style mount, a latch similar to the ones used by EAG bumpers because I liked the one that was on my YJ, and a bumper spindle from summit machine at the recommendation of my instructor. With the 37s being so large I'm trying to keep the spare lower for weight and visibility. With that comes a couple of issues, one the tire is heavy, holding it in place to tighten the spindle on the mount will get tiring, secondly, I don't want to have any issues dropping on the tire coming off a ledge. With that in mind. I'm thinking of building a small skid under the tire to rest the tire on when loading it and glance any blows the tire would take away. The sides of the bumper will also wrap around the corner to act as a lower corner guard to protect the body slightly. I will be building a cooler mount on the end of the tire carrier and a small table on the inside that will meet up with my tailgate for a larger space for having lunch on the trails or working on stuff on the trails. Just trying to check all the boxes. I'll attach the rough drawing of my design and let me know what you think. Is it stupid or a bad idea? I don't see many people incorporating something like this in so unsure if its pointless. The tailgate will cover it when the tire carrier is open and the tire will cover the skid when it's closed so I shouldn't have to worry about running into it on accident haha. Let me know what you guys think.
Attachments
Worked on the bumper a little more last night. Had to cut the original stubs off. The angle was square to the ground but had the bumper leaning down away from the truck pretty far. Tilted it up so that the swing arm would be even with the tailgate roughly so that I can put a small fold down table on it for lunch on the trails or a work area if something breaks. Coming along though.
Attachments
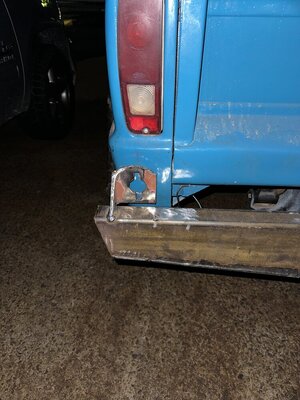
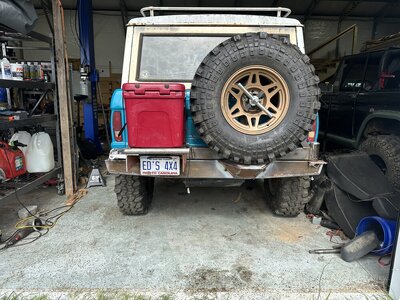
Got the spare mount on today. Still need to cut the support to the hinge but happy with how it’s coming along. I have a piece of sch pipe that I will probably take to the school to use on their roller bender to do the long side support that will double as the holder for the tabl and support for the cooler. Coming along though and looks good in my opinion. Still need to taper the ends and build my skid/support for my tire but slowly making progress. 7 weeks until gulches and I have a bunch I need to do so time to get it done.
Attachments
Got a bunch done so far this week. Used the plasma cutter at class to get the taper for the rear bumper cut and added in a support for the upright. And of course it bowed the swing arm so next week will be using the torch to straighten it out hopefully. Got some stripped down 11 pack leaves installed in the rear and this thing got all the flex. The blocks it’s on are 16-18” each. When I started, with the front on a block, the moment the opposite rear lifted, both tires would lift, now it can set on both with more room to go. The body and shocks are the limiting factory in the rear now. Started working on getting the new axle in the front still need to get the Spartan swapped over but I might need an extra set of hands for that so it may wait a few days.
Attachments
Got the axle back in and together. Still need to throw the hubs on but also moved the axle bracket to roughly my original location and tacked it in, and everything fits perfectly now. At least I can reassure myself I wasn’t going crazy when nothing fit with the last axle. I’ll probably adjust it one more time before burning it all in. It looks like it might be 1/4” off roughly. I’ll see what I can get out of the heims before I cut it out again. Next project will be finishing my tire carrier. Installing the larger flares. Welding shock mounts and then cutting the rockers out to weld in the sliders. Getting closer to gulches every day.
Attachments
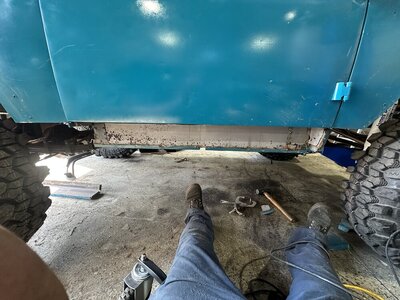
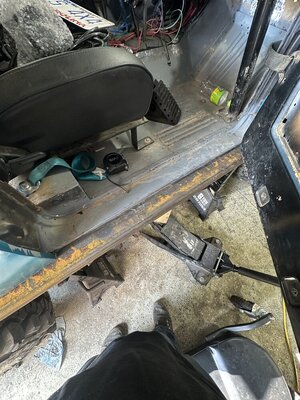
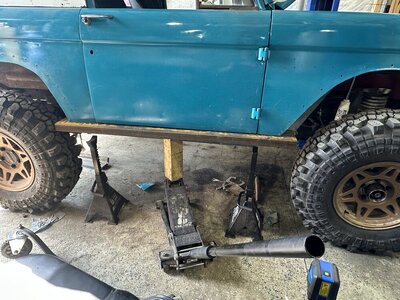
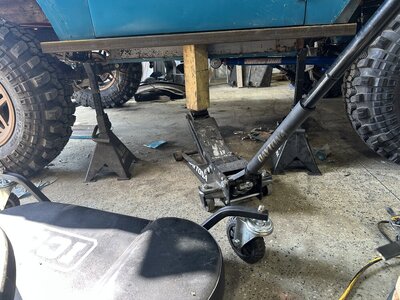
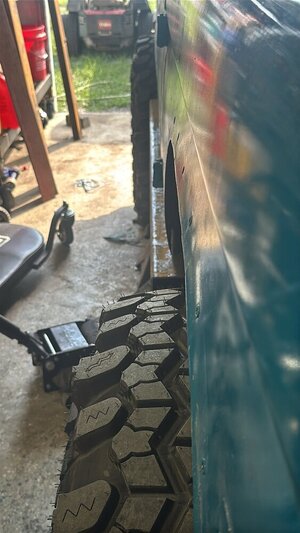
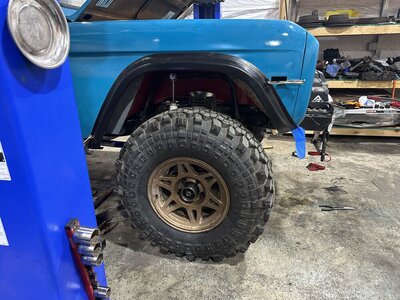
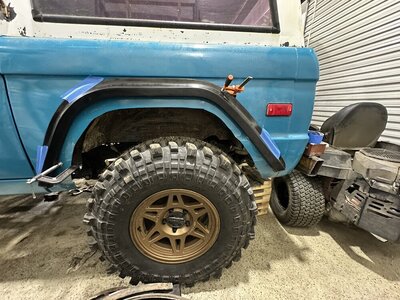
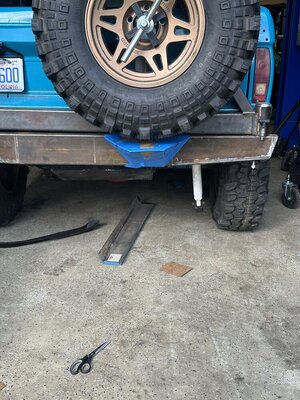
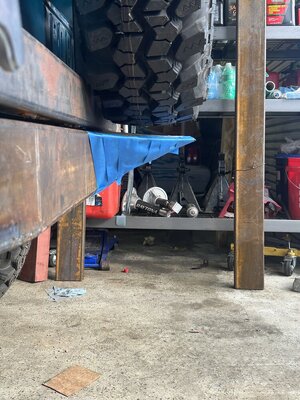
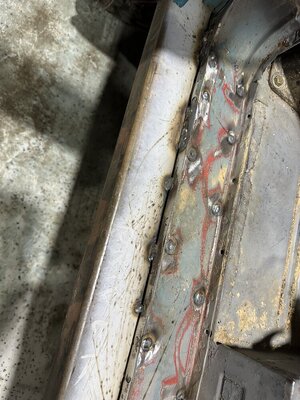
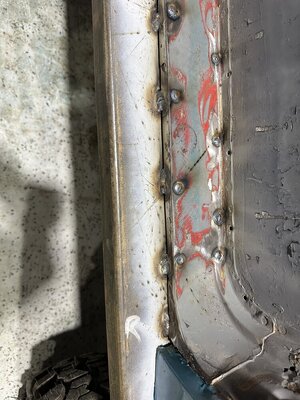
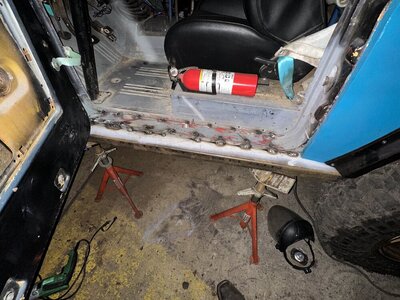
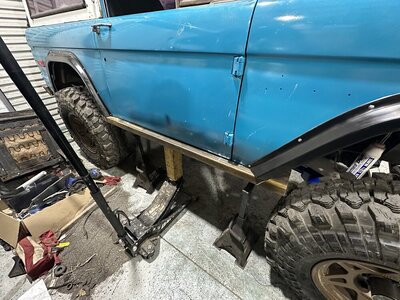
Worked on the bronco a bit more today. Cut the passenger rocker out to work on getting it ready for the sliders. Test fit it up. Got my WH flares in today and started mocking them up. I’m thinking I want to go to the body line so that I have the room to clear 40s eventually if I decide to. Just trying to do this once so I don’t have to redo the flares again. That price hurts haha. Also built a cardboard cutout for my spare tire skid/shelf. Hoping to build that in the next couple weeks.
Attachments
-
 IMG_8020.jpeg162.6 KB · Views: 81
 -
 IMG_8021.jpeg212.5 KB · Views: 83
 -
 IMG_8022.jpeg189.2 KB · Views: 81
 -
 IMG_8023.jpeg211.4 KB · Views: 84
 -
 IMG_8024.jpeg96.2 KB · Views: 80
 -
 IMG_8035.jpeg200 KB · Views: 78
 -
 IMG_8036.jpeg188.9 KB · Views: 78
 -
 IMG_8025.jpeg221.6 KB · Views: 75
 -
 IMG_8026.jpeg195.7 KB · Views: 81
Got my tow rig stuck in the back yard today troubleshooting some trailer brakes. So the bronco got a little workout pulling her out. Went to my welding class today and working on getting the swing arm on the tire carrier to pull down a little more and got the spare tire rest/skid started. Still need to add the side plates for the skid and the bumper and work on the cooler mount. But it’s coming along.
Attachments
Got the tire carrier put back together today. Apparently the cut and torch was a bit much. Gotta get the top to pull up a little now to get the fraction of clearance I’m hoping for. Started working on my cooler mount. The bracket is only tacked on for now until I finalize the location. Trying to stay clear of the handle but stay out of the tail light is a fine line.
Attachments
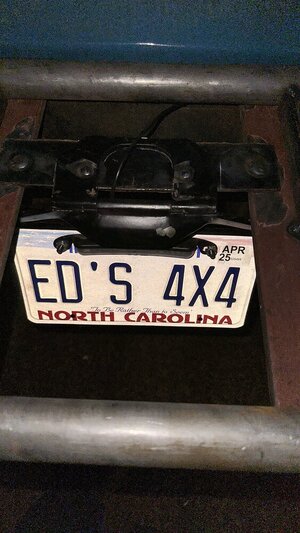
Made a little progress this week. Focused a little bit on @ncfordguy’s bronco and got it started with the new efi and harness. Got my rockers cut out and ready for the 2x6 sliders. Got my new flares mounted and the drivers side cut. Still have to cut the passenger side though. Had to swap yokes on the front diff to install my driveshaft. Finally got my tire carrier straight. Got my cooler mount hard tacked and ready to weld out, license plate mounted and side guards cut out. Going to be a busy couple of days but it’s getting there.
Attachments
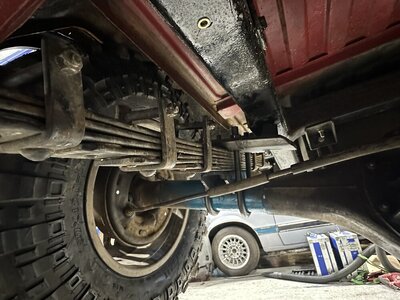
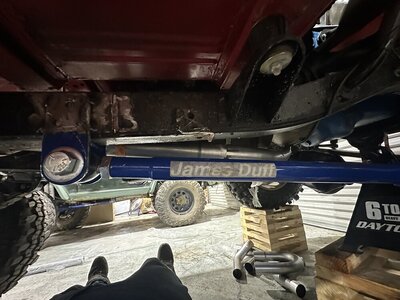
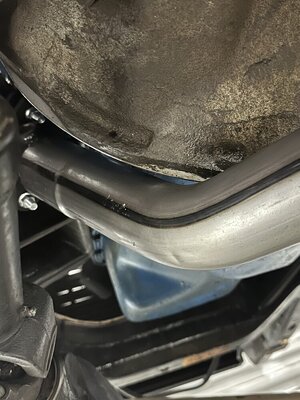
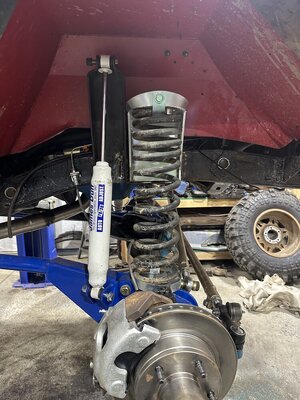
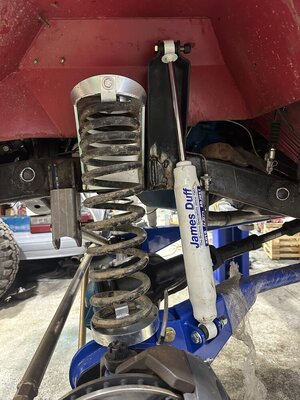
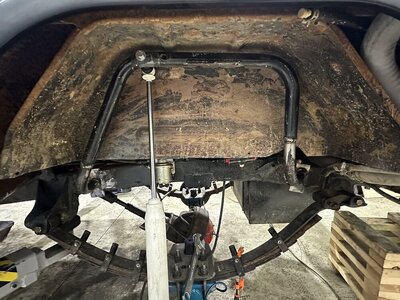
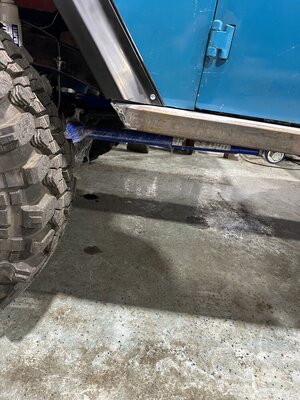
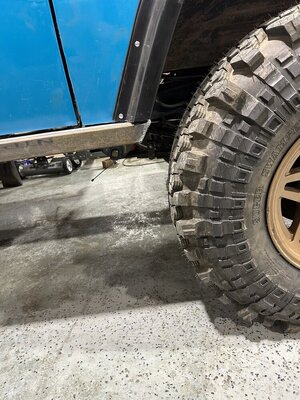
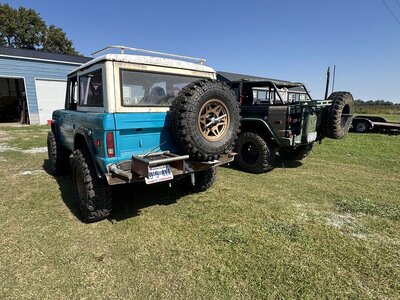
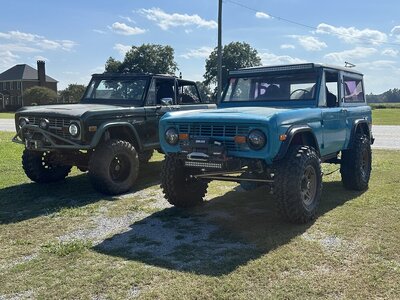
Been a busy couple of weeks, I’ve been trailering the bronco to my welding class and am very close on finishing the rear bumper. I’ve been working on getting the sliders in and while there’s still plenty of welding left to do, it’s close and they’re at least in place. Got the exhaust sorted, something simple, just a 2:1 setup with the leftover muffler from my long tubes. I’ve been working on getting the bump stops sorted and was trying to figure out a rear shock mount to take advantage of the travel on these leaf springs. After looking a lot and taking measurements I realized my best bet would be to cut the shock hoops out of the front and modify them for the rear, then replace them with f350 towers in the front, worked on that some today, still have 1 left to do and then the rear axle side brackets. This will allow the shocks to lean inboard an hair for stability and plenty of clearance for the tires. Also ordered a power steering kit from wild horses to get on in the next couple of weeks. Cutting it close but I should make it just barely. My final project if I have time will be to weld a stinger on the front bumper.
Attachments
-
 IMG_8379.jpeg145.7 KB · Views: 79
 -
 IMG_8381.jpeg136.6 KB · Views: 79
 -
 IMG_8382.jpeg151.6 KB · Views: 80
 -
 IMG_8453.jpeg181.1 KB · Views: 83
 -
 IMG_8456.jpeg170.3 KB · Views: 78
 -
 IMG_8459.jpeg189.9 KB · Views: 75
 -
 IMG_8365.jpeg200.1 KB · Views: 82
 -
 IMG_8364.jpeg208.6 KB · Views: 81
 -
 IMG_8362.jpeg175 KB · Views: 84
 -
 IMG_8361.jpeg170.9 KB · Views: 78
 -
 IMG_8359.jpeg179.5 KB · Views: 83
 -
 IMG_8358.jpeg225 KB · Views: 84
 -
 IMG_8352.jpeg185.8 KB · Views: 78
 -
 IMG_8343.jpeg263.5 KB · Views: 83
 -
 IMG_8339.jpeg224.5 KB · Views: 78
ghost
Well-Known Member
- Joined
- May 25, 2006
- Location
- Hartsville/Camden,SC
Looking good!
WARRIORWELDING
Owner opperator Of WarriorWelding LLC.
- Joined
- Jan 6, 2008
- Location
- Chillin, Hwy 64 Mocksville NC
Every time I see this thread update I get excited and disappointed at the same time. Love the work and the Bronco.
The title however makes me think of the Bronco II and I get a little sad inside. I miss mine.
The title however makes me think of the Bronco II and I get a little sad inside. I miss mine.
Sorry to disappoint haha. Got the other side in and got the axle side brackets welded on. Not perfect by any means and definitely have some ideas for improving it next go around, but for this trip to gulches, I think it will be fine. The passenger tire rubs the hoop at full stuff just barely and the driver side spring touches the frame bracket for the hop at full bump. Angles could be better but for just this trip I think it will be fine. Definitely room to improve but for a quick and dirty setup it works. Trimmed the inner wheel well by the fuel filler to clear at full stuff.Every time I see this thread update I get excited and disappointed at the same time. Love the work and the Bronco.
The title however makes me think of the Bronco II and I get a little sad inside. I miss mine.
Attachments
ghost
Well-Known Member
- Joined
- May 25, 2006
- Location
- Hartsville/Camden,SC
Gulches?
Yes, November 14 we are heading down and wheeling November 15-16, coming back on the 17th.Gulches?


