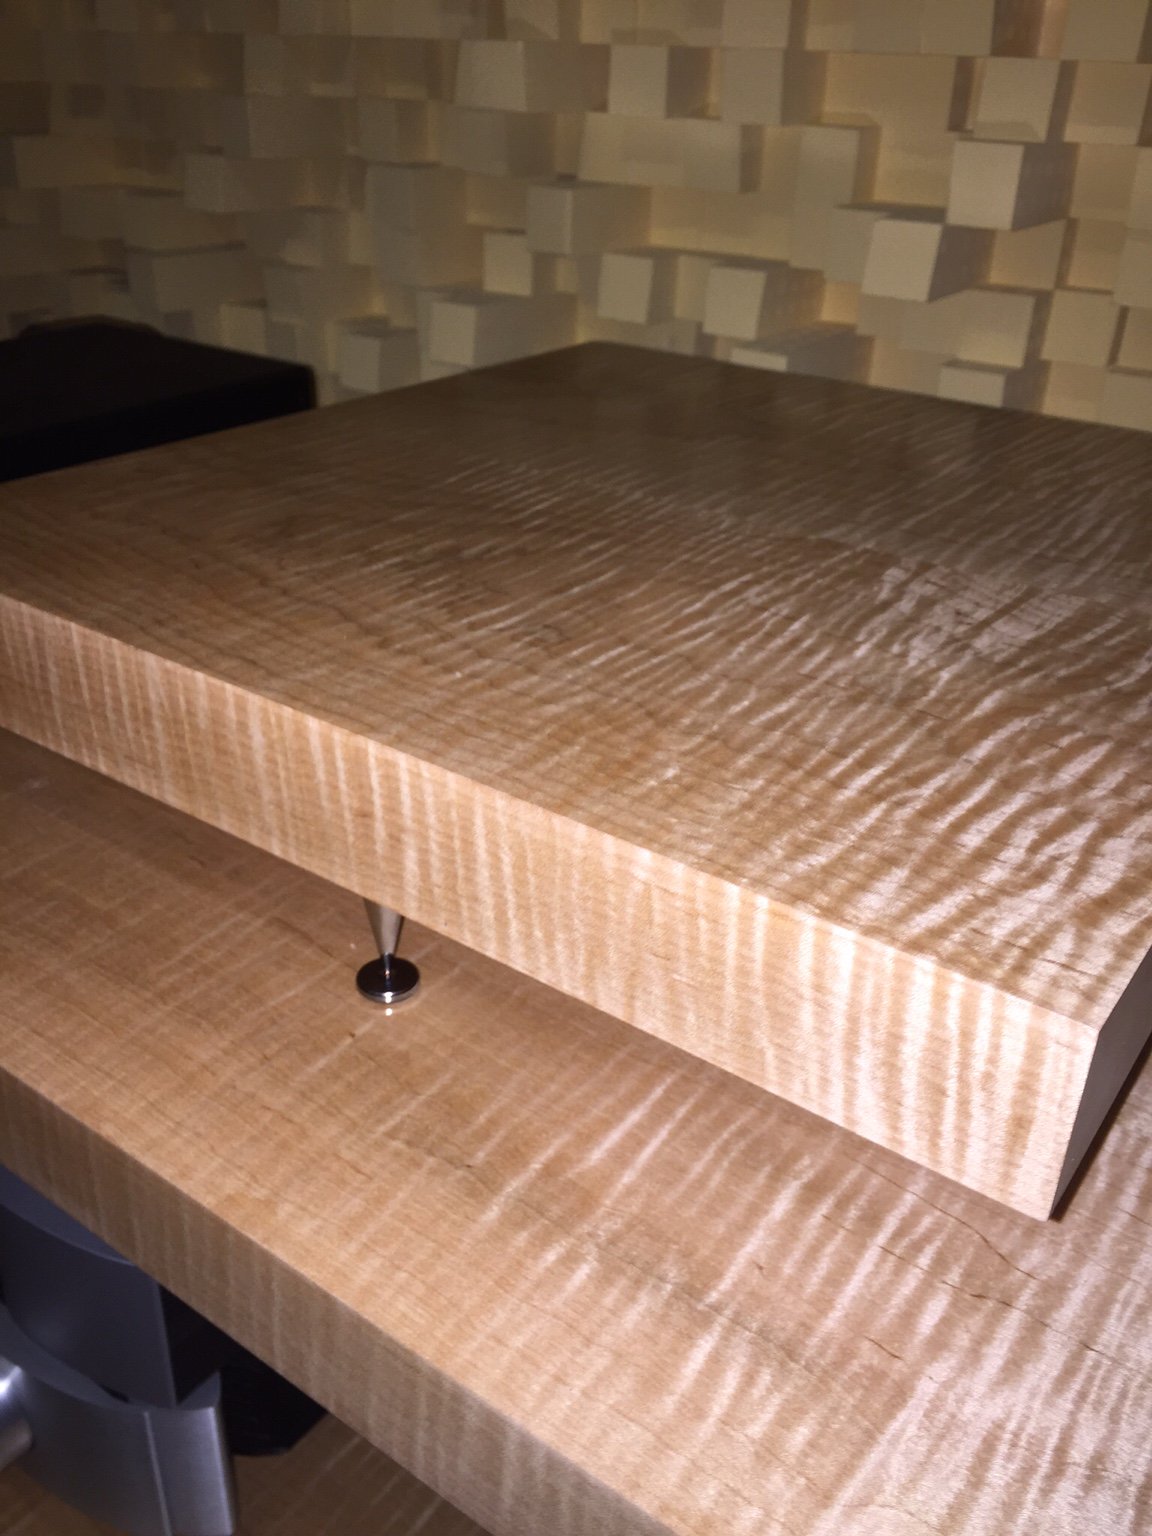
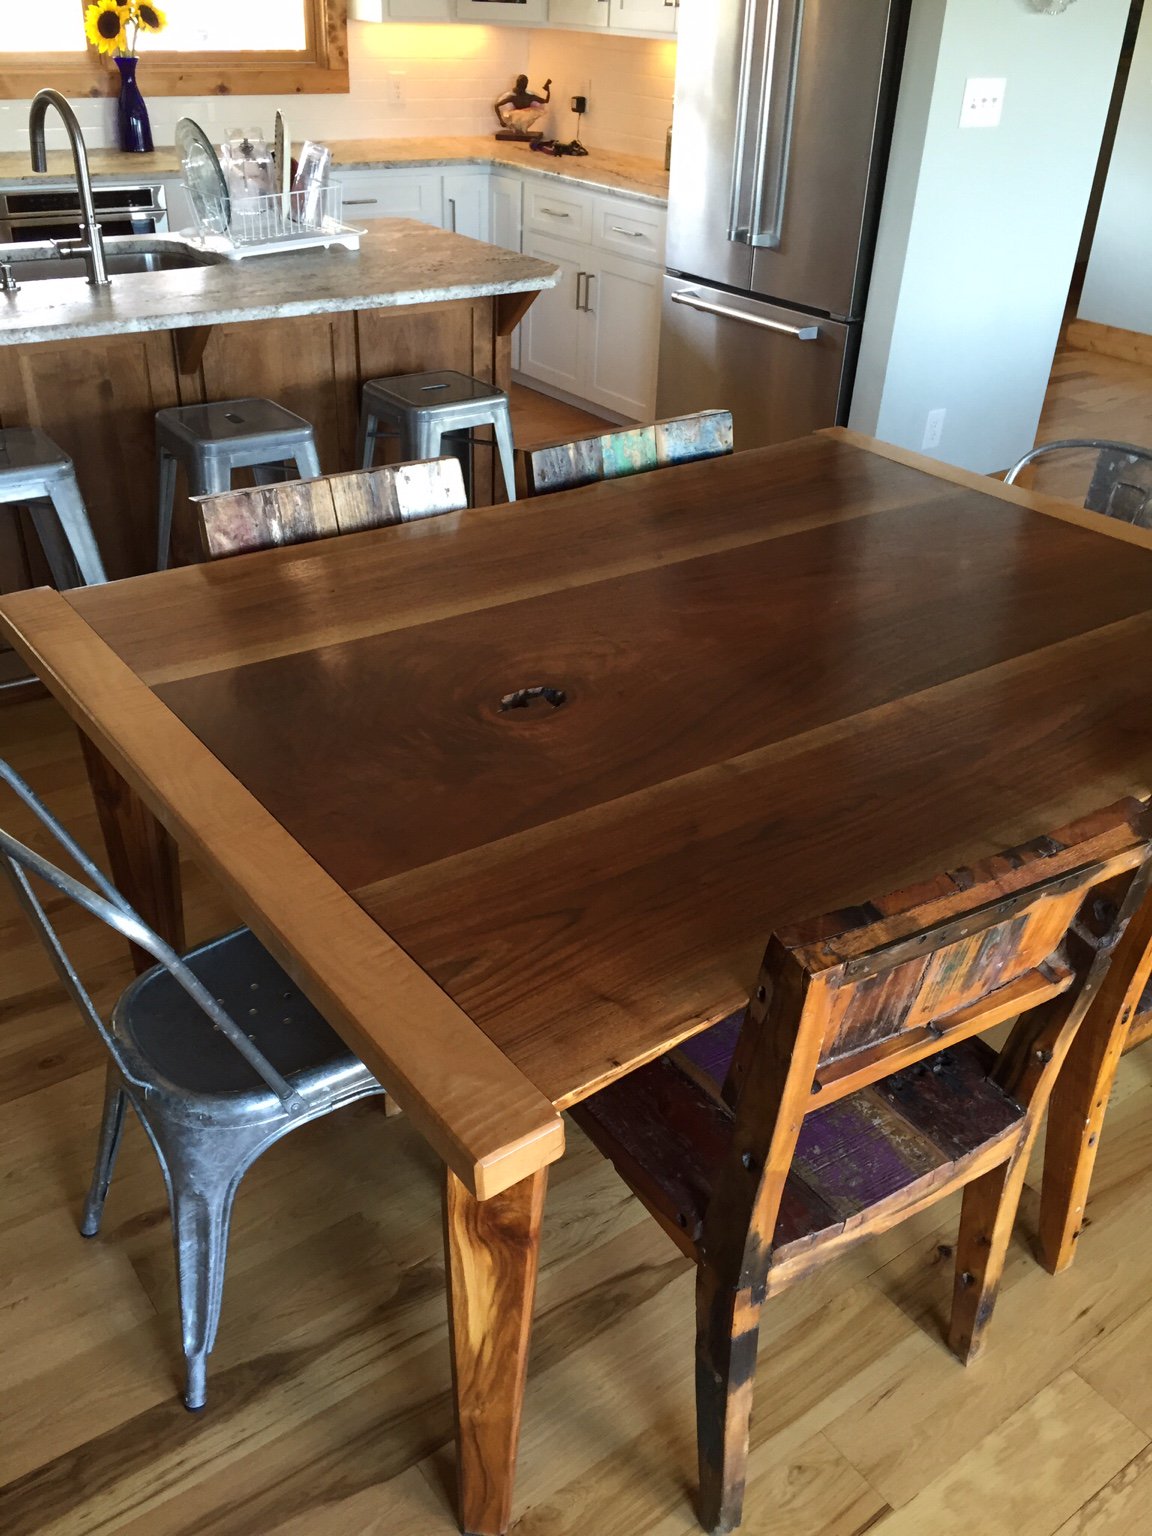
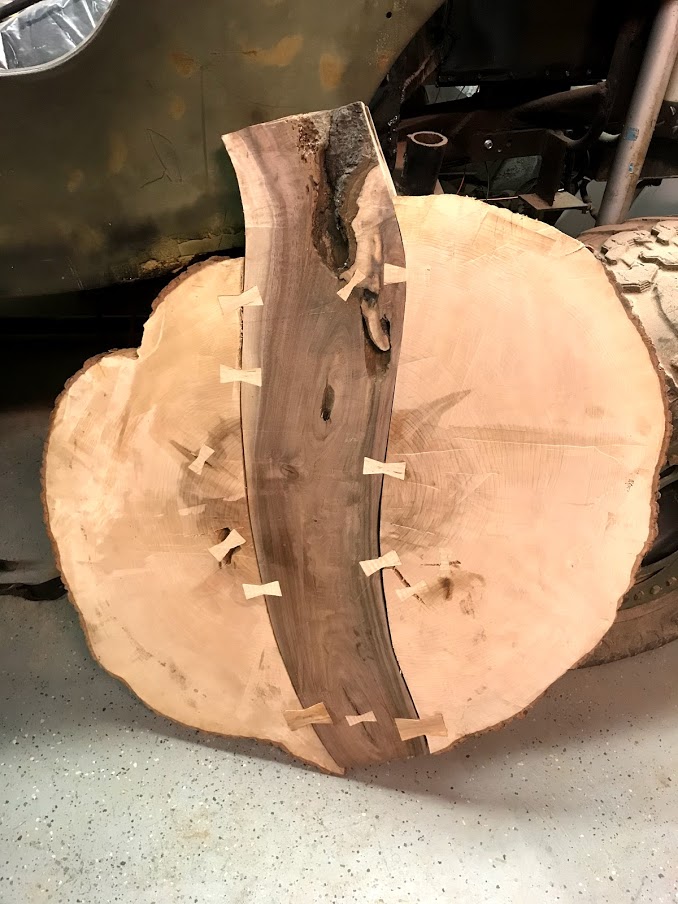
Bringing this back to the top. Im working on a river top bar for the house. Custom dimensions to fit a unique cubby in our library/study. Same wood that the farm table was made out of. This will be my first time doing any type of river table and I've been doing a lot of research/reading on how to correctly pour everything. Here are the slabs, 45" long, 8-12" wide, and 2" thick.
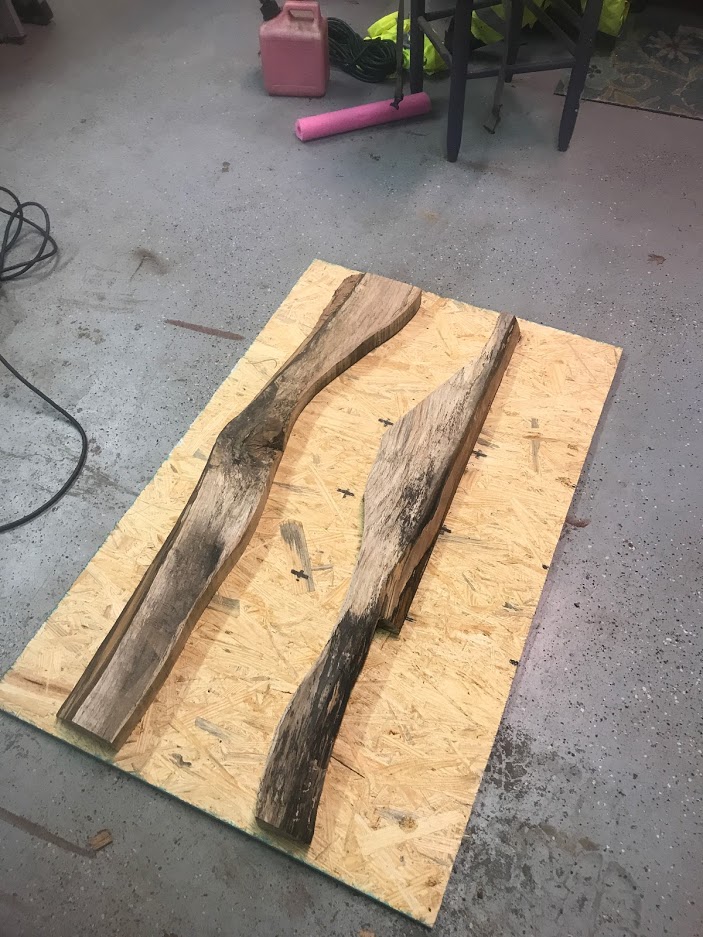
Cut these out on my "free" bandsaw and ran them through a borrowed planer. I still need to chamfer the edges on the "river" with a hand plane.
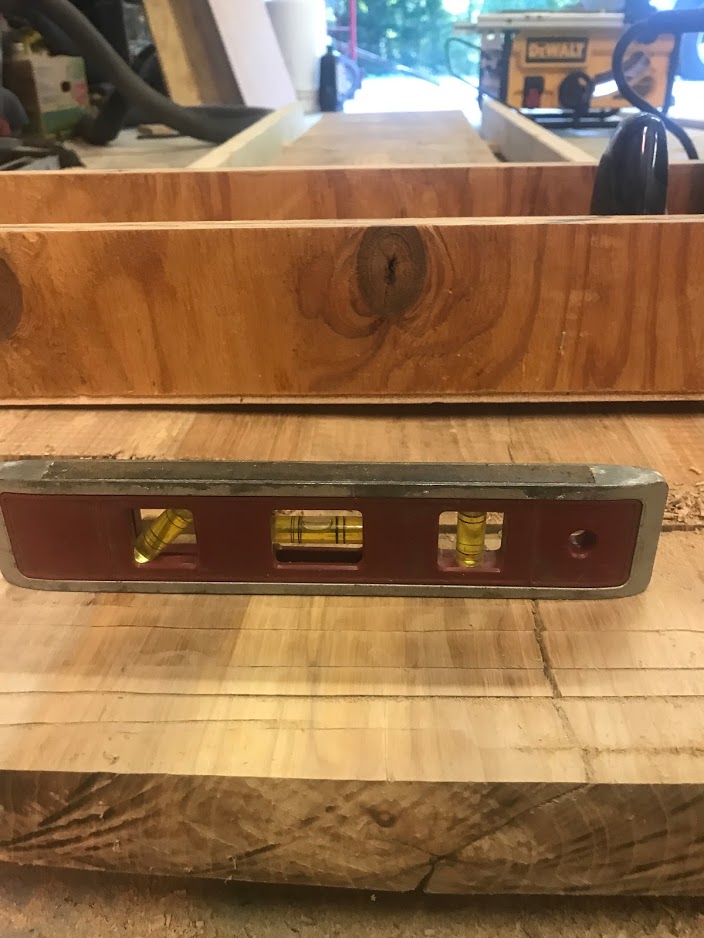
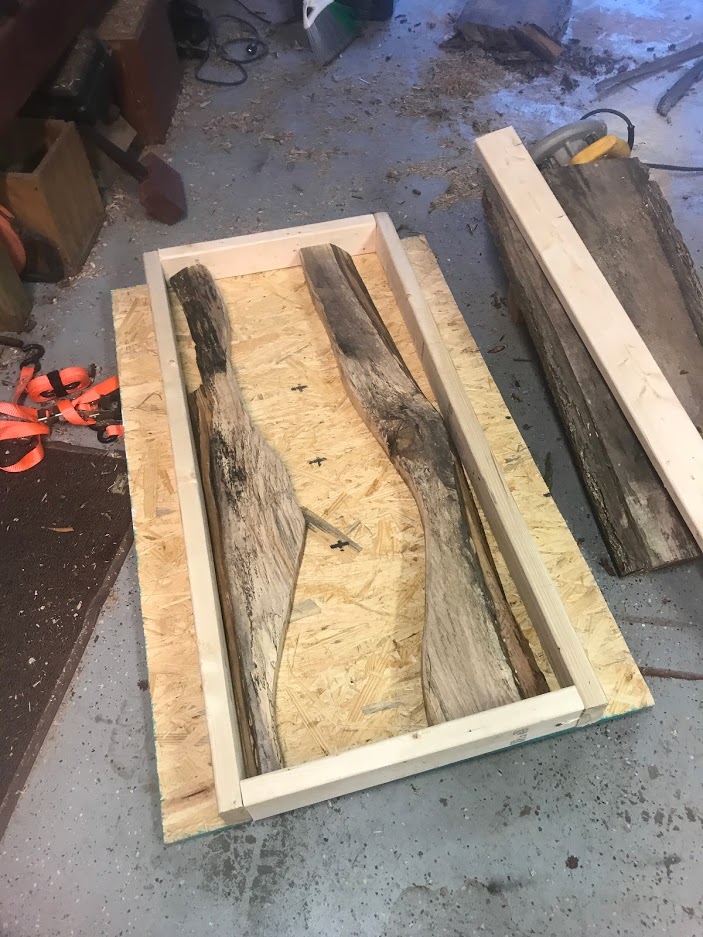
Mocked up in the form box.
The edge of the bar top will have a live edge. Most of the bark was still on it and it was easily removed. Still need to clean it up during final finishing but it should add a lot of character.
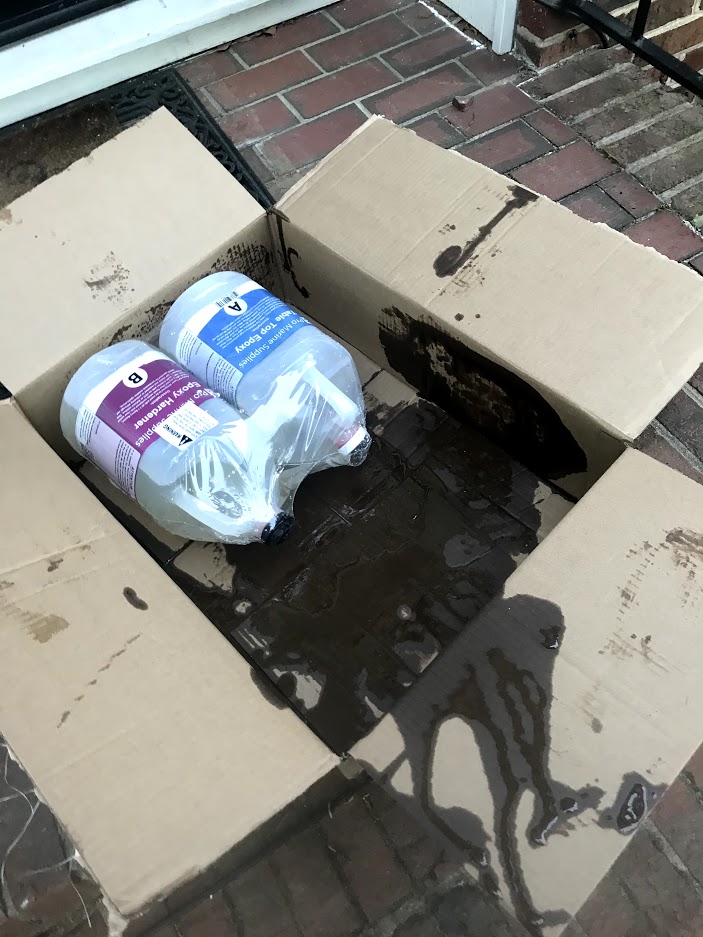
The epoxy I went with was Pro Marine Table Top Epoxy. Got 2 gallons of it off Amazon and this is how it showed up.

Amazon is sending me a new shipment and I get to keep this one. About 1/4 of the Part A leaked out

and covered my porch

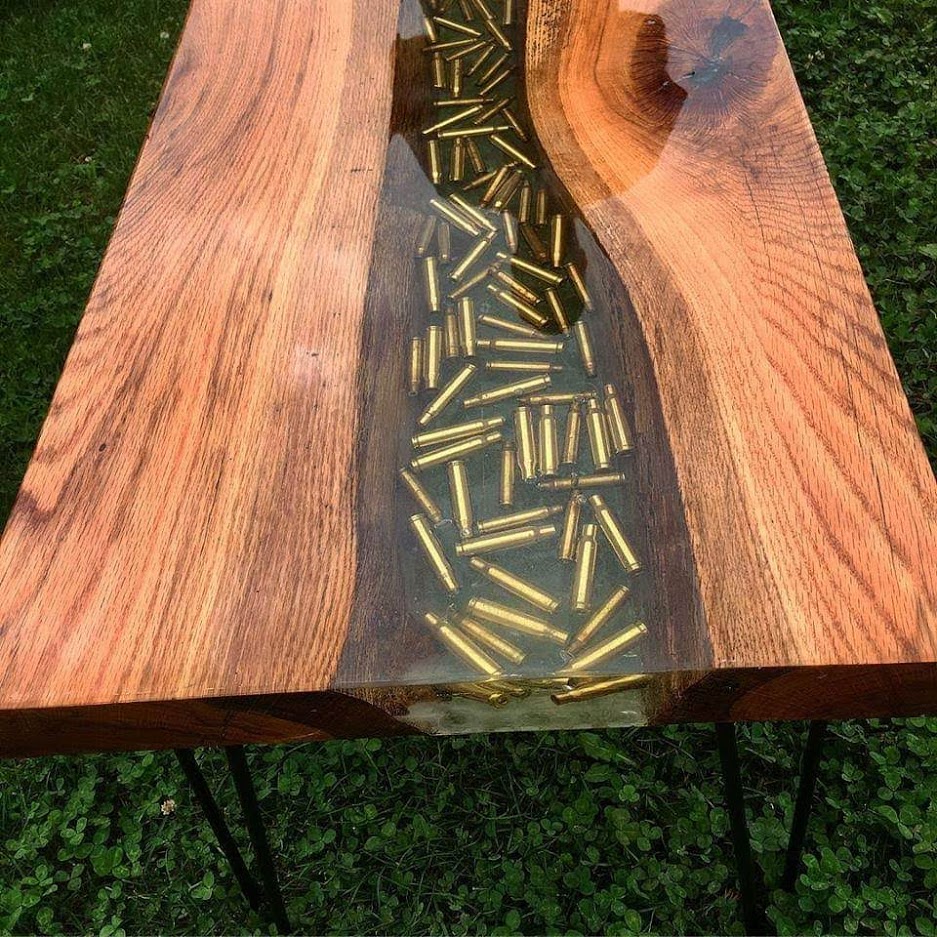
I'm going to have to pour the resin in stages as I am also going to capture some brass rounds in the table top, something like this with all the different calibers I currently own/shoot.
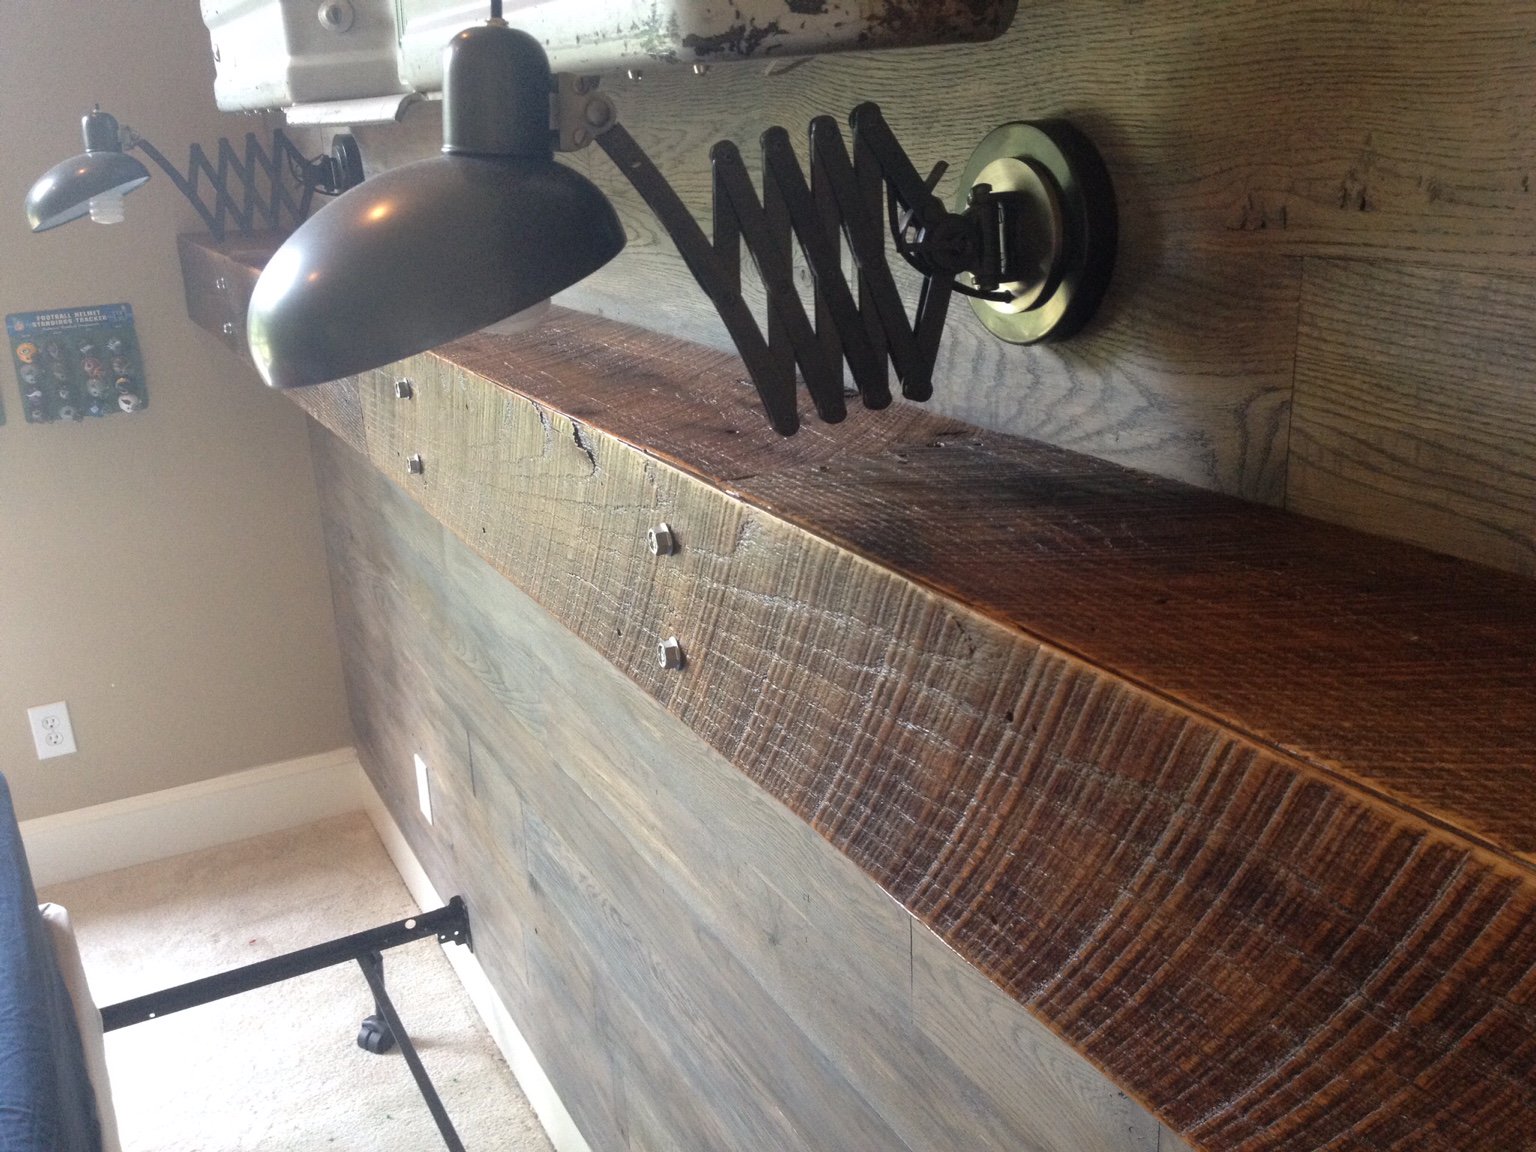
I'm also planning on adding 2-3 free floating, live edge shelves over the bar top with some recessed LED lighting. The back and sides of the bar top will not be able to be seen due to the cubbyhole they are going in so it should look awesome.


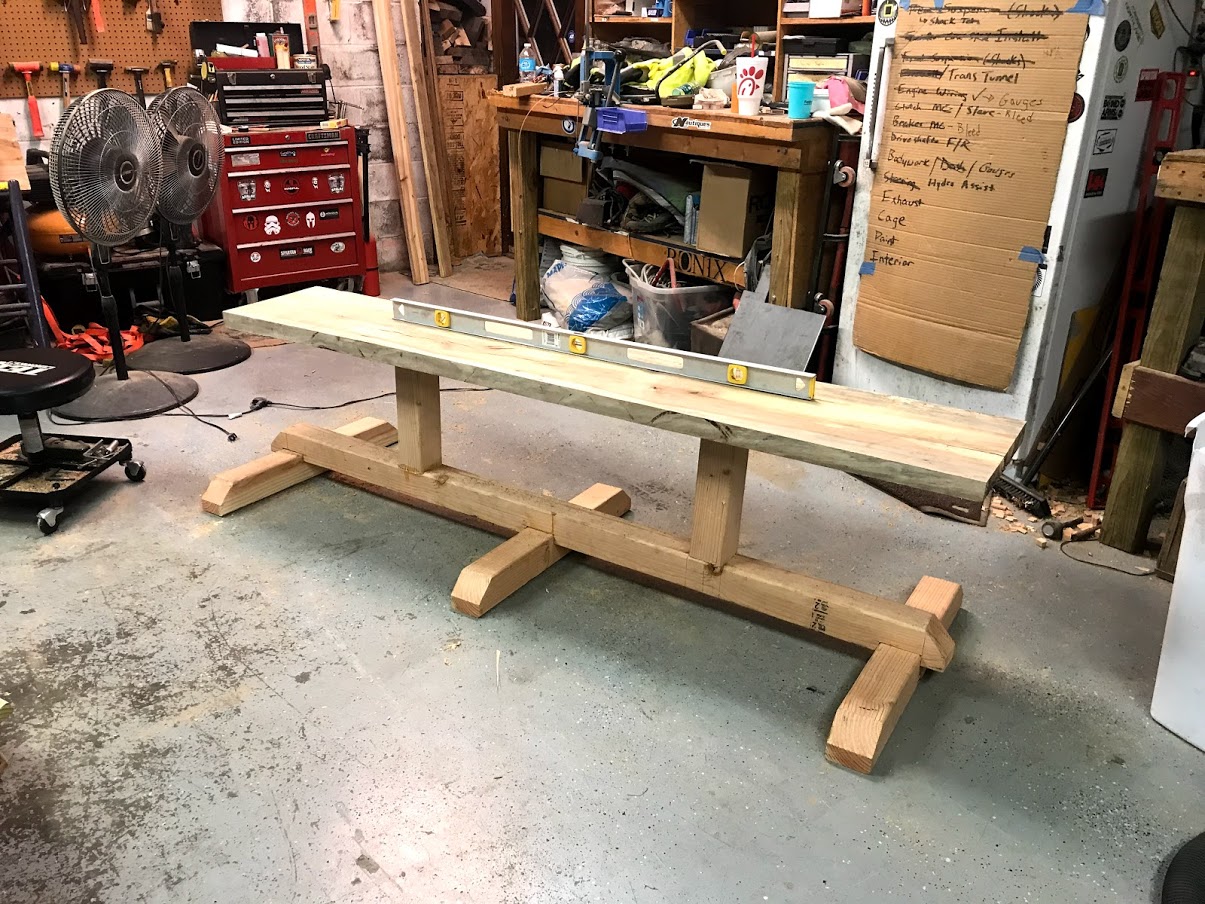
 . But I did get some material to build a router sled.
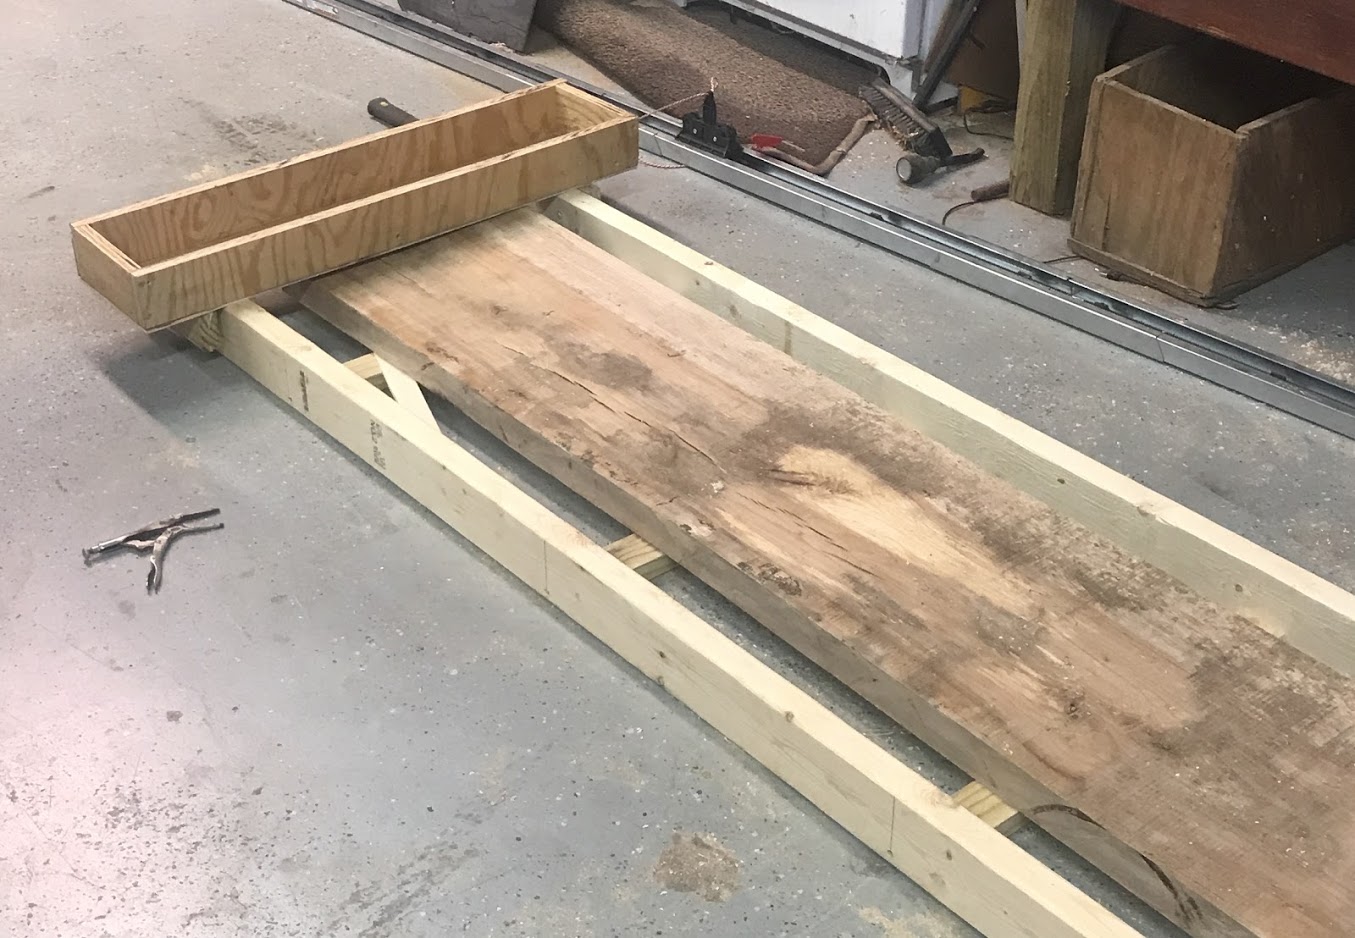

 . Got the rest of my epoxy in and decided to work on the table. The last time I poured epoxy, I had great luck with pouring, popping bubbles, and then pouring another layer on it, repeating this process till I ran out. Almost no bubbles at all and it looked really good. So, I did the same thing last night. The damn piece now looks like it exploded in air bubbles in the top layer