Tin Can Rebuild V2.0

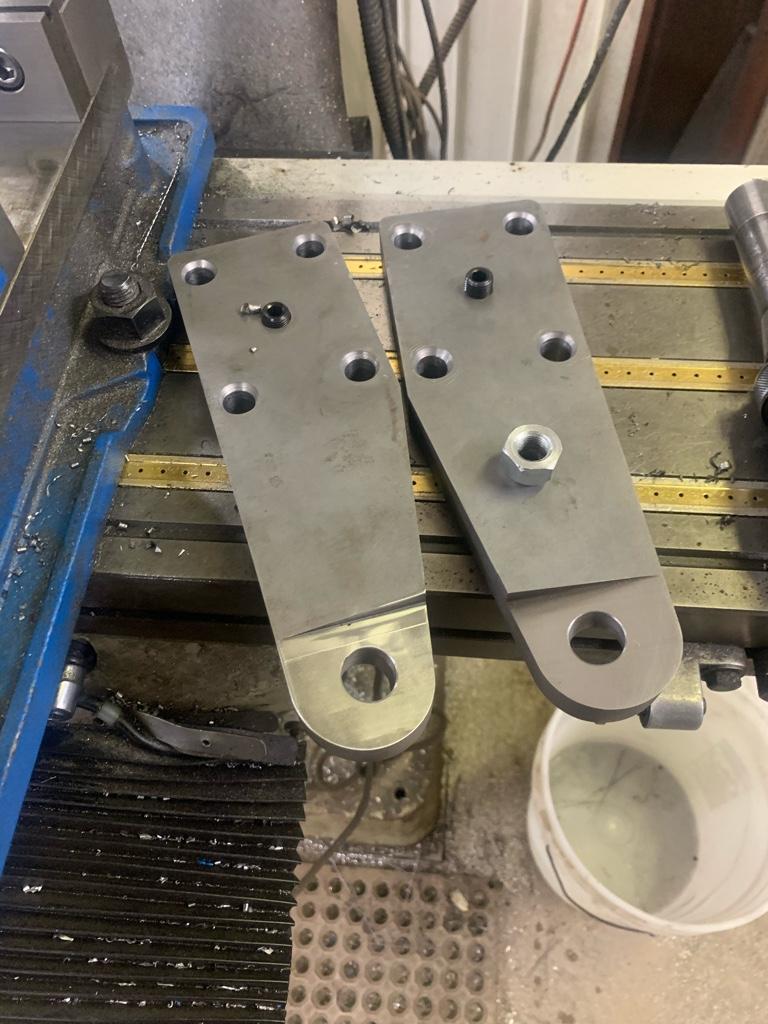
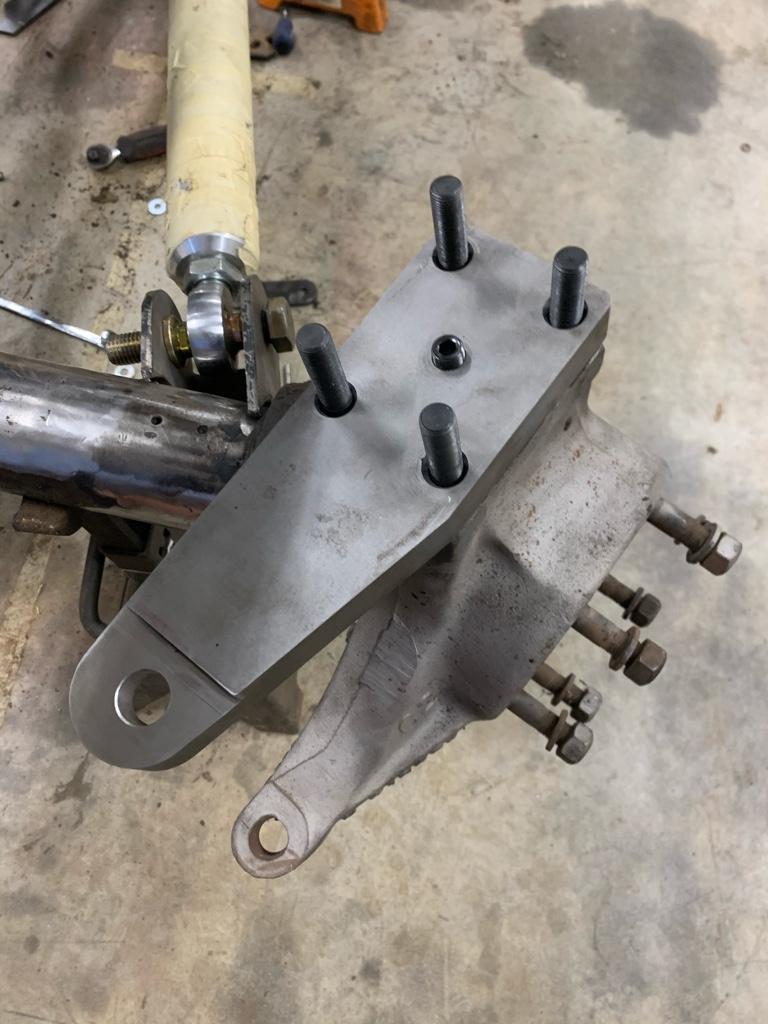
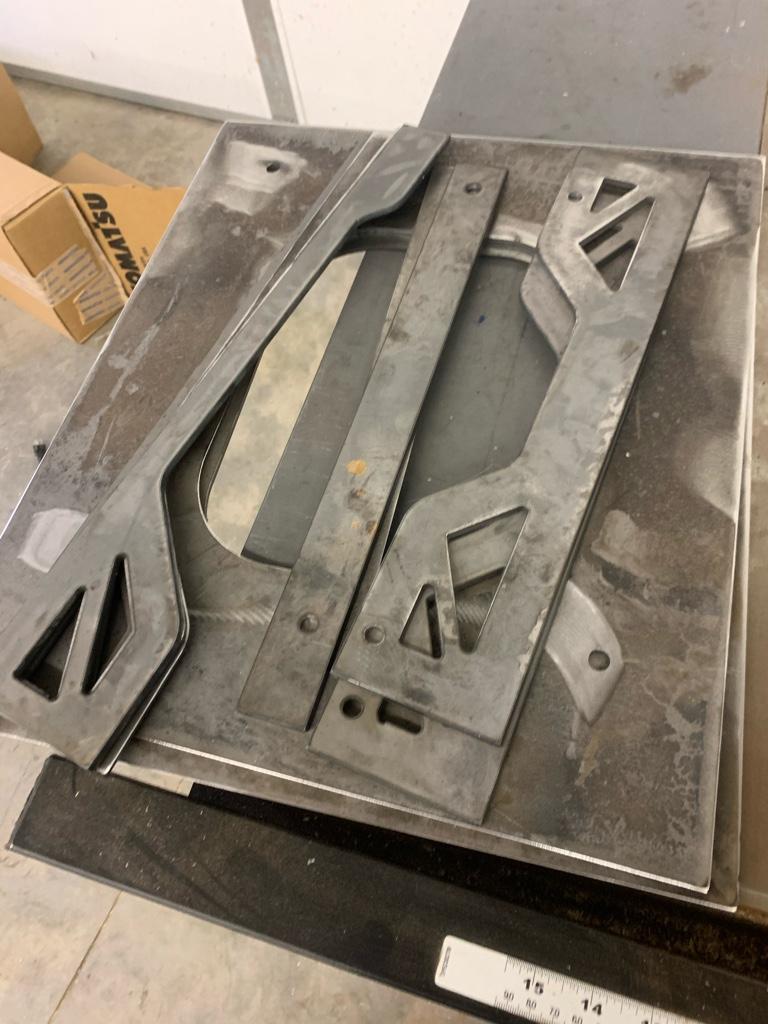
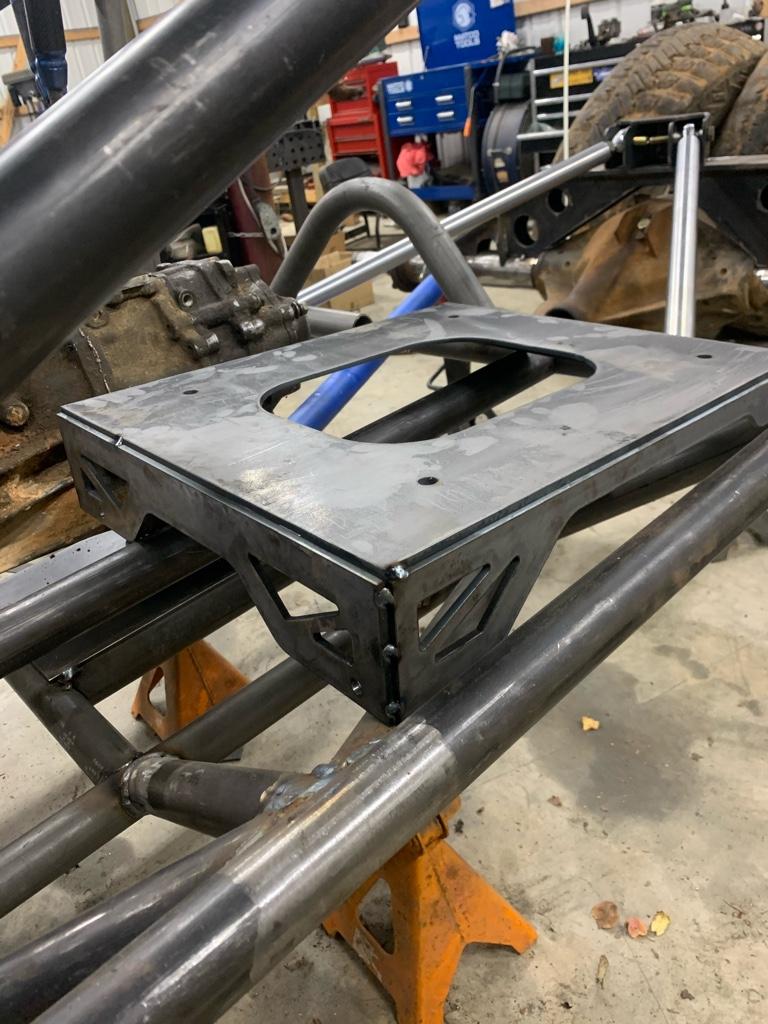
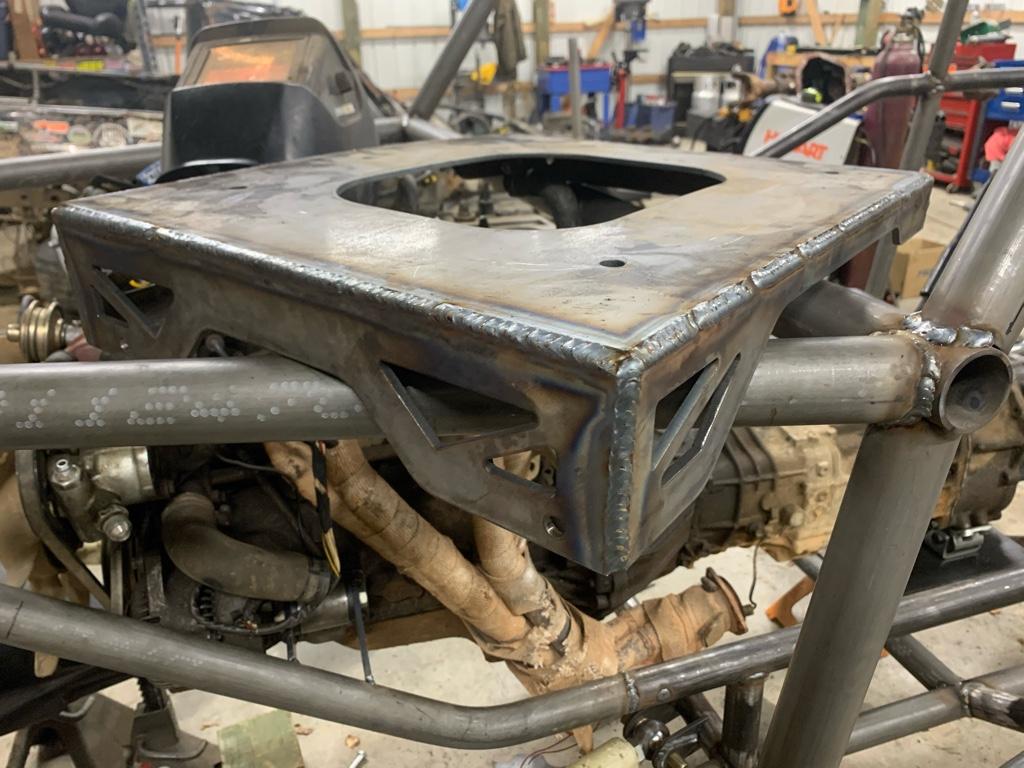
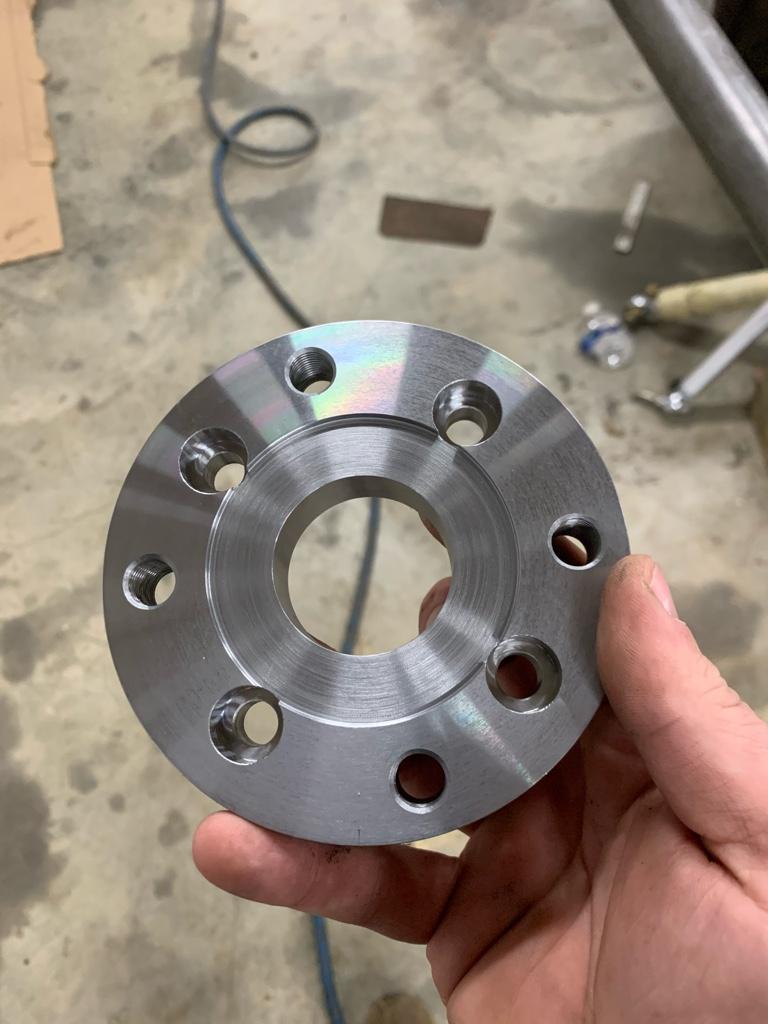
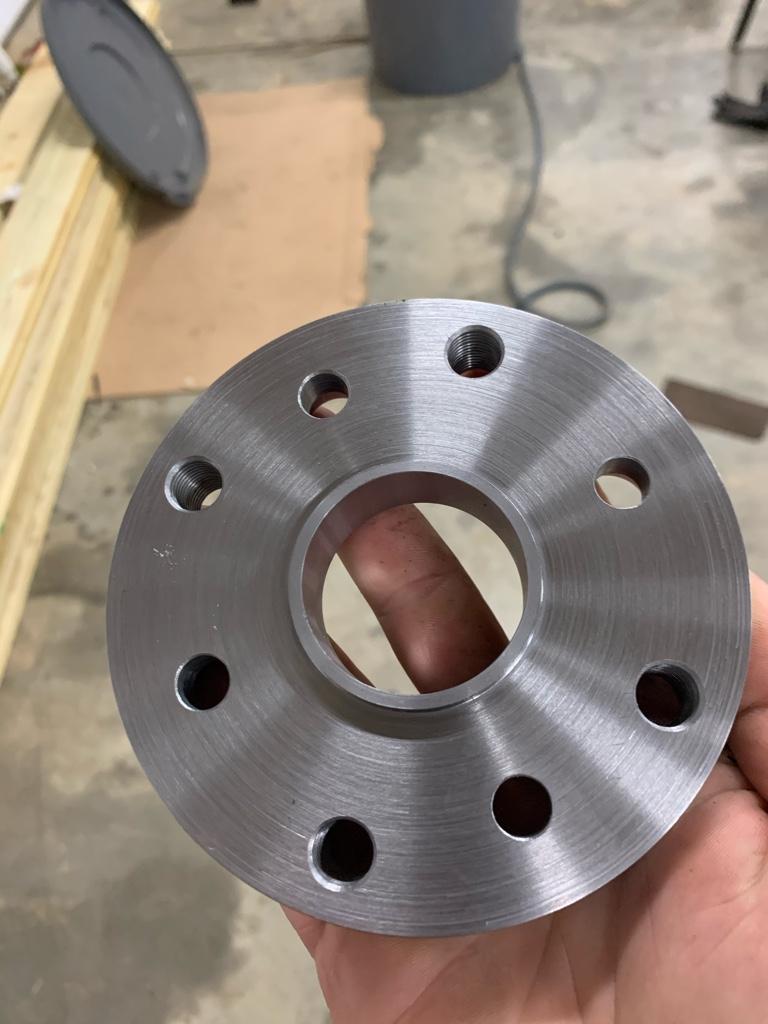
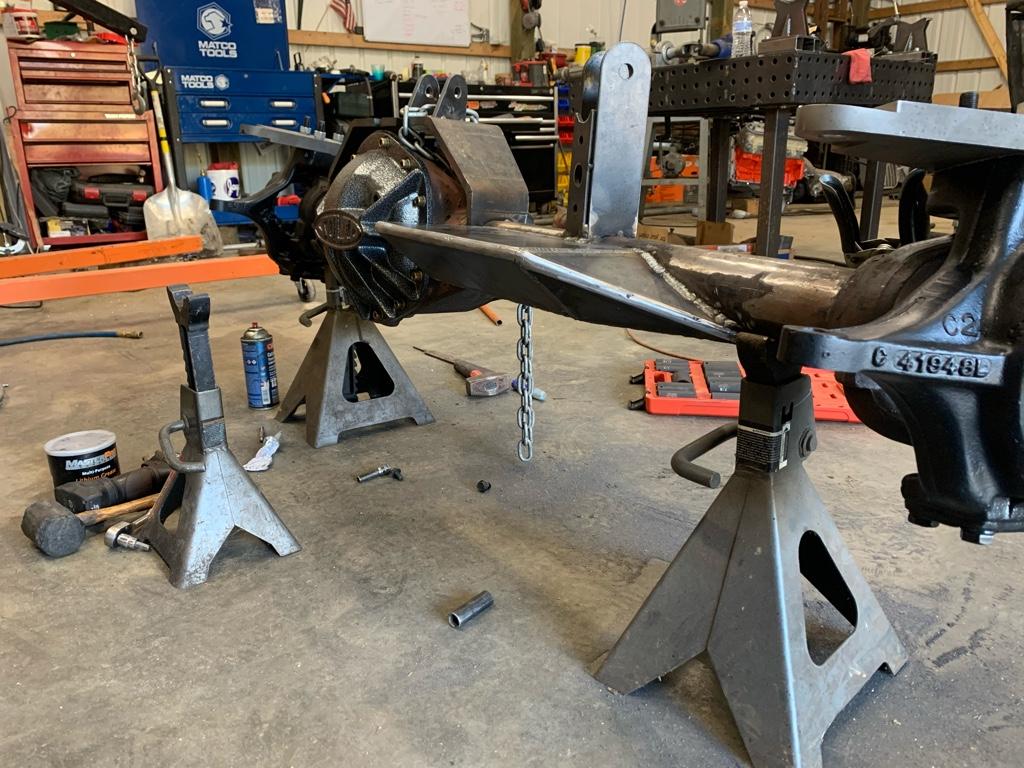
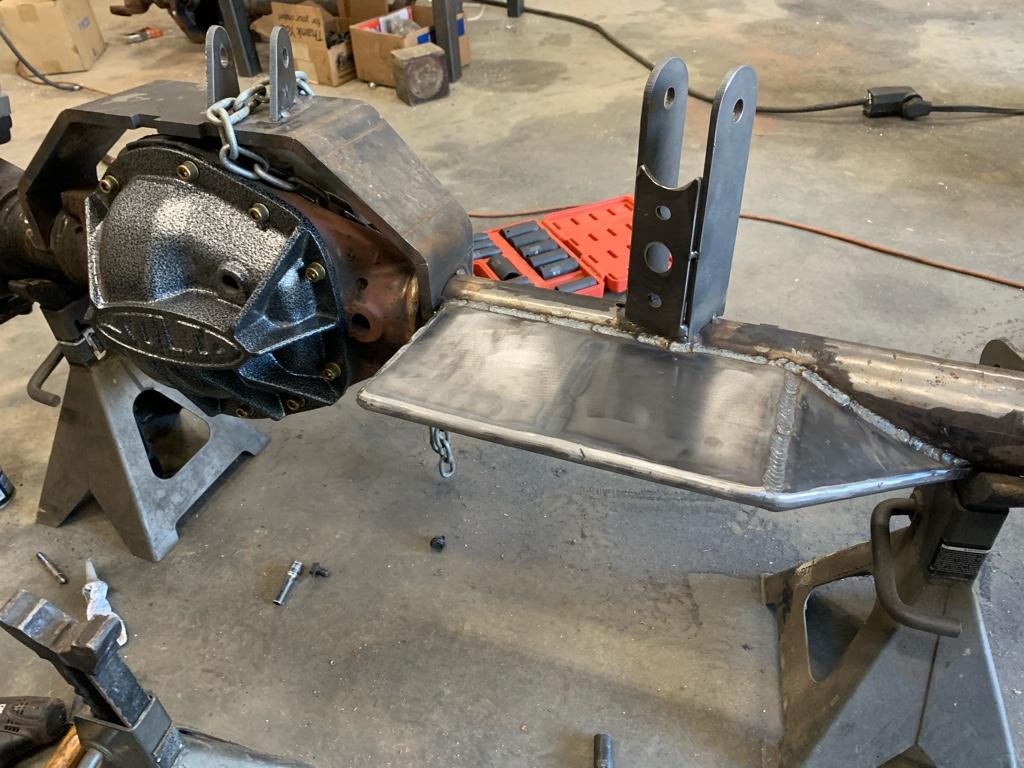
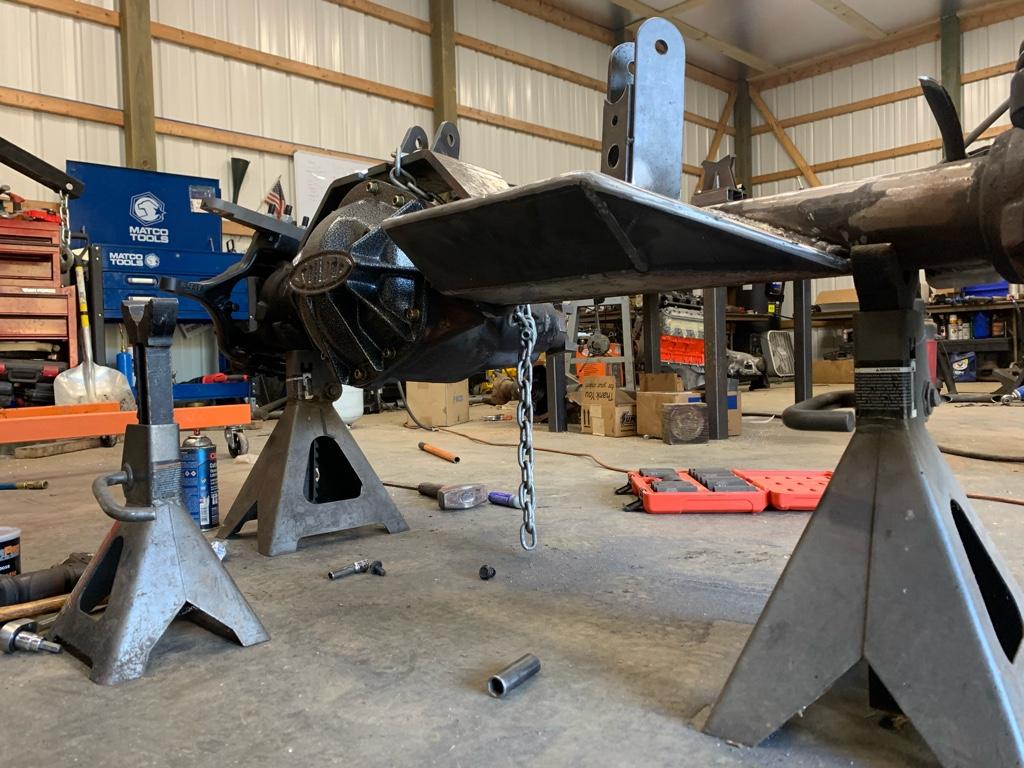
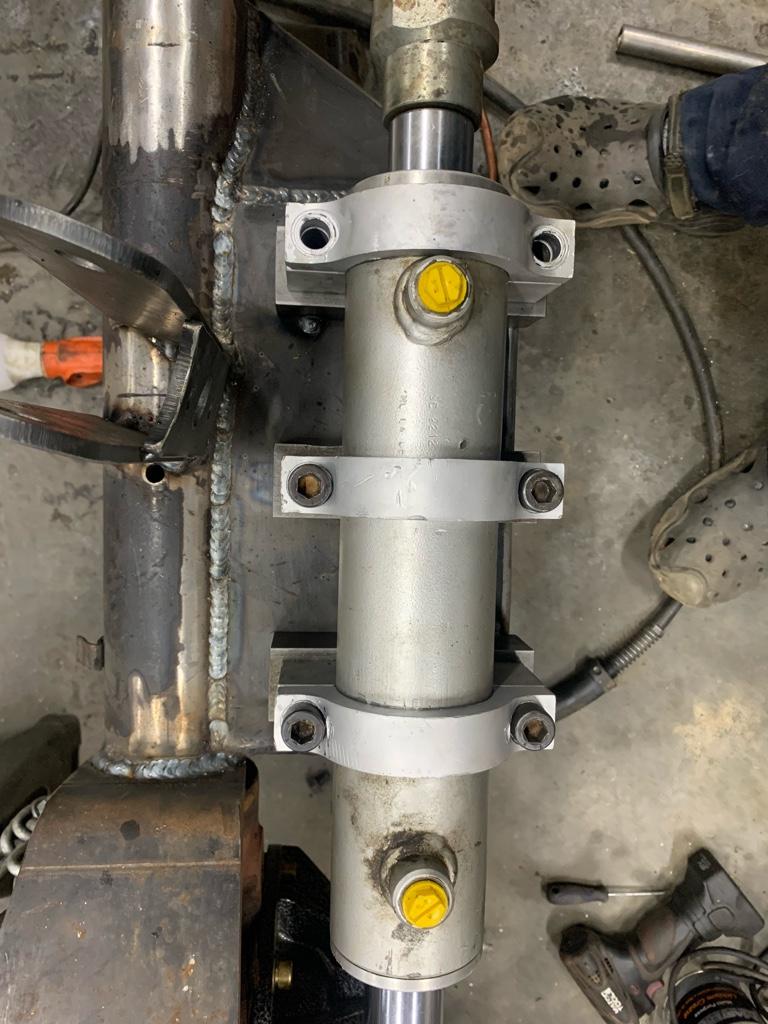
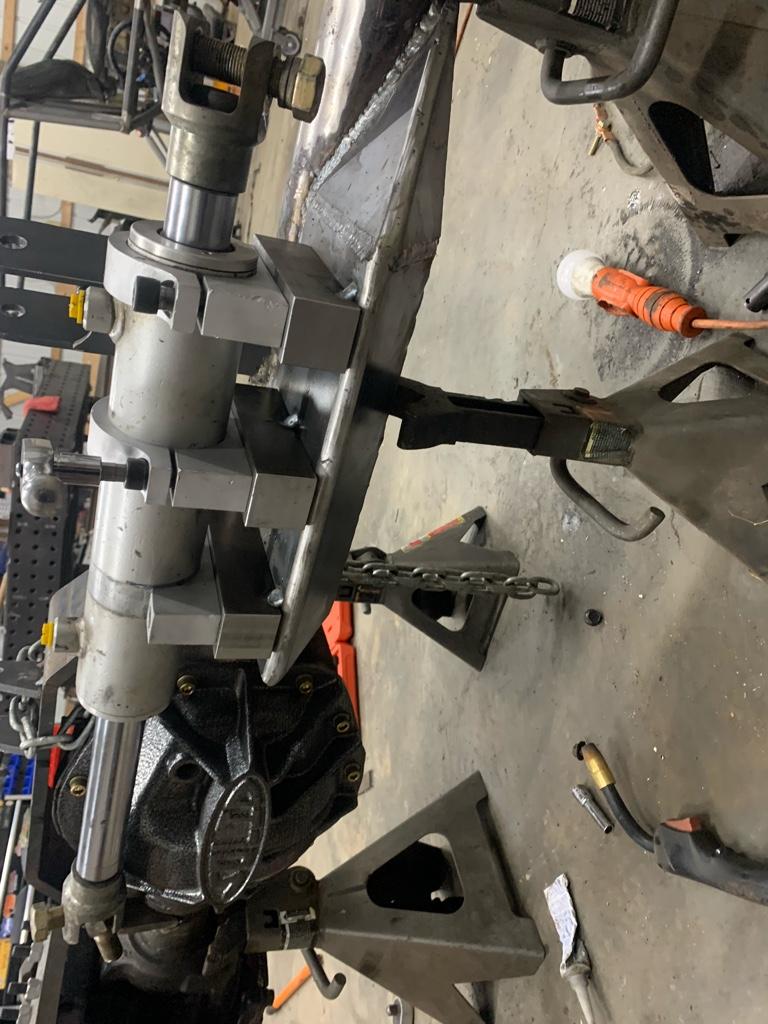
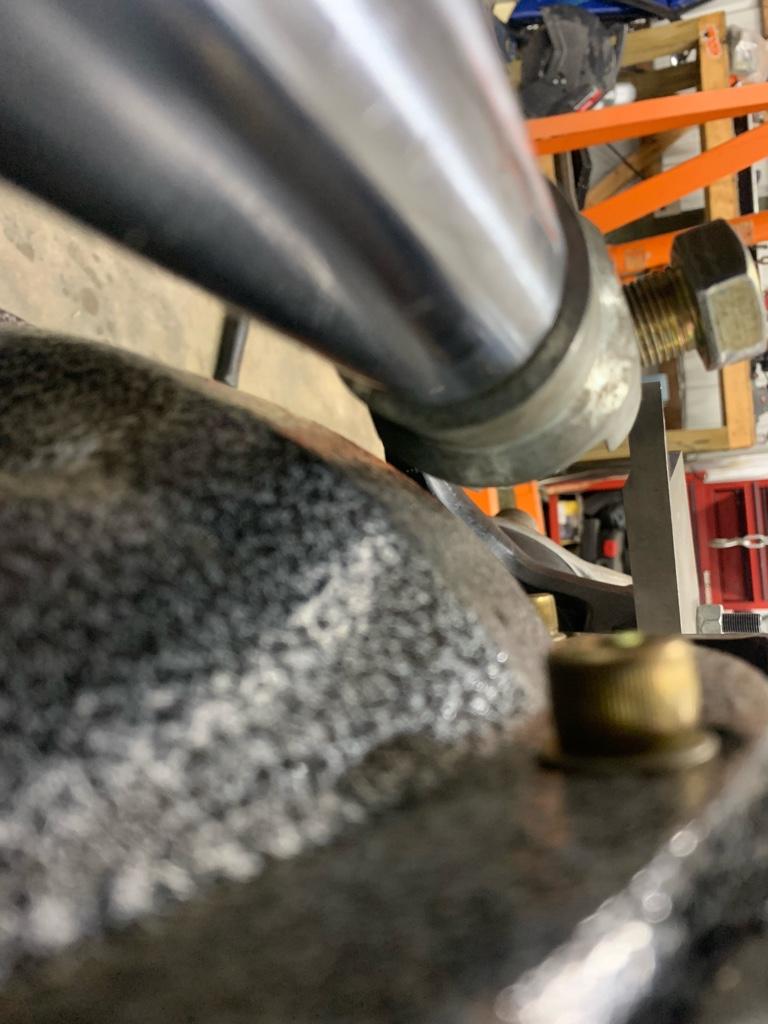
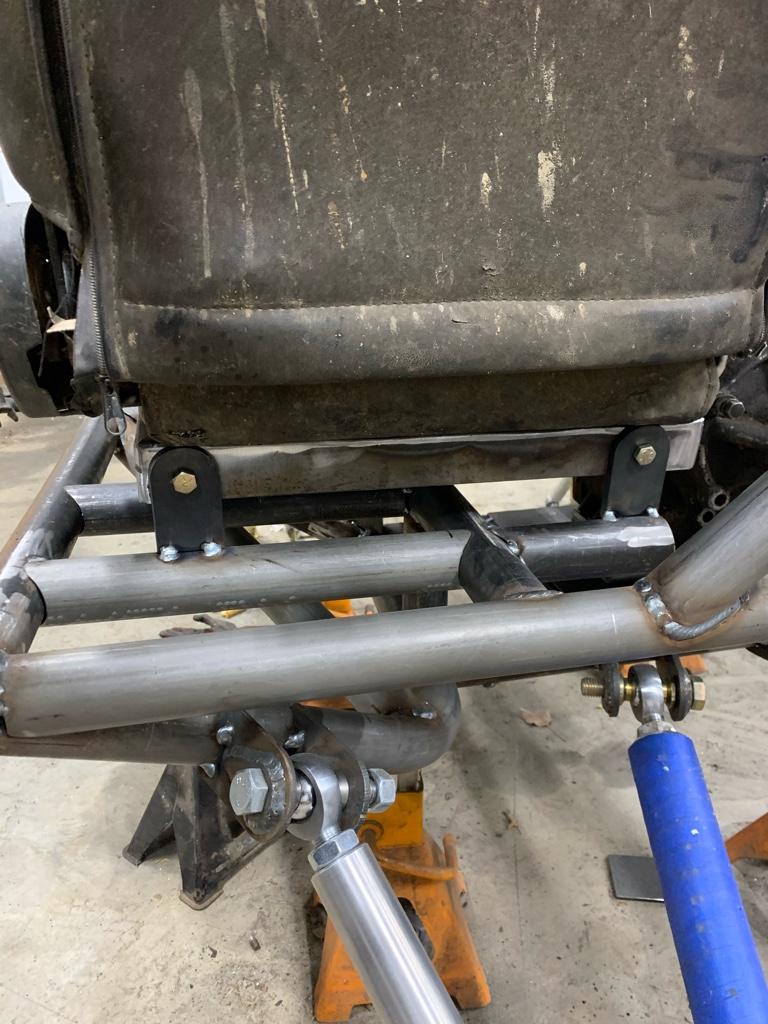
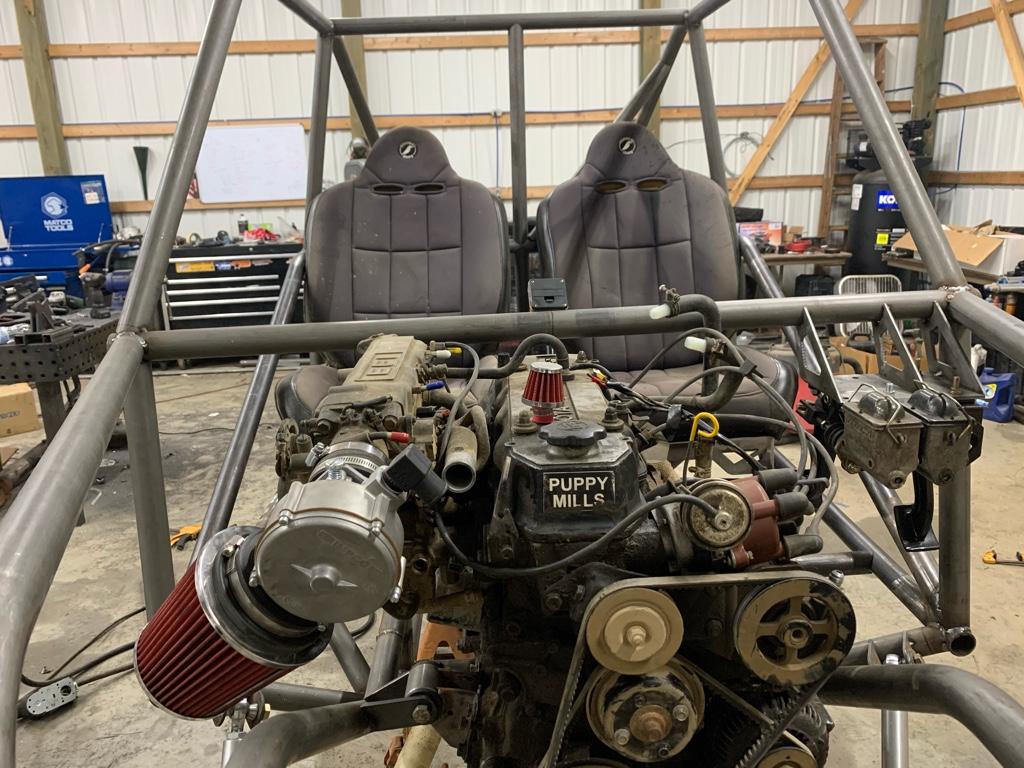
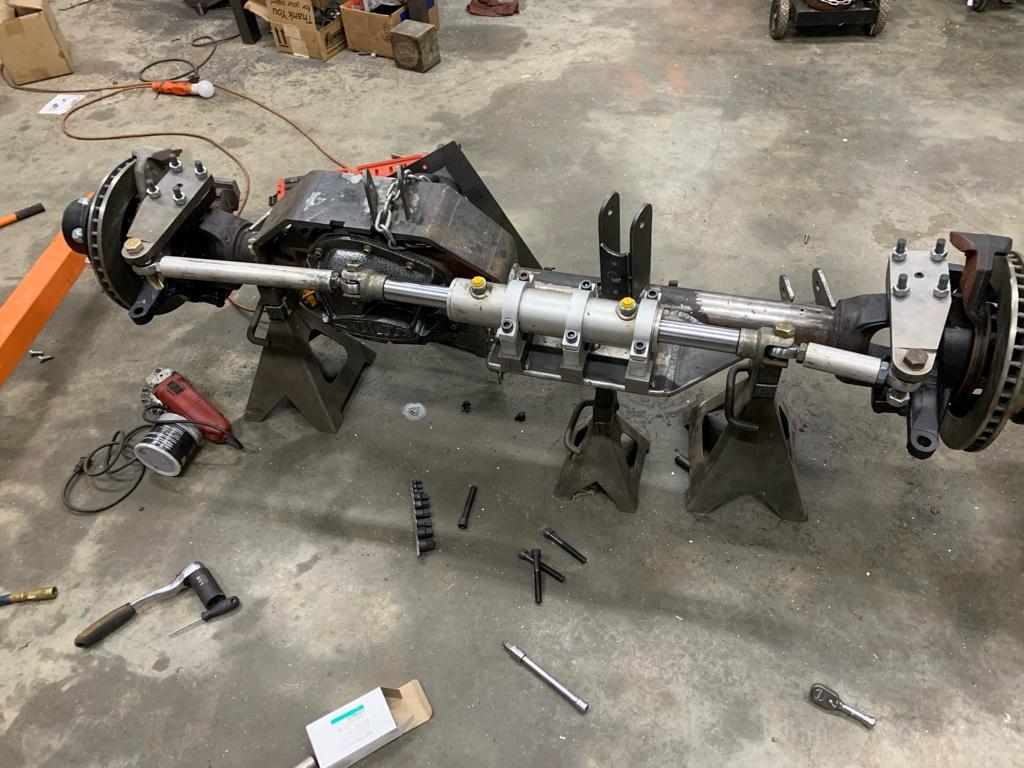
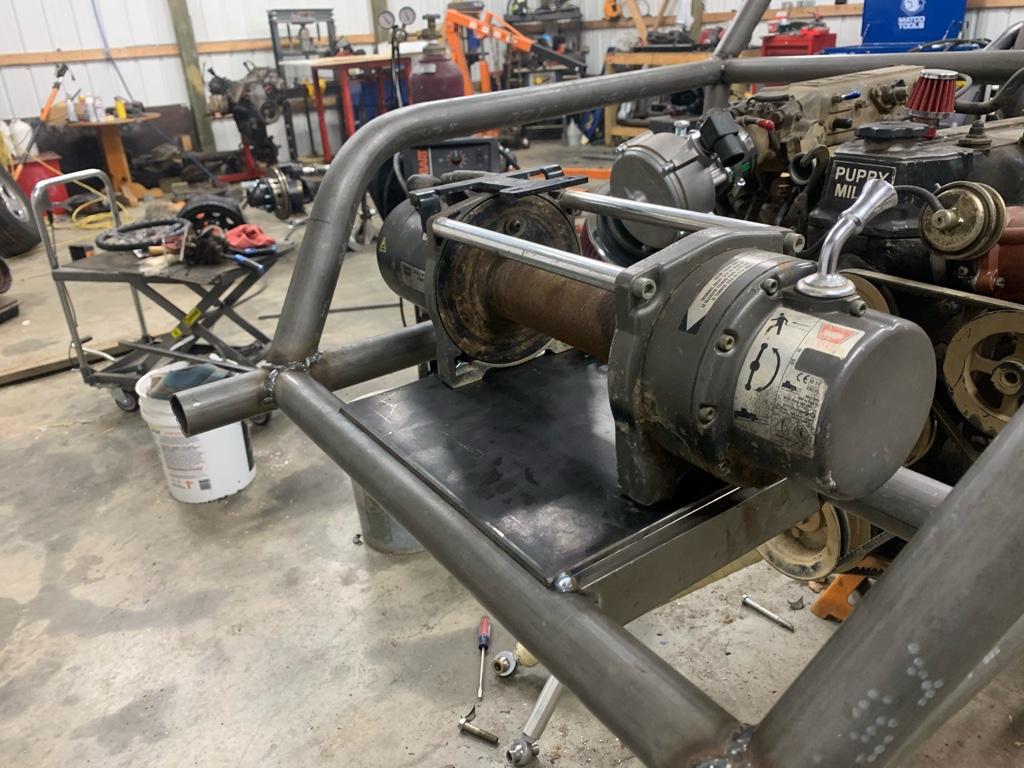
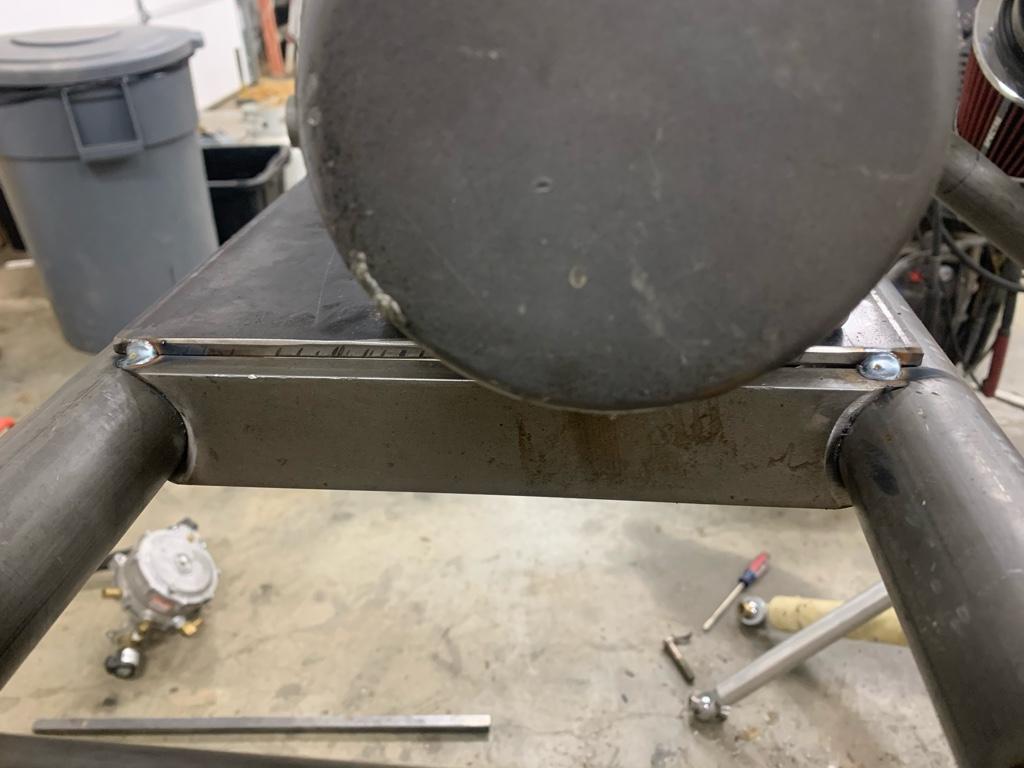
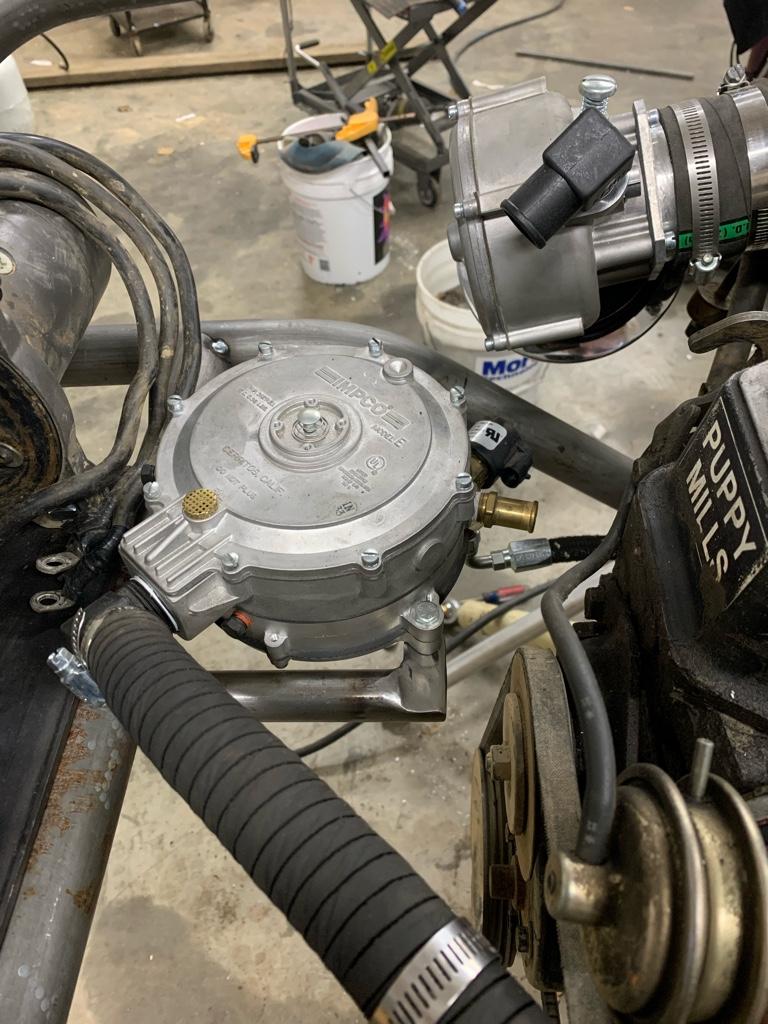
Couple items I built this week.
2a5701e21eb7a2bbb11eccba5f94772a.jpg

4337932bfecd8136e660e7ea0a3476b3.jpg


b7a5613992961ed912391f4468cd5df6.jpg


5a906ad2dacd27e6bf721b4d8820b85d.jpg

920dd9a7ce0201db78ccd61100be191f.jpg


Sent from my iPhone using Tapatalk
 
Inching along here.

I built the carrier bearing housing from deign to finished product. I designed it to use two 63mm sealed bearings from the parts house and some Spicer components for the 1410 U-joint. It's pretty similar to a lot of other carrier bearings on the market, but I wanted the tabs in a different orientation. And I just so happed to have a 7 inch round piece of 7075 laying around. The only necessary modification to the Spicer part was shortening the yoke due to the thicker bearings than the midshaft was designed for. Next, I am attaching the yoke to the other end of the bearing and truing it.

Capture.JPG

IMG-3078.jpg

IMG-3079.jpg
 
My 94 did it all the time just dumping smoke or rolling coal lol at the flats. Was going to add a catch can and do away with the pcv valve, but its been so long ago I think that was the issue with mine.
 
No real progress, but a little more design/machine work.

3fbe5a235b0706e523c2d13988758f1f.jpg

cc1416fcfab6fe2a2730fdbb9eee8dbe.jpg


This flange will be used to adapt a 1410 flange to my Toyota transfer case. It’s made of 1045 steel. It will be pretty tight to the mount in the front but I have about 3/8” of an inch of clearance.


Sent from my iPhone using Tapatalk

Are you putting this between the 2 as an adapter, or going to press/weld the splines in the center to be able to bolt it directly to the case/output?
 
[mention]paradisePWoffrd [/mention]
Bolted/ sandwiched in. The counter bored holes are the Toyota 60mm x60mm. And the threaded holes are for the 1410 flange.


Sent from my iPhone using Tapatalk
 
I’ve been slacking off but will refocus this week. Starting on the steering mount for the front axle. Worked out the boxed mount on solid works and plasma’d it out. It’s a little short and low but my threaded risers for the ram will work this out.


f4c651c125a01b5d7c1c7832f94287ec.jpg


f2c898d6e9fa688d0d5fe63d7e3e1829.jpg


df30b366d9c5e39d64b70797747cbc4e.jpg


Sent from my iPhone using Tapatalk
 
Since the steering mount was a little low on the axle I wanted to make some threaded risers. 1.5” was about the minimum height that allowed me to clear the diff cover and keep it tucked back. I used some 1.5” square bar. Milled the ends and tapped the holes. It worked out and if it clears, it clears. The Clevis is the closest portion throughout the steering cycle and it clears the solid diff cover by about 1/8”.

Going to tie the 3 into each other with some 3/16 plate for strength, weld area and to hopefully make the design a bit more visually pleasing.

6a16de6ff210362c1a31d2073bd2e995.jpg


25e6372503d51bb7f98d3a51a58ac3b4.jpg


ff315a9930b36ccfdbc53d7af32afc87.jpg


Sent from my iPhone using Tapatalk
 
Got at it this weekend, and I am finally making good progress.

I wasn’t a fan of my first seat mount design, so I decided to change them up. Also, added in my floor supports while I had the seats out.

60089e5b8c94bb237949eceec65134fd.jpg

5fa62591d6abaa5c7187a7a2fbdd50ef.jpg


d20965d6787e042c6bae004bc220878c.jpg


This morning I drilled and tapped my steering linkage and threw it on the axle. Still need to shorten one up (apparently I can’t read a tape measure) and polish them. This axle looks heavy. I keep meaning to weigh it, but forget to grab the hanging scale. This is going to be a majority of the weight in the rig.

2f829157e3aa298fe90ce415320aab5a.jpg


Next up, winch mount. Had some 3/8 bar stock laying around which I used to support it between the 2 tubes.

8dfea63b1babdd337a2ad6aa5d59a565.jpg


beaf3e9106d31d3144ef55e3195f6558.jpg


Once the winch was on, I moved to the regulator mount for the propane.

e3a61eb1402613f11a40b85d6acd3076.jpg


Rest of the day will be spent designing mounts for my radiator, steering reservoir, steering orbital, steering cooler, and anything else I can think of.


Sent from my iPhone using Tapatalk
 
No buggy progress this weekend. The days are narrowing before me and my fiancée tie the knot in April!

Since I am making a 15 minute move down the road to Stanfield, I am currently working on the existing 24x30 project shop that was already on the property where we will be living. When we first stared on it, it had no electricity, a dirt floor and a lot of junk. Now it has a 60 amp sub panel, full wiring, and as of this weekend a concrete floor.

The pour this weekend was quite interesting. It started at about 9:30 when the concrete crew arrived and promptly realized the weeks and weeks of rain in NC has caused the ground to become quite soft. Their 3500 dually was stuck in a relatively flat spot. We pulled it out with the tractor and on they went. The concrete truck arrives at 10, and we direct them up the driveway to a hopeful and different patch of non-gravel driveway. The beautiful 60k pound concrete truck made it a whopping 6ft off of the drive way while we had the 65 hp 4wd tractor we had no chance. We unloaded the truck one tractor bucket at a time, 10 buckets per 4 yards, About 200 yards from the building. Intermittently, trying to remove the truck from the mud with different equipment until the last, when we decided to bring out the excavator, which takes a while considering it only travels at about 2mph. We had the truck fully unloaded at that point and the excavator made quick work of it. The truck was on it way and the building had the concrete. All in a days work.
 

Attachments

  • 41909BB4-C295-466F-A256-9E3586FB30C1.jpeg
    41909BB4-C295-466F-A256-9E3586FB30C1.jpeg
    120.2 KB · Views: 302
  • 4099F252-84F8-4ED1-BA80-953C6F53BA4D.jpeg
    4099F252-84F8-4ED1-BA80-953C6F53BA4D.jpeg
    106.9 KB · Views: 293
Congratulations on all the great news! New house, new shop, and marriage!
Thanks man! It's a lot of change, but I am ready for it.
 
I don’t have much to show for work on the buggy this weekend. I did pickup my rear axle from getting gears and a spool. Also, I worked on some new (larger) garage door frames and insulated ceiling.
04F908C2-5795-43AD-951B-23A53A67889D.jpeg

011B072B-A384-4042-BAB8-5AB746F12580.jpeg
 
I don’t have much to show for work on the buggy this weekend. I did pickup my rear axle from getting gears and a spool. Also, I worked on some new (larger) garage door frames and insulated ceiling.
View attachment 339590
View attachment 339591
You getting any water in the shop on a good steady rain that comes down that hill? Looking at that bottom picture, may be worth grading that down a bit about 10ft before the garage doors and then have the grade come back up to the doors. This would create a little trench and allow the water to flow around the shop and down the left side (when facing the shop doors from the outside) of the shop.

Ask @Chris_Keziah how much he loves dealing w/ water in his shop since the PO did a wonky job on the build / grading.
Not yet, but what you can’t see is there is a giant hill to the right of this pic that drains water right aginst the foundation making some slightly damp spots. The plan is to cut it out and put a slight V beside the building that gets more gradual and turns in front of the building to remedy what you’re talking about as well... I’ve got a lot of grading to do and it’s on the list for sure. I’m planning to set up a 24x30 3 wall carport beside it, so I’ve got to make a flat spot for it.
 
You getting any water in the shop on a good steady rain that comes down that hill? Looking at that bottom picture, may be worth grading that down a bit about 10ft before the garage doors and then have the grade come back up to the doors. This would create a little trench and allow the water to flow around the shop and down the left side (when facing the shop doors from the outside) of the shop.

Ask @Chris_Keziah how much he loves dealing w/ water in his shop since the PO did a wonky job on the build / grading.
That was my next comment. Make it happen or the water will make what it wants to make happen...and you won't like it.
 
You getting any water in the shop on a good steady rain that comes down that hill? Looking at that bottom picture, may be worth grading that down a bit about 10ft before the garage doors and then have the grade come back up to the doors. This would create a little trench and allow the water to flow around the shop and down the left side (when facing the shop doors from the outside) of the shop.

Ask @Chris_Keziah how much he loves dealing w/ water in his shop since the PO did a wonky job on the build / grading.

It's absolutely joyous 🙄 
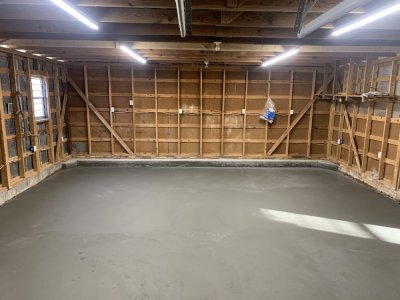
Next shop will be at the top of a grade for sure.
 
Updates on the build fool

Wheeling season is upon us
 
Updates on the build fool

Wheeling season is upon us
I'm getting there. Got side tracked with life and other projects. With a few good weekends of work, I'll be out wheeling you on every trip with these bald tires. No worries.
 
I'm getting there. Got side tracked with life and other projects. With a few good weekends of work, I'll be out wheeling you on every trip with these bald tires. No worries.
And here I am actually out wheeling...

I get it though, come get these joints and get them installed
 
Finally! In the new space and getting a move on. Axles are mostly together and under the chassis. The shock mounts are in the design phase and almost ready to be cut. Wheels are coming in Thursday, so It should be a roller this week (with some sick bald tires). The plan is to finish up some tube work this weekend.

Currently sitting at 18" belly height with 40" tires and 3 inches of uptravel. Thinking about raising that to 20" belly height with 5 inches of uptravel since it is primarily a trail buggy.

Most recent update pic.

update1.jpg
 
Knocked out a couple of task this weekend. It wasn’t the volume of work I had hoped for, but it’s something.
Front shock mounts aren’t totally finished but the hard part of deciding on a design, placement, and angle is done.
40B61814-BAFF-4E4C-B846-22465101AC84.jpeg

The wheels came in so my Saturday was spent putting some beadlocks on. Tried a different method going for a smooth ground surface which turned out to take much longer than expected, but they’re on there. Paint and bald tires, and they’re ready to go.
BC43E917-ABDE-4D4D-AADA-54D1E0C0253A.jpeg

3220B8B2-433E-48F4-86DB-4E5D285A873C.jpeg
 
Boy did these tires not want to come off the 6 lug rims. I wanted to dismount them today, so I could mount them tomorrow. It took a while with 2 tire irons and a piece of flat bar but these bald cheating tires are ready for their new home. Unfortunately, new stickies were in the budget this year, but I’m not ready to hurt everyone’s feelings quite yet either.

4CF4EBB0-79B7-4475-8F6A-6E32D86D17C8.jpeg
4B787D7C-8386-4955-AD1D-4F76EED99259.jpeg

1E9D6439-871E-4C31-AB72-EB89B0DF626B.jpeg
 
Over the past week/weekend the wheels and tires went together, shock mounts went on, and the rear axle hubs were installed too. I didn’t get great picture updates, so here’s another overall update pic of it as a roller.

The belly sits at about 12” at full bump. It looks like 18” at ride height is going to work out after all.

B33167A7-A0A1-4BD2-86BB-2A972955C277.jpeg
 
I might suggest to put a cross bar between those front shock mounts, if you werent planning on it. The way they are attached to the tube, they could get ripped off, and a brace would help limit the rotation.
 
Back
Top