ncblazerguy88
Member
- Joined
- Mar 3, 2012
- Location
- winston salem nc
make it drag the rear bumper, stop light to stop light ")


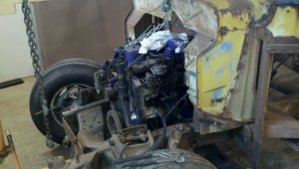
bring that motor to me and I will make that bus go fast
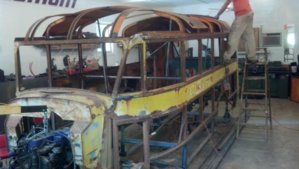
Looking good so far. Great progress in such little time. Your shop must have A/C!! Haha!
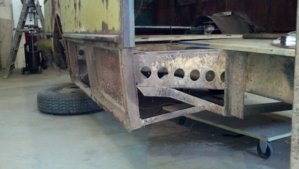
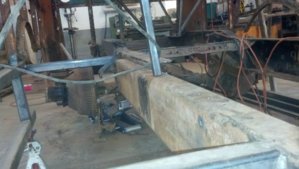
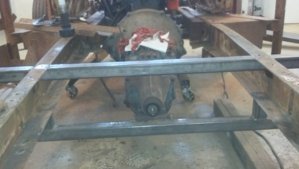
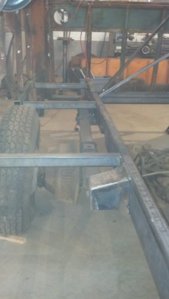
 I will probably just build a crossmember under the oilpan just in case road debris gets kicked up.
A/C unit will be 'frenched' into the rear center roof panel so it won't stick above the bus.
How will you keep rain water from flooding the AC unit? You could build a roof over it that overhangs the size of the hole, but water will still get in the hole and the AC needs to breath