adamk
Well-Known Member
- Joined
- Nov 20, 2010
- Location
- Hot-As-Hell, TX
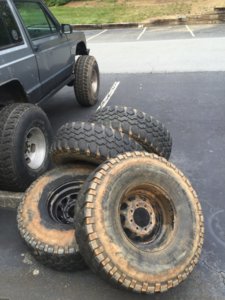
You are correct haha. Living in an apartment really kills my ability to work on it. I'll be outside with my welder tonight getting the rear shock mounts on haha.


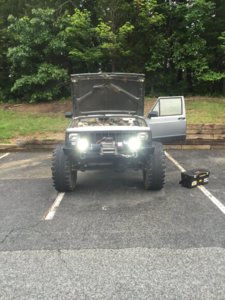
It's actually the radius arms that are the problem. Wristing the passenger arm is now a must. I just have to find another factory ford arm so that I can make a new one.Looks good man, might be time to adjust shock mounts to use all the travel though, lol.
It's actually the radius arms that are the problem. Wristing the passenger arm is now a must. I just have to find another factory ford arm so that I can make a new one.
Thanks. The plan is to run it as is for another season and see if the c bushings just need to be broken in. If so, I'll leave it, if not, I'll build a new passenger arm that has the wrist built into itAhh gotcha. Well I'm curious to see what you come up with bud.
It's actually the radius arms that are the problem. Wristing the passenger arm is now a must. I just have to find another factory ford arm so that I can make a new one.
I was actually planning to go out this weekend but some stuff has come up and I can't. Thanks for the invite though manYou wanna wheel on Saturday Adam? Club Christmas party is Saturday, free food....
Absolutely. Pm me and I'm sure we can work something outIve got a wristed arm im going to put up for sale soon. Probably going to be after christmas though before i can pull it off the truck. Let me know if you are interested.
love the XJ man, I'm a huge XJ fan and I love stance of your 2door. Awesome clean looking 2door!!