rodney eppes
Well-Known Member
- Joined
- Feb 3, 2010
- Location
- Mt.Holly NC 28120
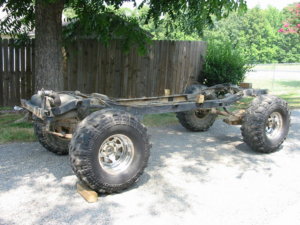
Don, you can truthfully say, " I put a lot of sweat in this ".
Stay COOL, young man!
Stay COOL, young man!

 ..... eventually.
 benefits of being retired.
post some more pics !!!! sounds like you gonna beet me back to the trails !!!


")


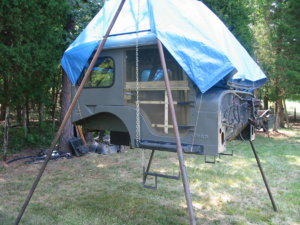
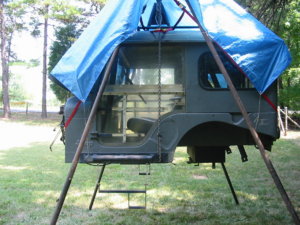
 You better lock the doors at night or he'll be down there playing on it