ckruzer
Infidel
- Joined
- Jul 2, 2015
- Location
- asheville nc
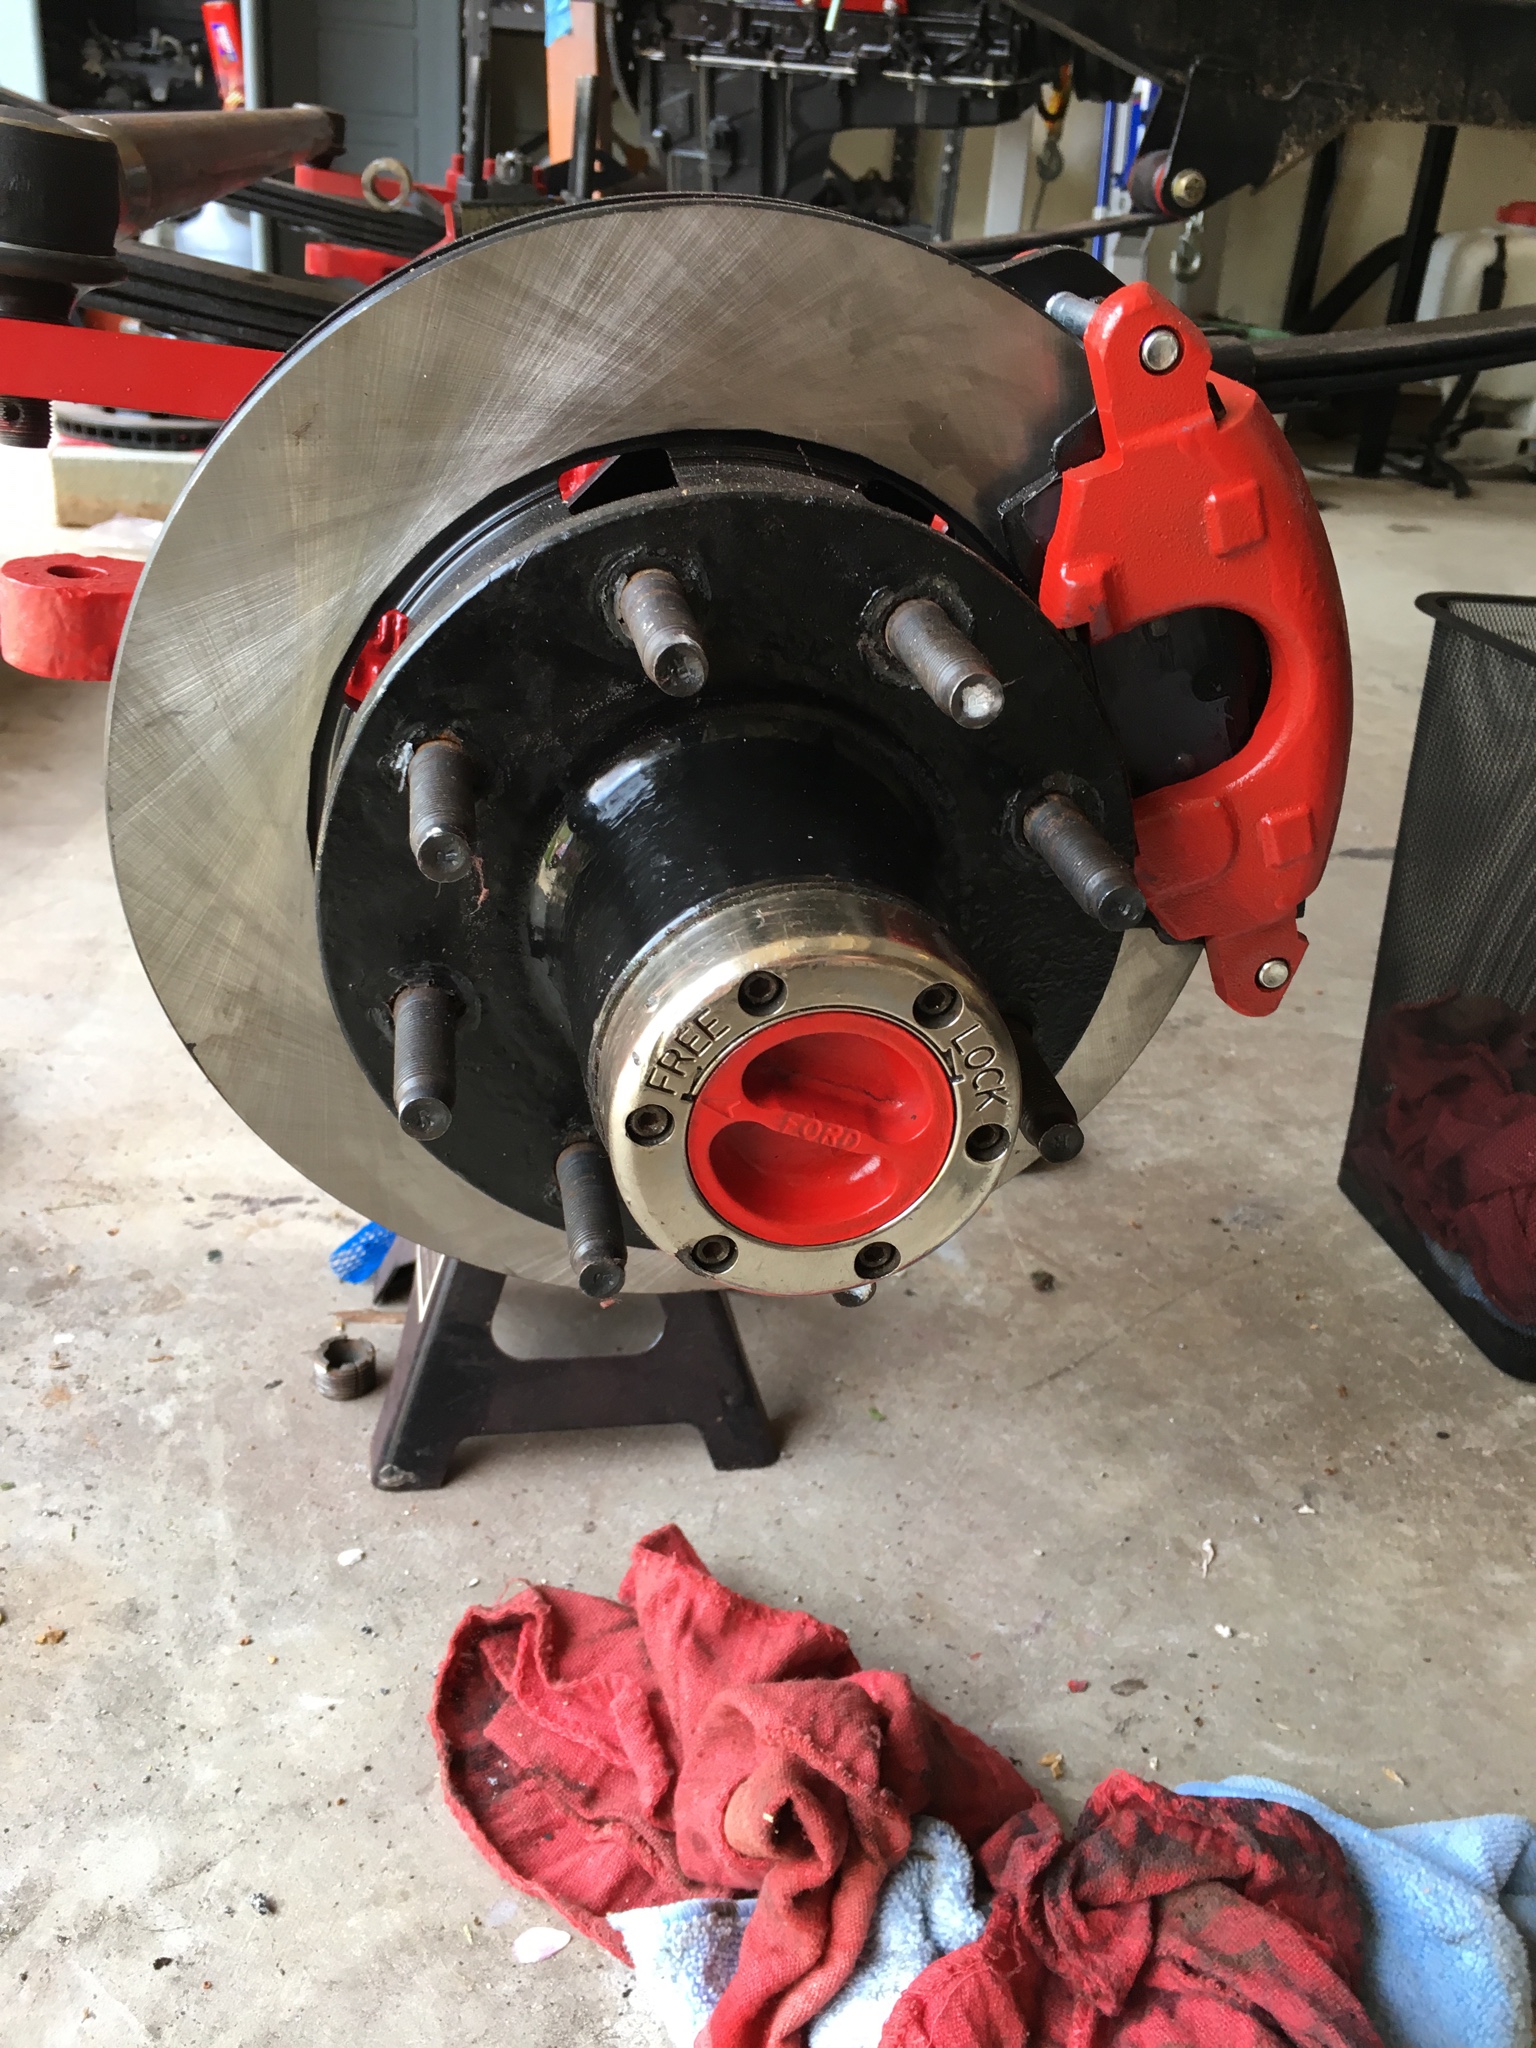
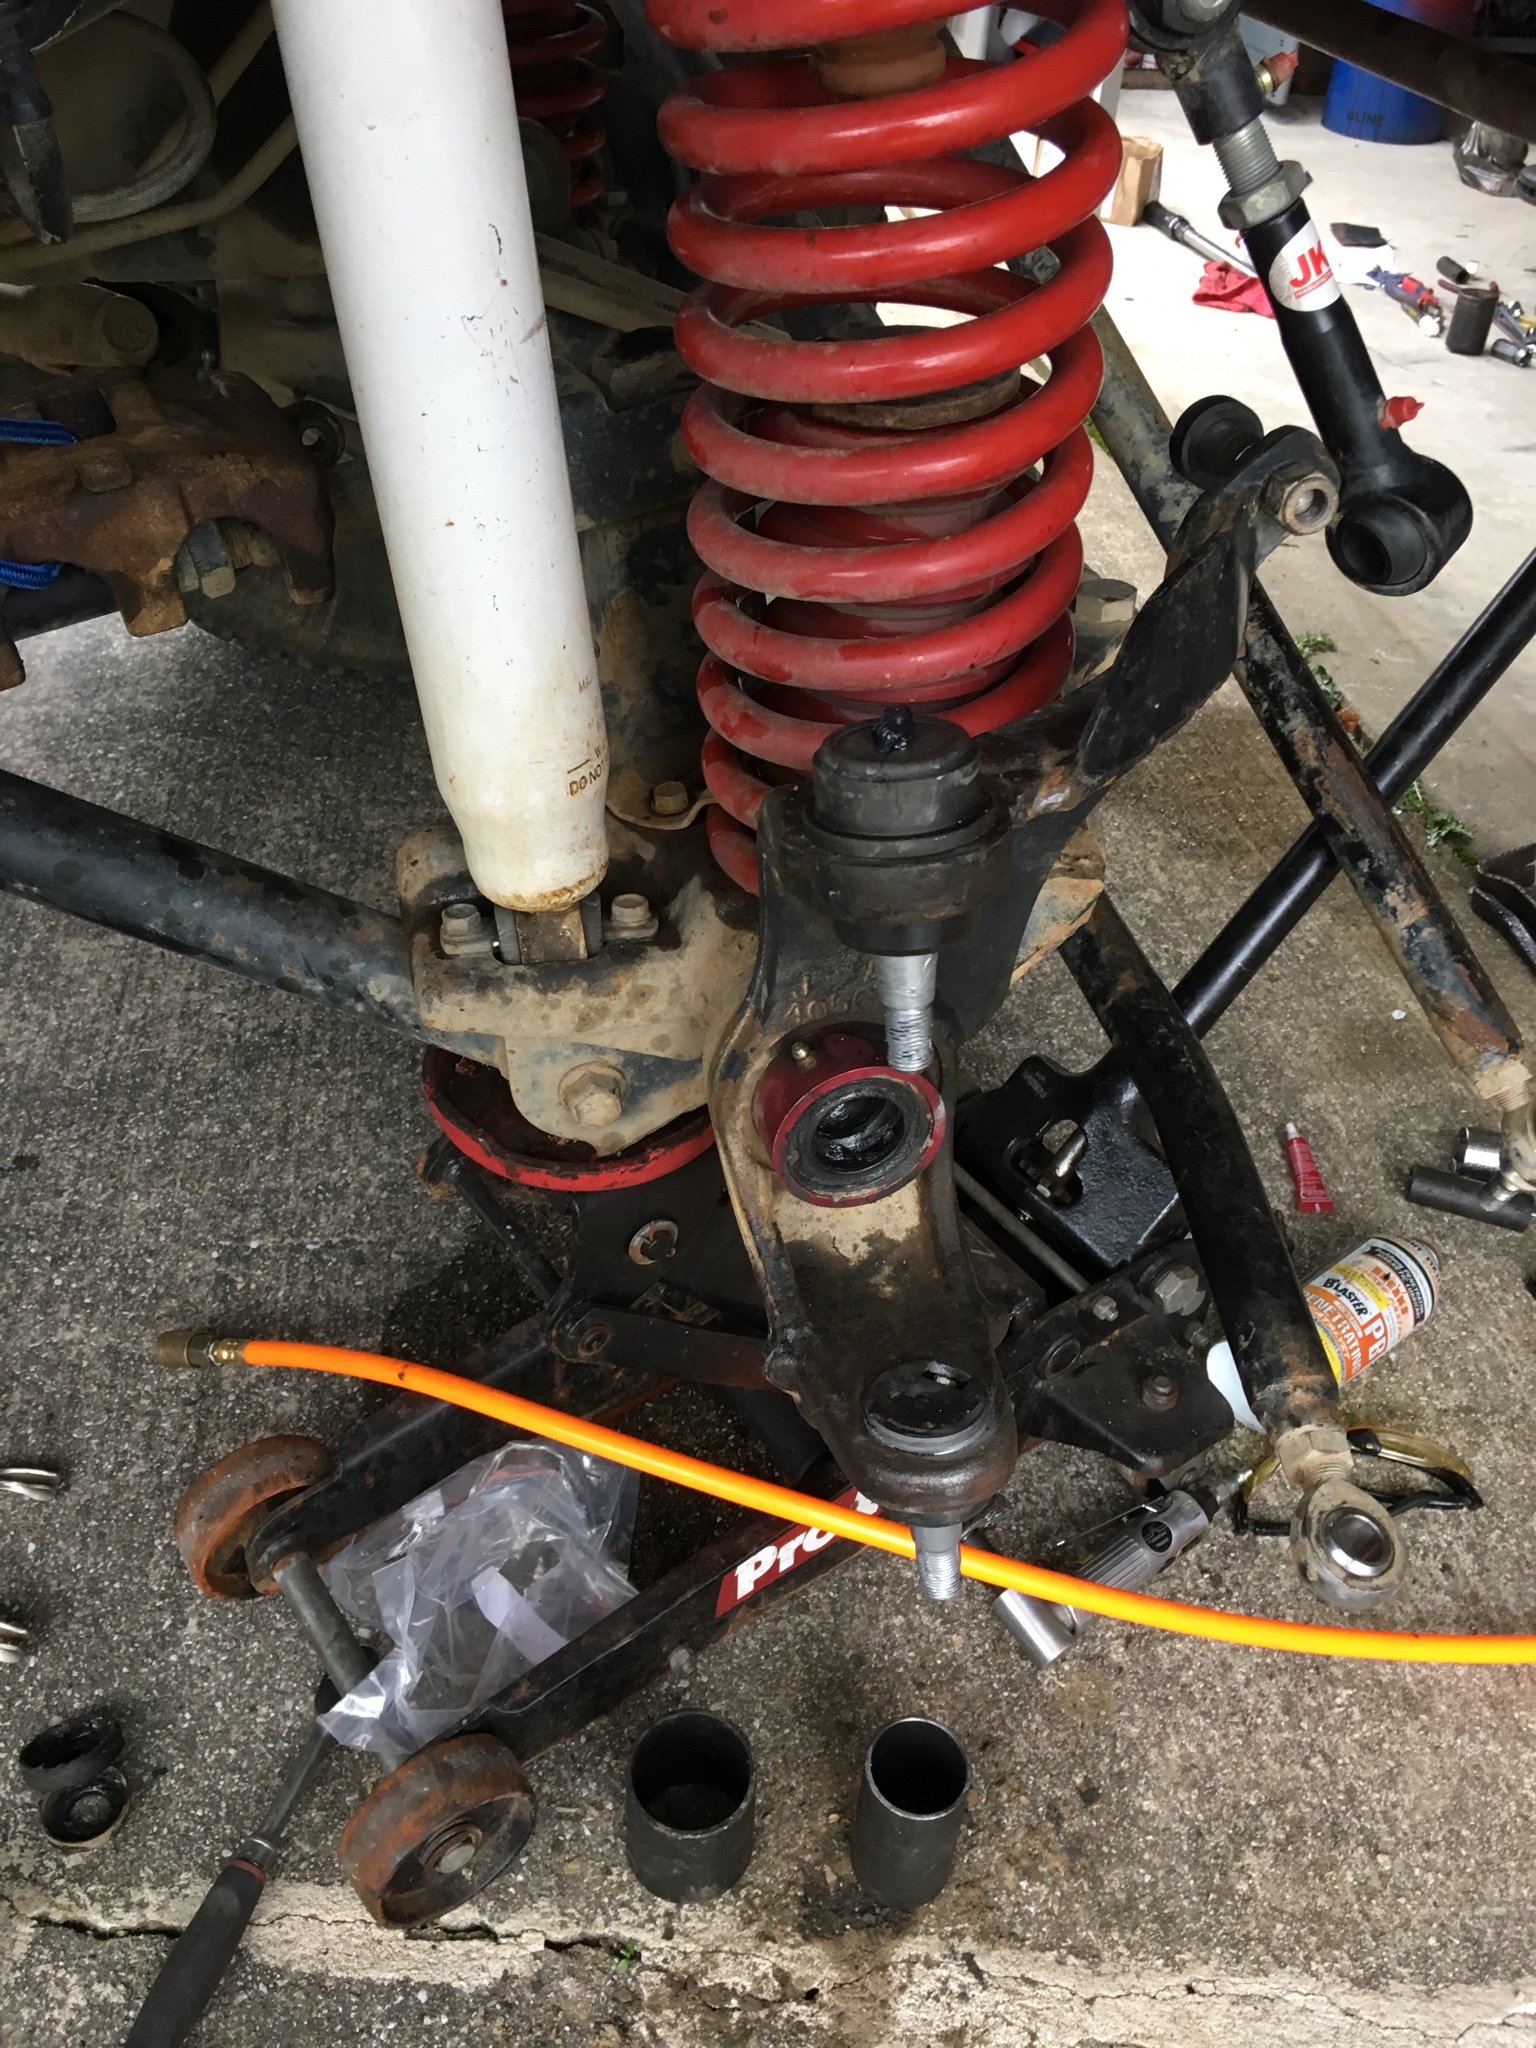
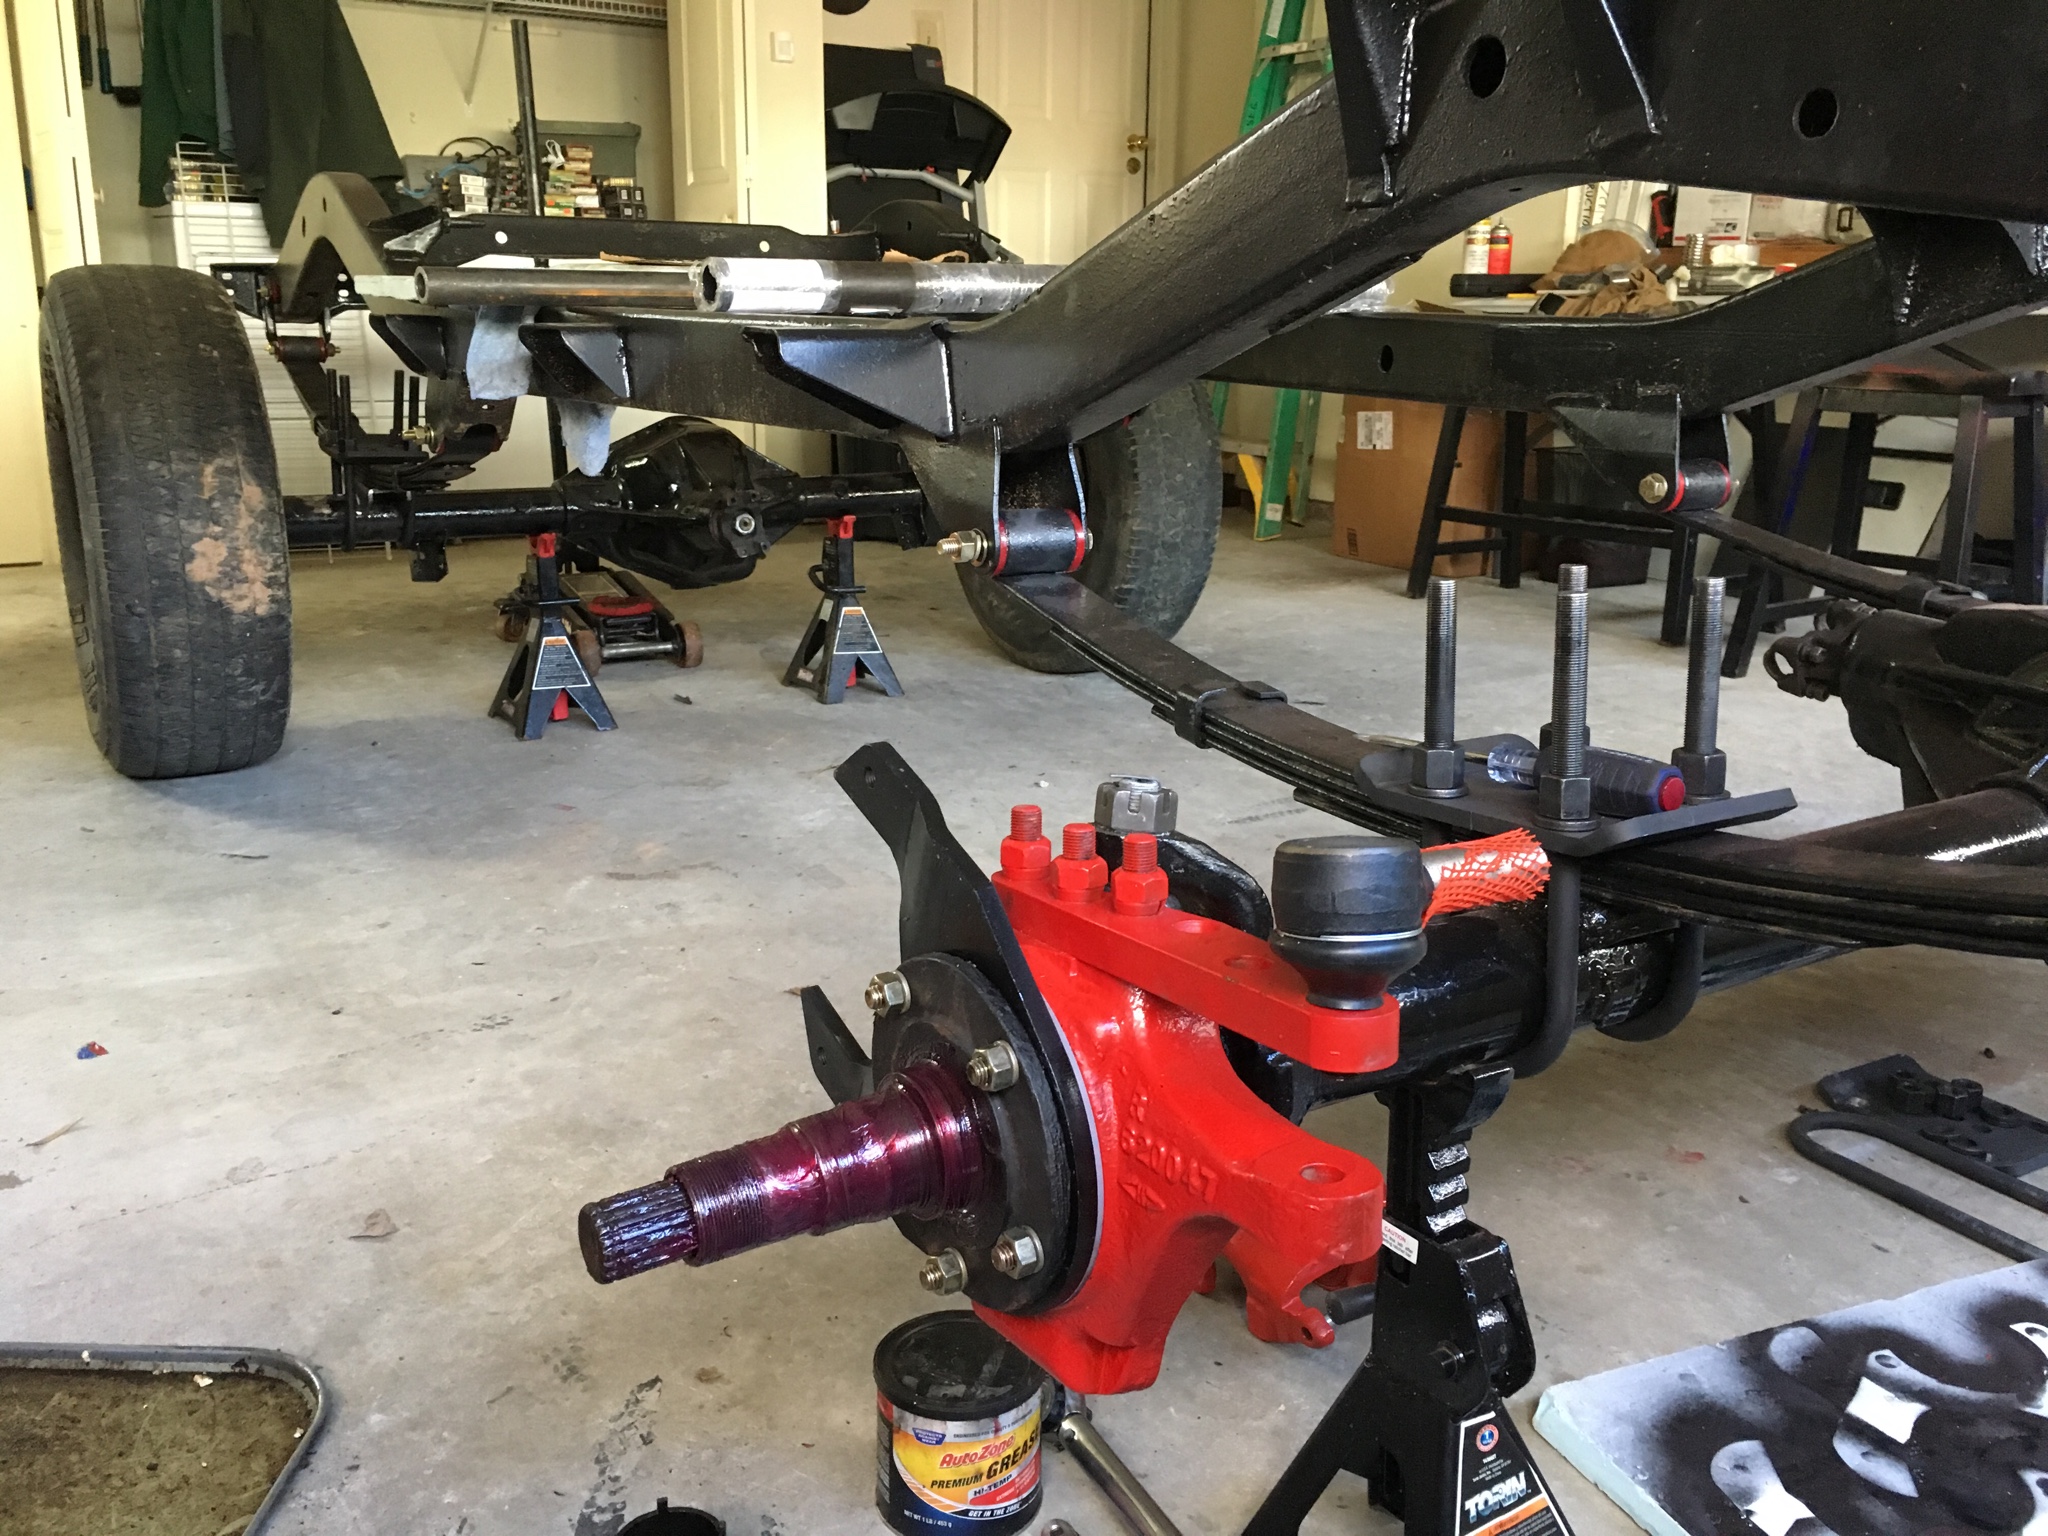
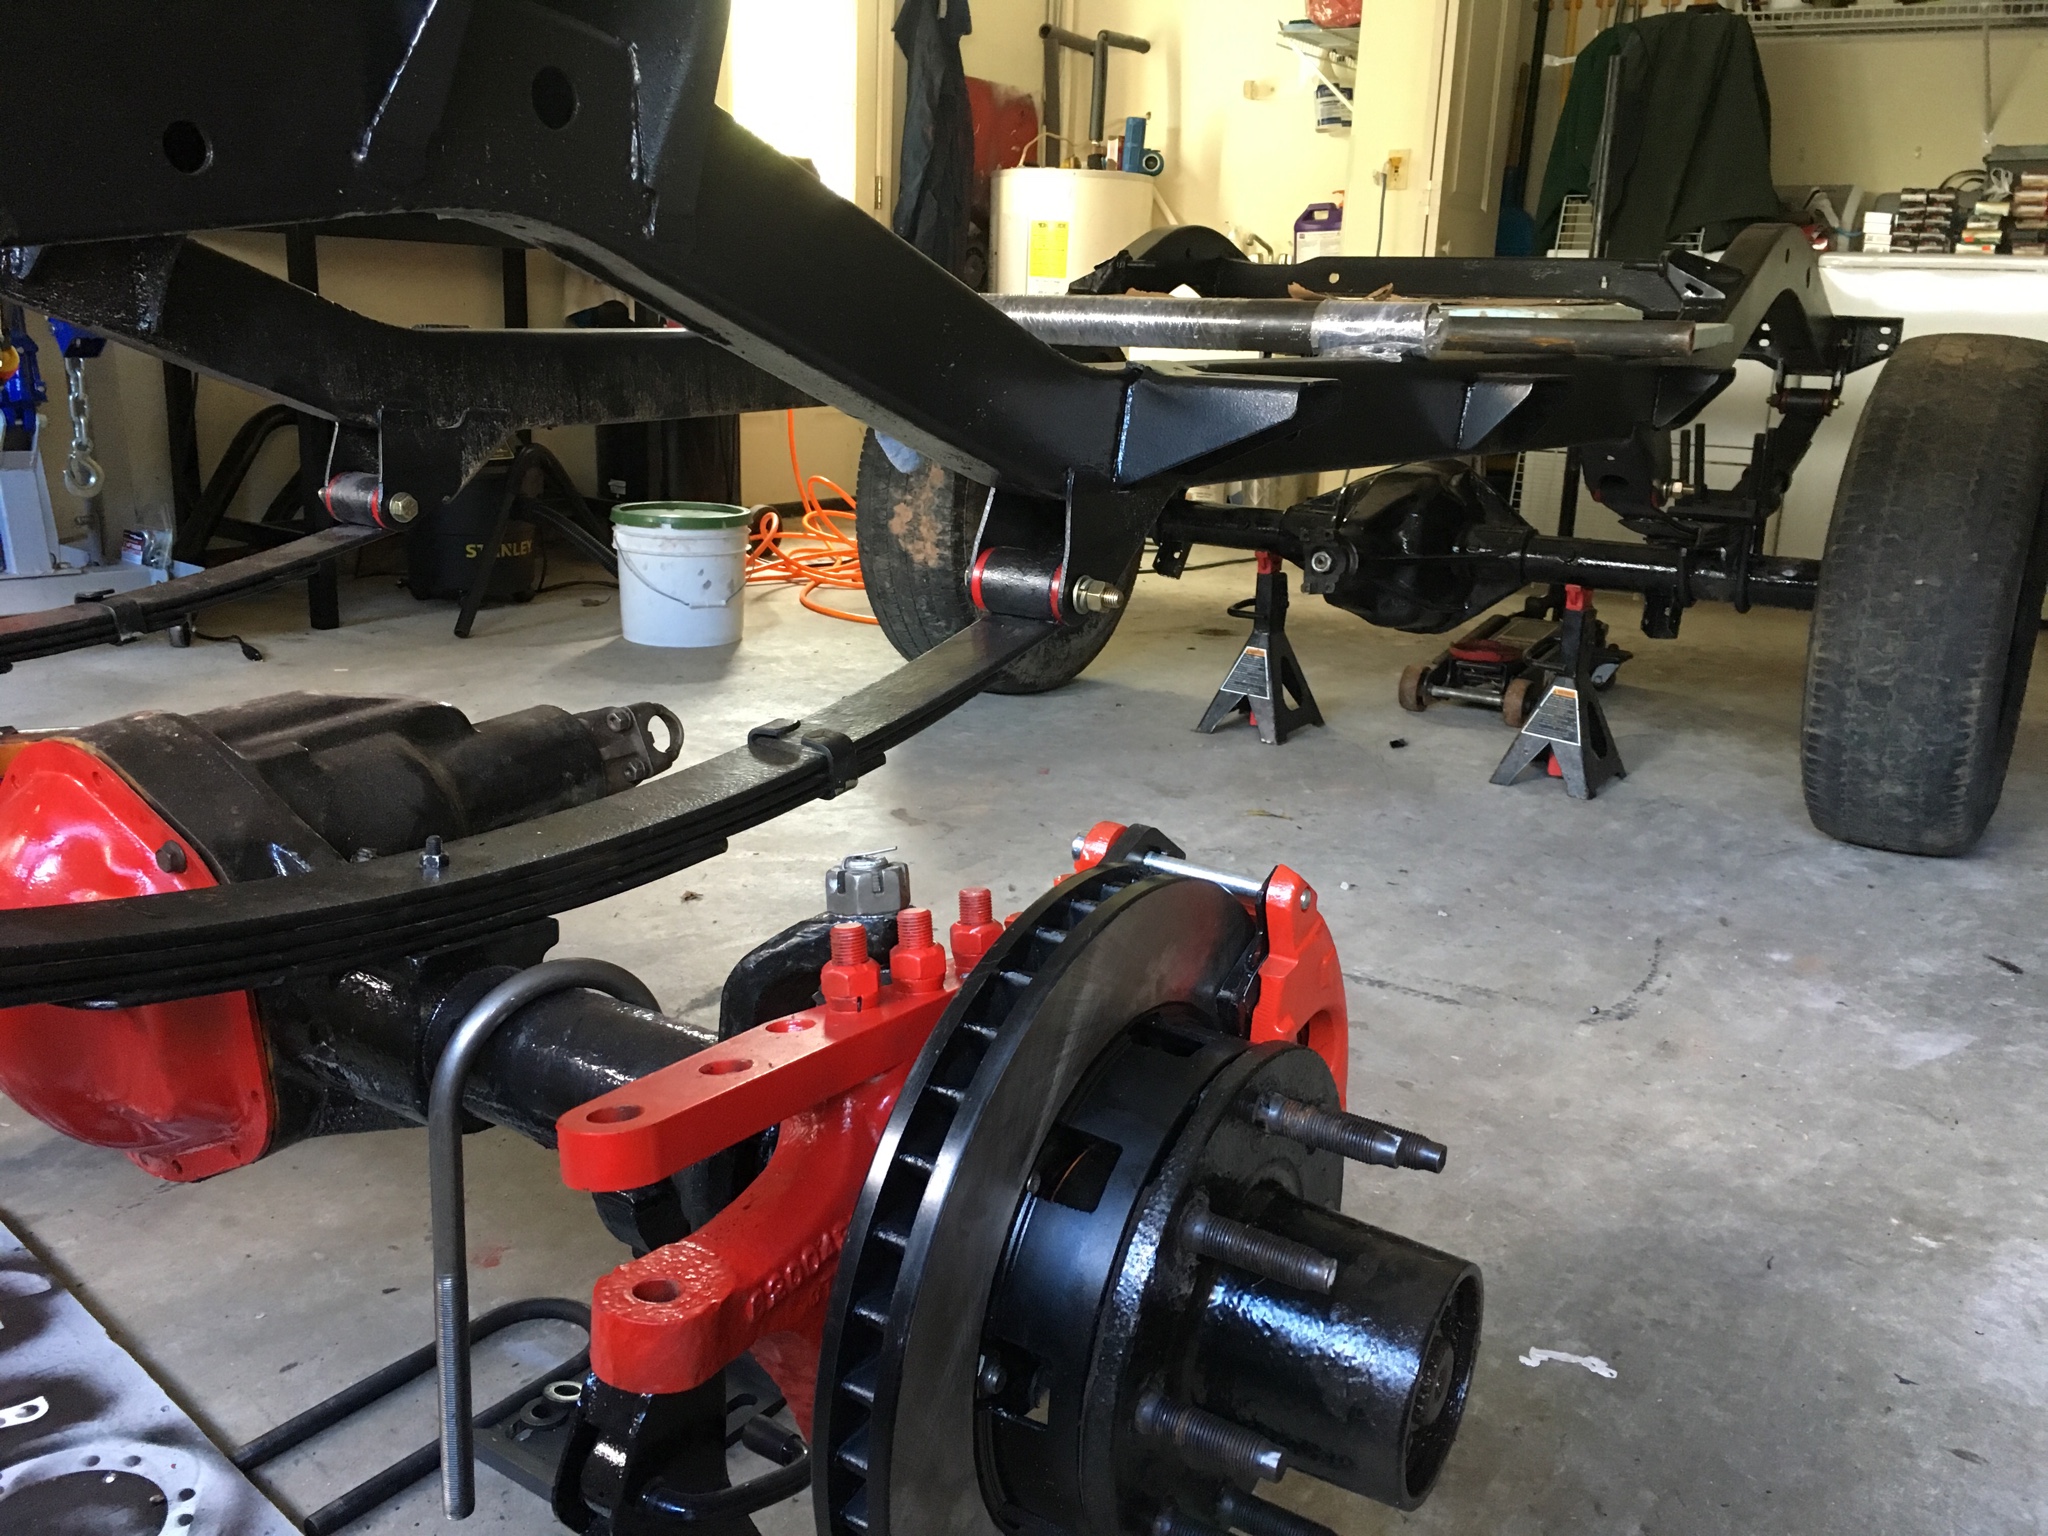
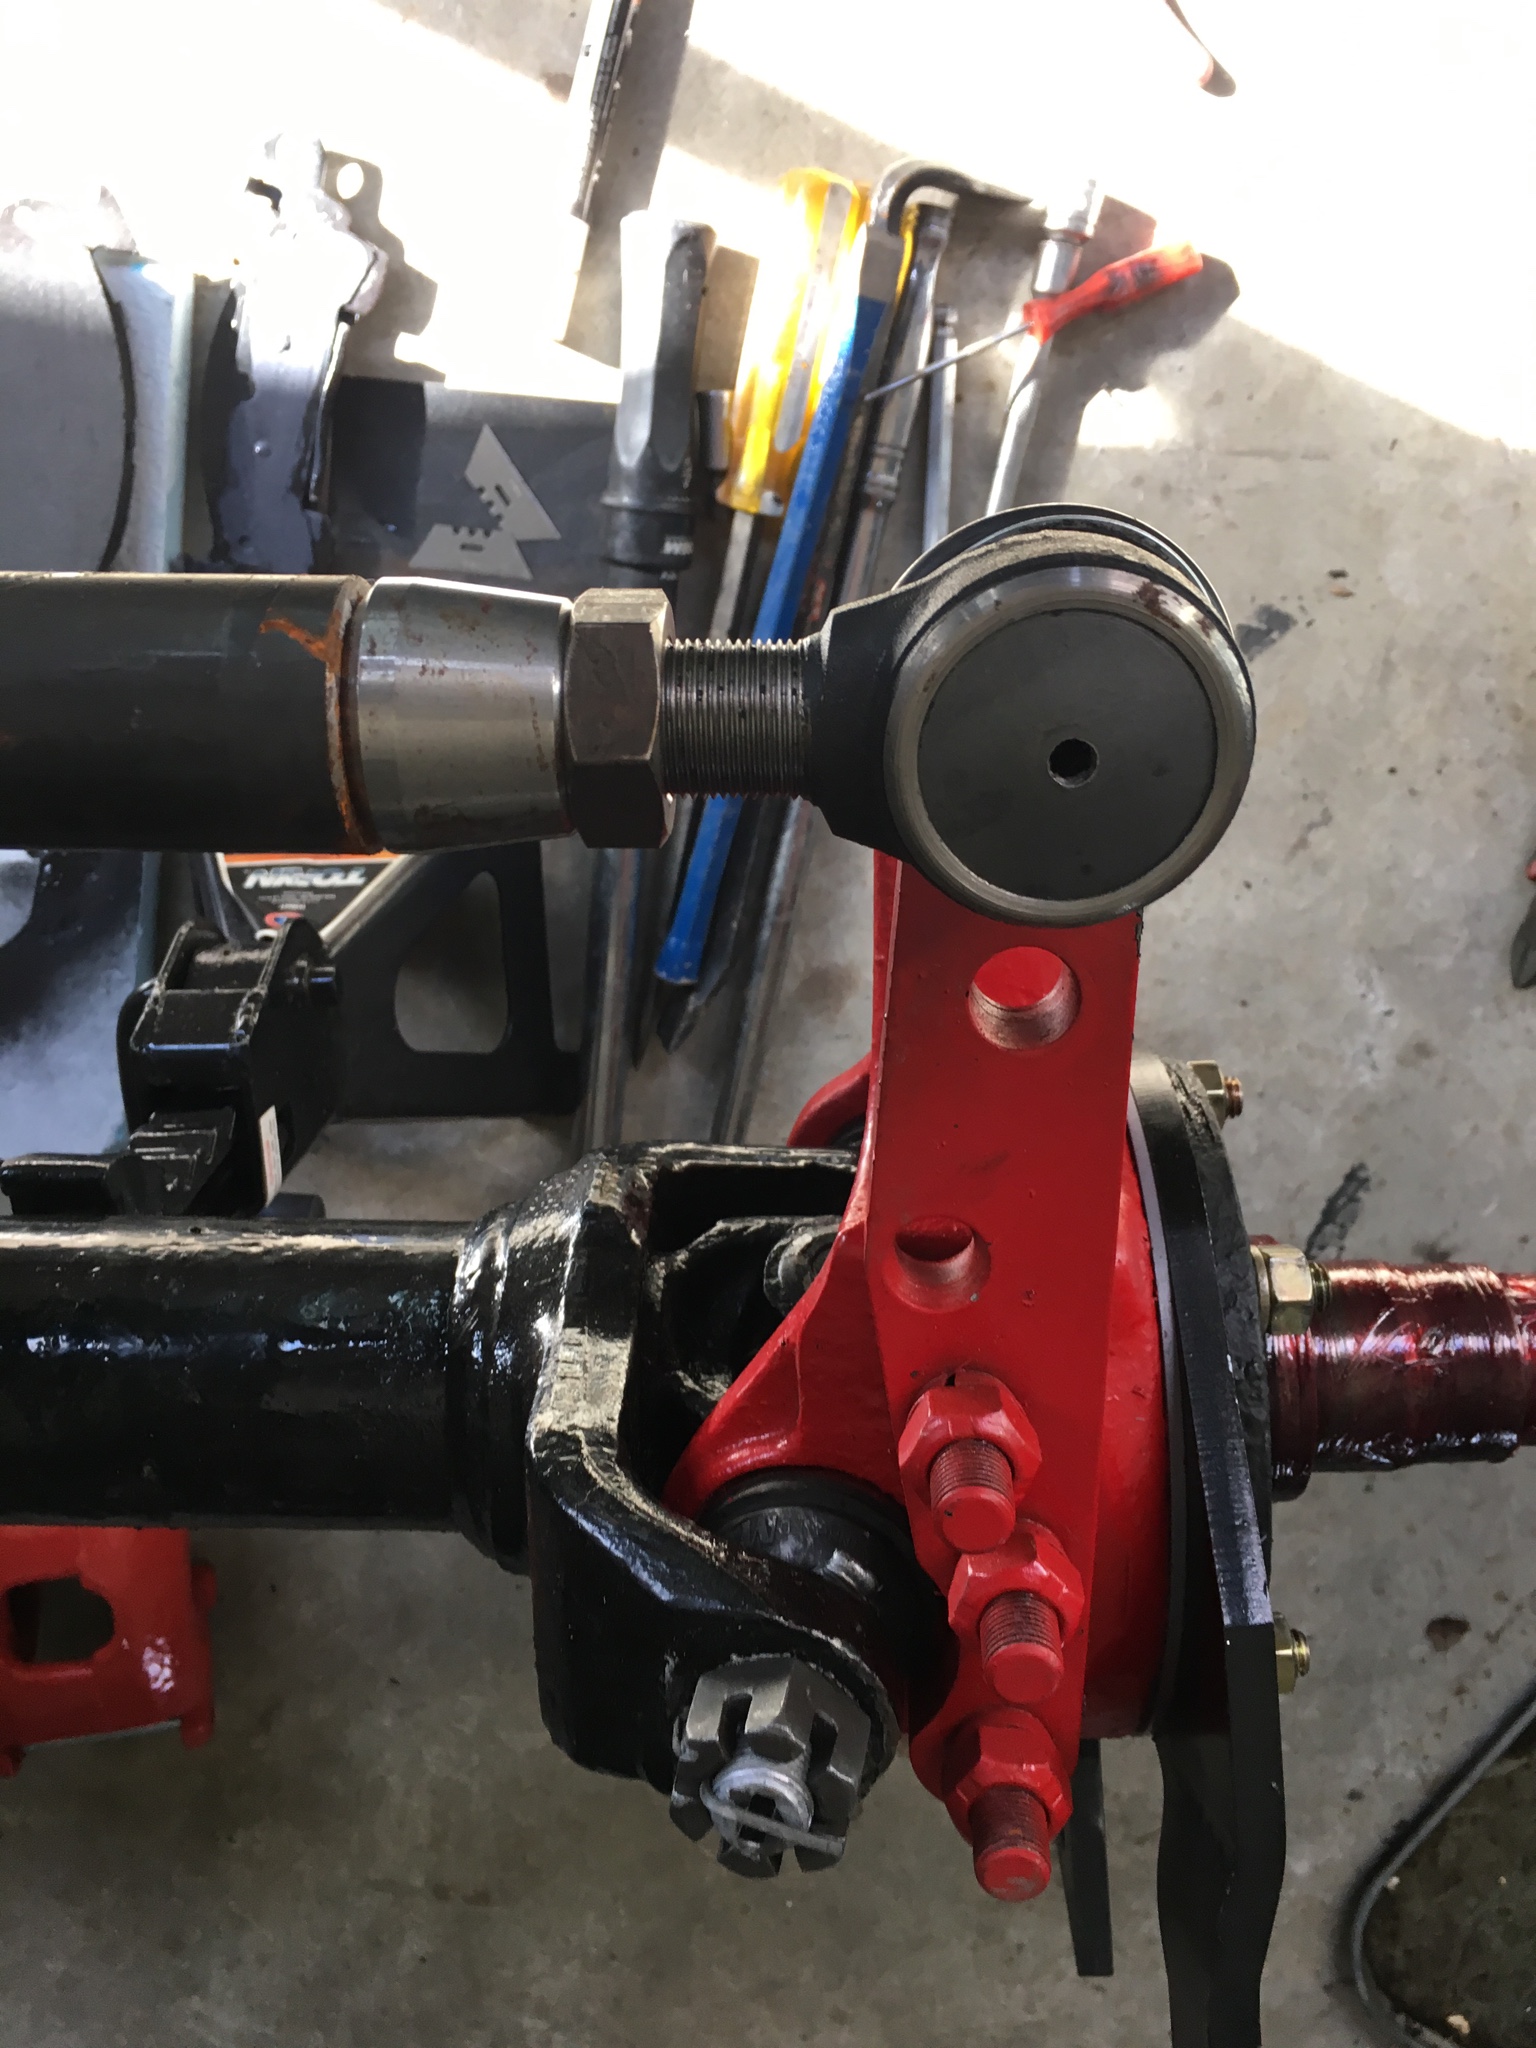
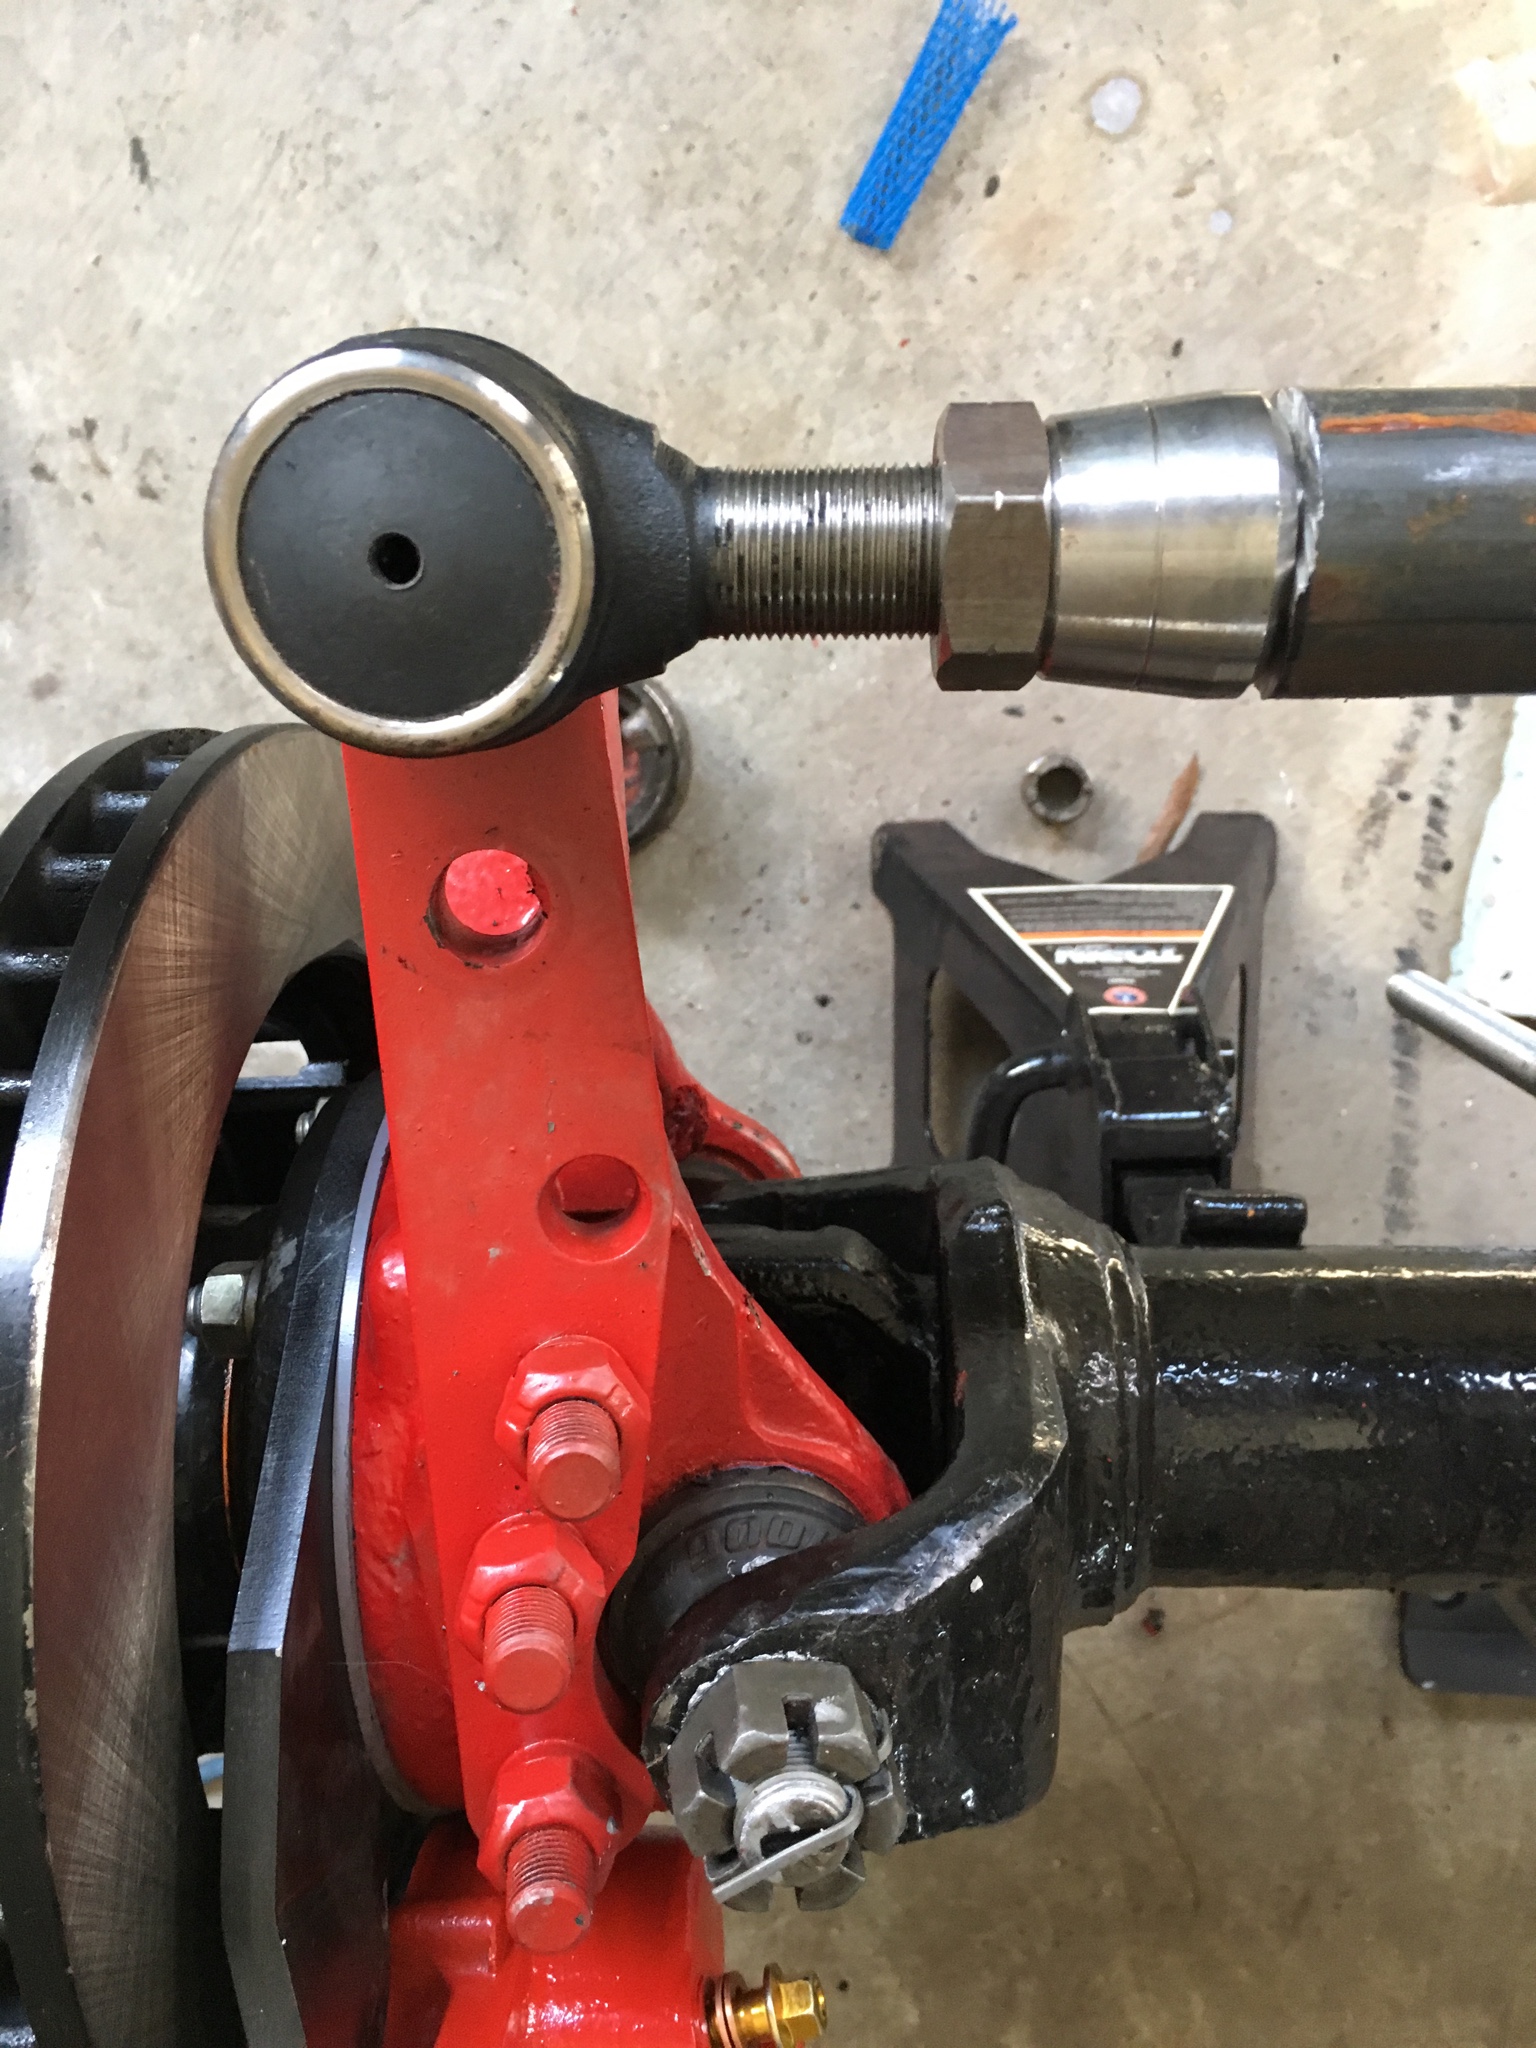
Ok. Well break from the build. Helped a buddy replace balljoints in his XJ.


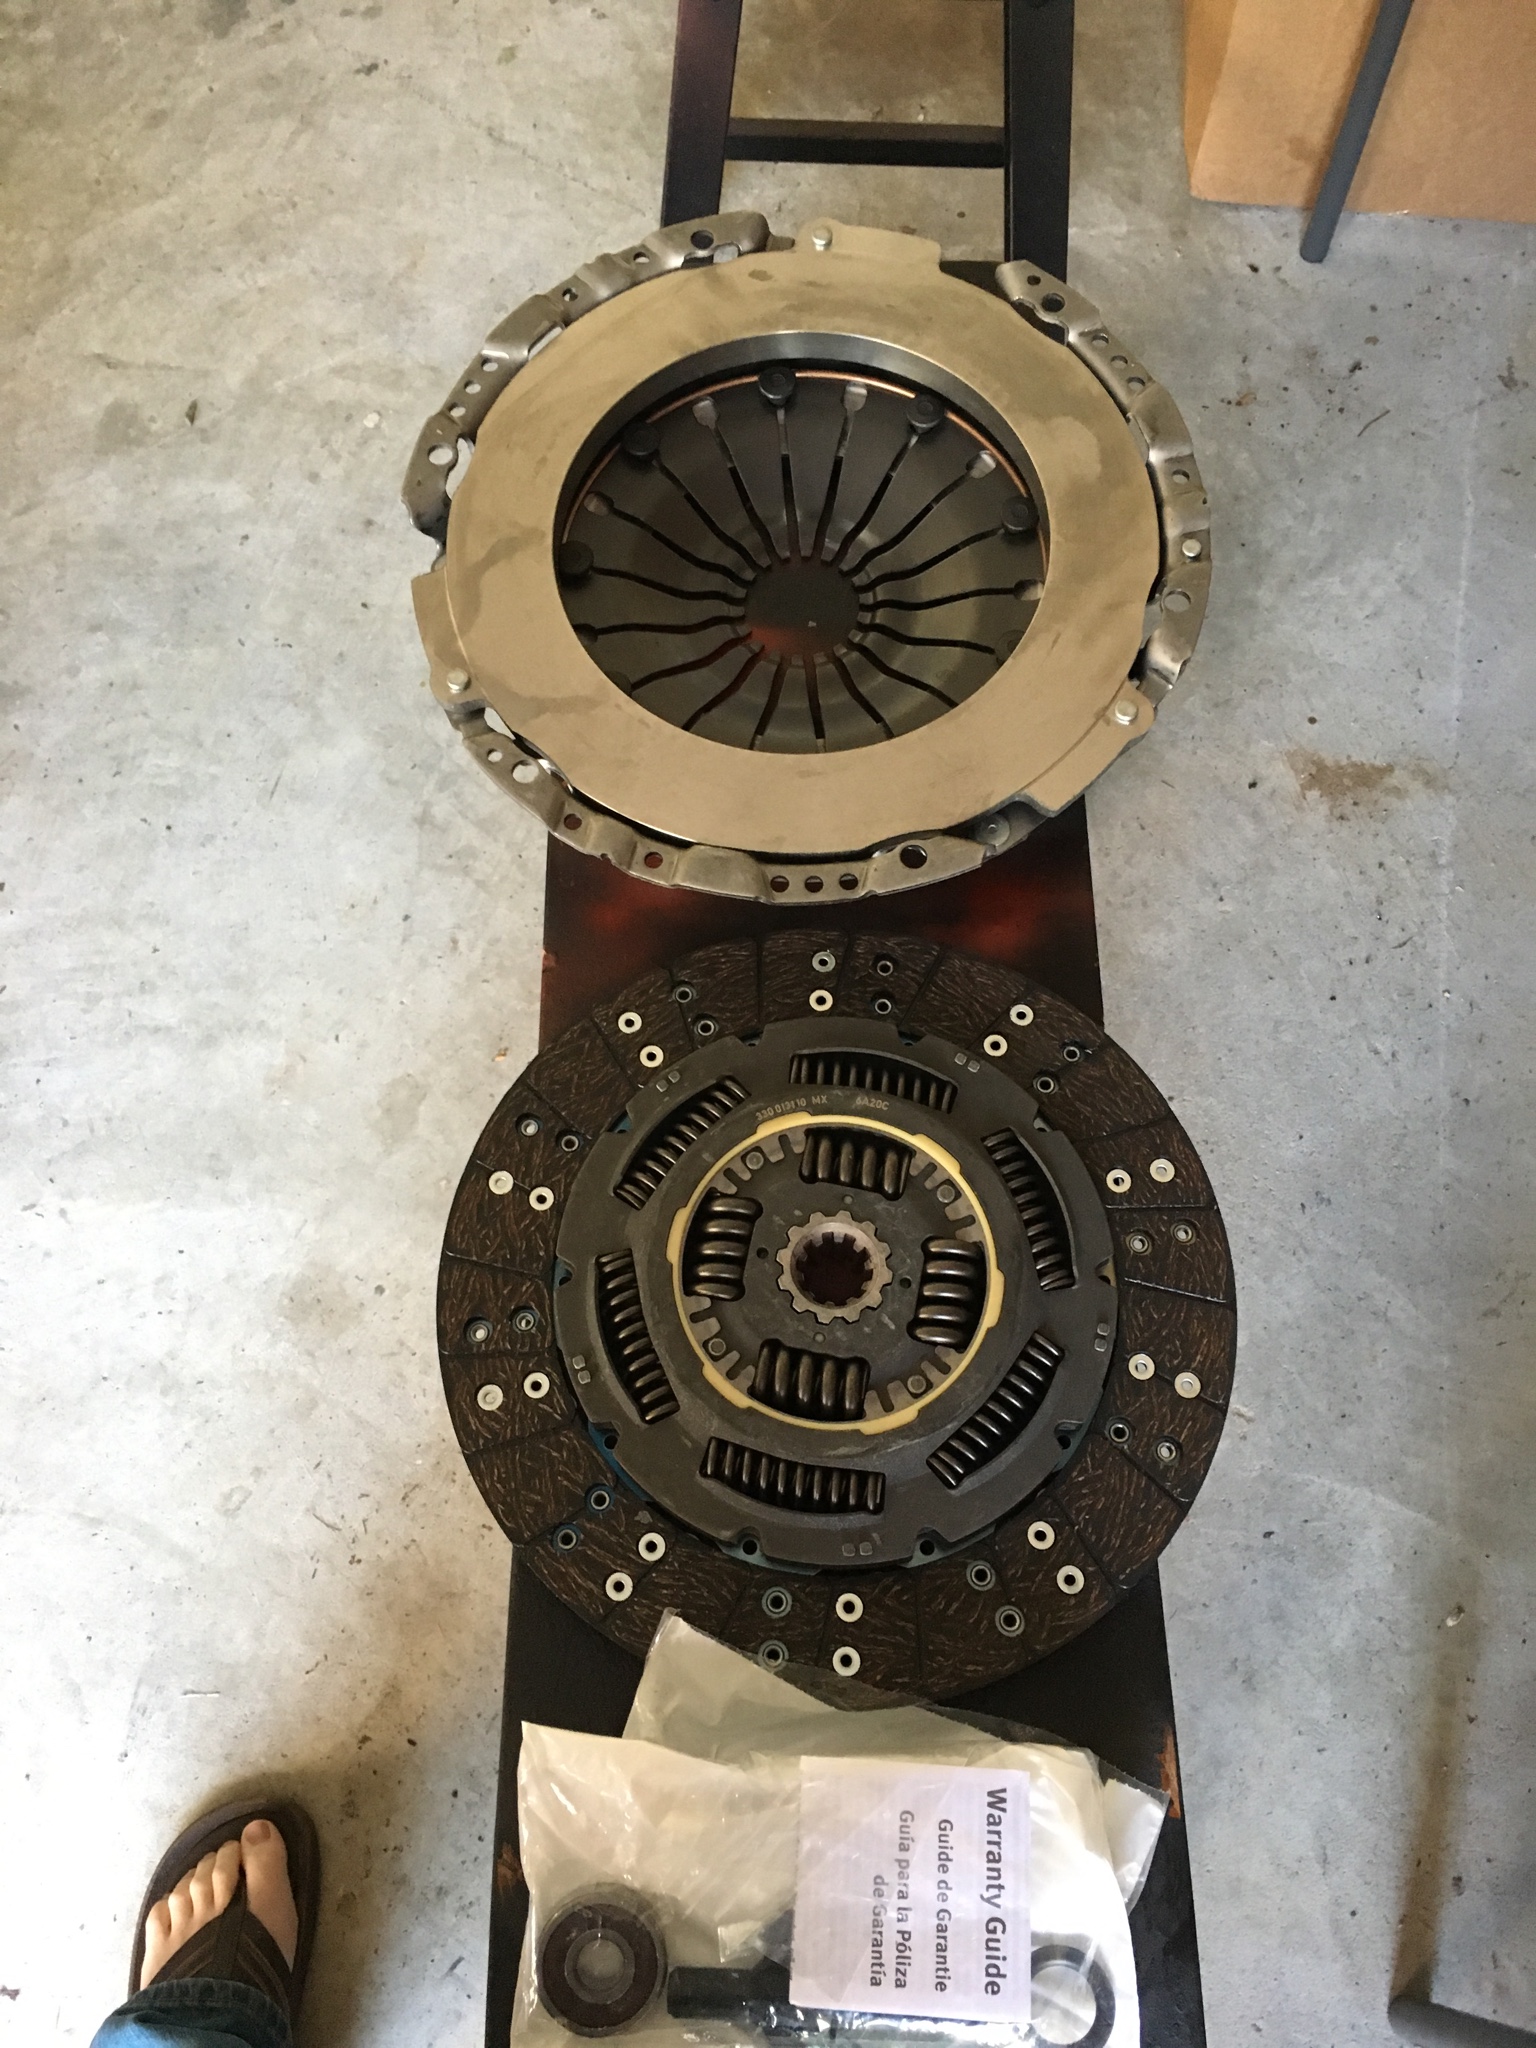
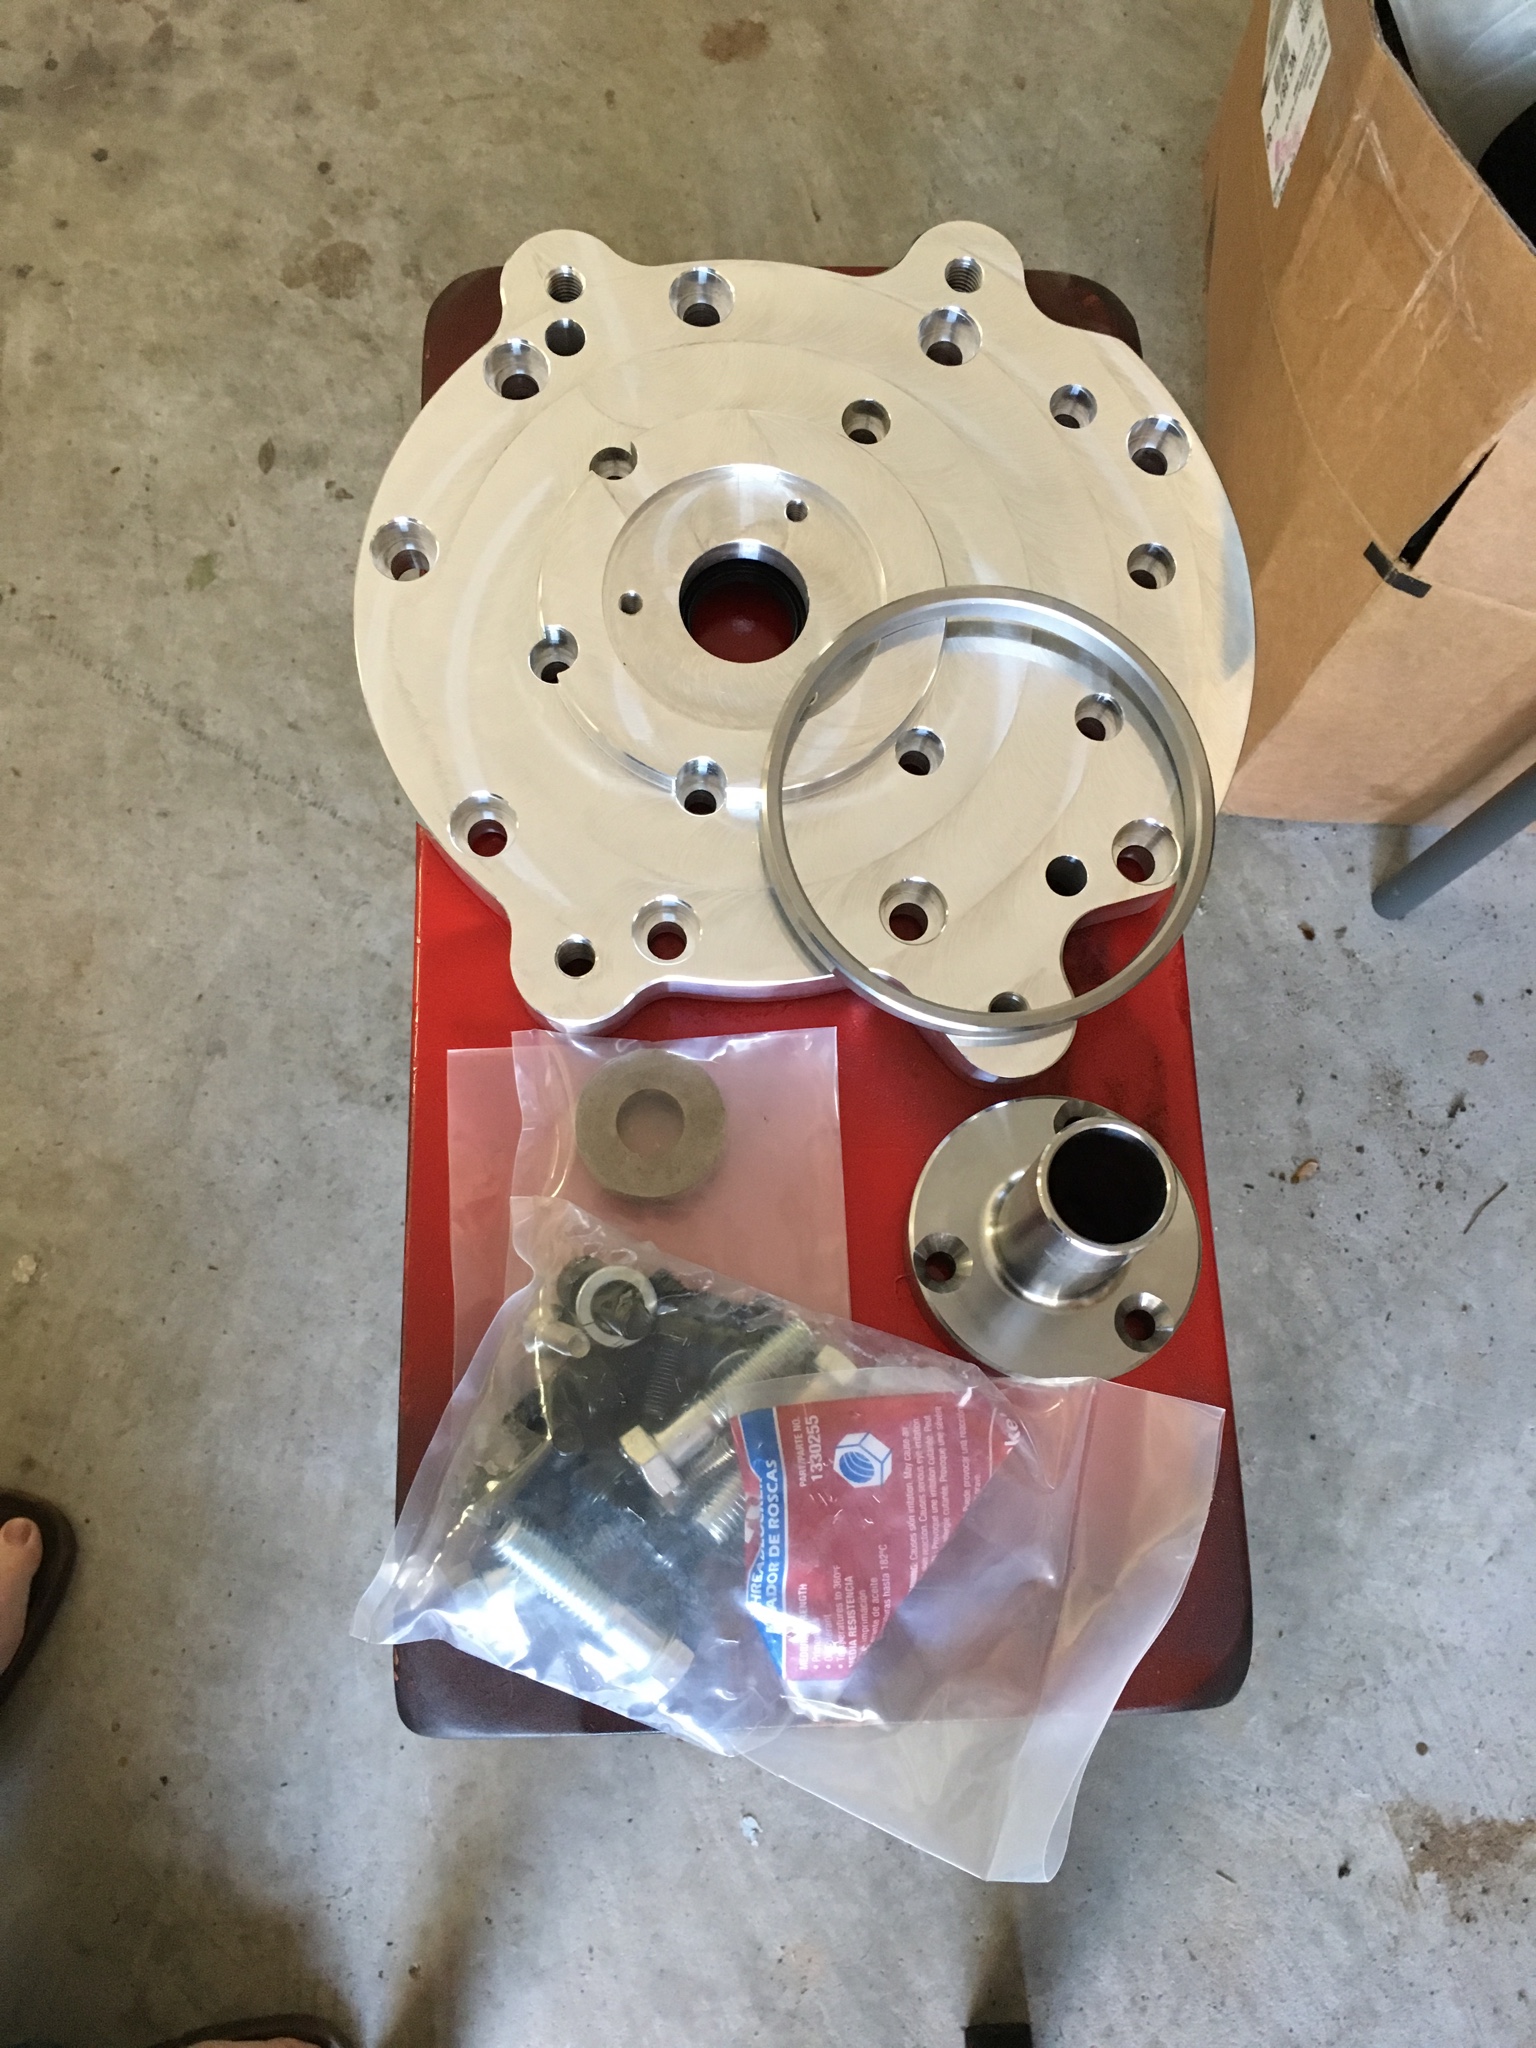
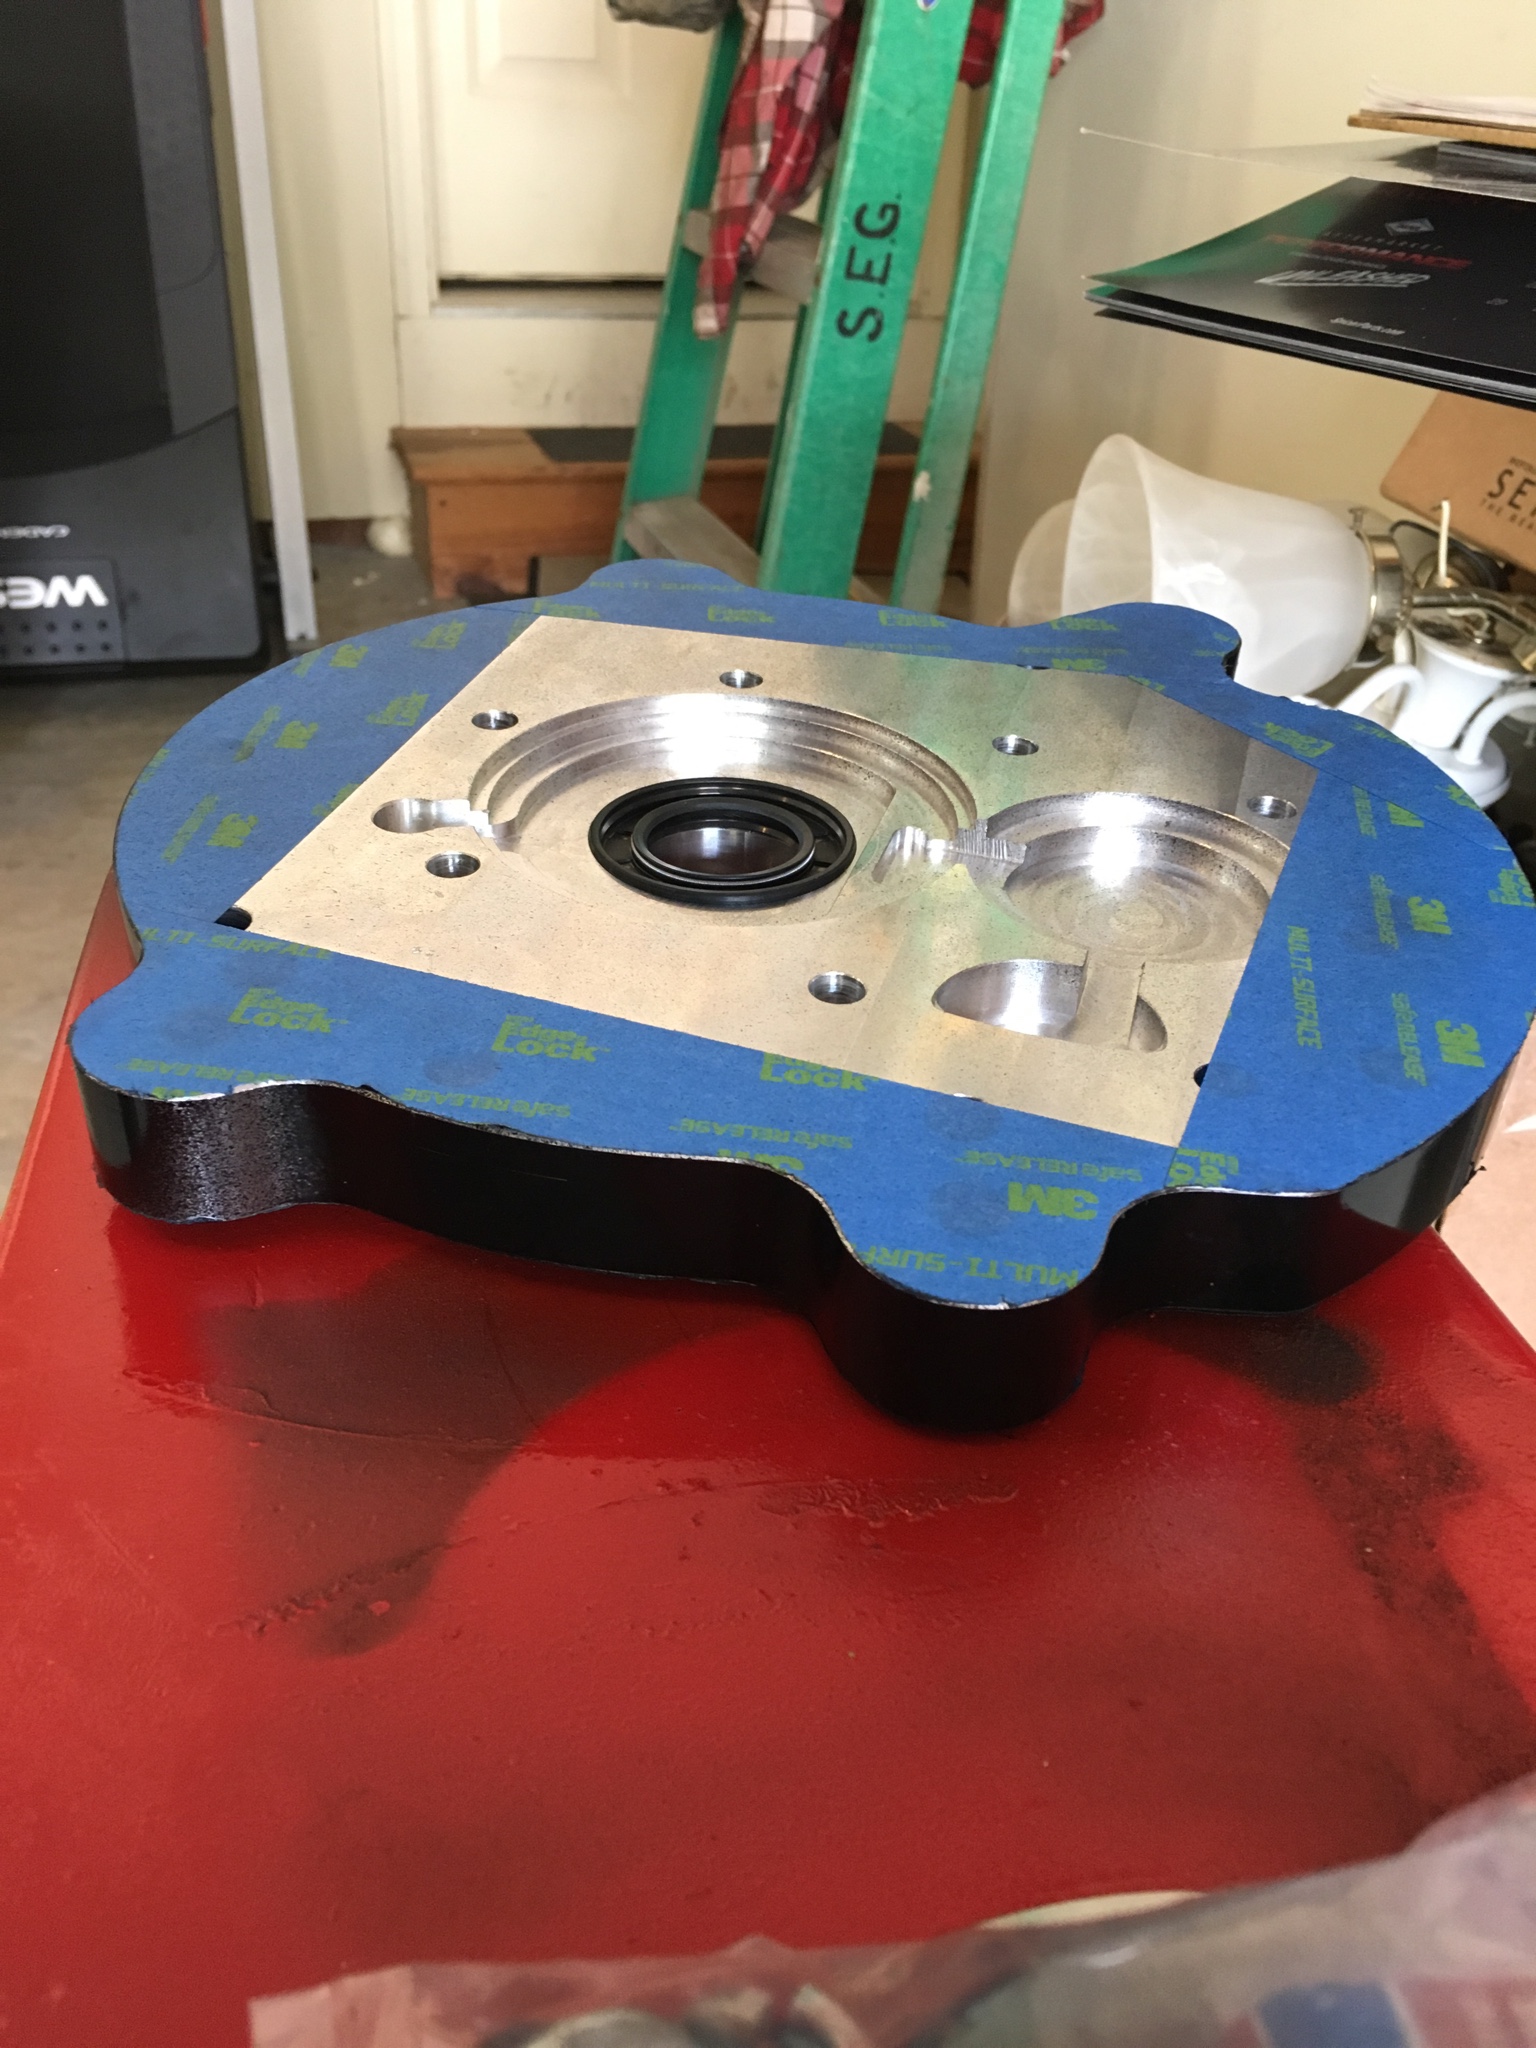
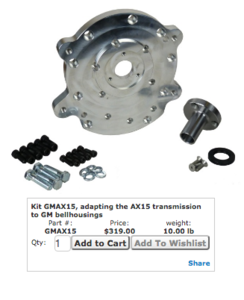
I ordered the whole package from Novak. Ls>>>NP435/T19. More $$ but less "parts store guy".
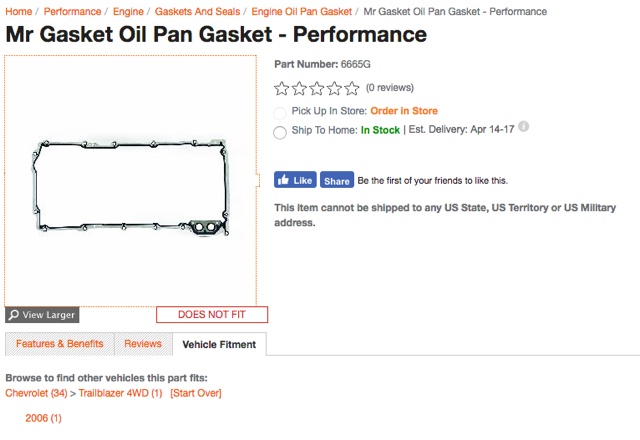
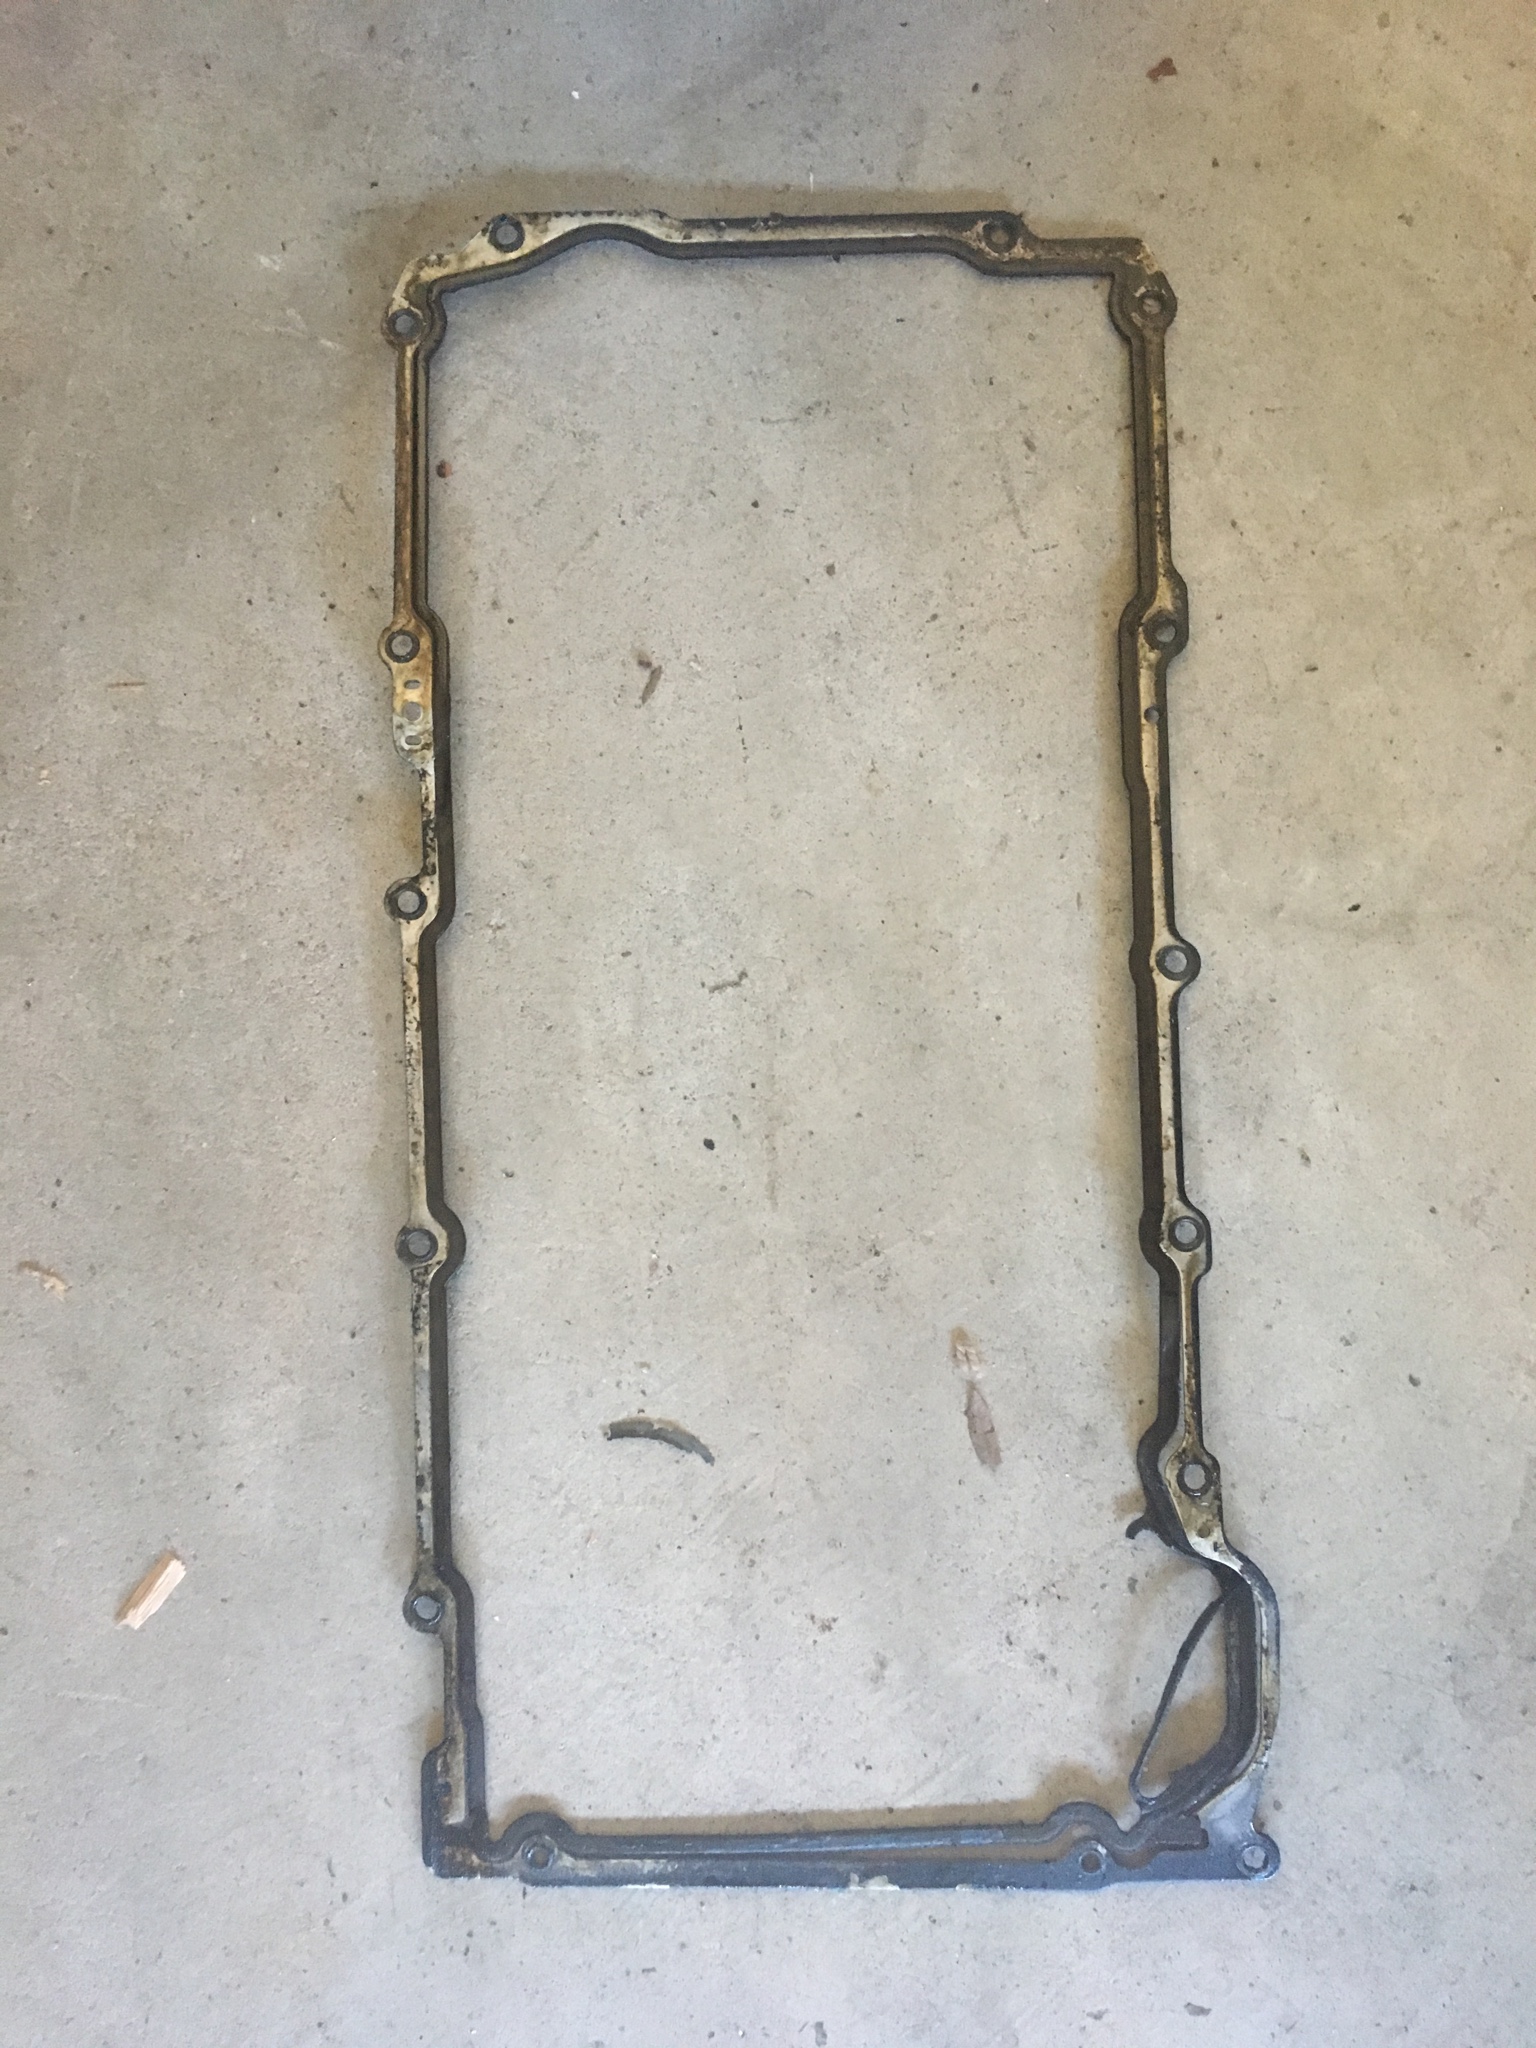
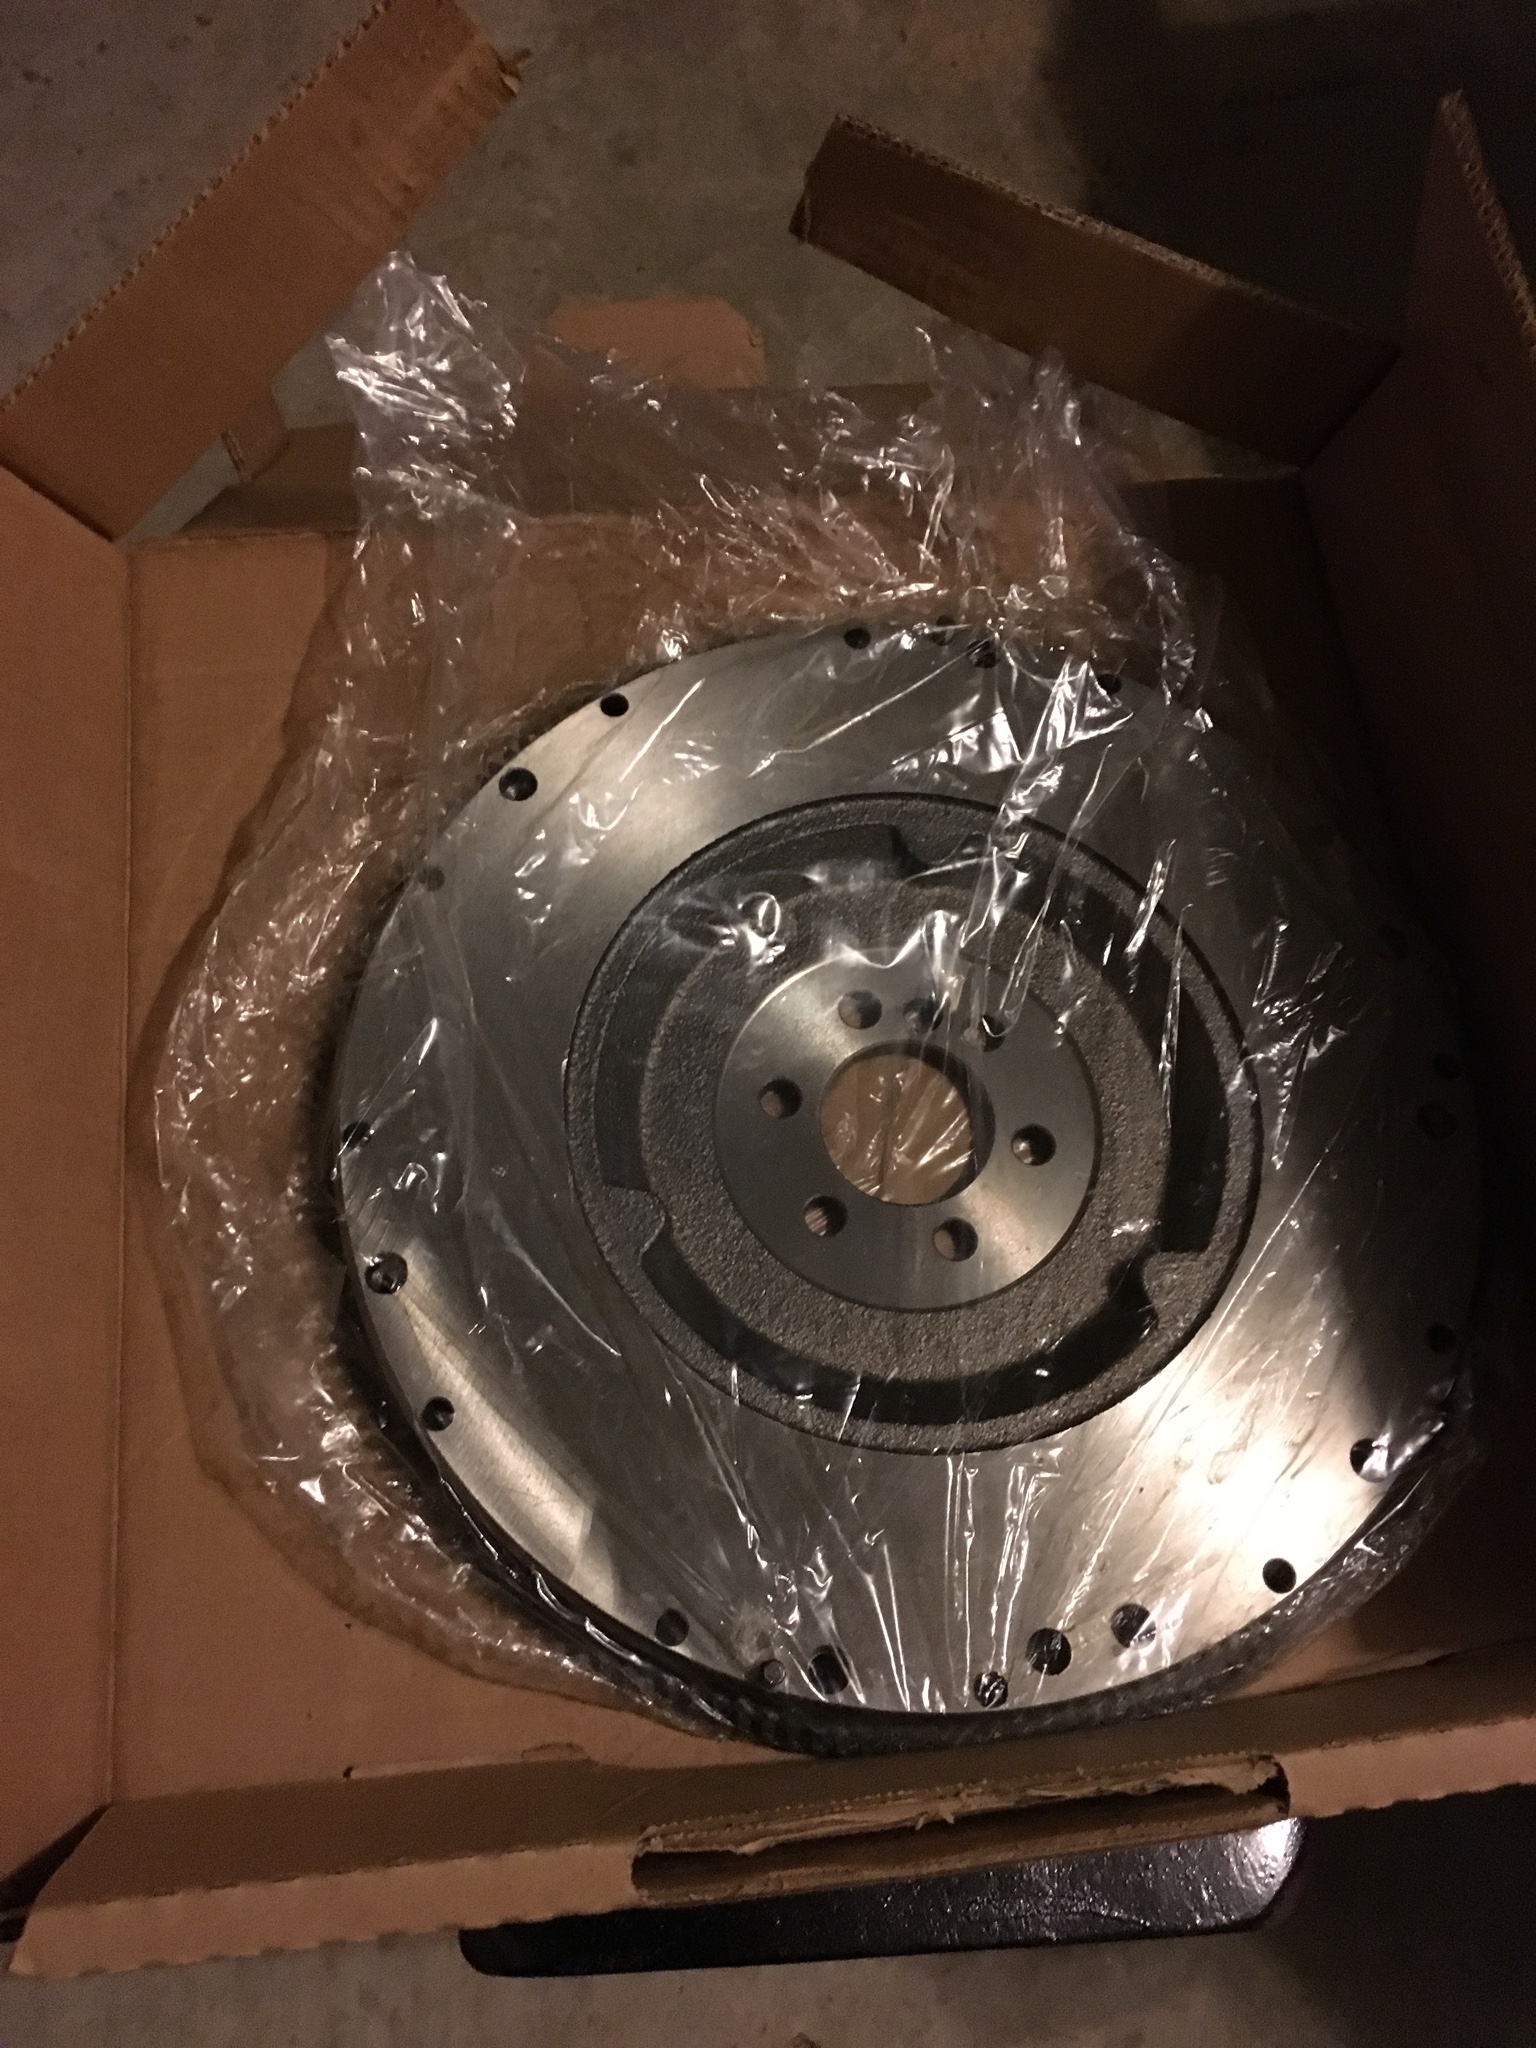
I haven't cracked mine yet. When I do.... Felpro. Available at the parts store nearest you.


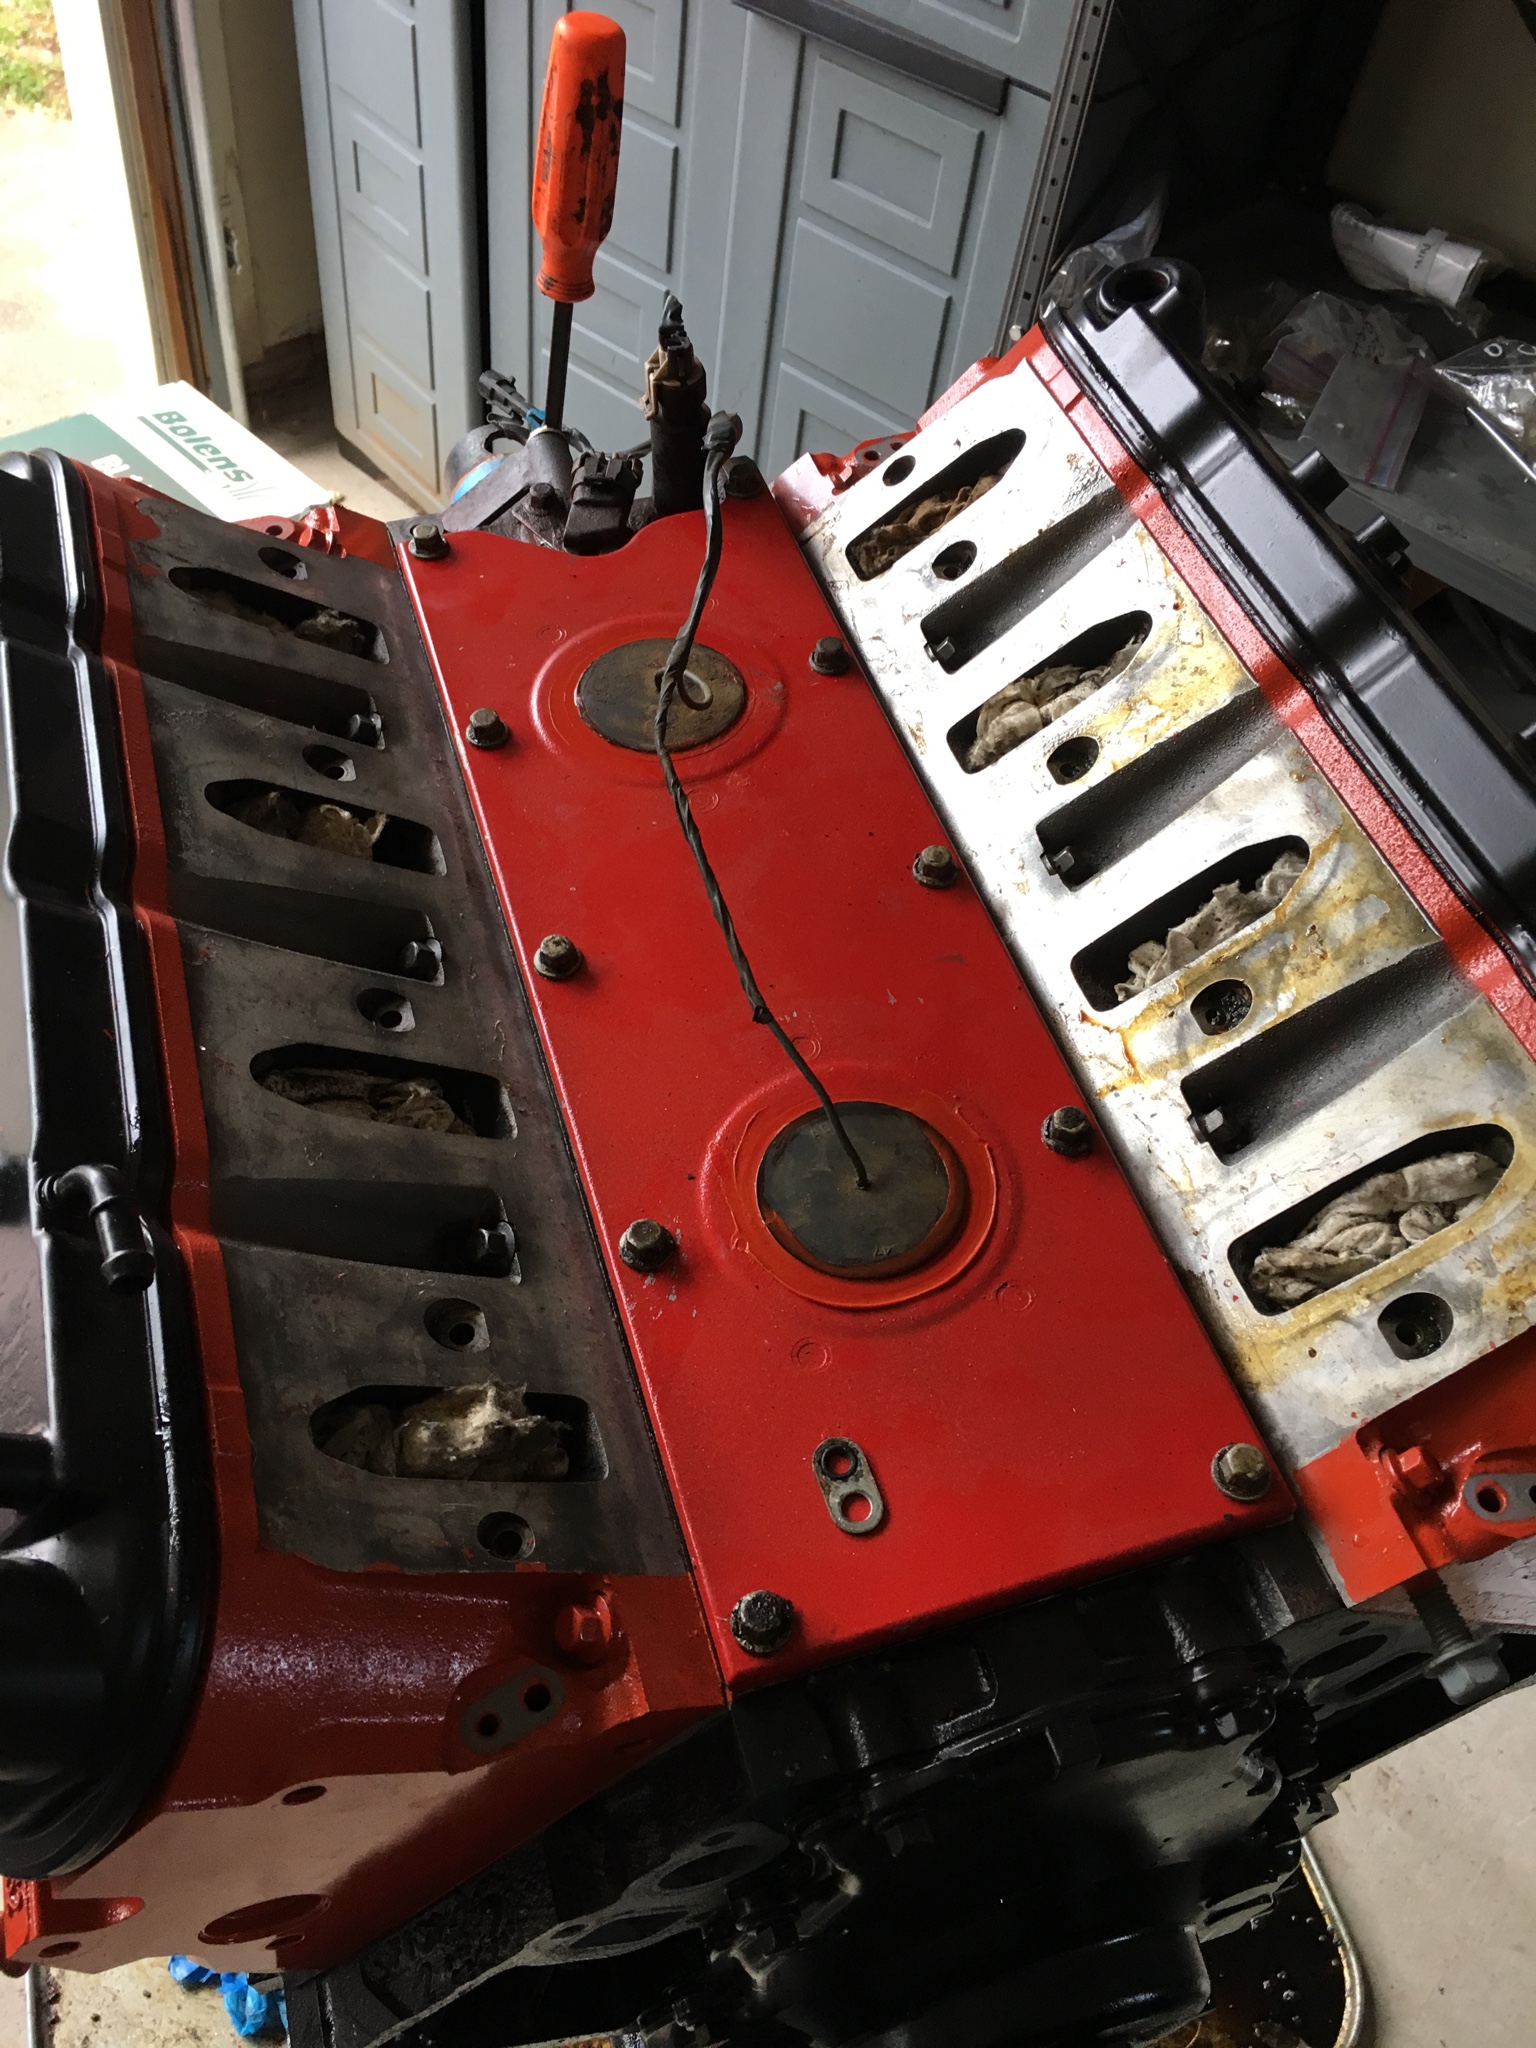
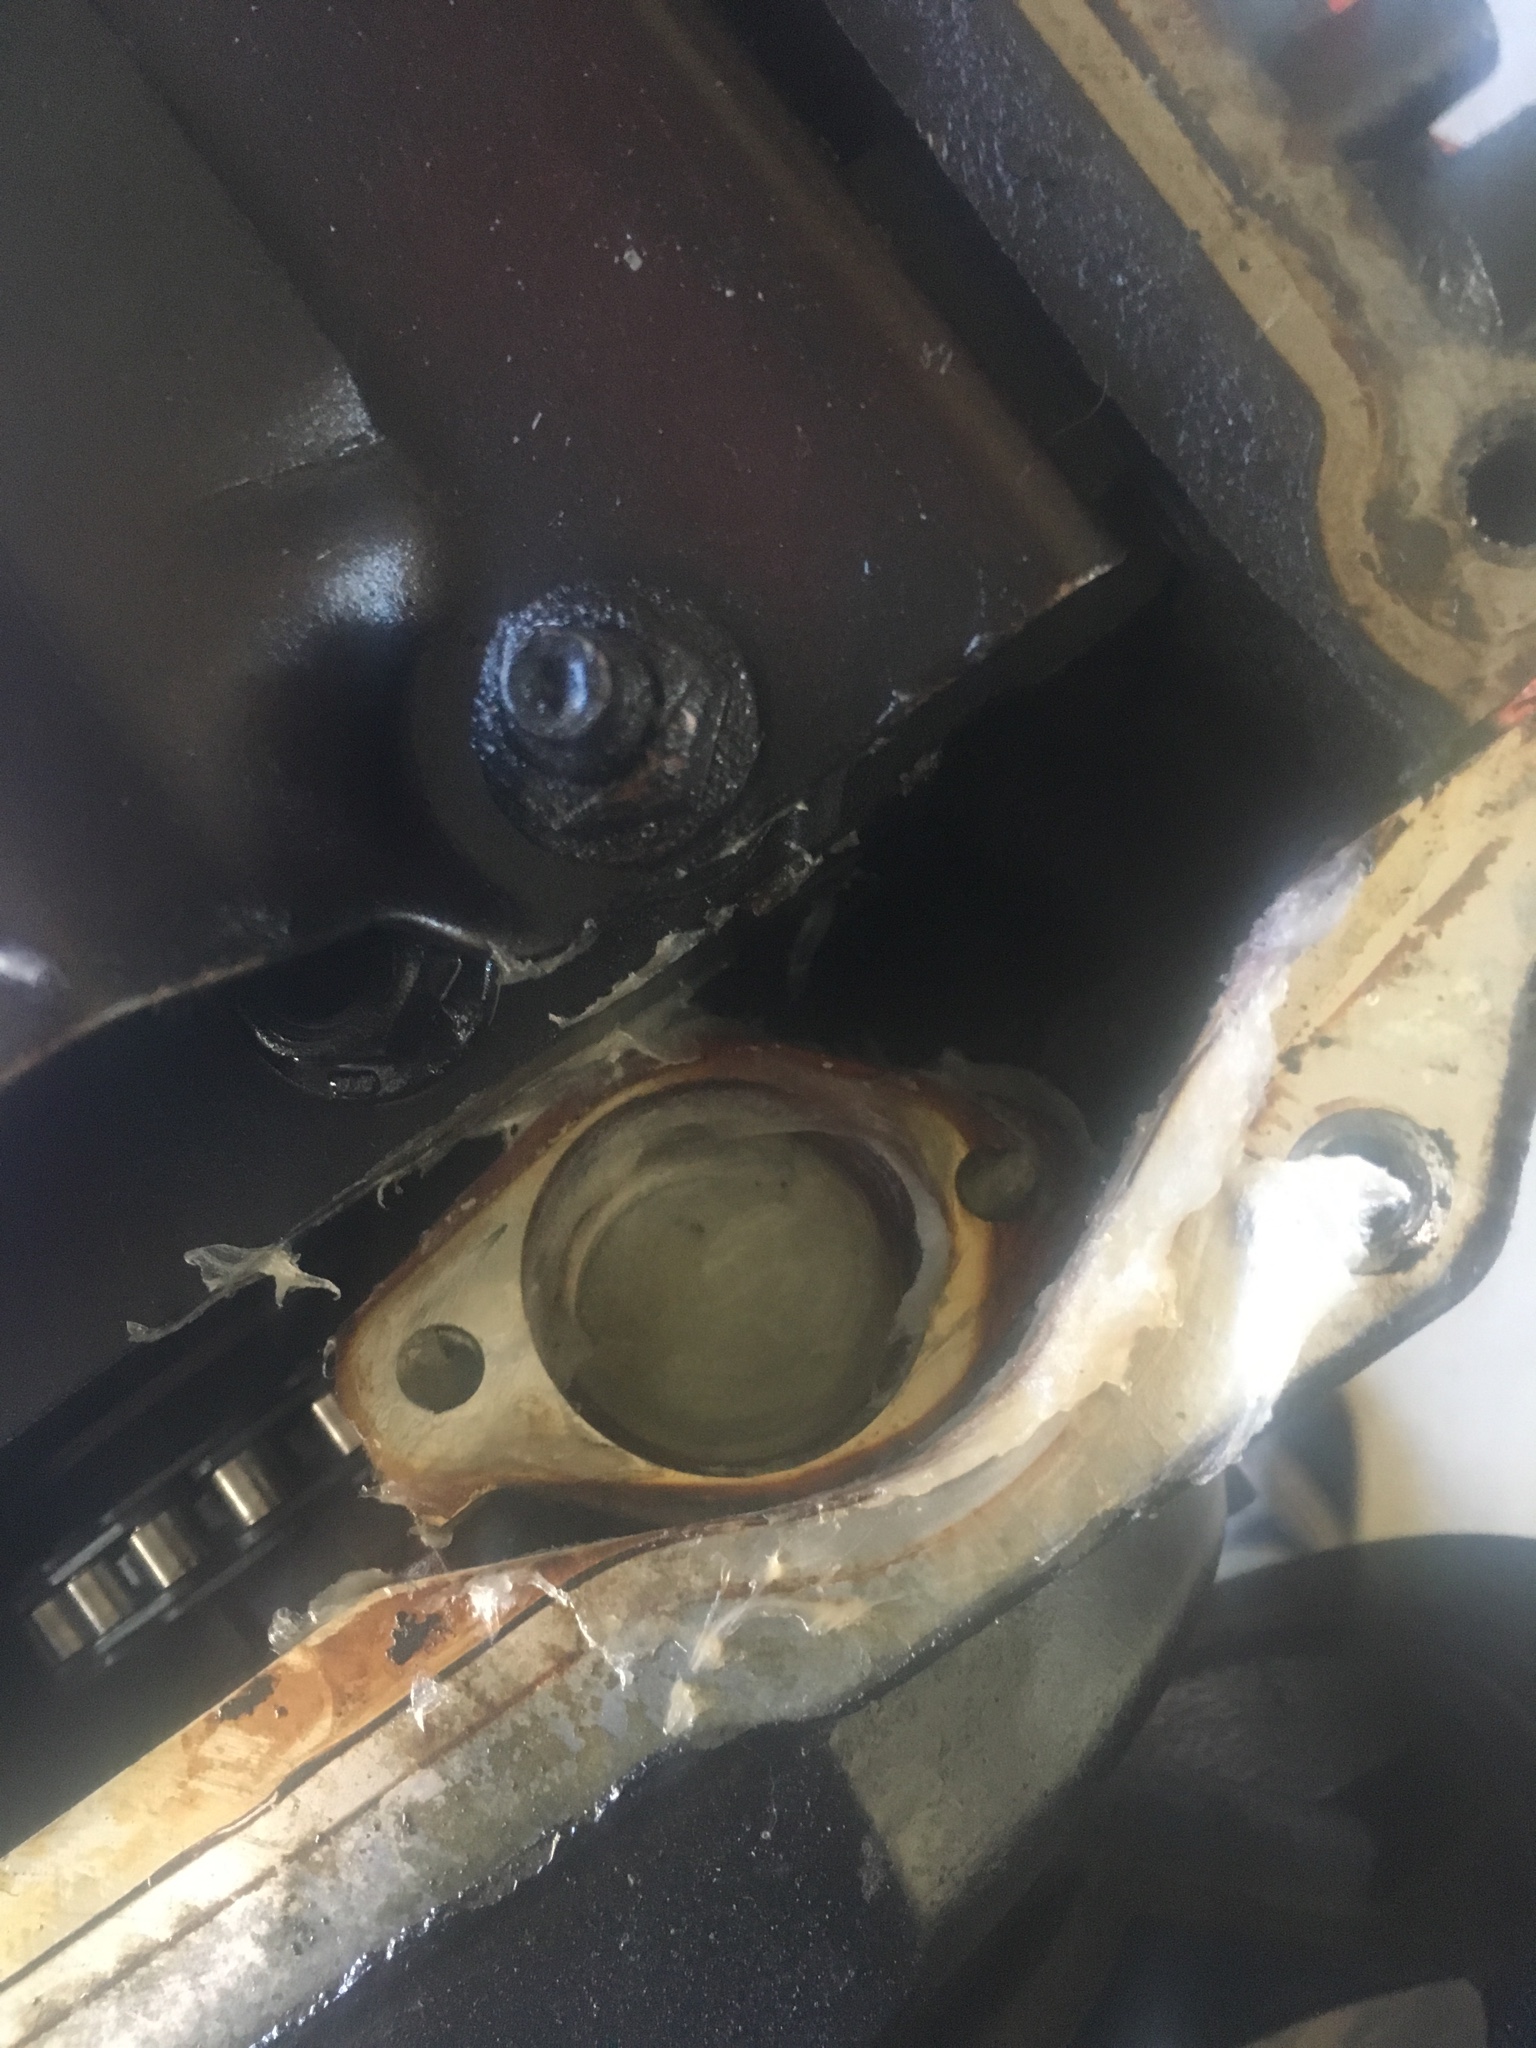
In theory, as long as the oil is never drained from an engine, it will never lose prime. Mine is still rocking 6 quarts from the day I got it.How did you prime your pump? Regardless, had to do mine. Obvious leak on my gasket