Frankenstein Street Queen (a.k.a. SpeedBump)

Got some wiring done. Got the brake booster and clutch master and brake master installed. Clearance is like half a hair. Haha. Can't tell in the pics tho.

Got the computer mounted to the firewall. Almost everything is wired and ready to go. Was trying to get first start today but too many interruptions. Just need to hook up fuel line and body to engine ground. For a first start. Rad isn't hooked up but can at least hear it and make sure it runs. Haha.

696dc12d7353a80c5bc8f3525d4d0733.jpg


f90efc893485479258dee884fbdb2df8.jpg


16bdf72606ec490c40214a2435fb4f9e.jpg


6ec728a6c3328b22927ad84e5b4b0445.jpg


4420a37b77618b2d78d62f8952140eb1.jpg


fb0a1fb5858ead2ab5781ad2faec9ca1.jpg


817b5a83eb60d452fd25291966b0fa43.jpg


165064ffca493d25edc967e94987c055.jpg


9491f27d441fdf565b86b38ac0950cff.jpg
 
Enlisting the minion to help crank over to prime the oil. Gotta run to get a couple more feet of fuel line and then gunna first start later today!

 
Almost had it! Hopefully the next video isn't quite as stodgy as that one. :lol:
 
No start....

:sad:

Gotta troubleshoot in the morning now. Gunna do a more secure ground for the fuel pump and hardwire in the fuel pump and sender. And got feelers out to the wire harness company to make sure the "12v Switched" is wired correctly and a message to the computer flash guy to make sure VATS was deleted.

The "12v Swtiched" wire is hooked up to the "ign switch" line on my chassis harness which powers the gauges and radio. Which means it has power in the "on" and "accessory" position of the key but has no power actually in the "Start" position. So waiting to hear if the harness company was intending THAT with their "12v swtiched" wire. The 12v wire with the fusible link is attached to the batt side of the starter, and the ground of the harness is attached to the stock location on the back of the block.
 
It appears by switched power they mean to the ignition switch 12v so that it has power in the "on" and the "start" position
 
No start again... :(

Changed the 12v switched wire for the pooter to the chassis harness wire for the old coil + wire. This is a 12v wire in the On and Start position. So that issue is resolved. Made the 'grounds' more grounded as mentioned below. Cant get better than that. And hardwired the fuel pump power and the fuel sender wires in. And as mentioned below got the pump/sender ground direct to batt negative. So should not have any ground issues here

Not sure that I am getting fuel pressure. I know the fuel sender is working. Not sure the ecu fuel pump power wire is powering the pump. Dont hear it turn on and not sure if should hear it or not. I can only get the fuel gauge to move when i have the ground to the pump/sender assembly ground directly to the battery. Grounding to the frame does not work. Odd? I also had someone crank for me while i used a scribe to push the pin on the fuel rail crossover line to see if there is a air lock issue. No fuel squirted out if it was supposed to.

This engine is a return type engine. And i have the return on the rail capped and i am using a wix filter for return closer to the tank. The filter is hooked up right with 5/16 line going to return and 3/8 going to feed.

I dont have the MAF or the O2 sensors plugged up. But it should still start and just throw codes?

The engine harness, battery negative, body, and chassis harness grounds are all connected together and ground to the block. Should NOT be having a ground issue. So safe to eliminate this? Dunno. :facepalm:
 
FIRST START!!!!


Attachments

  • its_working_star_wars.gif
    its_working_star_wars.gif
    449 KB · Views: 209
Judging by your YouTube title, you're missing approx 500# of axle somewhere. :D

been waiting for this. lmao.

d60 will be coming soon. but i want to build that very "right" while getting to drive the vehicle as a 3/4 ton vehicle with a wee bit better mpg. then im sure my hot pink panties from @Loganwayne will be sufficiently soaked and Ill be ready to begin the "trail only" portion of the journey. lol

Stages are your friend if youre not afraid to spend a few extra pennies lol

But i may even digress from that and stick with the d44 front and truss/sleeve it and put rcv shafts in.... who knows?

we'll let the panties decide

:grin:
 
Who is wearing what?!
33c13d3a756112df101e78e7af1ceeaf.jpg


Sent from my XT1254 using Tapatalk

Dude. You're not old enough to be THAT forgetful especially when there is written record two posts up....

Here I'll repost for you


Good good very good. End of August we going to harlen get your big boy panites on


As long as they are bright pink then sounds radical to me!


I mean I lost a bet so I'm gonna be wearing a man romper
 
Ordered Rad hoses

gates 21706 for the upper and gates 20843 for bottom
 
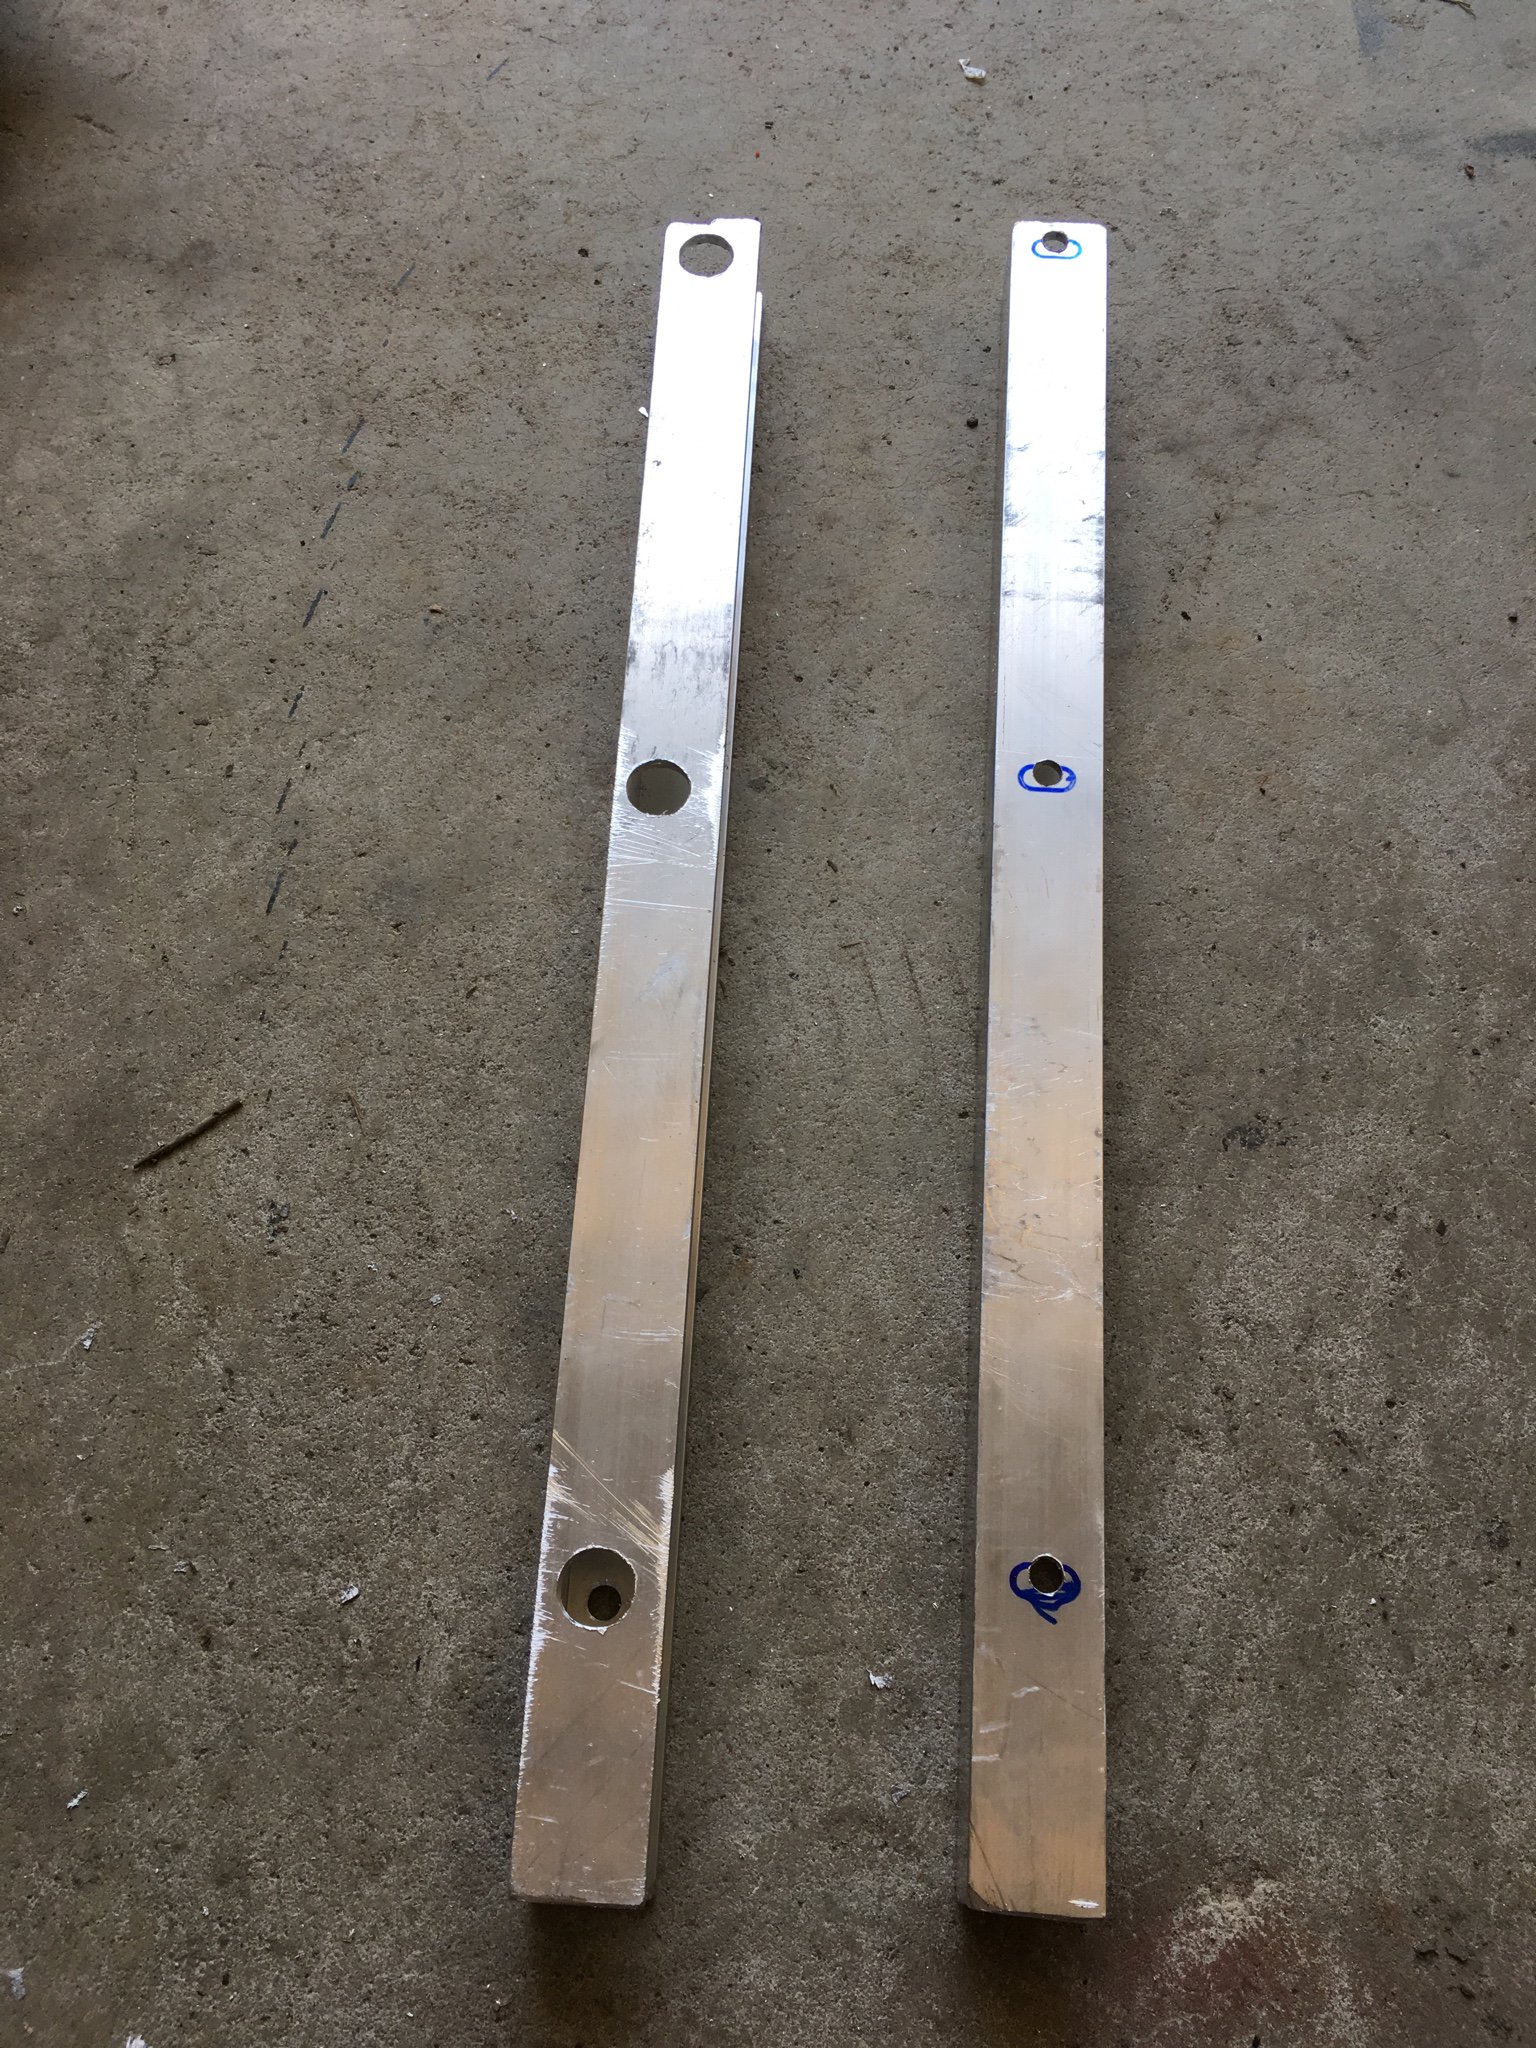
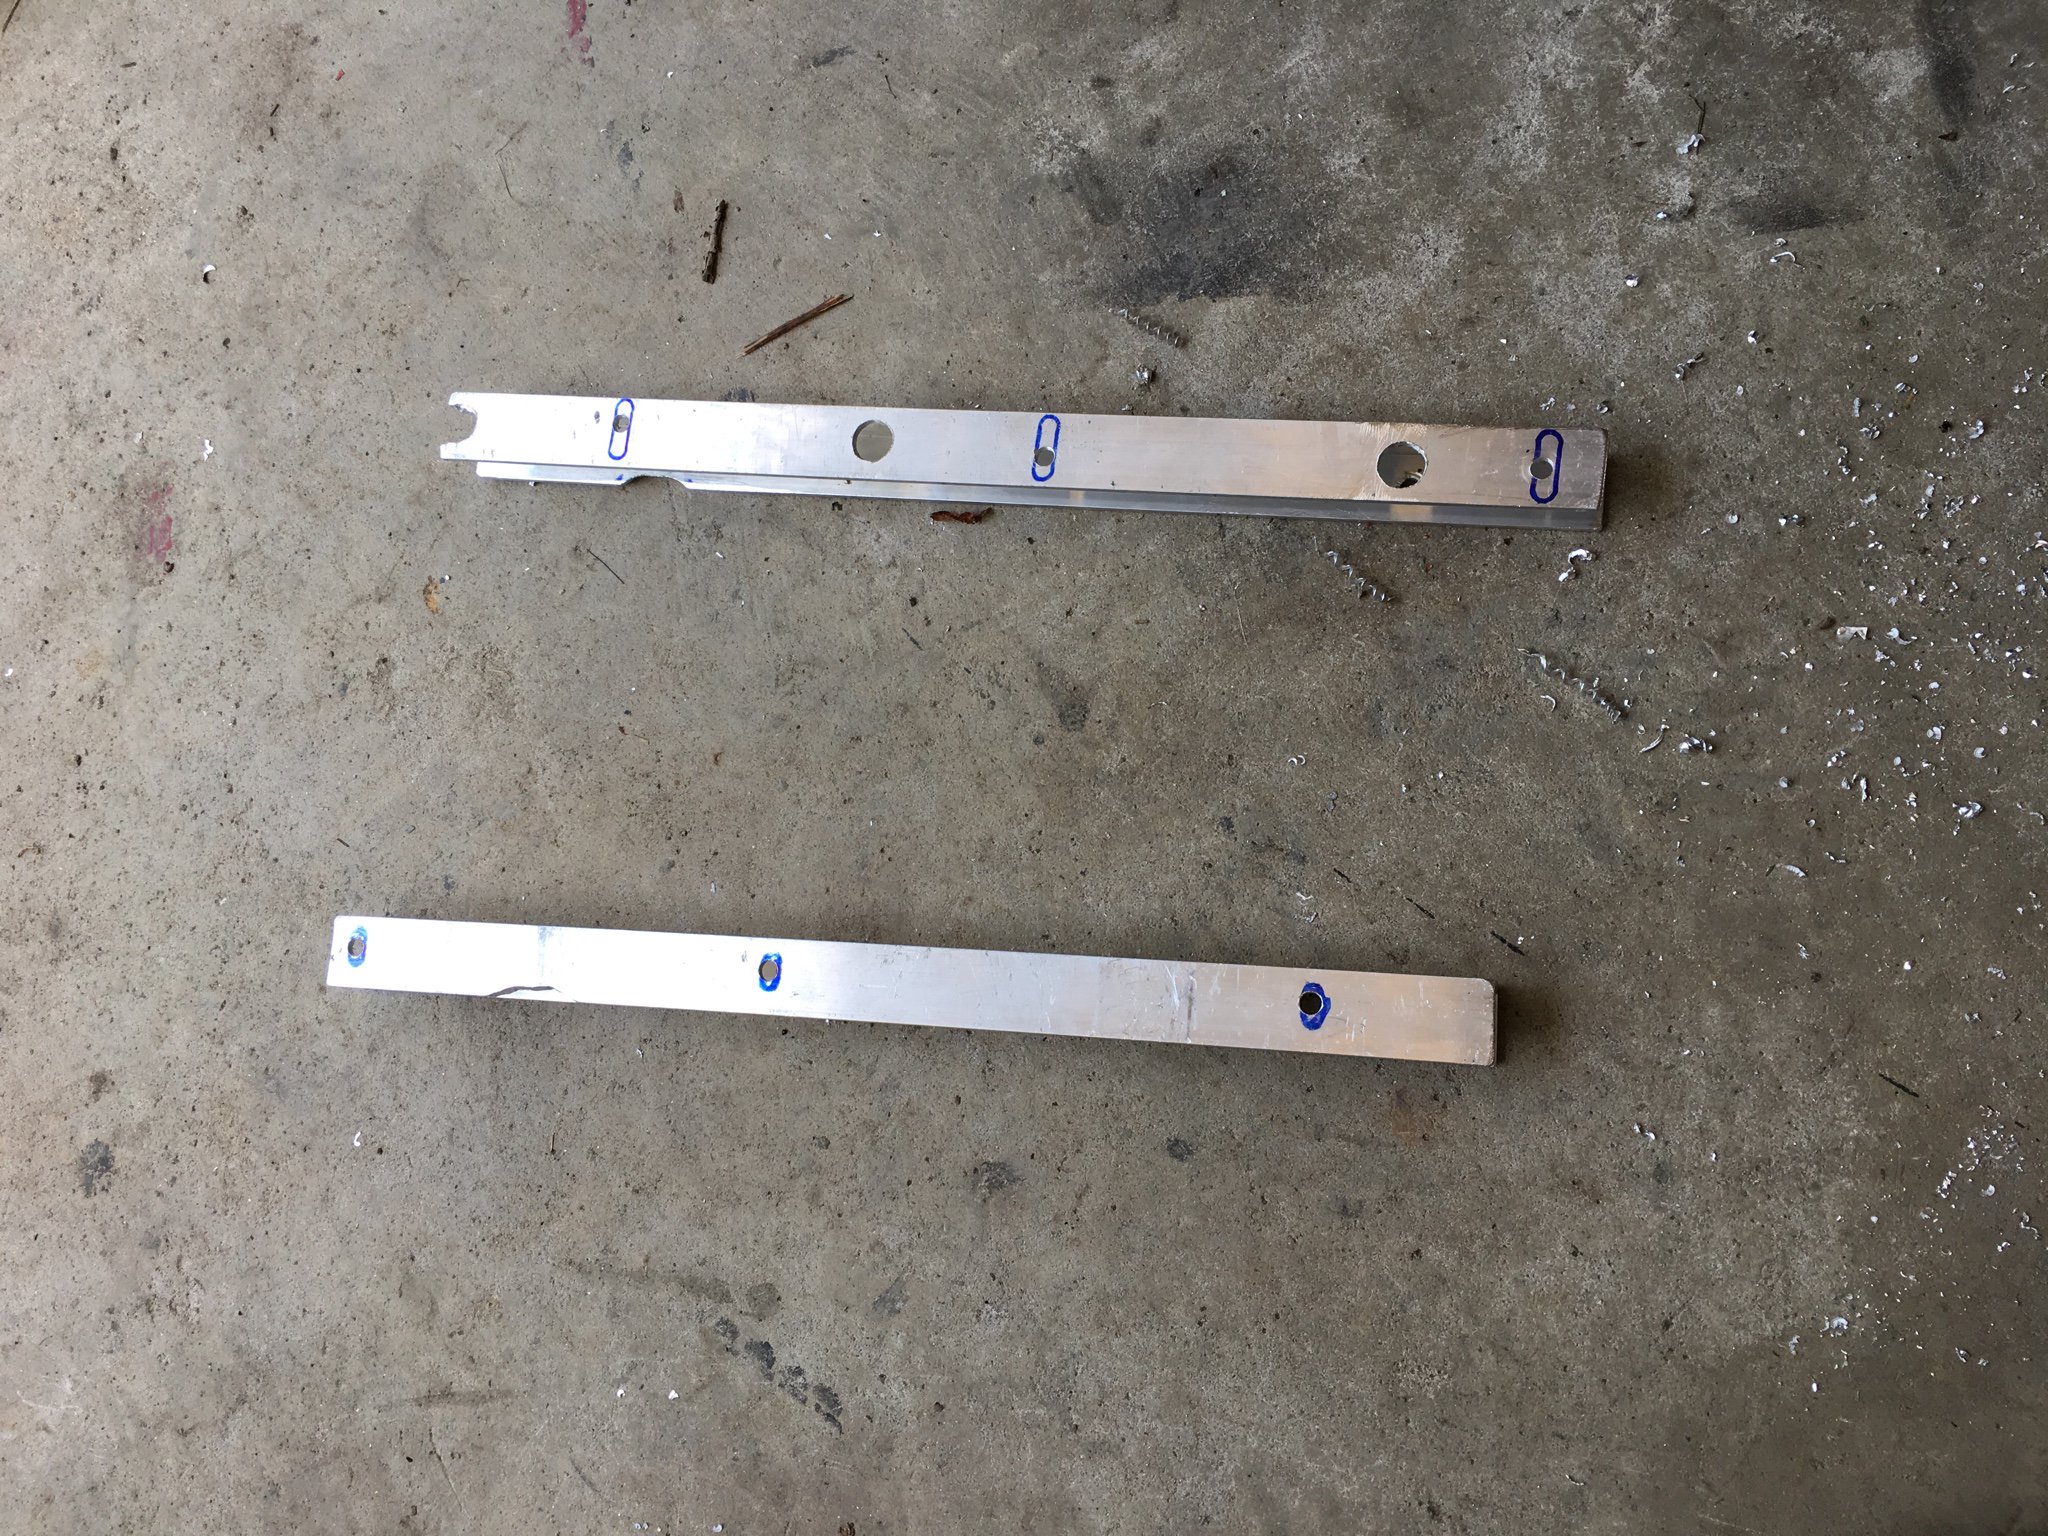
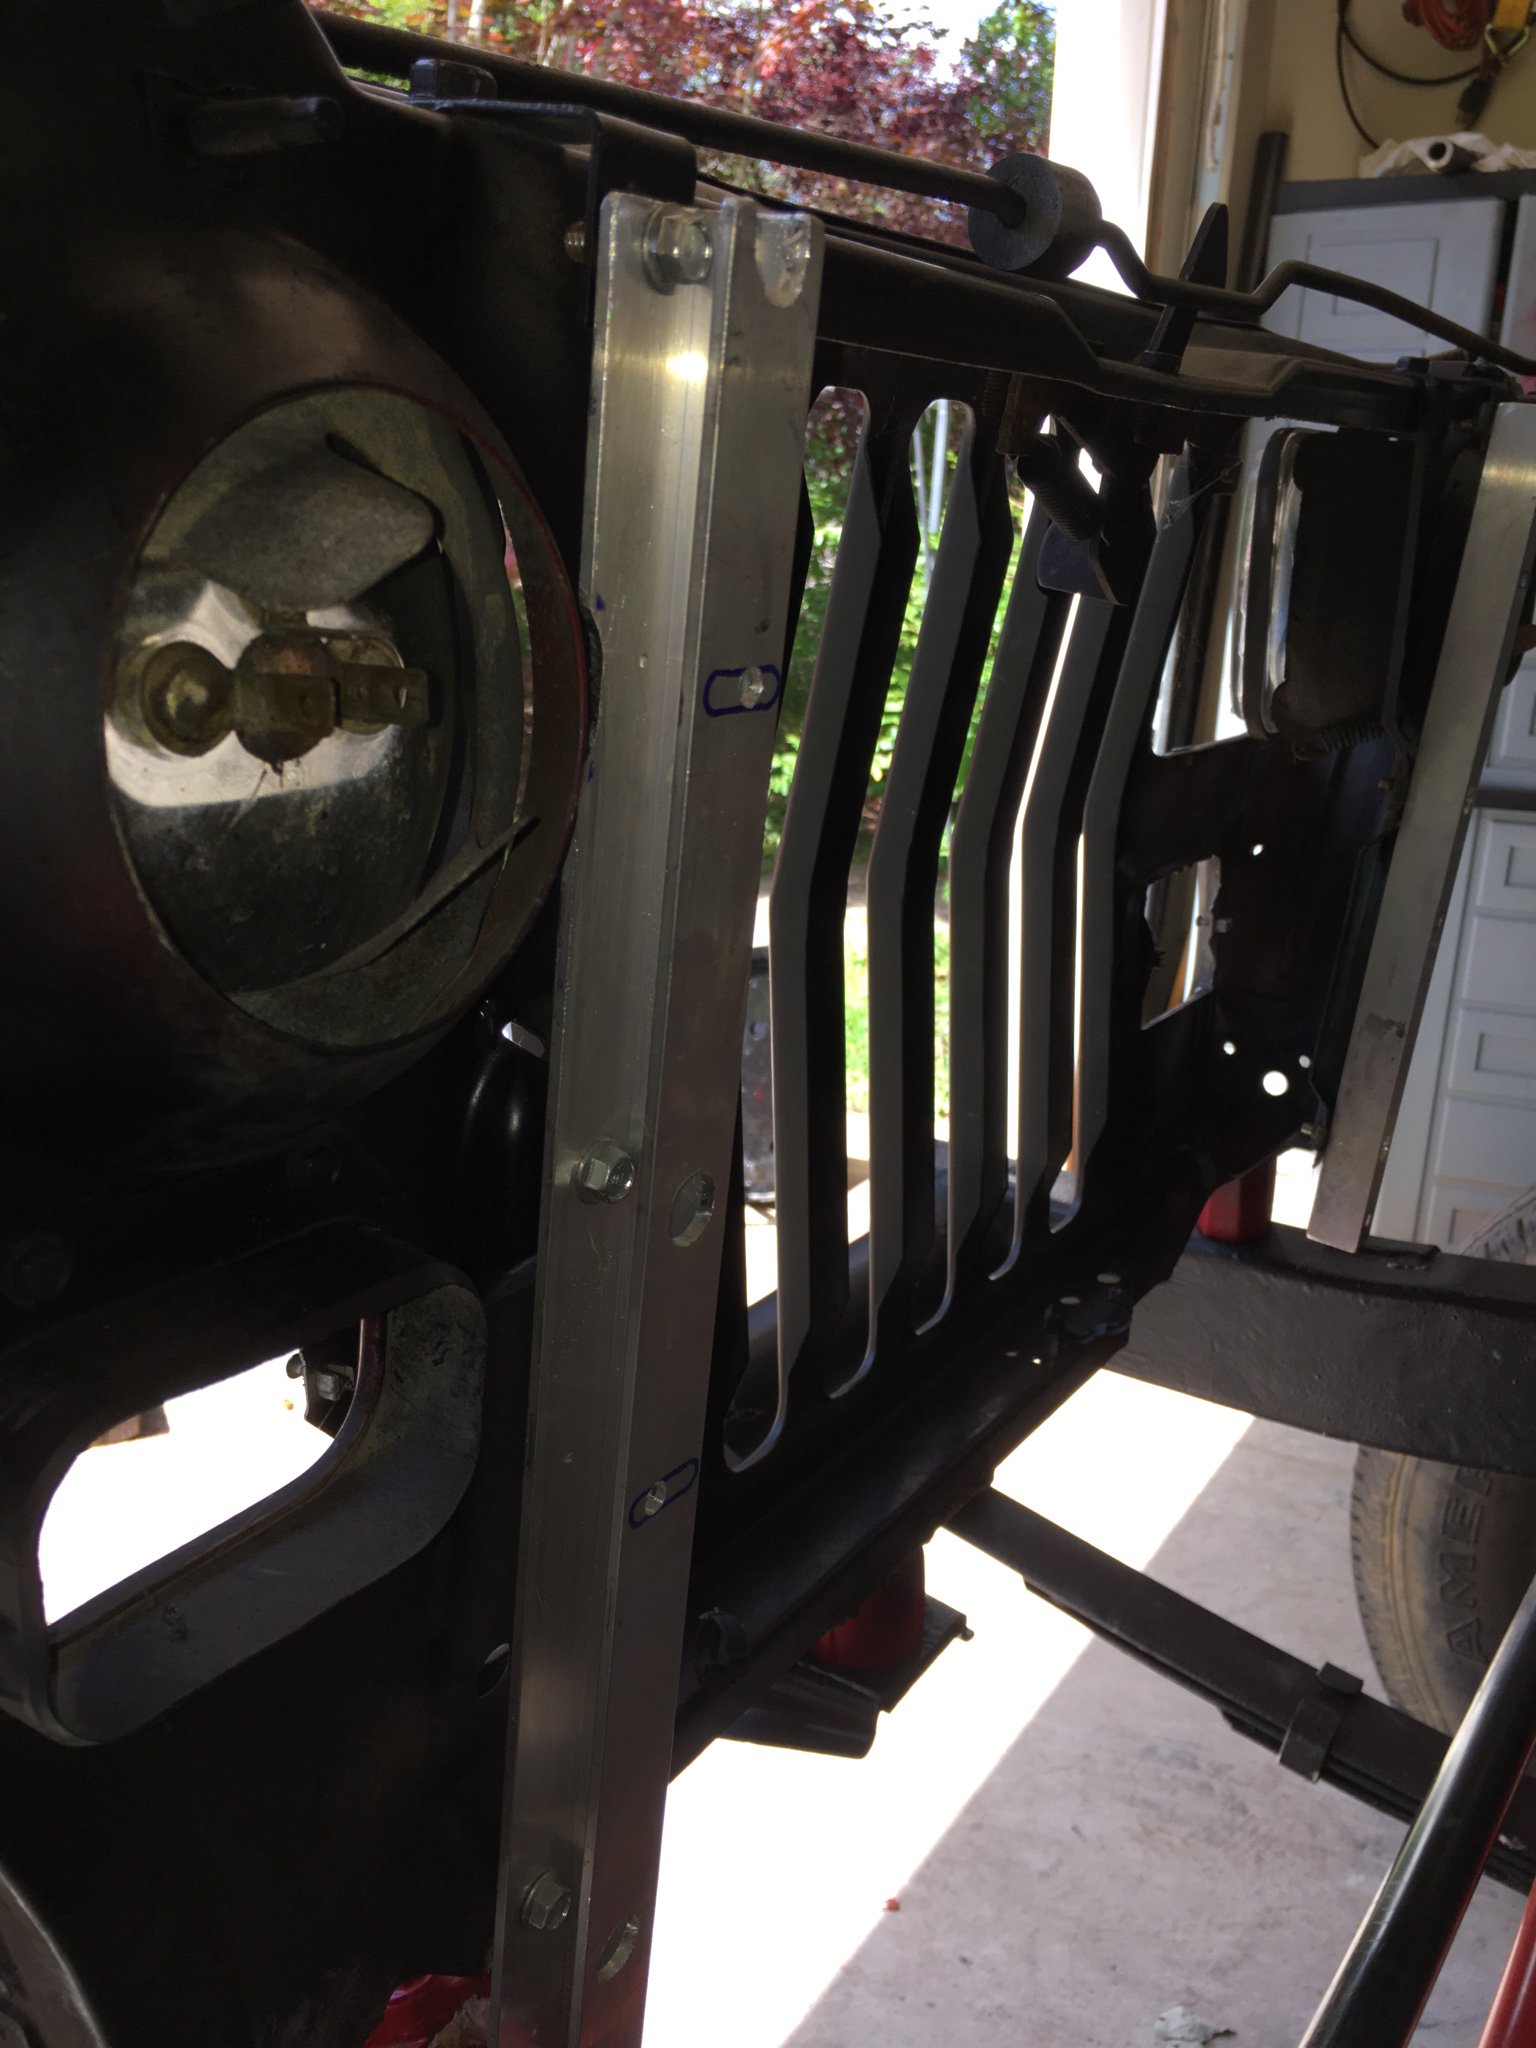
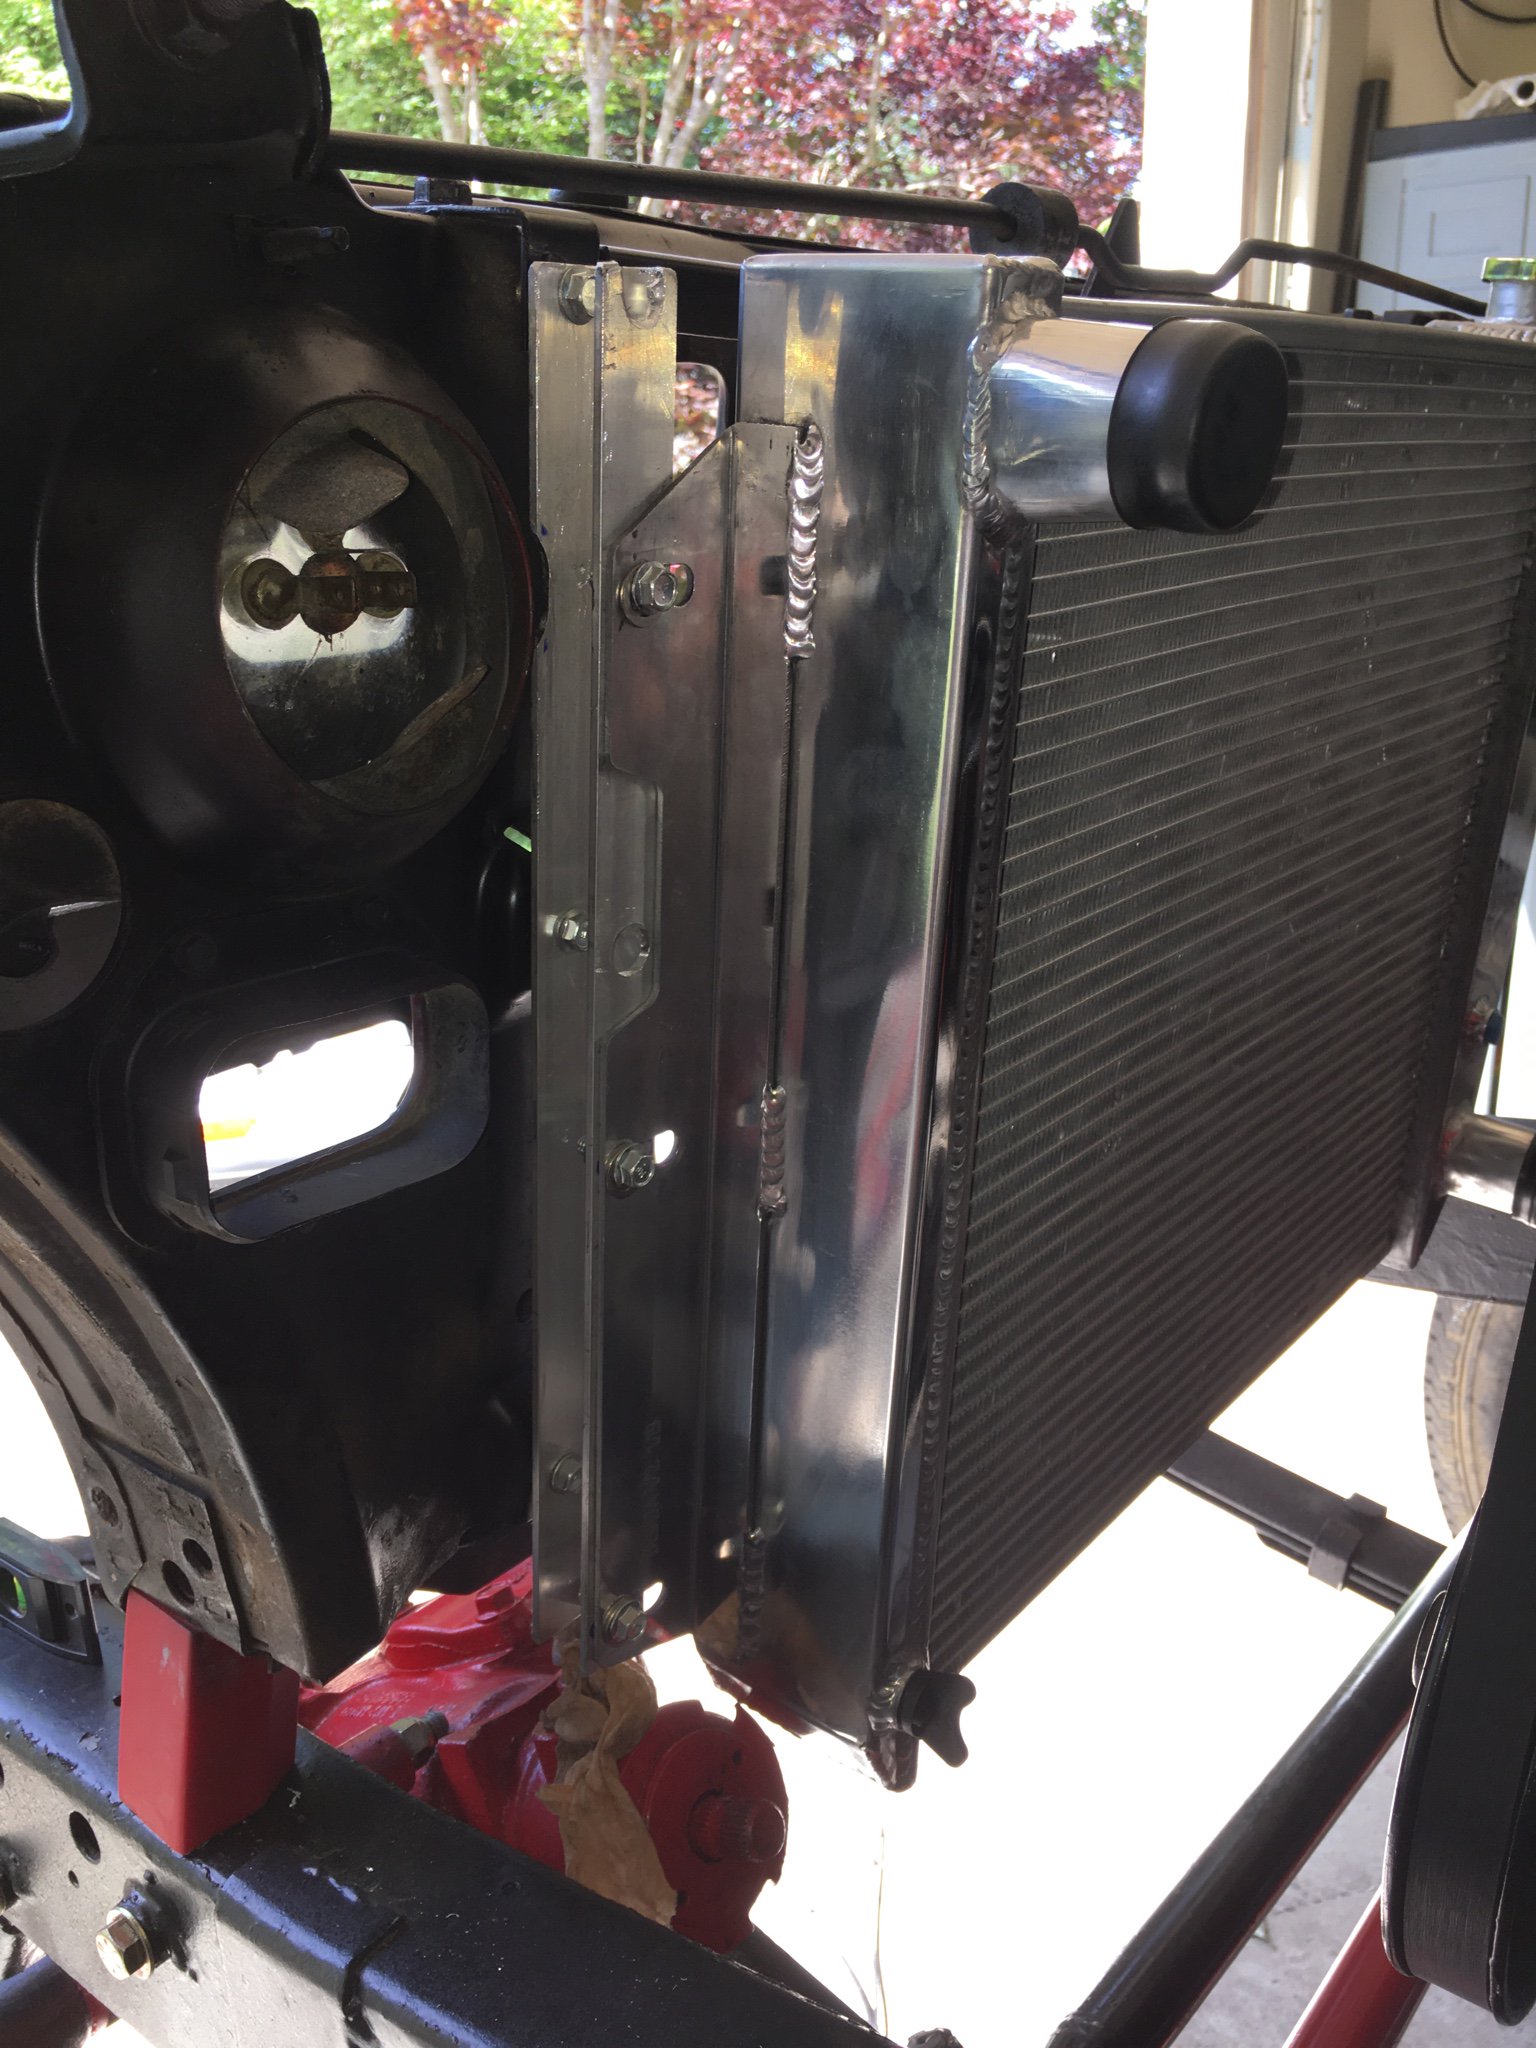
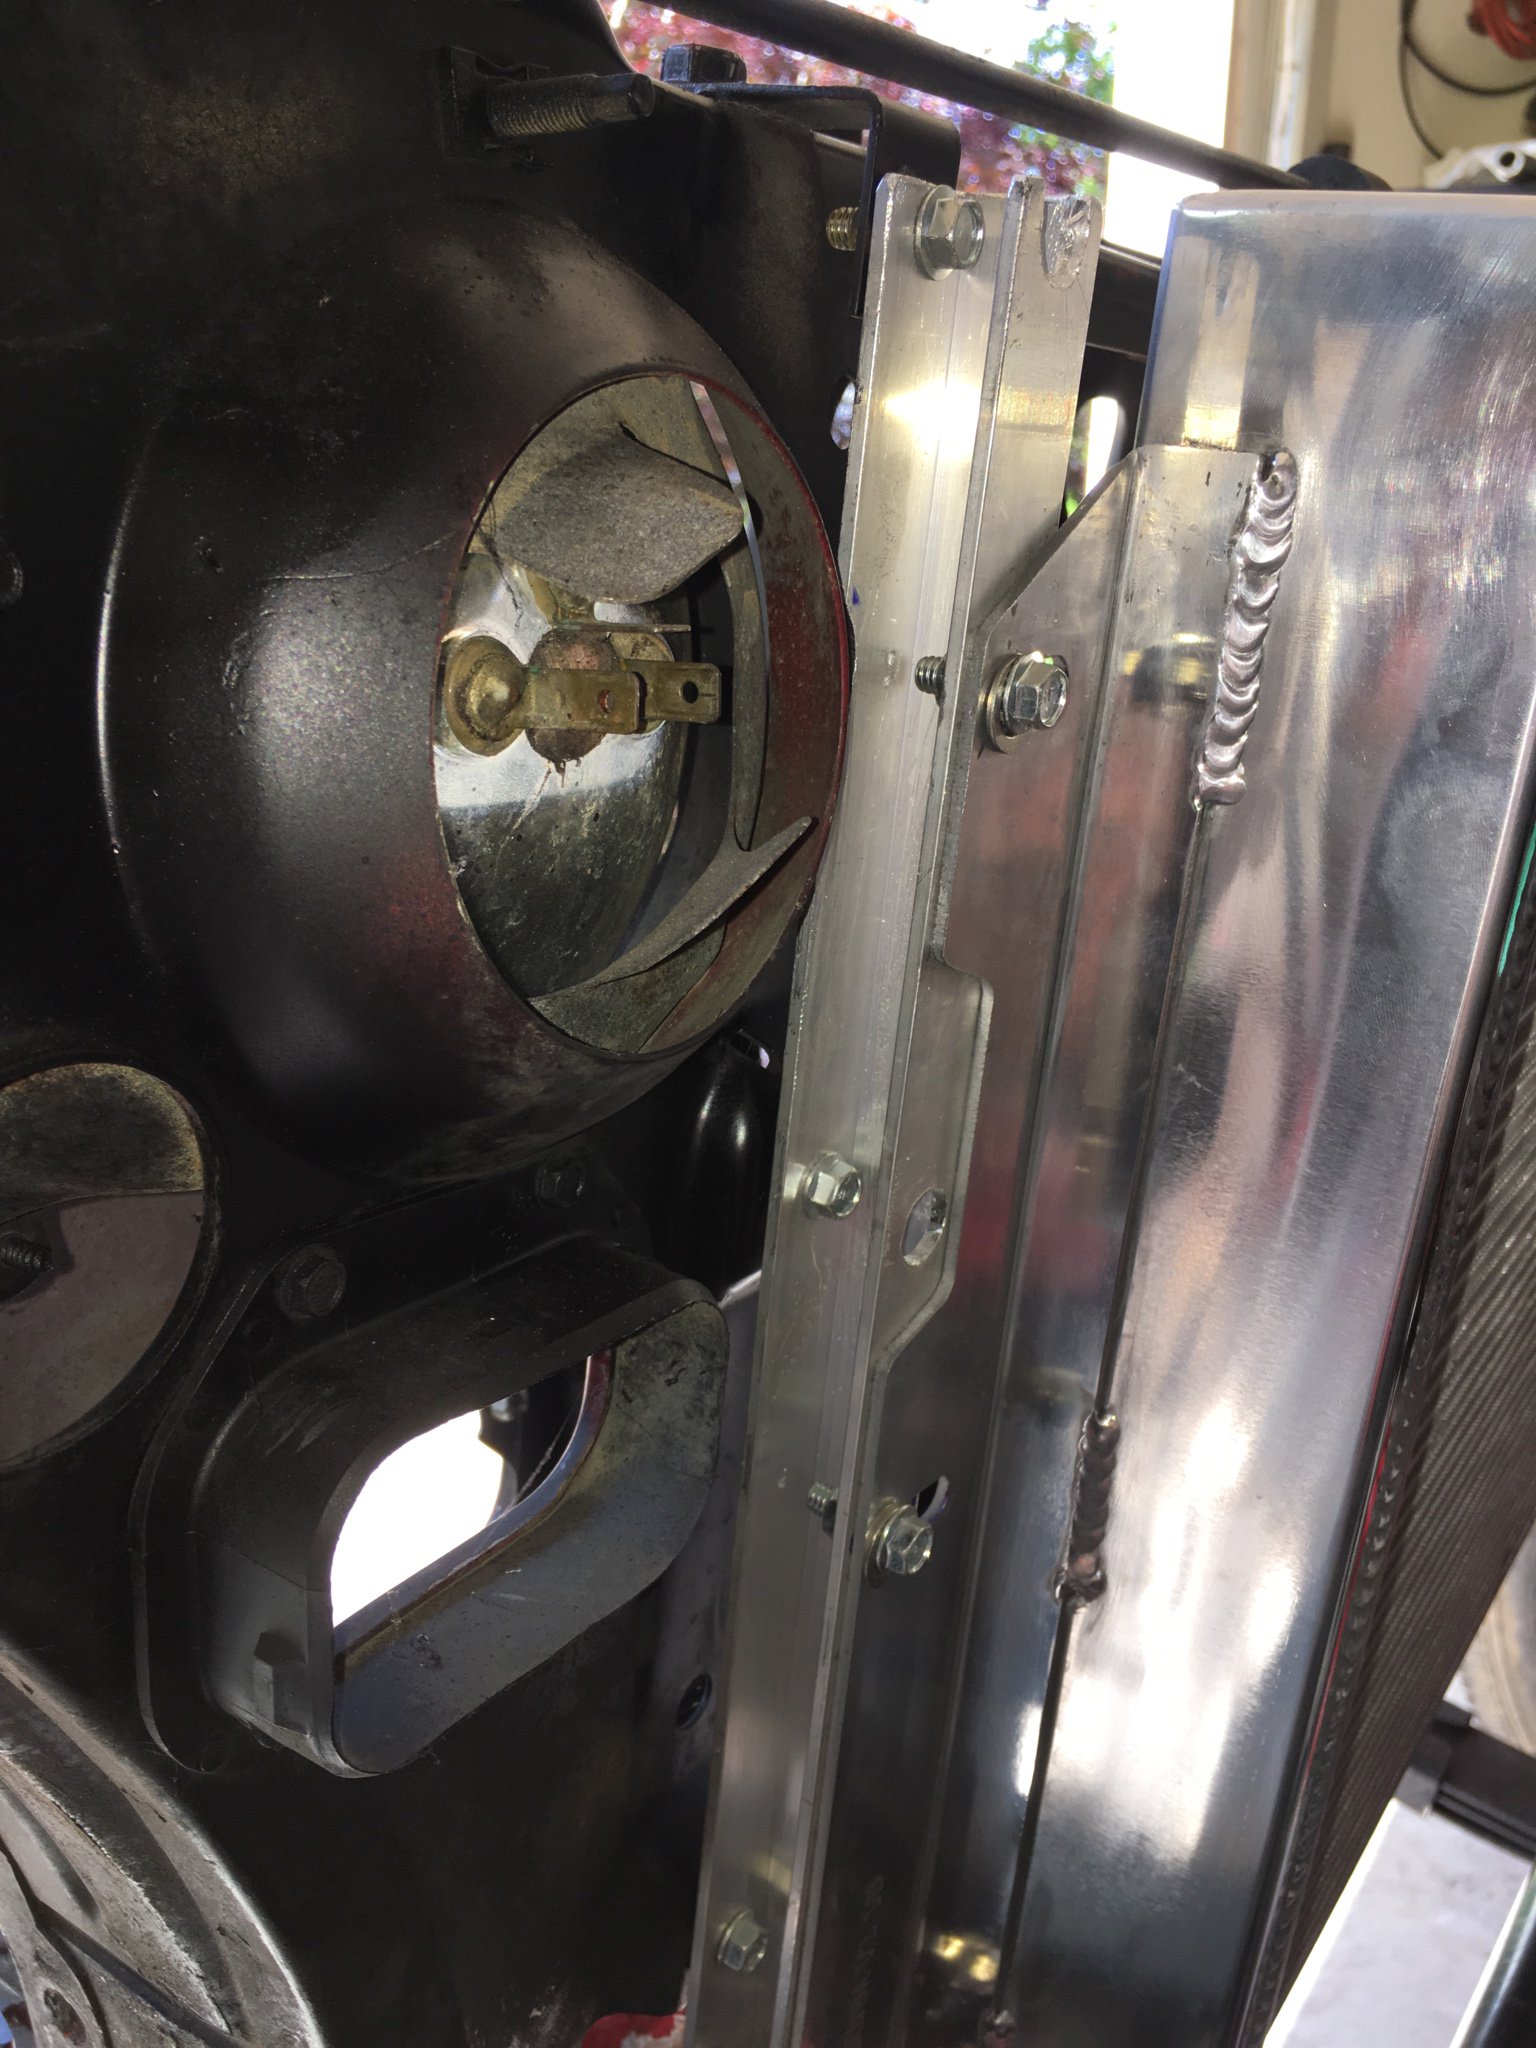
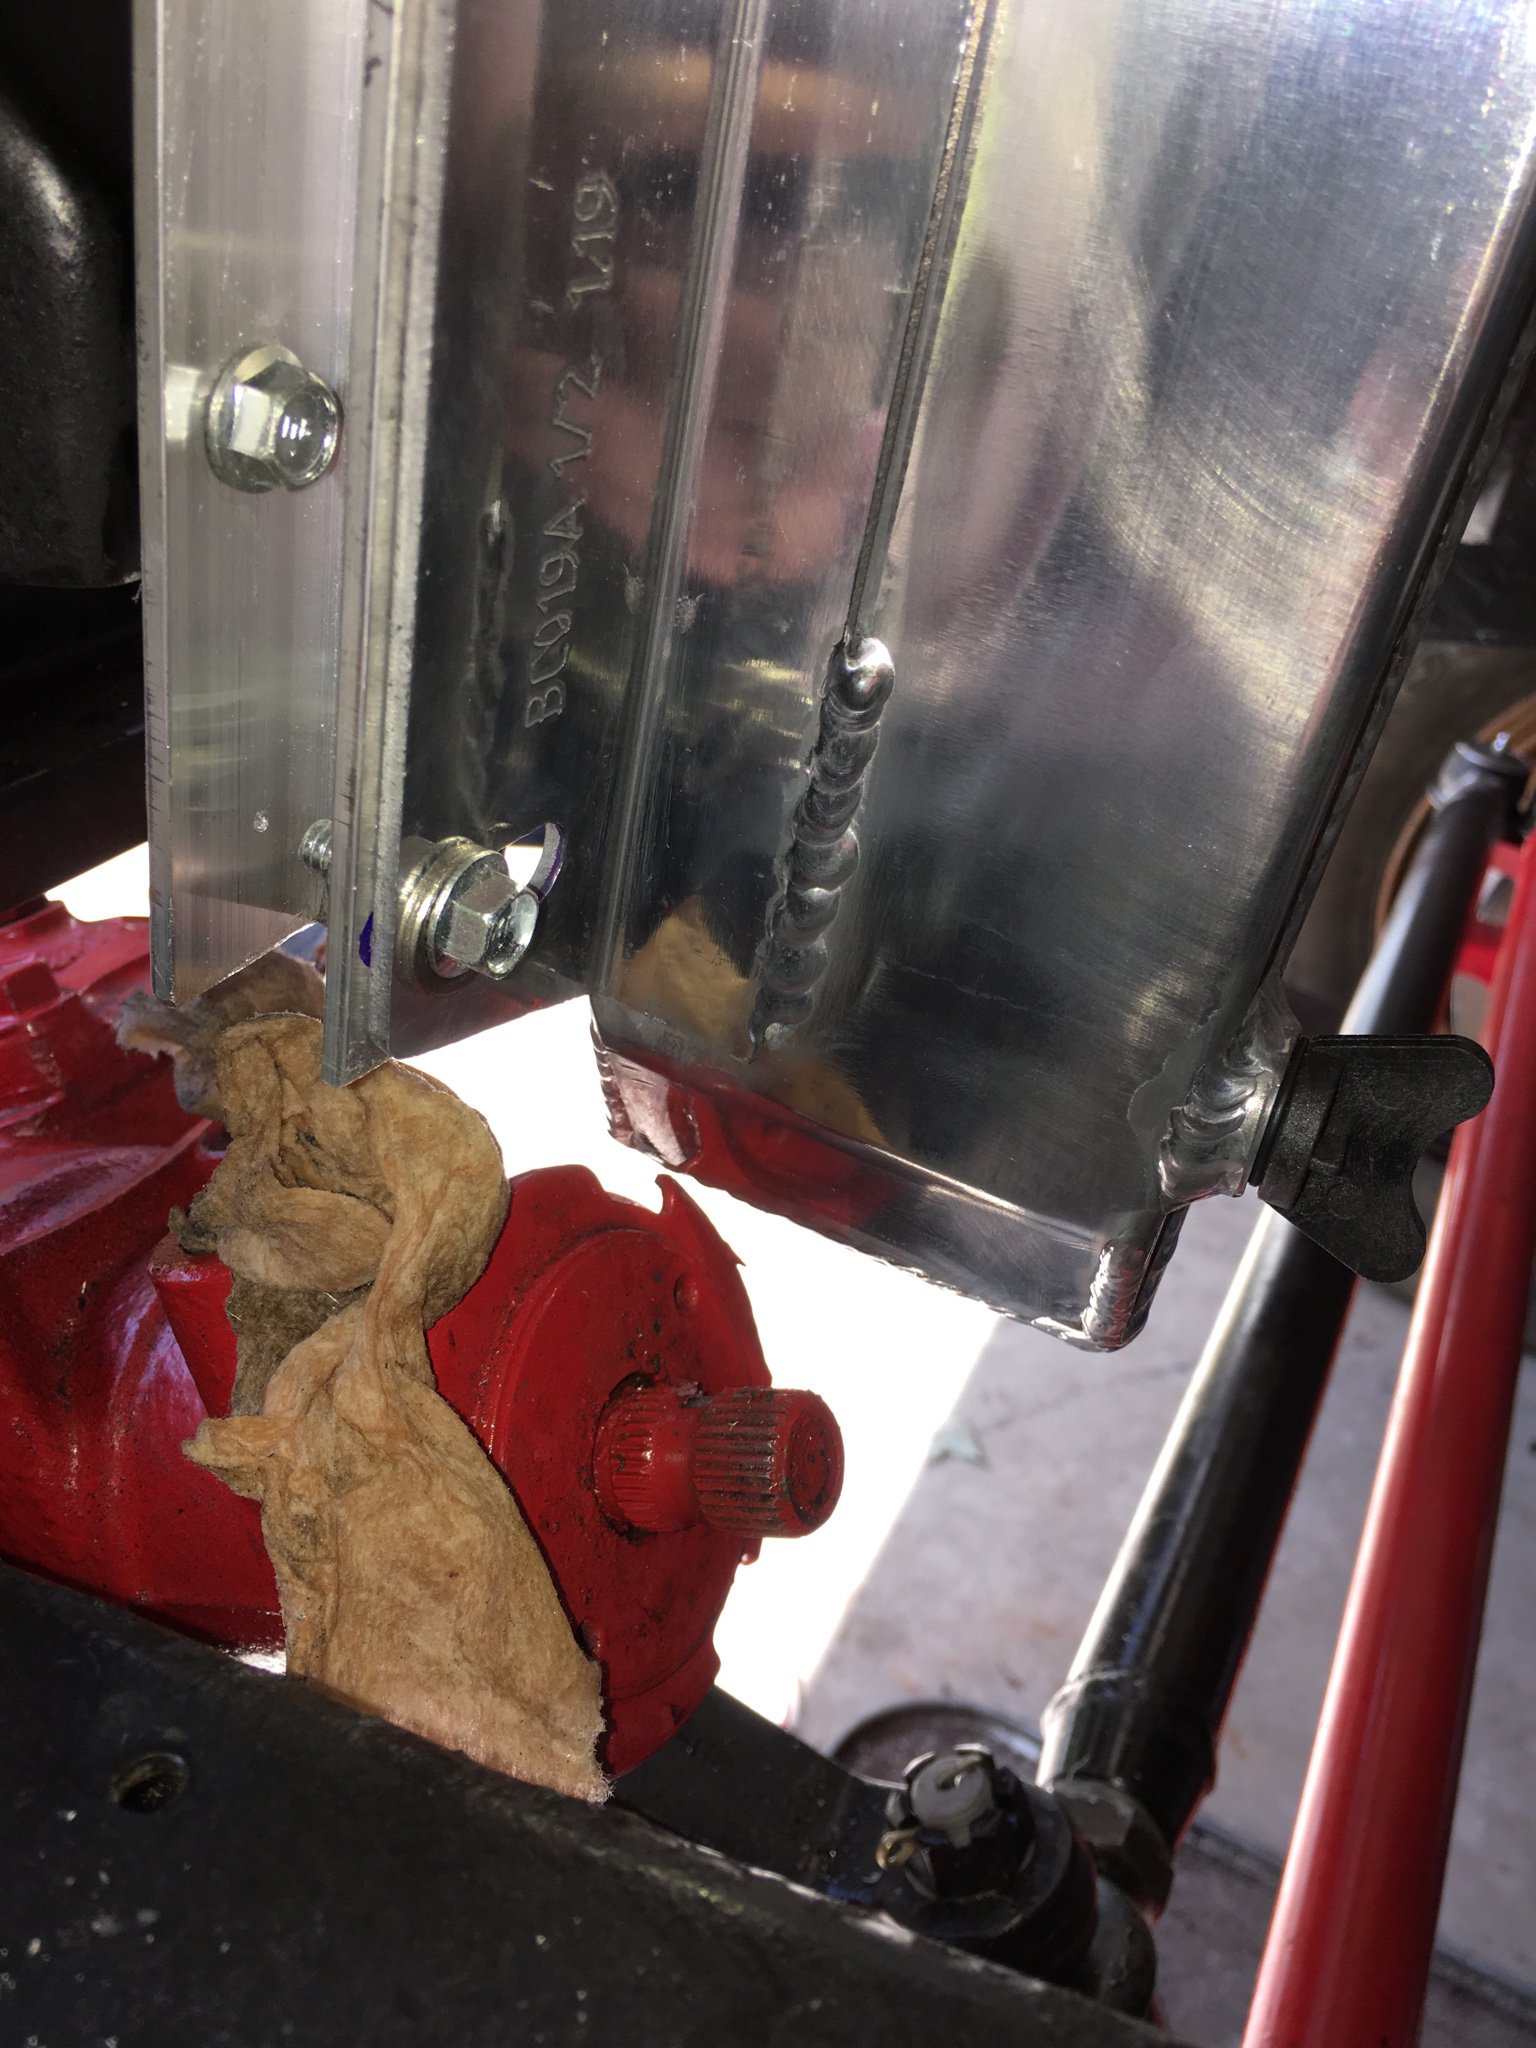
Jumped out to the garage for a long lunch to fab up the rad mount brackets.

The eBay special aluminum radiator was off on the bolt pattern. I could only get 4 of the 6 bolts to work. But it was mounting too high (hood and cap clearance) and the flange was hitting the headlight bowl. So bought some aluminum c channel from Lowes Depot and then got some hardware. Doing the grill bolt pattern on one side and the rad on the other. And also lowered as far as it would go to maximize airflow to the fins. But doing that I now got a light eighth clearance with the steering box. Don't think it would ever been an issue but in case the front clip body mount was to ever flex or soften gunna clearance the flange on the box when I pull it to install my steering shaft.

Drilled half inch holes on the rad side for grill mounting that a 3/8 socket can fit into for ease of install or removal.

d4498ef9ccd50c665b3e18b7247be483.jpg


338cfd65b13cf40b8d9e4a29e466eaf7.jpg


81e61c8bc255f8a8379c425784a2730d.jpg


931c3c4e8e62b01805307caa70e35058.jpg


77d4c46821eda6bdd9fa45024dc3a8a0.jpg


b561a4d3e2b650f8ed05be592d3e1aa6.jpg
 
Last edited:
Got the rad mounted officially. Put the fan on. Wired up fan wiring after completing the relay box. Which meant one fender is on!!! Also got a few more ground wires laid.

Sorry about the low quality pics. Ran out of light.

Shooting to get every thing done but driveshafts this weekend.


784e5a9dc7471b632b4ee4b1c06cc3be.jpg


786a4d8b116e0292f342117ceb4a64c4.jpg


3b198bb77fb655327283b2b36fef78d3.jpg
 
Last edited:
Back
Top