ckruzer
Infidel
- Joined
- Jul 2, 2015
- Location
- asheville nc
Real question is why are all those Corona not open
Sent from my XT1635-01 using Tapatalk
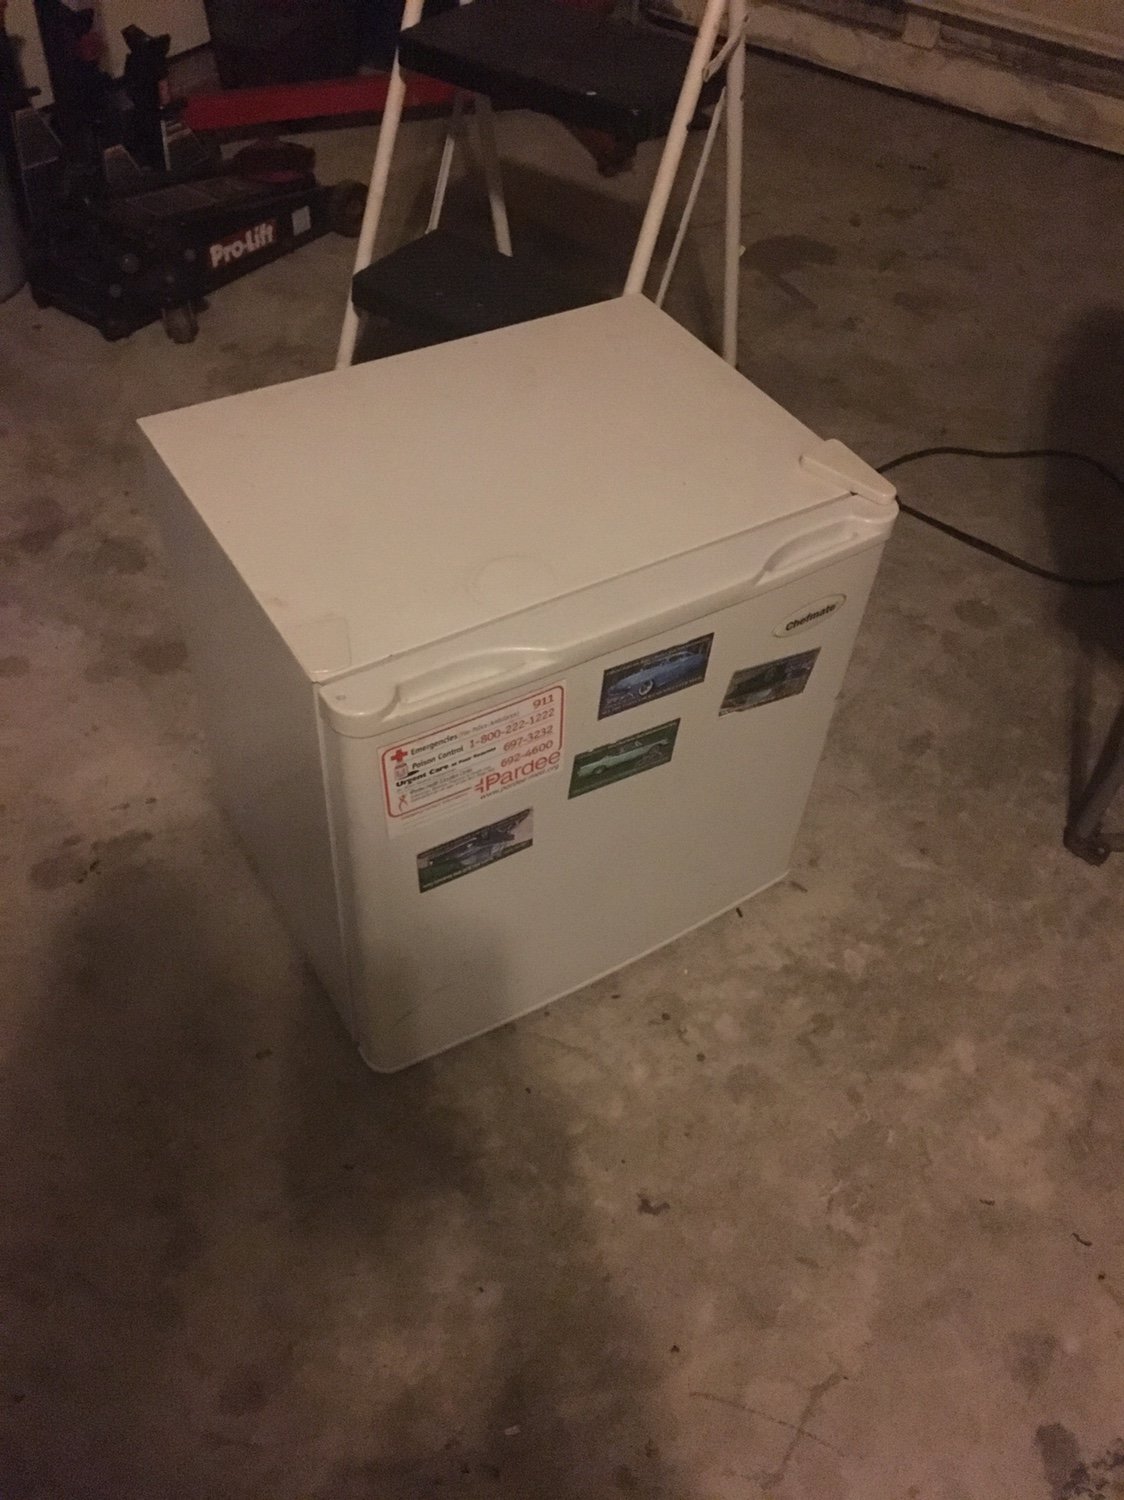
I had just emptied the cooler hahah. I need to get me one of them beer fridges


Real question is why are all those Corona not open
Sent from my XT1635-01 using Tapatalk
Shit I have a perfect mini fridge you can have I stepped up to a full size beer fridge[emoji6]I had just emptied the cooler hahah. I need to get me one of them beer fridges
Sorry man just saw your message I had a family reunion on my wife's side pm me your number and I'll call or text you tomorrow and we can go from there
Sent from my XT1635-01 using Tapatalk
Big $$ ballin!
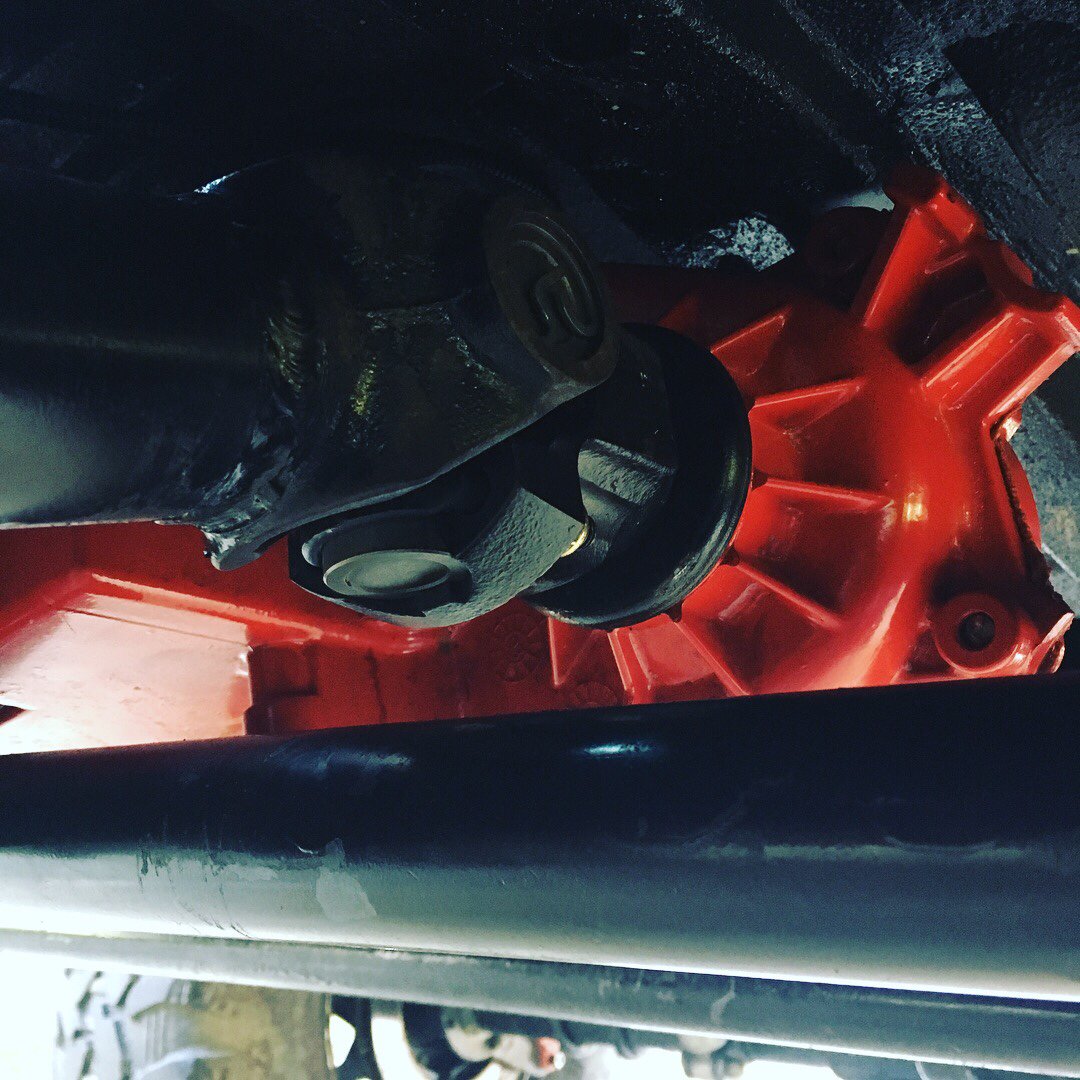
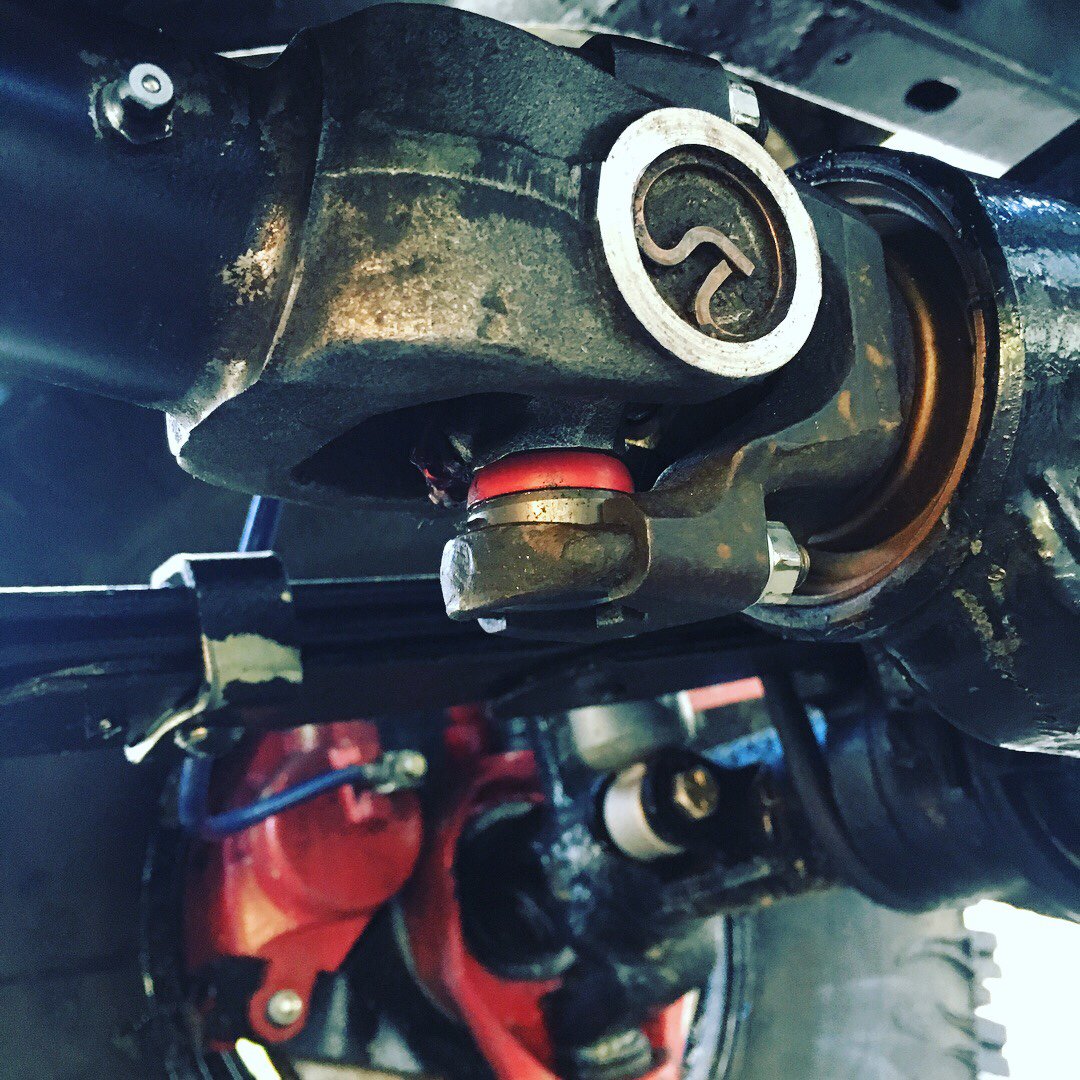
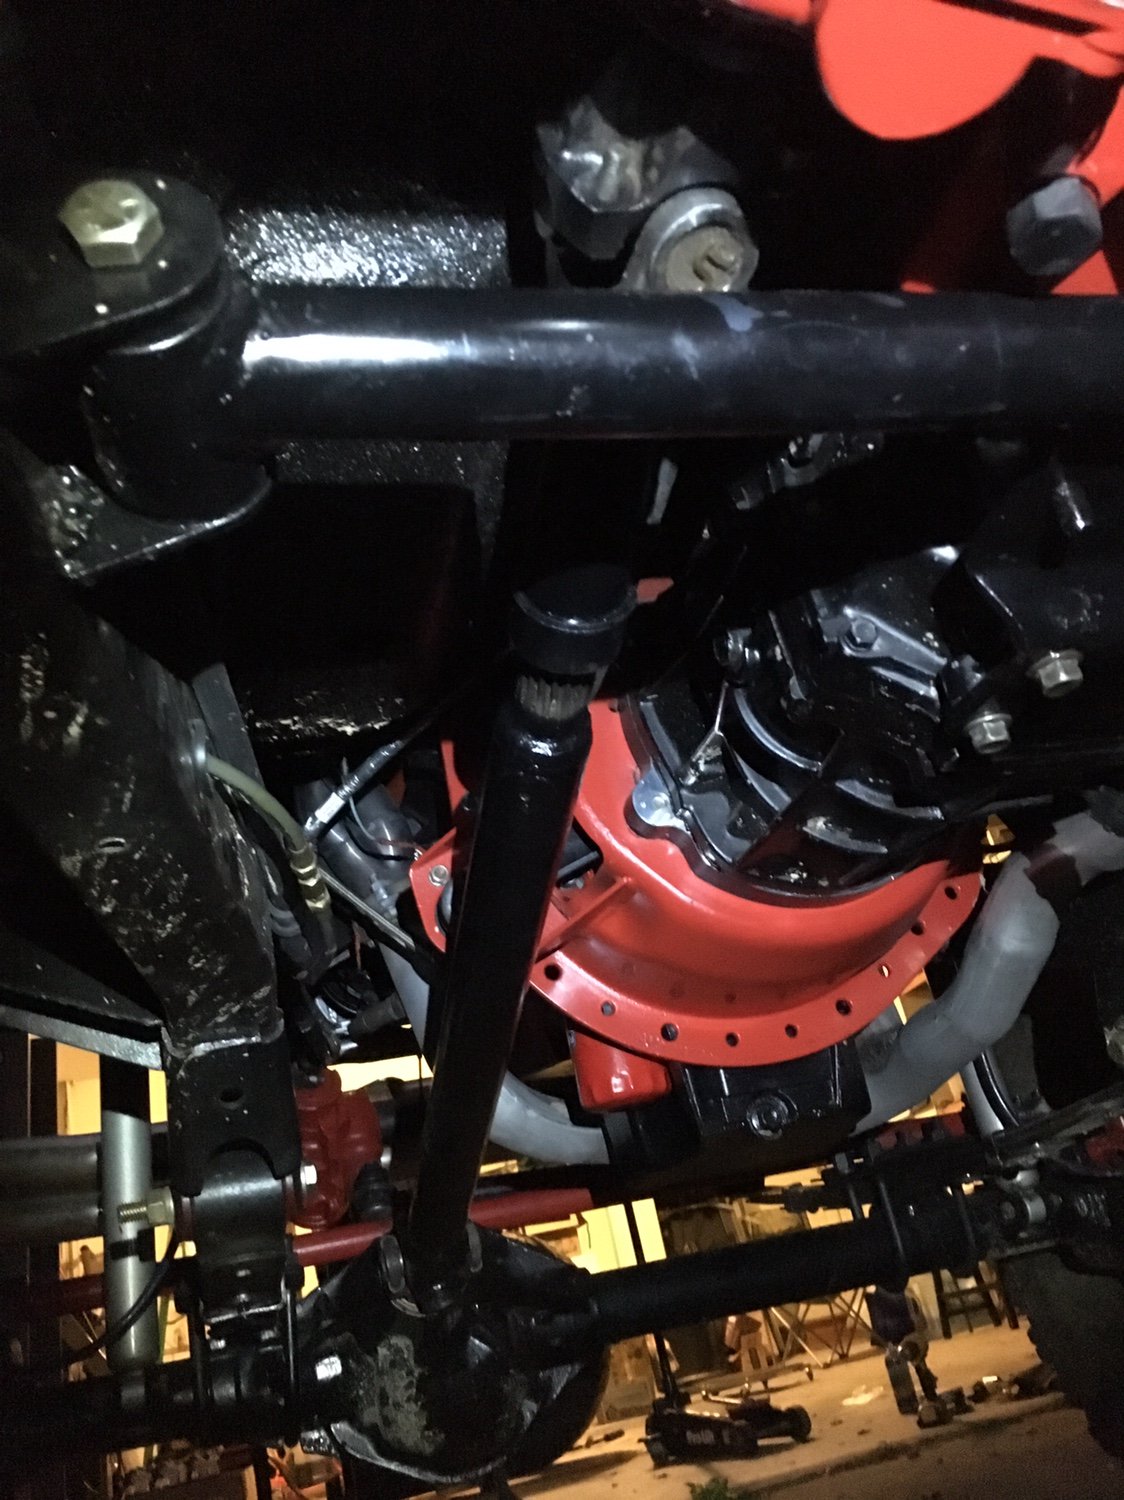
shims? to do what, rotate it? lift it? Since this sees mostly street time, I would recommend keeping the Castor reasonable.

It'll clearance itself
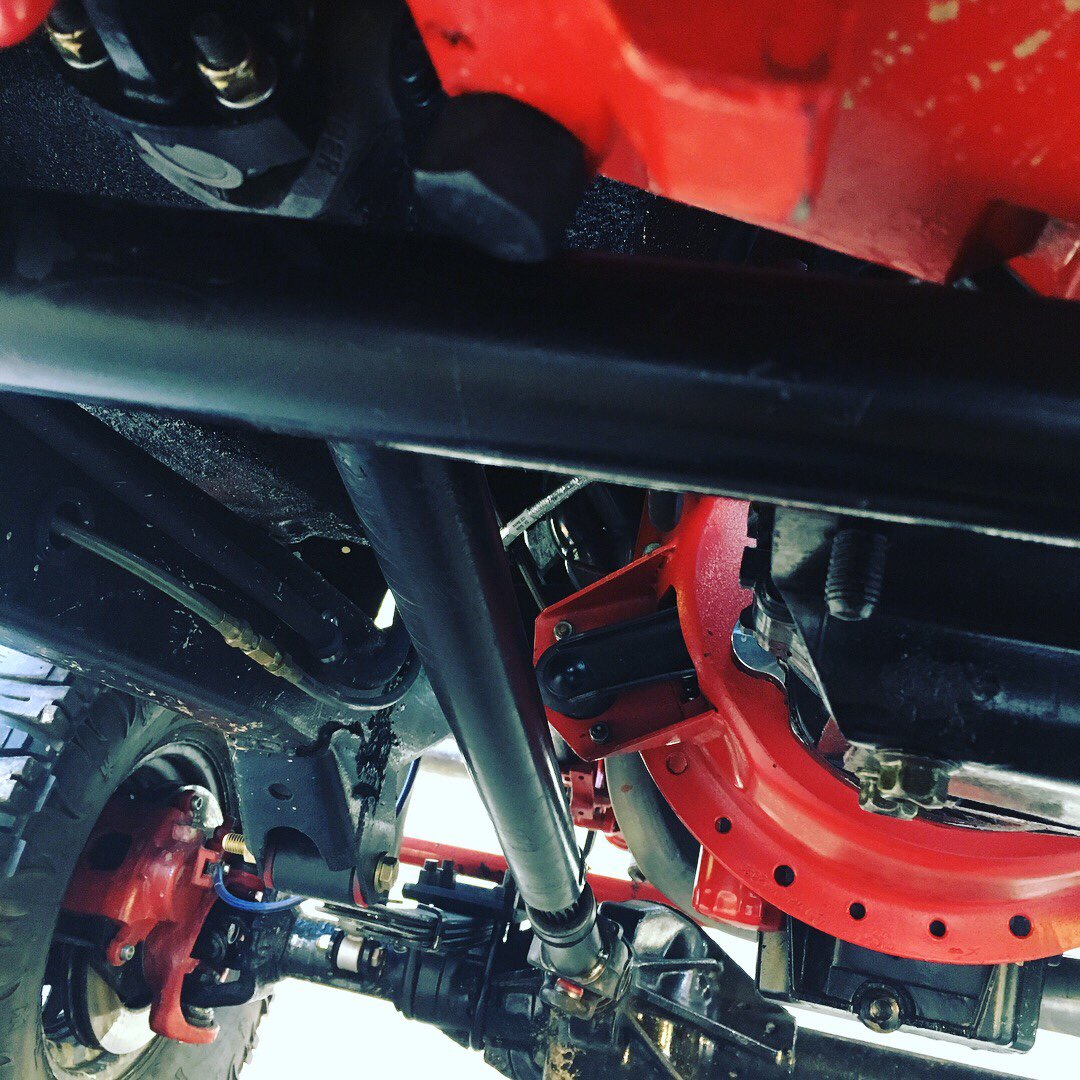
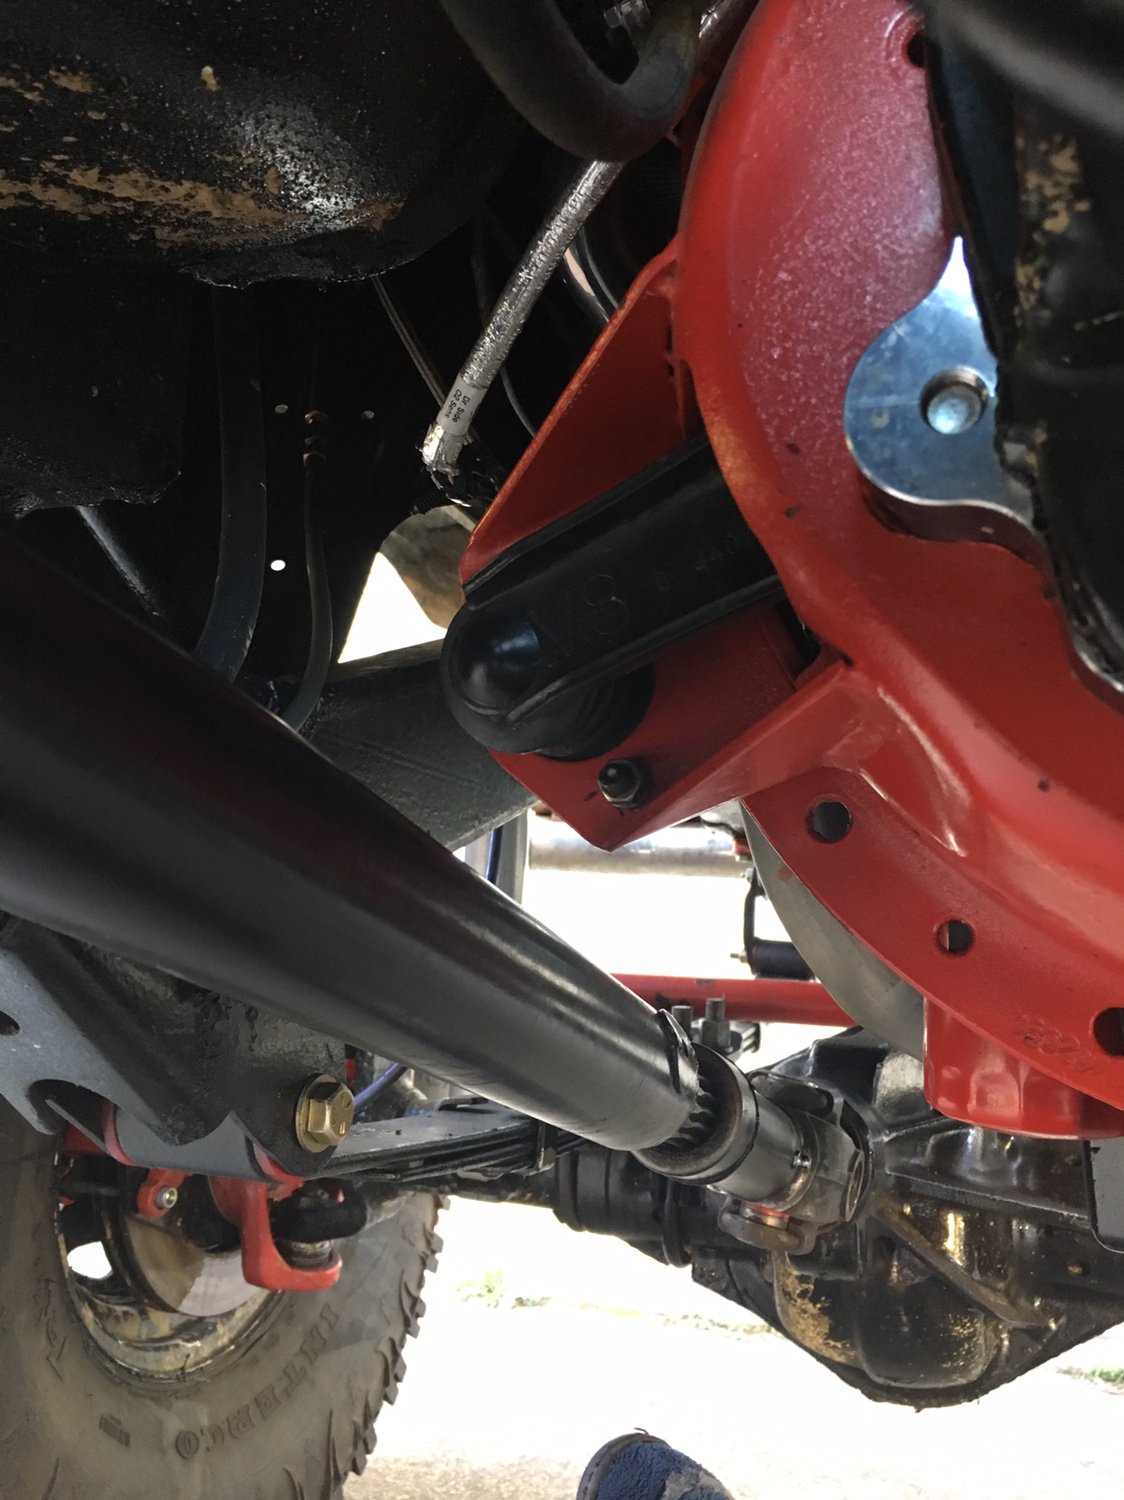
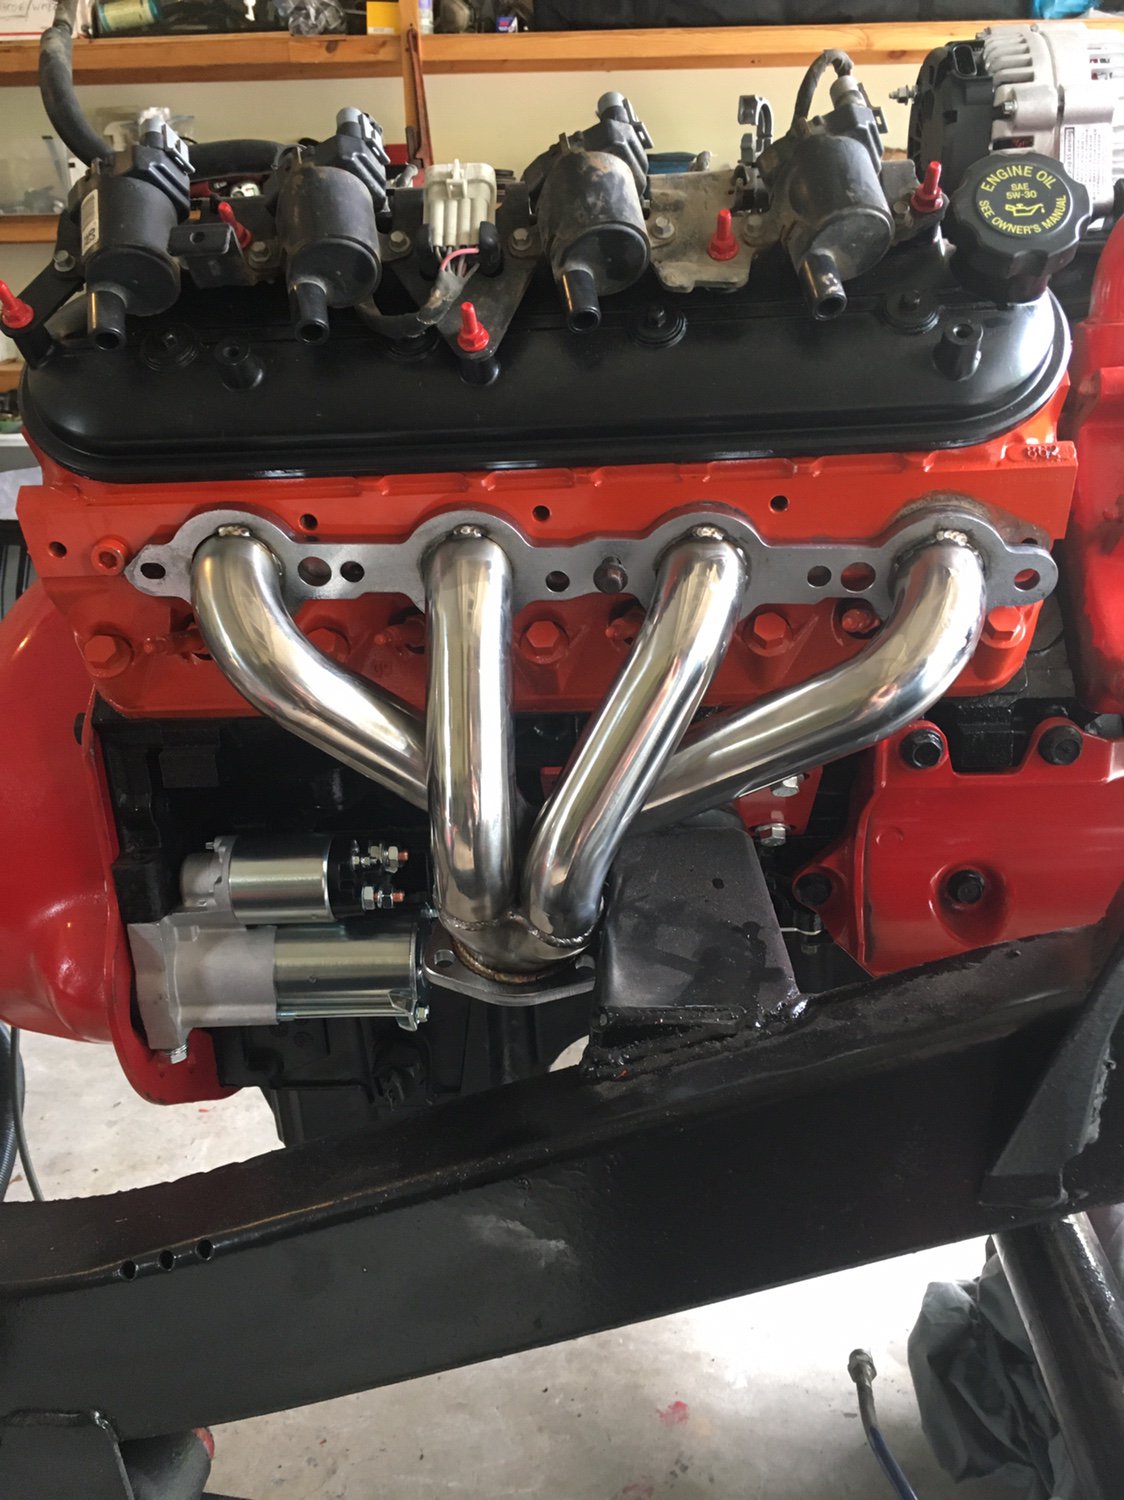
The reason I offset LS swaps to the passenger side.Here is some installed pics of the shaft. To help with clearance at the fork what do y'all think of using some shims on the front axle?
The reason I offset LS swaps to the passenger side.
but what do I know lol.
BUCKEYE PERFORMANCE INC.
828-779-2242
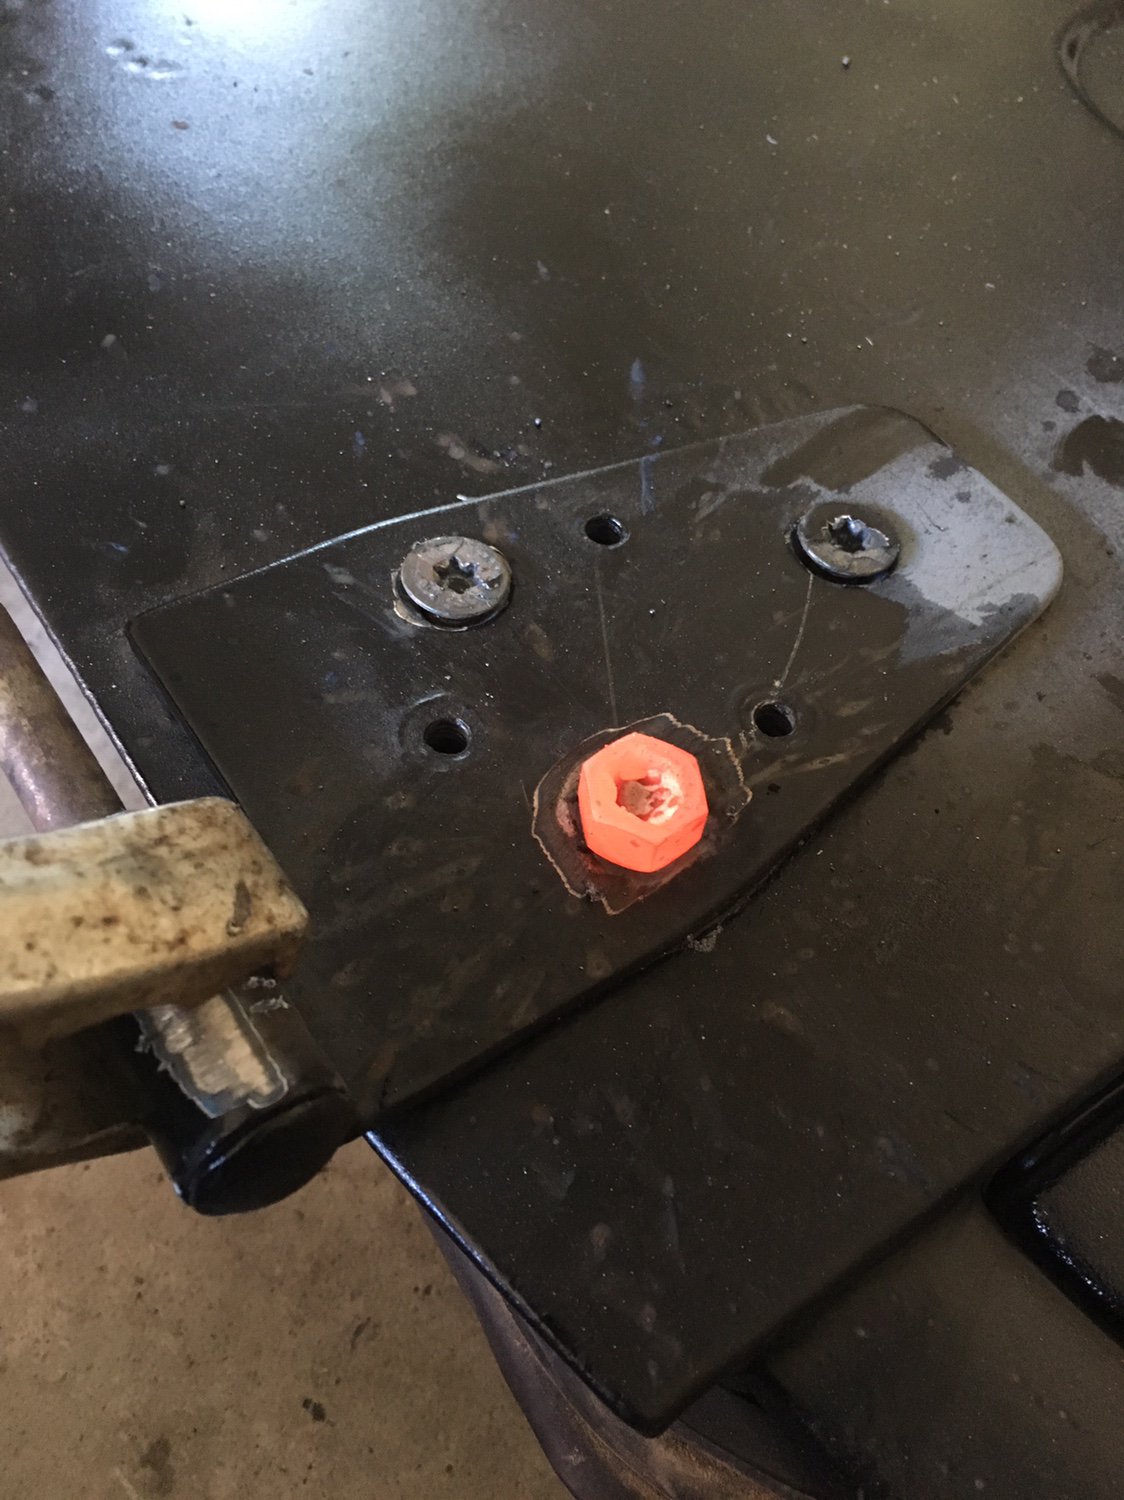
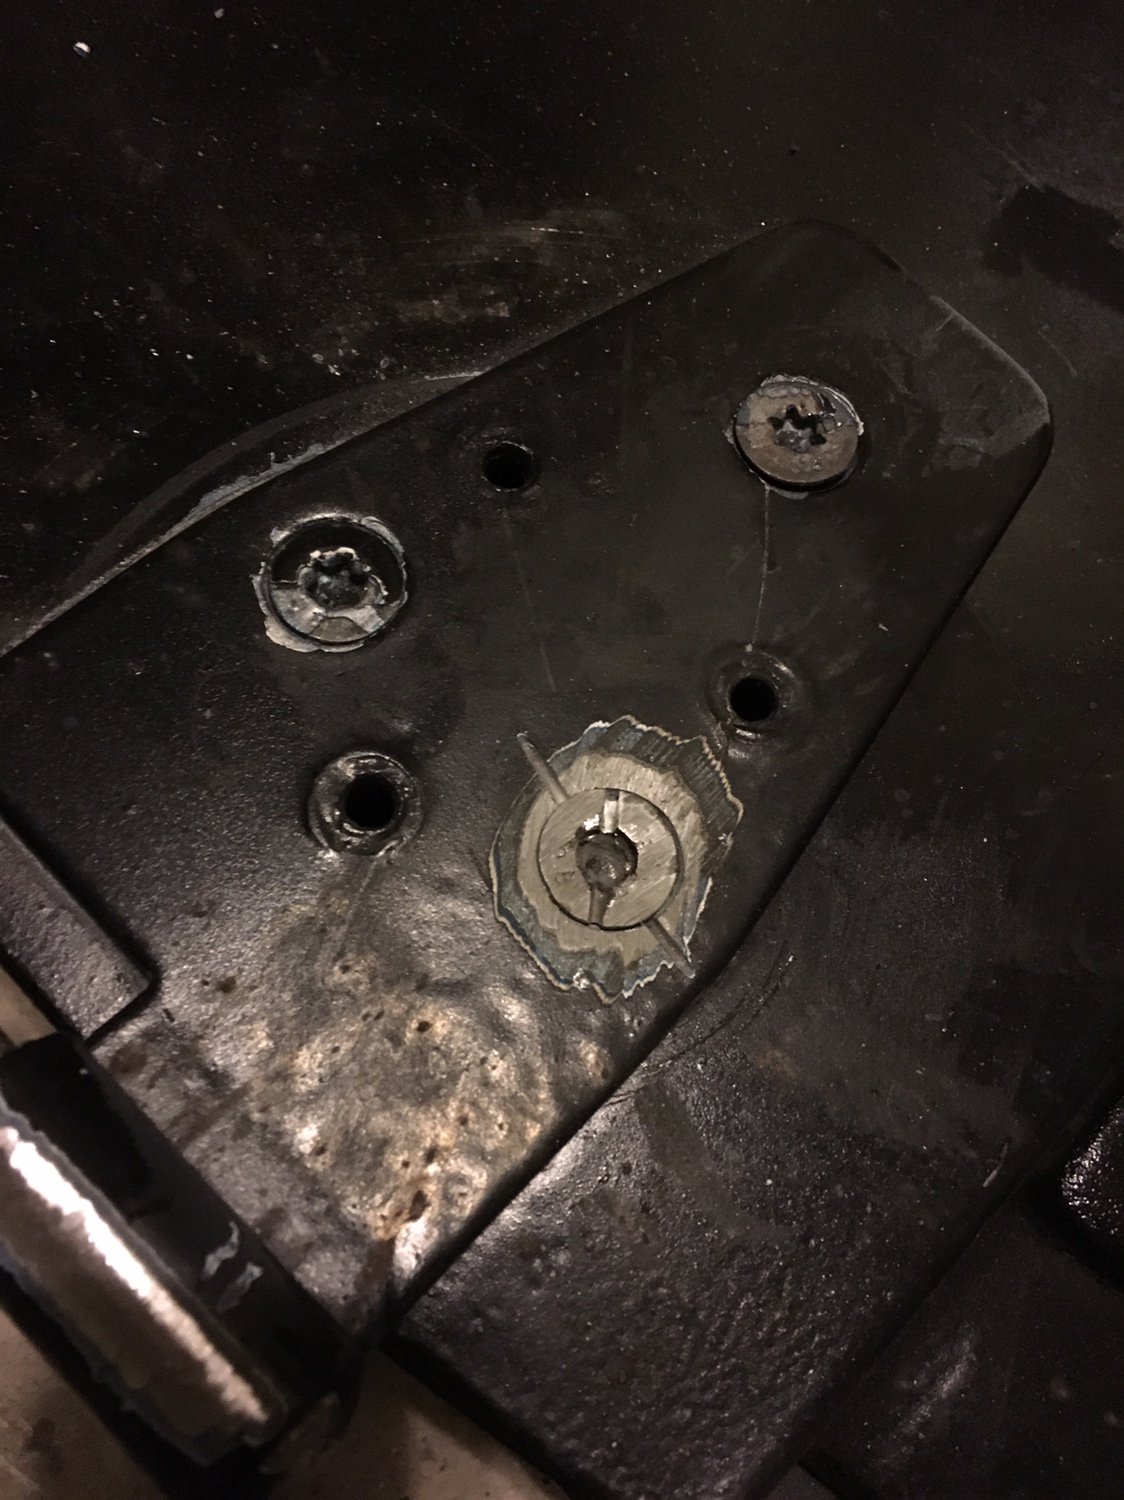
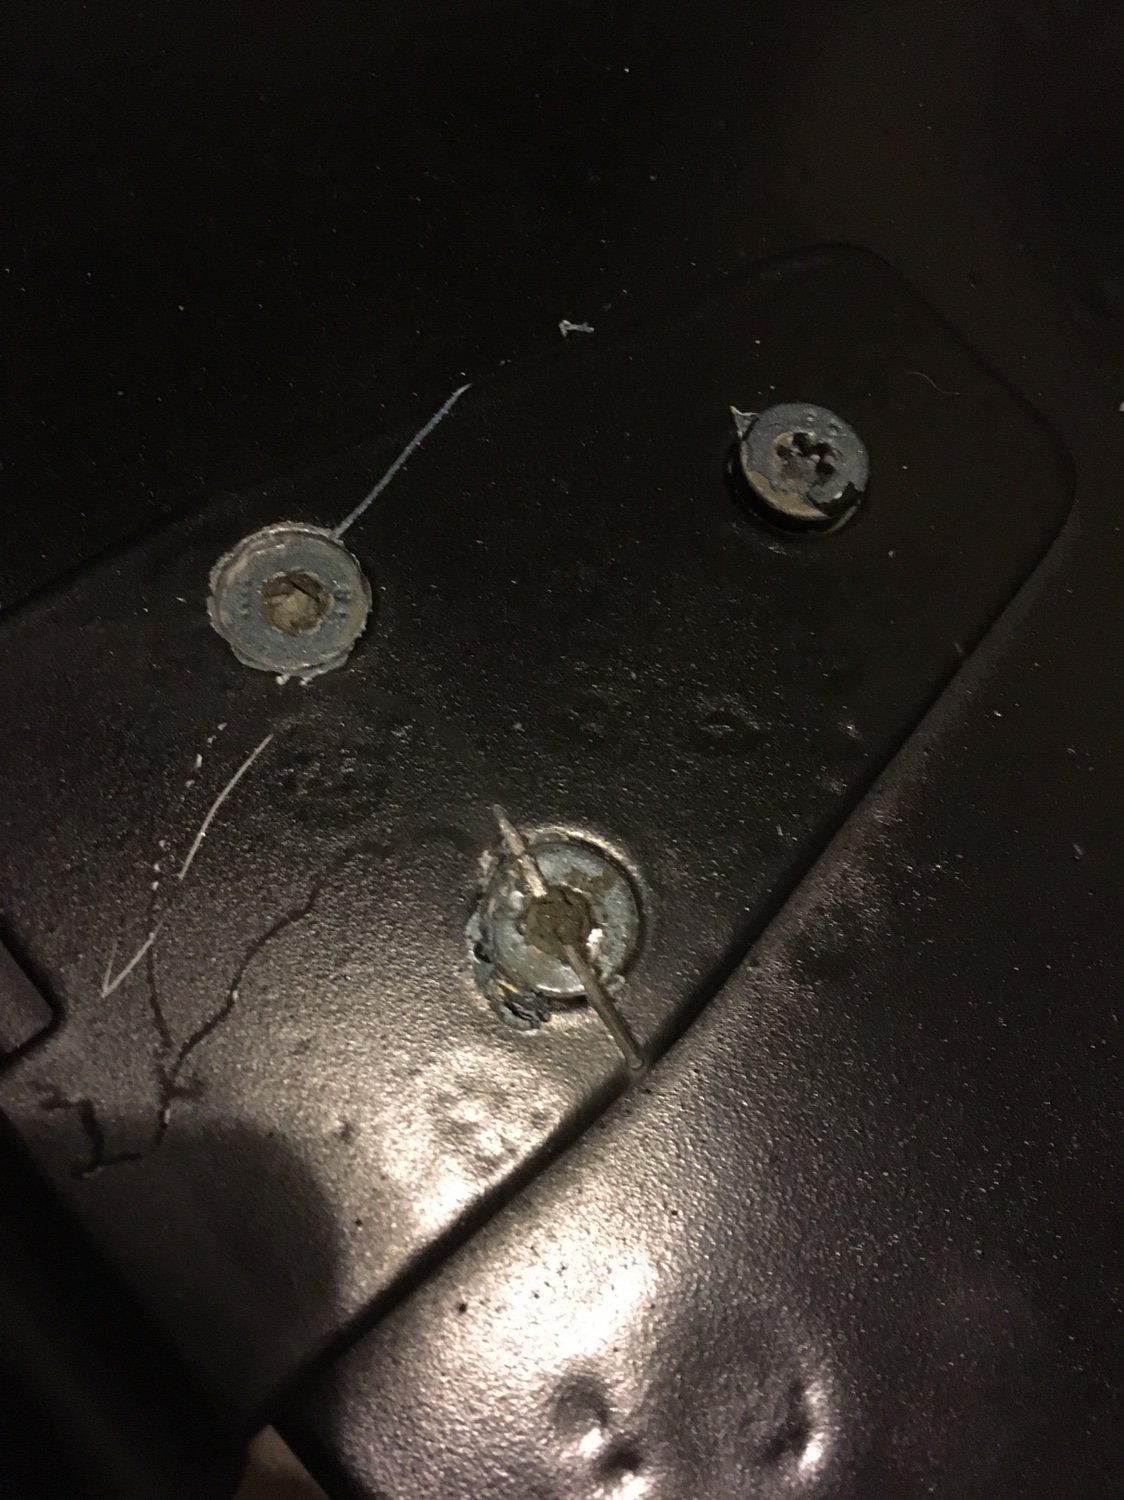
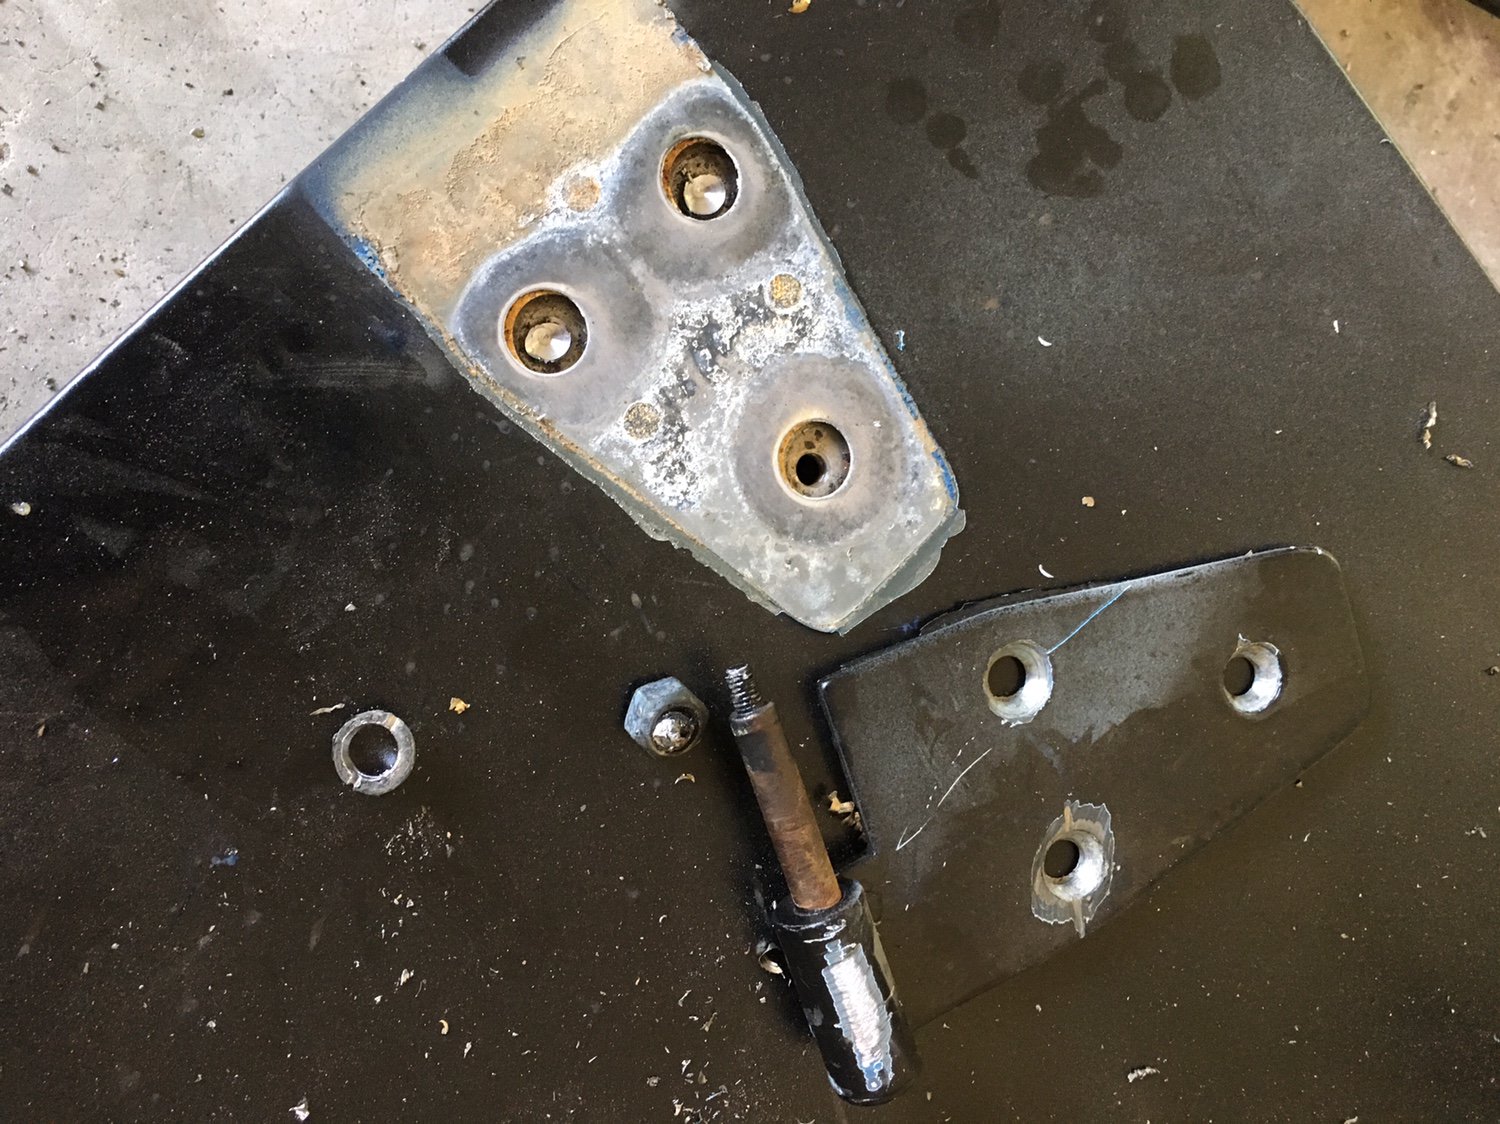
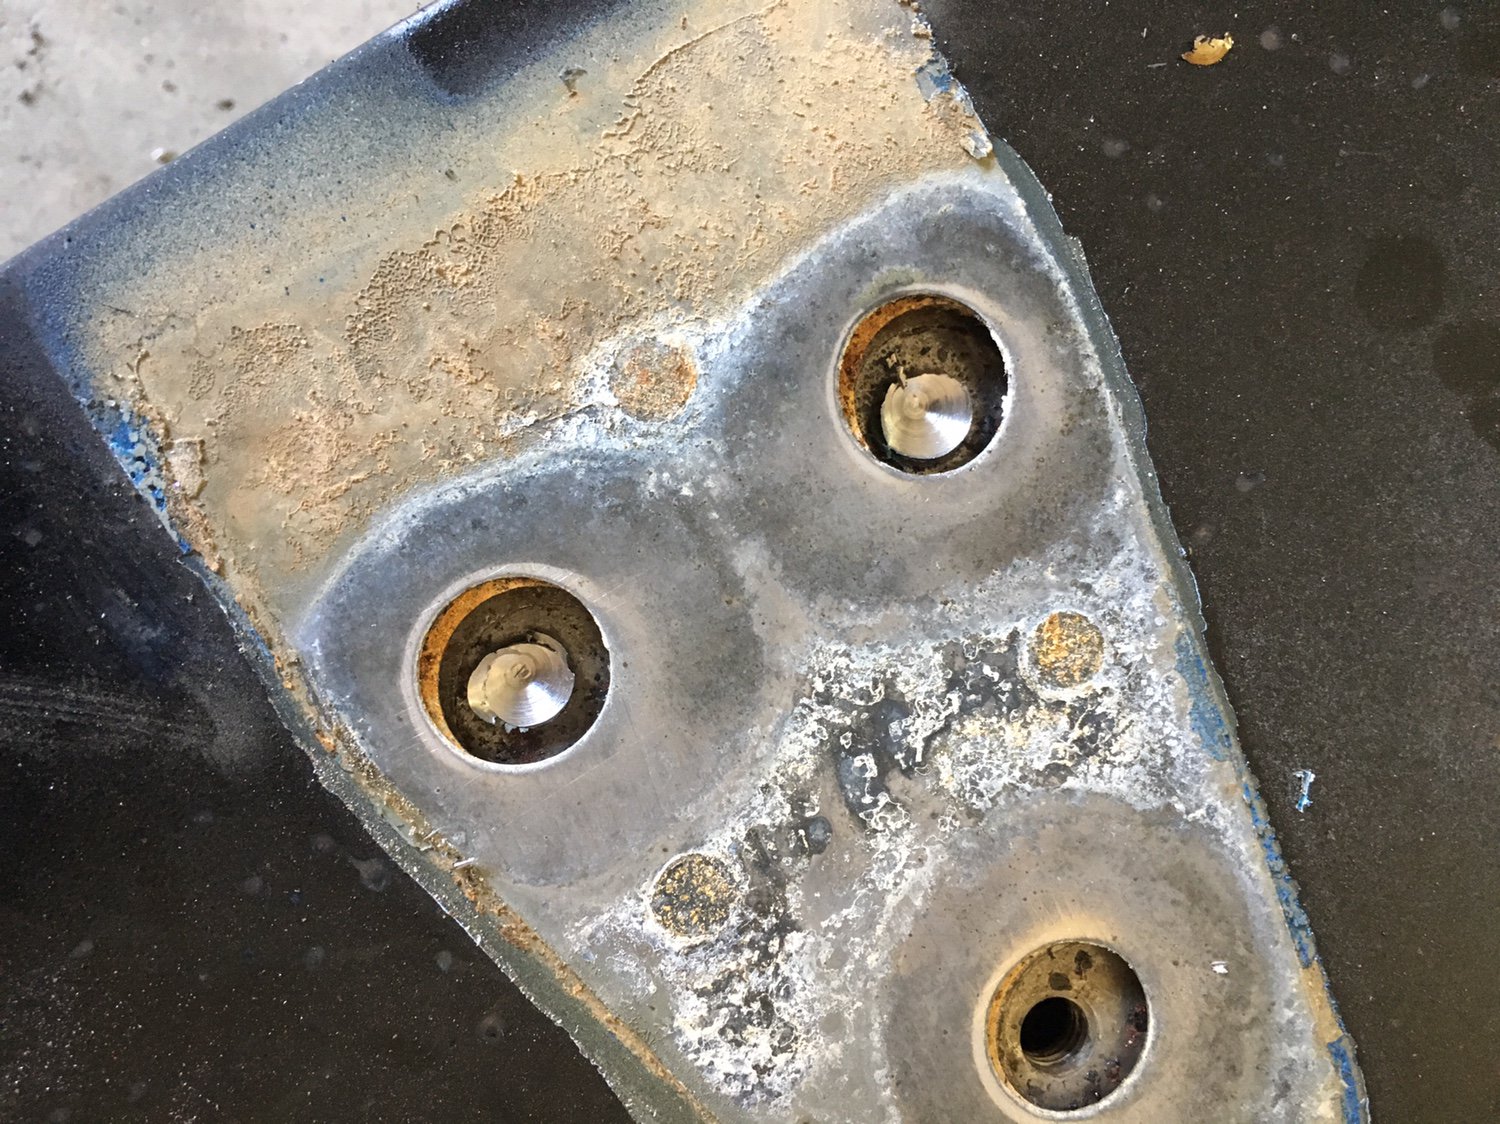
Got fed up and drilled the suckers. Now the bracket is off but looks like I got new problem. Not enough meat to grab with vice grips. Maybe enough meat to notch. But the unsuccessful notch attempt before makes me want to not venture this as will have to damage the door panel a bit.
I am contemplating drilling all the way through (if my bit can handle it) and then retapping the hole. Hmmm
I would soak it in penetrating oil for a few hrs atleast, drill the center of the bolt with a smaller bit, and try to use a screw extractor. if that doesnt work, heat the bolt with a small torch and try again.