Just some junk on Rockwells build thread..

Pfft...another big money rig with $20 plastic seats.

Never understood that either.. :confused:

Anyway, more progress tonight.. the engine is back mounted to the frame again, and got the transmission crossmember frame-side brackets cut, drilled, and rough-shaped. grind 'em smooth, weld 'em on, and I'm back in bidness... :rolleyes: I just keep telling myself it's an improvement... :lol:

The welds on this came out rather nicely I thought..
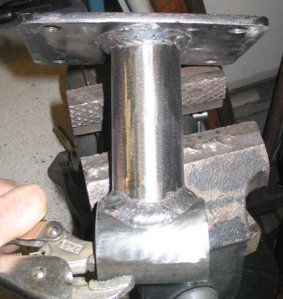
enginemount.jpg
 
Another weekend in the books. I spent much of the day Saturday getting the motorcycle back up (wired the HID, changed sprocket, installed the fuel tank & pump, front brake rotors & pads, changed the oil, etc..), but still got a good bit done.

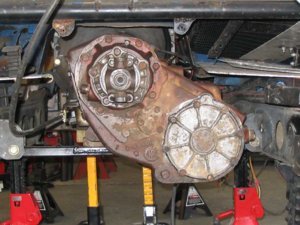
Tacked the trans crossmeber in place, I want to wait until the clocking ring comes in until I determine the final location. Also hefted that big-ass NP205 into place.. damn she's a heavy bitch.
205mockup.jpg

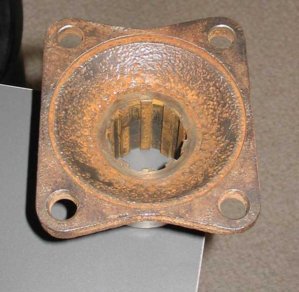
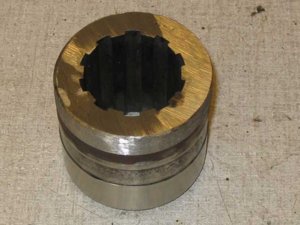
Finally finished something I've been working on for a while, off and on... shaving down 2 of the pinion flanges on the rockwells.. I don't have room for them, but since they have a seal on them, I can't just run without them. Unfortunately, they were hardened, so turning them on a lathe is out.

Before:
flangebefore.jpg

After: (yeah, it was a bitch)
shavedflange.jpg
 
I also capped the rear framerails just like the front... Nothing special, but a bit time consuming.

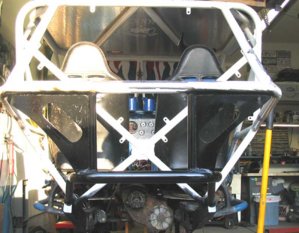
I left the garage door open one night and my cardboard taillight panel got wet, dammit, so I had to make one from steel.. Also tied in the rear frame rail to the mid with some tube, since the plate doesn't have much strength... Need to trim one side a little, but all in all it came out decent.. (it's actually recycled from when I had a tailgate on the rig, and had the lights in that)

taillightpanel.jpg

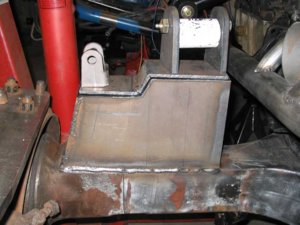
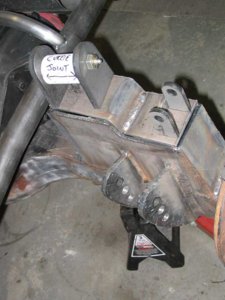
Front upper link box / coilover mount is 80% done, I just need to weld the cap on and the edge closest to the diff (have to lower the axle). It was a pain to slot the 1/4" over the lower link mounts, but the end result is very strong, as it needs to be. Most people will probably look and think I mounted the lower link mounts off the tower, too. It's welded inside and out.

frontlinktower1.jpg
frontlinktower2.jpg
 
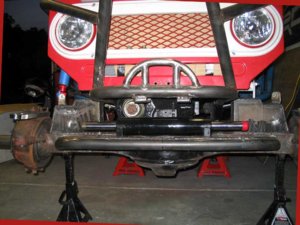
Made the mount/guard for the front steering ram.. It's plated with a piece of 1/4".. Also visible is the shaved down pinion flange, which is needed because of how close the ram is to the chunk in order to get good steering link angles. Damn thing looks like a serving tray... :lol:

frontram.jpg

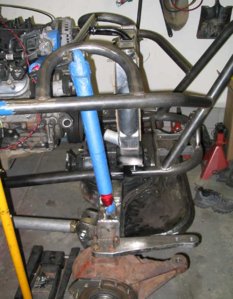
Also got the shock brackets welded and the front hoops made, and a crossbar for support. It juuuust barely fits under the hood.

frontshockhoops.jpg

With the hood shut, looking up...

hoodshut.jpg
 
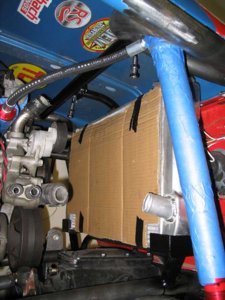
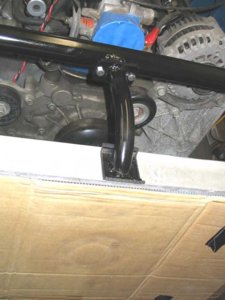
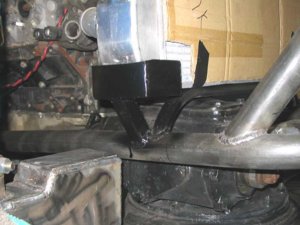
Also got the radiator mount made. Didn't want to hard-mount it.. you see what happens to aluminum fuel cells when they're hard mounted. This cradles the rad without stressing it. I used some dense foam I've had laying around as padding inside the mounts.

raduppermount.jpg
radlowermount.jpg

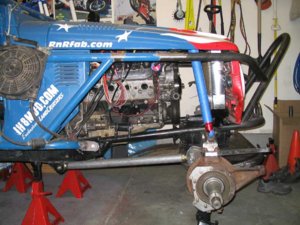
And just a shot from the side.. The lower links are now drilled & tapped.. DAMN that's alot of work! Uppers next week.

lowerlinks.jpg
 
Getting there !!! prolly good i didn't stop down, i'd have definitely been in the way! I sat home and drank beer all weekend :beer:

Shit, I don't mind... it's not like you don't know what you're doing.. Sit on the steps and drink all the beer ya want! Ya might prevent me from doing something stupid...

Ya shoulda come by...
 
Looks good, those steering arms look plenty long.

X2 You might think about a gusset on top of those arms to keep them from twisting I've seen it happen on the graders here at work & their made from 1" plate 53" tires looks great!:popcorn:
 
Getting there !!! prolly good i didn't stop down, i'd have definitely been in the way! I sat home and drank beer all weekend :beer:

Thats not entirely true !

You sat at my house for a few hours drinking beer...... and watching your brother shovel 3+ yards of mulch into my flower beds. Not to mention the redneck ride to the mulch farm in the grossly classic GMC.

Appreciate the help! and hope you feel better soon !!

Rich,

I'm gonna make it out one of these days to see if I can help ya figure out some hyd. routing and fitting.

you have all the components yet?
 
No, actually I was supervising while my slightly less attractive clone actually did some verifiable work. Erik had went home sunday AM and that meant if I went anywhere I might have to actually do something (besides drink) :)
 
Looking really good Rich, I've not read the entire thread, but I've have read most of it. What tire are you running?

CJ

EDIT, nevermind 42" Iroks. Cool.
 
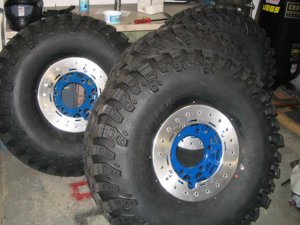
mmmm..tires..

tires.jpg
 
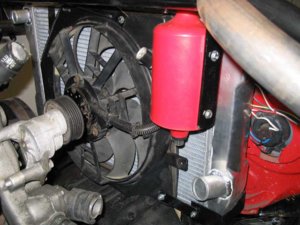
Not much picture-worthy really.. did the radiator fan mounting and catch can mount, hood pins, and am 75% done with the fuel cell mount.

radiatorfan.jpg

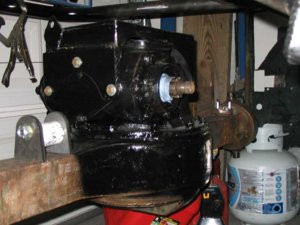
Also got the rear third member assembled into the axle and painted, and installed the link mount 'helmet' (Thanks Pat!).. it'll clear the pinion brake, but juuust barely..

Lots of time was spent finalizing the rear link mounts positioning, and how to clear the pinion brake.

rearaxle.jpg

Oh, and I found out I had a hole in one of my wheels! Looks like when the Stazworks centers were being welded in, he had a bad weld with porosity, and it burned a small hole through the shell of the wheel... Found this out when I went to see how the wheels were holding air, and I had 3 @ 25psi, and one at 0. I figured it was the valve stem and focused my attention on that, fortunately, the bad weld was near there and a little speck caught my eye. Little bit of weld, and she's holding 25psi as well.
 
Oh, and I found out I had a hole in one of my wheels! Looks like when the Stazworks centers were being welded in, he had a bad weld with porosity, and it burned a small hole through the shell of the wheel... Found this out when I went to see how the wheels were holding air, and I had 3 @ 25psi, and one at 0. I figured it was the valve stem and focused my attention on that, fortunately, the bad weld was near there and a little speck caught my eye. Little bit of weld, and she's holding 25psi as well.


I'm sure it had more to do with the TR and less to do with SW.

Looking good, watch out welding around that blue rhino bomb.
 
Back
Top