Just some junk on Rockwells build thread..

I'm sure it had more to do with the TR and less to do with SW.

Looking good, watch out welding around that blue rhino bomb.

I'm pretty sure it was neither company's fault, it was the guy who installed the centers. The entire section of weld was really porous, and you know how hot those bad welds get..

I have a routine I have to go through before I start working on the buggy... move the bike outside and cover it, take the 4 gas cans & the propane tank around the side of the garage, move the wife's car back (Damn grinding sparks are hell on a windshield), etc.. Kind of a PITA, but until I have enough land to build a shop like KC's, gonna have to deal. Appreciate the heads up though, and it's a good point (lest anyone think "Well Rich was welding by his propane tank and nothing happened to him, I won't move mine.")

Pheery - you and me both.. It saved me several hours of work, not to mention having to track down some 1/2" steel! Making a plate for the inspection cover side was pretty easy, but cutting off and grinding smooth those heim mounts was NASTY. The 7" grinder got one helluva workout, (as did I)
 
BIG sigh of relief yesterday... the NP205 clocking ring came in, FINALLY. I ordered it April 12th. Also, the rest of the steering parts came in as well from POS.

Mounting the orbitrol is going to suck donkey balls, because the exhaust manifold is right where the steering comes through the firewall. I didn't want to mount the orbitrol inside near my feet, but it doesn't look like I have a choice. Time for some guards.

Pics sometime soon.. The clevis ends for the steering rams are :huggy:
 
That things really coming together and looking good, I'm jealous.
 
Shoot.. yours is on the road & trail.. nothing to be jealous of!

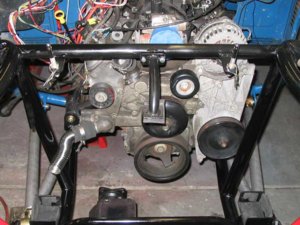
Added some needed bracing between the upper and lower tubes, since the engine will be pulling down and the coilovers pushing up. There are plans for one more going fr the shock hoop back to the stock frame rail, but that will have to wait until after the exhaust is done.
frontdowntubes.jpg

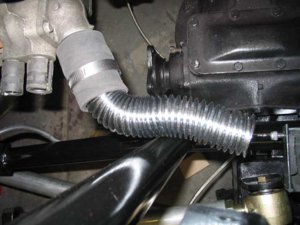
Thank goodness for this über bling and freakin pricy flex radiator hose.. it saved my bacon by letting me put the downtube where I wanted it.
flexhose.jpg
 
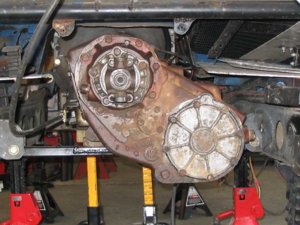
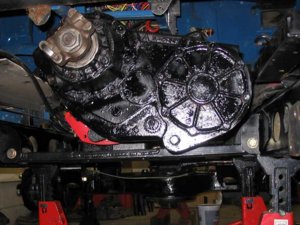
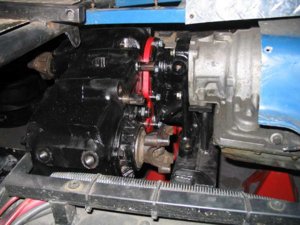
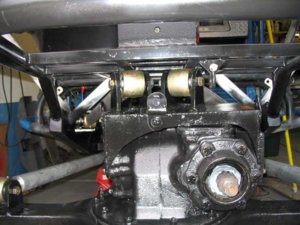
The 205 clocking plate from DD Machine finally came in, and it was worth every penny and was a HUGE help. in the OEM config, the front yoke was right on the crossmember, and the case hung below the frame rails. Now it's above the frame, and have plenty of swing for the front output...

Before:
205mockup.jpg

And now:
205rear.jpg
205side.jpg
 
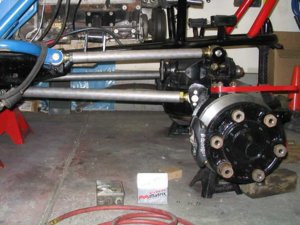
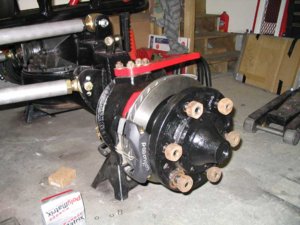
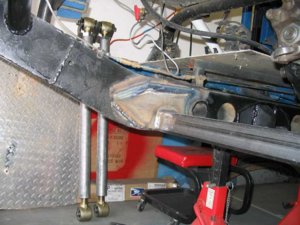
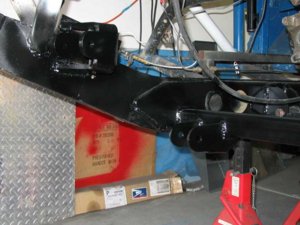
And, the 4-link on the front is DONE!! That really feels like progress! I was able to get a little more triangulation on the front after fitting the tire and seeing where it goes when turned..

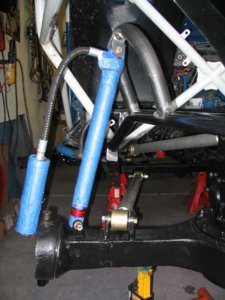
The outers took seemingly FOREVER to assemble, though the second went alot faster than the first. They look badass though! 3 lbs of grease between the 2... :rolleyes:

This is about 1" lower than ride height. I had to lower the chassis so I could use the floor jack to help with the 205...
4linkside.jpg
knuckle.jpg
 
The less expensive ones SSwaters listed in his build thread. They're about $40 each, which for their size, is not bad...
 
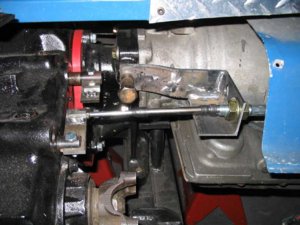
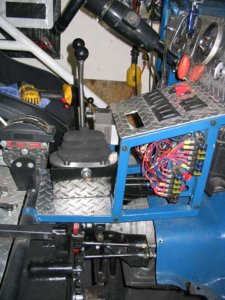
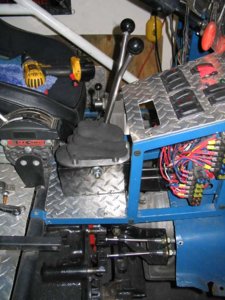
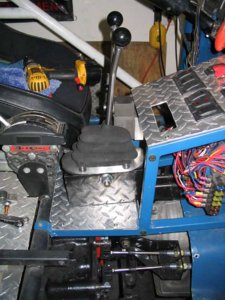
Started work on the cable shifters.. Had really no choice because the pivot would have to sit right on the 205 itself. Ordered the parts from McMaster-Carr, and I'm using the sticks and some pieces from the JB Fab twin-stick I already had. Here's the t-case area..

xmemberplate.jpg

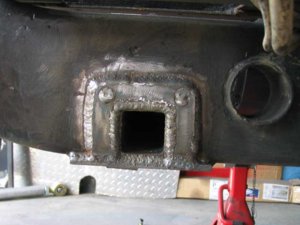
Cut a notch out of the frame for the rear crossmember (2" .250 box), and reinforced the inside area with these plates.

xmemberplate.jpg

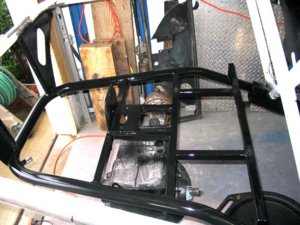
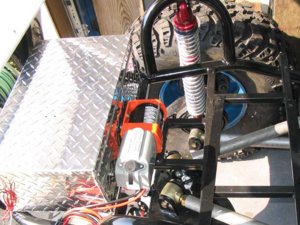
The fuel cell / rear winch / toolbox mounts are done. The tall bracket is for the winch, since it's sitting 90* of how it's designed. Fuel cell sits up front, with the toolbox at the back. The cooler will go to the left of the fuel cell, I'm going to recycle the mount from the last build for that.

reararea.jpg
 

Attachments

  • shiftermockup.jpg
    shiftermockup.jpg
    61.6 KB · Views: 562
:lol: Been thinking about that, the idea is to cut it just inboard of the lower link mounts and flange it.. But since I won't be pulling it in the next 2 months, that'll have to wait until I actually do it.
Motor sounds good.. :D
 
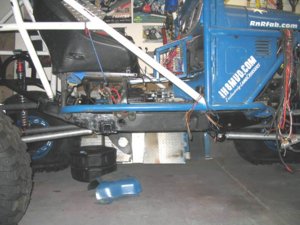
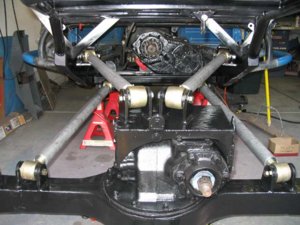
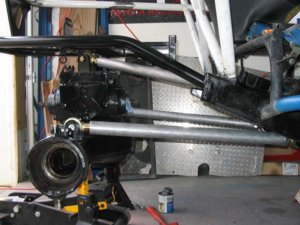
The 'Cruiser is now officially 4-linked, front and rear!

I think it's gonna perform great, I nailed the specs I was shooting for, (except the front roll center is lower than the rear and there isn't much triangulation in the front links), but something had to give:

FRONT:
Anti-squat - 25% (only changes 7% through 12" of vertical travel)
Roll center - 27"
Roll axis -2°

REAR:
Anti-squat - 61% (only changes 5% through 12" of vertical travel)
Roll center - 33"
Roll axis -3°

rearlinks.jpg

rearlinkscompressed2.jpg

When I say "fully compressed", I mean it.. The uppers are close to everything up there!

rearlinkscompressed3.jpg
 
Here's the outside of the rear crossmember... There's also a piece of 1/4" plate underneath it. That bitch isn't going anywhere. :eek:

crossmemberoutside.jpg

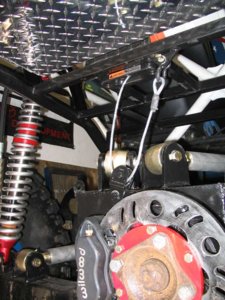
Some better views of the rear link brackets.. The 3-leg brackets from RuffStuff are HUGE!!

rearlinkbrackets.jpg

Also got started on the rear shock tower..

rearshocktowermockup.jpg
 
And finally, a few odds and ends...

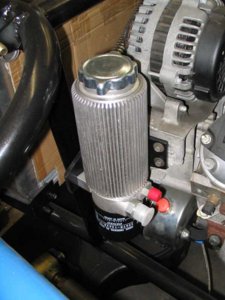
Steering reservoir mounted... Thanks GM for giving me 2 conveniently placed threaded holes right above the PS pump! (And yeah baby, I ditched that POS Fram filter for a gen-u-ine Toyota one.. It actually says "Torque Converter oil filter" on it.. My forklift repair buddy gave it to me.. ) :huggy:

steeringreservoir.jpg

And made the tabs to mount the rear steer valve within easy reach. I may put a longer / angled back handle on it eventually, but we'll see how it works out like this.

rearsteervalvemount.jpg
 
Looking good Rich. When are you gonna be done?
 
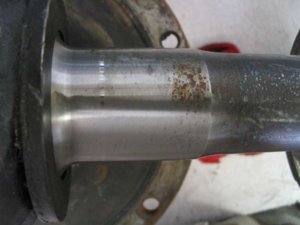
I've been using a really neat disc for your Roloc sander.. the "Surface prep" discs.. removes paint, light rust, etc, without taking off any metal.

It's GREAT for cleaning up the sealing surface of an axle shaft, for example. even the wear line from the seal all but disappeared after a quick going-over with this pad... Top part hasn't ben done yet, bottom has.

prepdisc.jpg
 
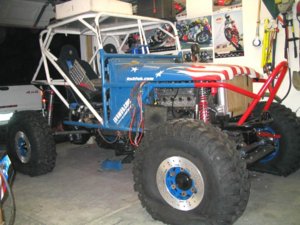
I was getting a little burned out and needed some motivation... So, I somehow managed to squeeze the tires on (the left side was ridiculous, lots of marks on the wall now, and it will take 4 wheel steer to get out of the garage!)..

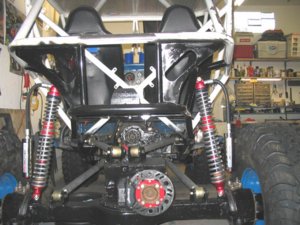
So obviously, the rear shock hoops are done, the rear axle is assembled, you can see the pinion brake installed..

Currently sitting with 6" of uptravel, 22" at the frame, with the tires at 15.5" radius... meaning, once aired up, fueled and full of fluids, me, Nicole, etc.. Should be 25-26" belly with 5-6" uptravel. Looks like the springs I ordered were too stiff (preload adjusters are all the way up), but they'll probably settle in some. We'll see once it's fully put back together.

All in all, the bitch looks bad..

frontquarter.jpg

side.jpg

rear.jpg
 
Looks sweet man! Are you going to get some lower springs?
 
I'm gonna let things settle in and also see how it sits once fully loaded down. Might be OK..

Well, this was the last day of the 9-day vacation I took from work. Still lots to do, mostly plumbing & electrical, but looking back, I got alot done!

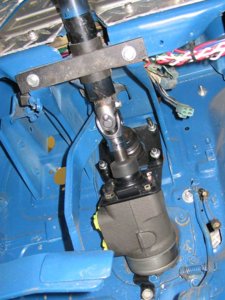
Today, I adapted the factory steering column to the orbital... I really like how it came out, and it let me put the wheel closer to me, a gripe I've had for a while. The mount was letting the column flex like crazy, so I slit some 1.75" tube to replace the rubber, and replaced the 1/8" with 1/4", and it helped alot. Worst case, I add a support from the ds=ash bar to the column, and it'll be rock solid. I really like keeping some factory stuff and adapting it for my uses though... (FYI- the steering shaft is 3/4" solid, easily adapted!)

steeringcoupler.jpg

Also installed the rear winch and toolbox, and tested the winch... works well. Can't install the cell until I plumb the multi-pickup system in.. I just need an AN to hose barb fitting I forgot.

winchntoolbox.jpg
rearwinch.jpg
 
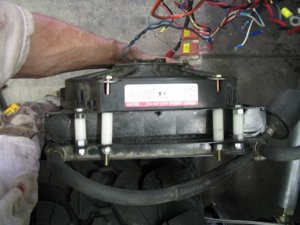
Joined the transmission cooler and steering fluid cooler together, so the fan can blow through both of them.. Still need to finalize where they'll be mounted.

coolerstack.jpg

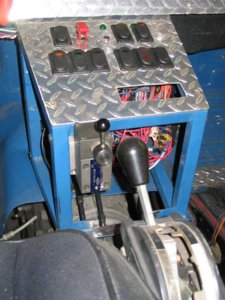
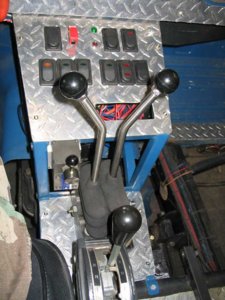
Lots of levers.. :D (cable twin stick is done!)

driversview.jpg

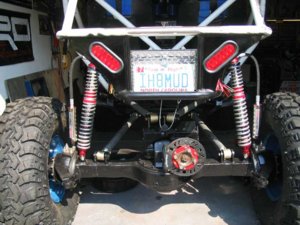
A shot from the rear with the taillights and box installed.. I like it!

rear.jpg
 
A few of the twin stick.. It works very well.. very tight, plenty of leverage, and in a good spot! No more leaning over to shift. I reversed the levers, putting the front output closer to me, since that's what I use most.

you can see the shift rails in their various positions:

4hi:

4hi.jpg

4lo:

4lo.jpg

Neutral:

neutral.jpg
 
Back
Top