ckruzer
Infidel
- Joined
- Jul 2, 2015
- Location
- asheville nc
Do you work on your Jeep by starlight?


I cheat sometimes and use a headlamp especially when welding is involved, or if pictures get taken because I hate using the flash. Nighttime land navigation on foot and on water in a boat, yes, starlight alone is sufficient.
Uhh...well...um... Ya know... weekend or spend them doing this:
View attachment 249182
Alright, I'll get off my ass.
")
The hell you been this is nc4x4 everyone has a bender or is on a benderYou got a bender?!
The hell you been this is nc4x4 everyone has a bender or is on a bender
Sent from my XT1254 using Tapatalk
Don't feel bad I have a bender, notcher, torches, welder and a plasma cutter at my house and none of it is mine and all of it has been here a long timeMan I hate being the black shep
The hell you been this is nc4x4 everyone has a bender or is on a bender
Sent from my XT1254 using Tapatalk
If I don't smash my head on a rock and drown at lake wateree today I'll pick up a stick or three of DOM and get to bending.
I was actually referring to a friend here in Hartsville. He stopped by the shop Saturday and was telling me about his new build he's about to start. 200' dom toyota axles and 20r or something like that. Looking forward to the cage pictures.Follow the smell of wood smoke and look for the trees of megalithic size. I'm not that hard to find. I assume you mean Mister Jason of CFS off-road? Wanna go by his house and beat him up?

This is what I did to the axle to secure the bender. Cut the spindle off. I added another pre-drilled plate that I could mount a large vise to but I relocated that elsewhere and permenantly mounted the bender. It stays well oiled and covered from the weather. I've had this bender now for 5+ years stored outdoors. WD-40 is your friend.
View attachment 249795


He is having a slight delay in the build Saturday.I do most of my notching by hand also. Only use my notcher for 90 down to about 60, the rest is done with the porta-band or plasma and a flap wheel.
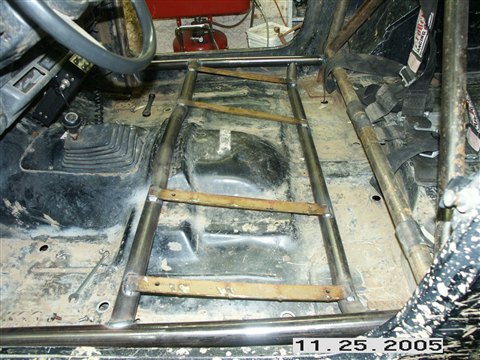
Jeep progress coming along nicely!
Sent from my SM-G925R4 using Tapatalk
Tube notching
View attachment 250041
"A good file is a very important tool to own" - Joseph Stuyck.
I've owned a few various tube notchers in the past, and they all sucked. Hole saw bits don't last long and belt sanders are bulky and hard to carry from location to location.
On this build, I'm only going to notch by hand using an angle grinder, ruler, and a file. It's something I like to stay sharp on.
If I remember to, I'll give formulas for different degree notches (some compound joints) of varying tube sizes.
I'll start with the easiest of them all. The 90.
On 1.75" and 2" OD, the magic number to hit is .75". I start with marking four cardinal direction points on a cleanly cut tube end. On two opposing points, measure and mark .75" down the OD of the tube. These points will be the peek of the deepest cut you will make. The other points will be the peek of the shallowest cuts made, which will be 0. If your chosen deep cut points are N and S, the other will be E and W. Mark then cut from E to N, N to W, W to S, and S to E.
View attachment 250043
The only thing left to do at this point is to clean the concave with a round file closely matching the radius of the adjoining tube. The one I used is 1.75" estimated. Still, when using 1.625" through 2", it will get it very damn close.
View attachment 250047
Test fit: If its a small enough gap to TIG weld, stick or MIG will be a cakewalk. Never let your shallow points be any thickness less than the wall thickness of the tube.
View attachment 250048

