We Bought a RV Clark!! Oh no! Rebuild thread

Sounds good. Thanks

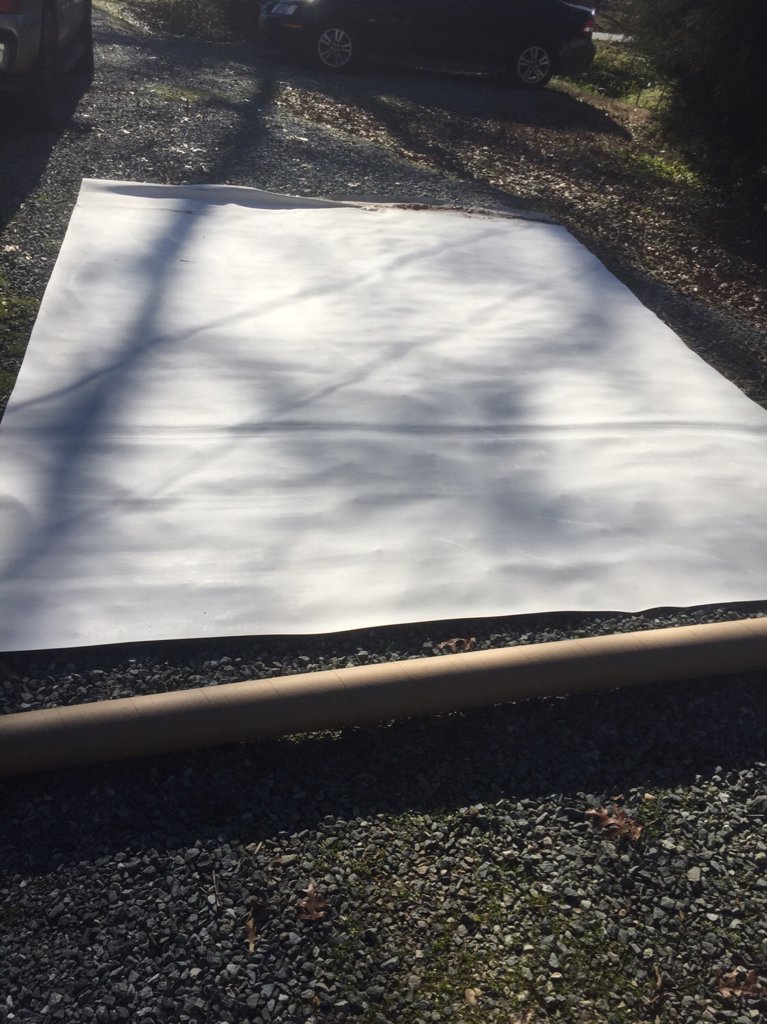
Well I rolled it out and I only have 13' foot. You are welcome to it if you wanna piece it together.
413ca756c7486f715fd15f987b4b9379.jpg


Sent from my iPhone using Tapatalk
 
Good job Dylan.

This whole thread is a perfect example of why I’m scared to death of buying an RV.
And maintenance and keeping it under a shelter go a long way.
 
This whole thread is a perfect example of why I’m scared to death of buying an RV.

Yeah, me too... I got lucky when I bought the popup camper. It had a few problems, but they were mostly easy repairs. However, I saw enough super-thin paneling & staples to point me in another direction for a replacement. So far, not one single regret over the Cargo Camper build.

On the flip side... when Dylan gets done he will know exactly what he has... and that's a good feeling! :)
 
Its King of the Hammers week!
The weather here in Mocksville is supposed to be very nice!
I reckon I aughtta NOT schedule any jobs this week, and instead, I'll stay home, watch KOH and work on the RV Clark.

One of the first things to happen was to very carefully remove these round corner things. They're very rotted and ready to crumble, so I need to take my time removing them as I need to draw a pattern.
20190109_161421.jpg

Took a while but I got it!
20190204_152008.jpg


Traced the pattern and cut it out.
20190204_152747.jpg


20190204_153015.jpg


Both sides are the same so I went ahead and made two of them.

These are for the back bedroom part. I have alot of work to do back here, but I dont plan to do much if it yet. I wanna get back up front and get my ceilings up!
 
Last edited:
It's been a few weeks of very cold weather. I'm just kicking into gear as far as getting started again goes. Lots of little and big things to do.

The second thing on the misc. list was kind of easy.
I reinstalled Ella's bedroom window.
20190204_172815.jpg
 
Time to start on the ceiling.
Leaving the nose cone off has made it easier to get the full sheets of paneling into the rv. Were just sliding them in like mail in a slot.
20190205_133459.jpg
I'm using the same paneling as I used on the walls. Lowes has plenty of it.

I didnt take any pictures of the gluing process, but it was the same as the walls.
Here's the first pc. In place. It wasn't easy or fun, but its up! I used self tapping screws with washers to help hold it in place.
20190205_154711.jpg

We added some bracing to help mash the glue and hold it in place as it dries.
Its gonna be a sandwich!
20190205_154657.jpg
20190205_154701.jpg


This is it! I dont like the look of the screws and washers, but they were needed. And surely I can figure out a decent way to hide them....
20190205_180836.jpg
 
I found something that might work to cover those ugly screws. Lowes had some of these 1 1/2wide by 1/2 thick plasticky trim strips. The sticker says they're moisture proof so that's cool. Cheap enough too. Like 4 bucks each. I think I've got a good plan so I bought several.

I have to figure a way to countersink those screw heads into this pc.

Start by marking where the screws are to be, on the underside of the trim pc.
20190205_181036.jpg

Then I found the biggest drill bit I had. I plan to drill half way through this trim. Gotta be careful, It will be easy to ruin this trim by drilling all the way through. Gotta get my surgeon steady on!
20190205_182603.jpg
20190205_182617.jpg
20190205_182842.jpg
 
An end mill would work pretty good if you can get your hands on one. It'd be easier to not go all the way through since the bottom is flat...then again, if you have a drill press, you can set a depth stop so they're consistent.
 
The front cieling panel was easy to install in comparison to the next few panels. There are several aluminium rafters to attach screws to.

Theres too much space between the rest of the aluminium rafters. I decided to try and duplicate the round roof rafters by cutting 2x4s. If it works, I'll add more rafters. More rafters will make it easier to hang the next few panels.
The aluminium rafters are 2" thick in the middle, then taper down to 1" at the edges.
Time for table saw work.
20190208_204613.jpg
Looks like this will work.
20190206_110800.jpg
we added a bead of wood glue to the new rafter, but I wanna add screws too. So...
I'll just climb up on the roof and use screws through the luan, and pull those sweet custom rafters up to the roof.
Oh crap..I dont wanna remove the tarp. Maybe I can squeeze under it.
20190208_114123.jpg


20190208_114139.jpg


20190208_114151.jpg
right about now..Bobby was busy acting like he was moving this ladder. Rustling it around, made it sound like he was really moving it. I was cussing him pretty good. I didnt think it was real funny but he sure did.
 
Because of the cieling panel layout(4 ft wide) I needed to make a couple more wooden rafters. The second rafter needed a few holes for wiring.

I have taken @shawn advice and pre wired for a new vent with a fan!
The green line shows where the wires cross over to the other side. I left a small gap in between the foam and rafter to allow passage.
20190210_190018.jpg
 
Back
Top