XJsavage
CounterCulture
- Joined
- Aug 15, 2009
- Location
- Lyle's Ford SC
Budget and beer.


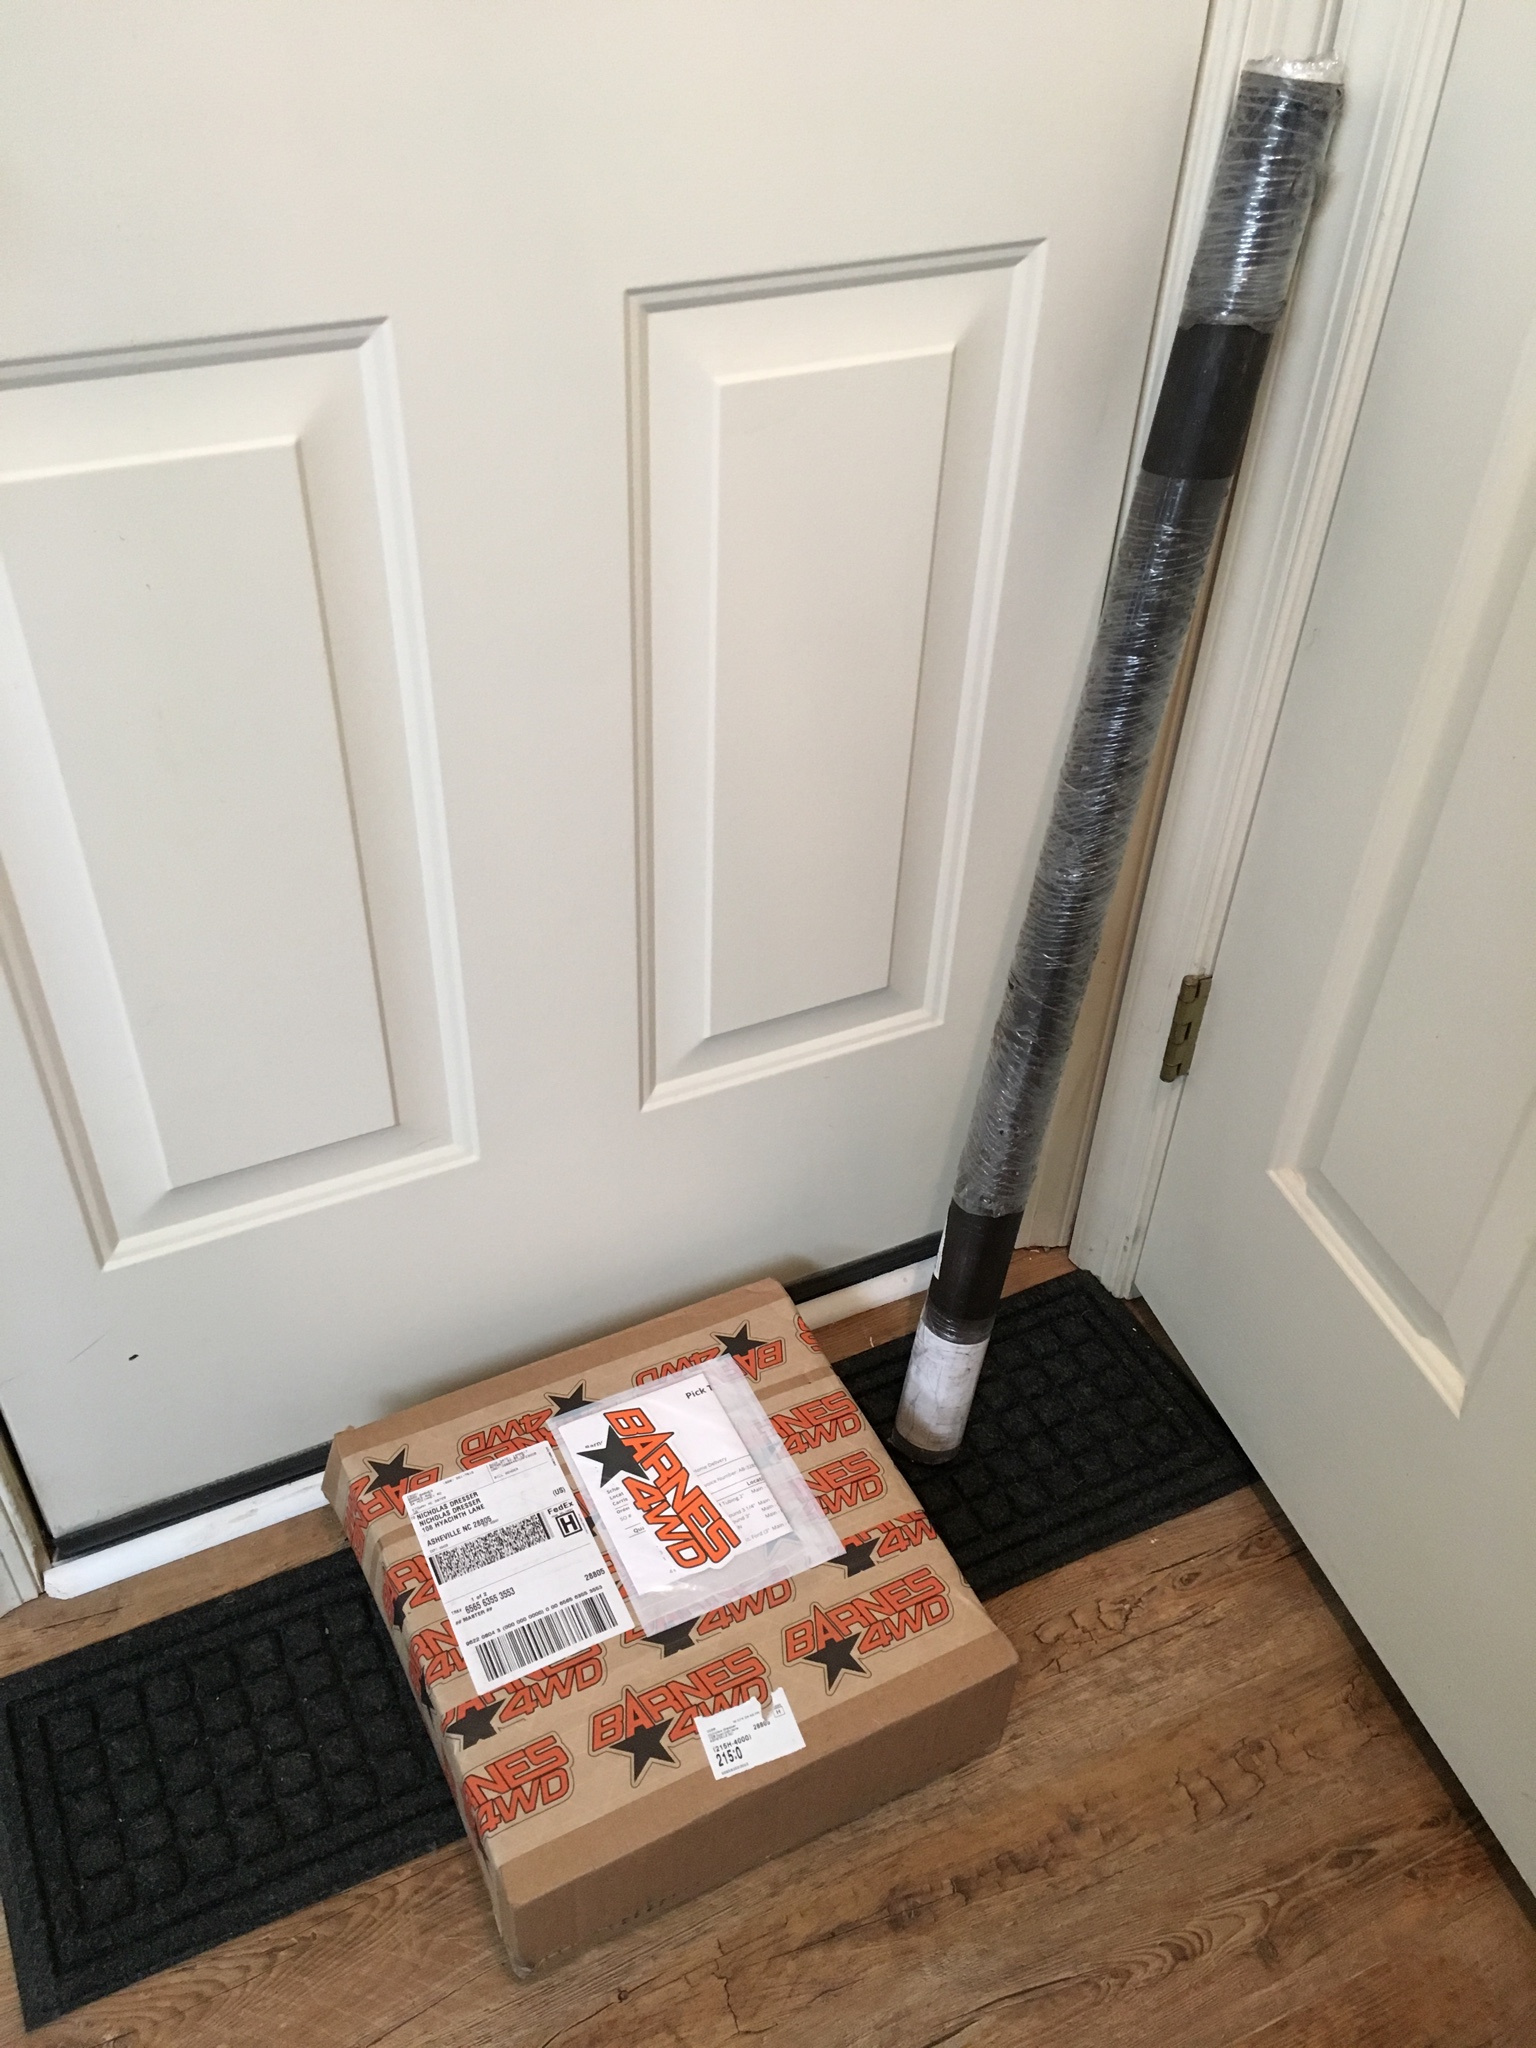
I'm really digging this. I have 5 or 6 of those bottles saved for various reasons. Never thought of this. Ok. Going to start on it tomorrow.

You're about at a good status to have a big Rastafarian ho-down. I'm totally coming over.
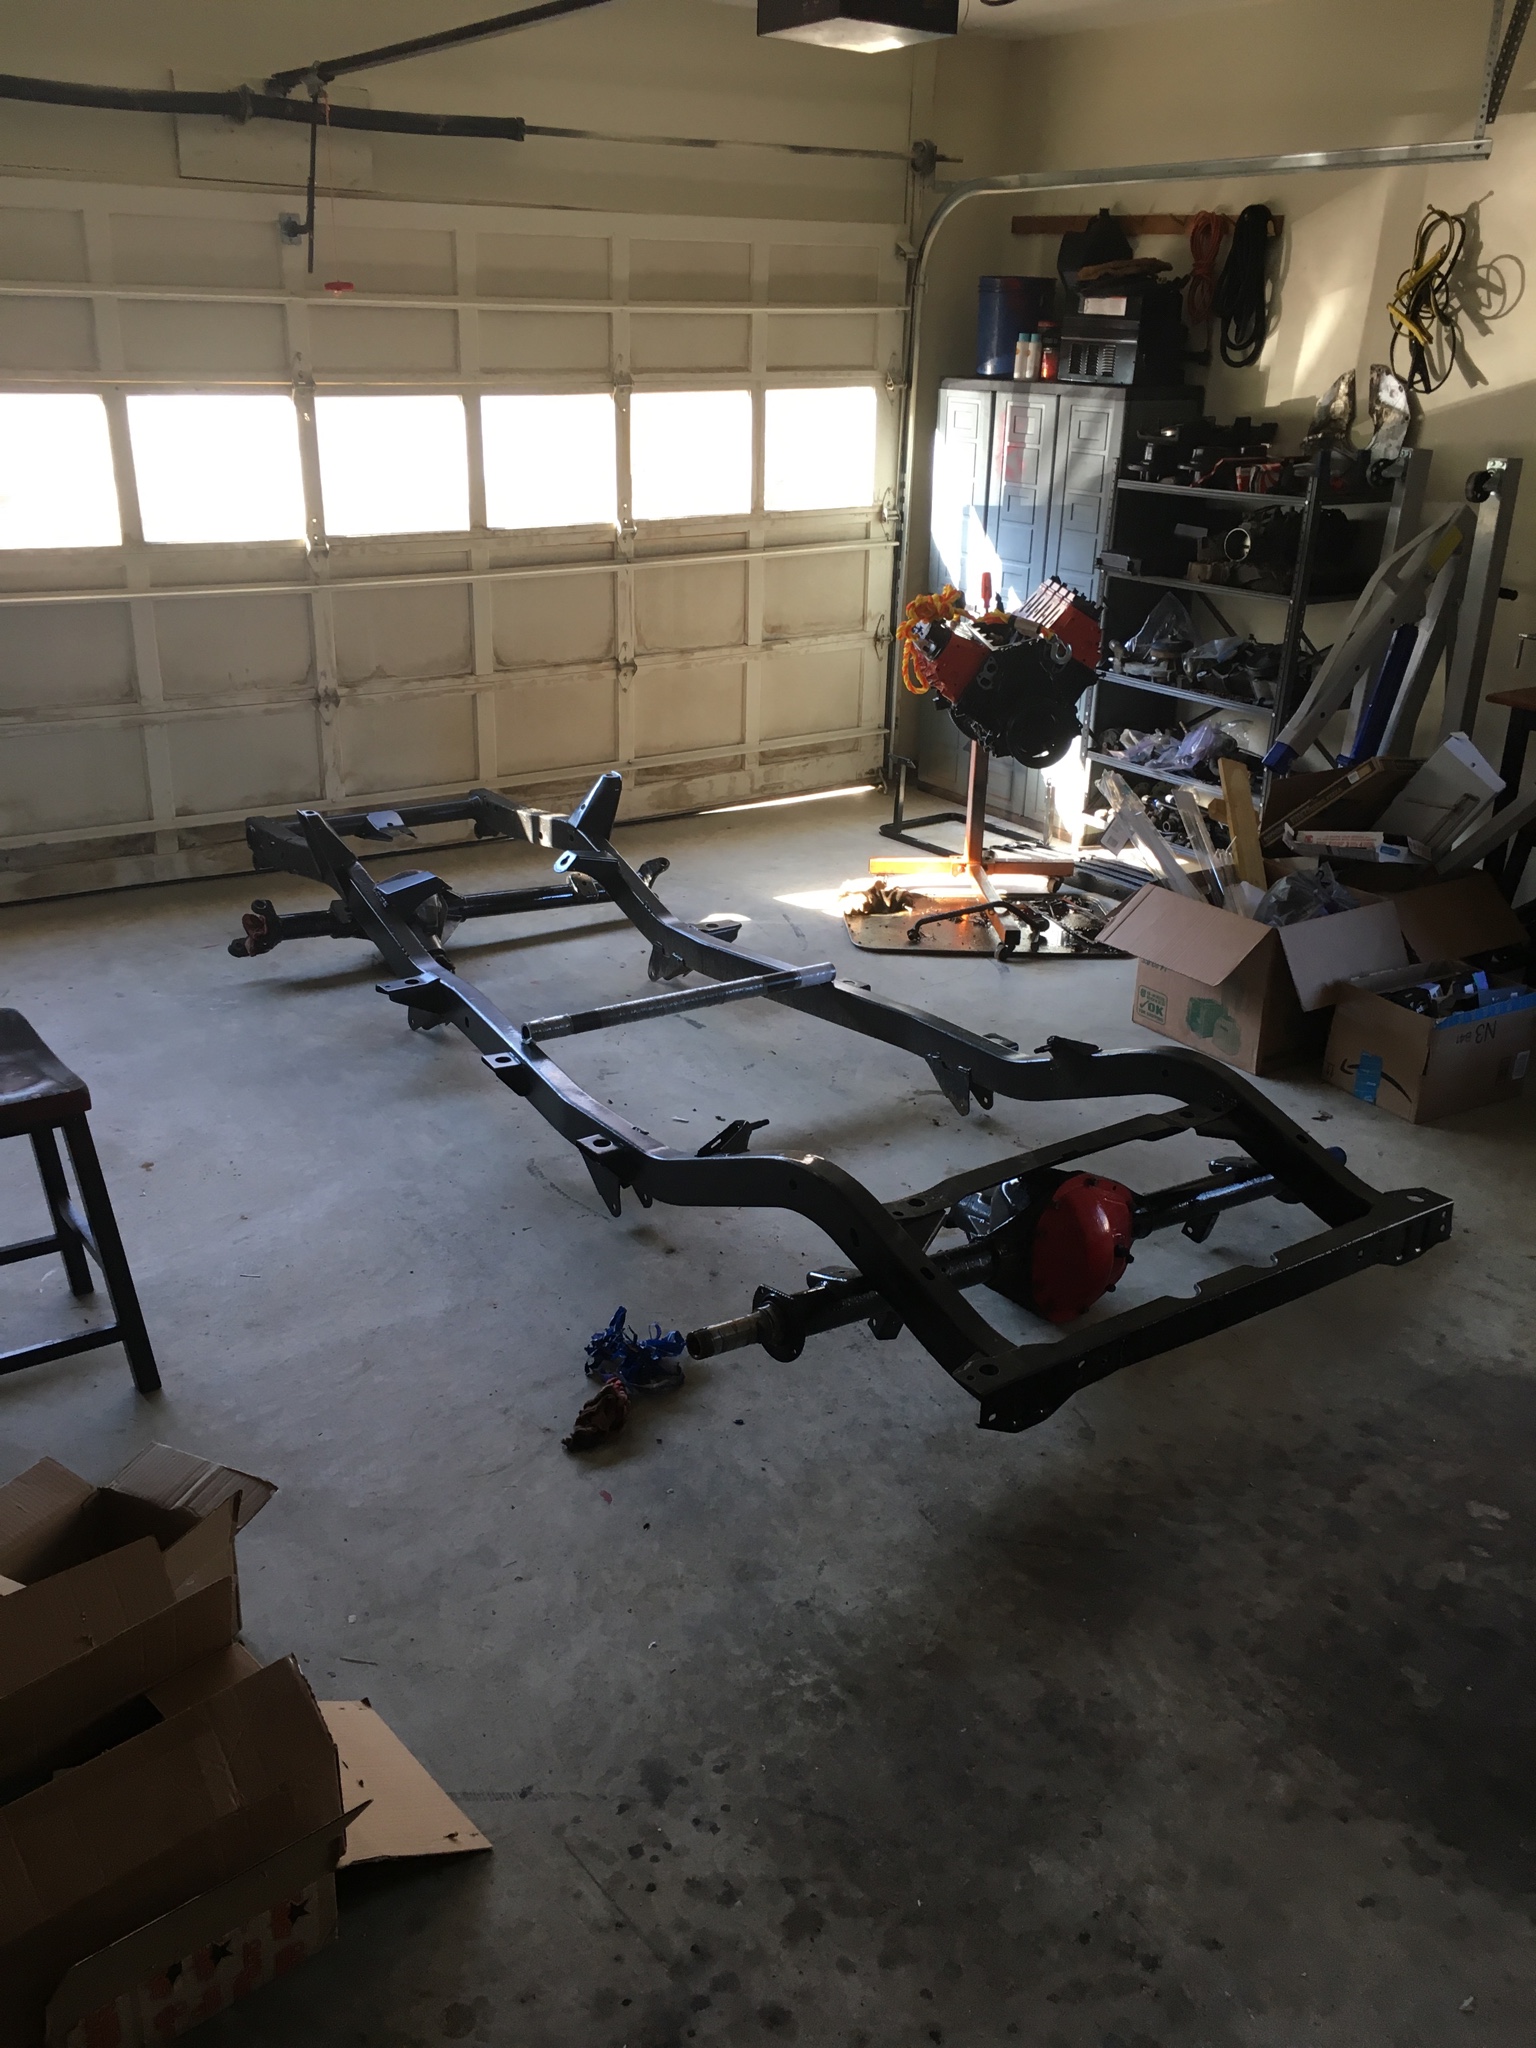
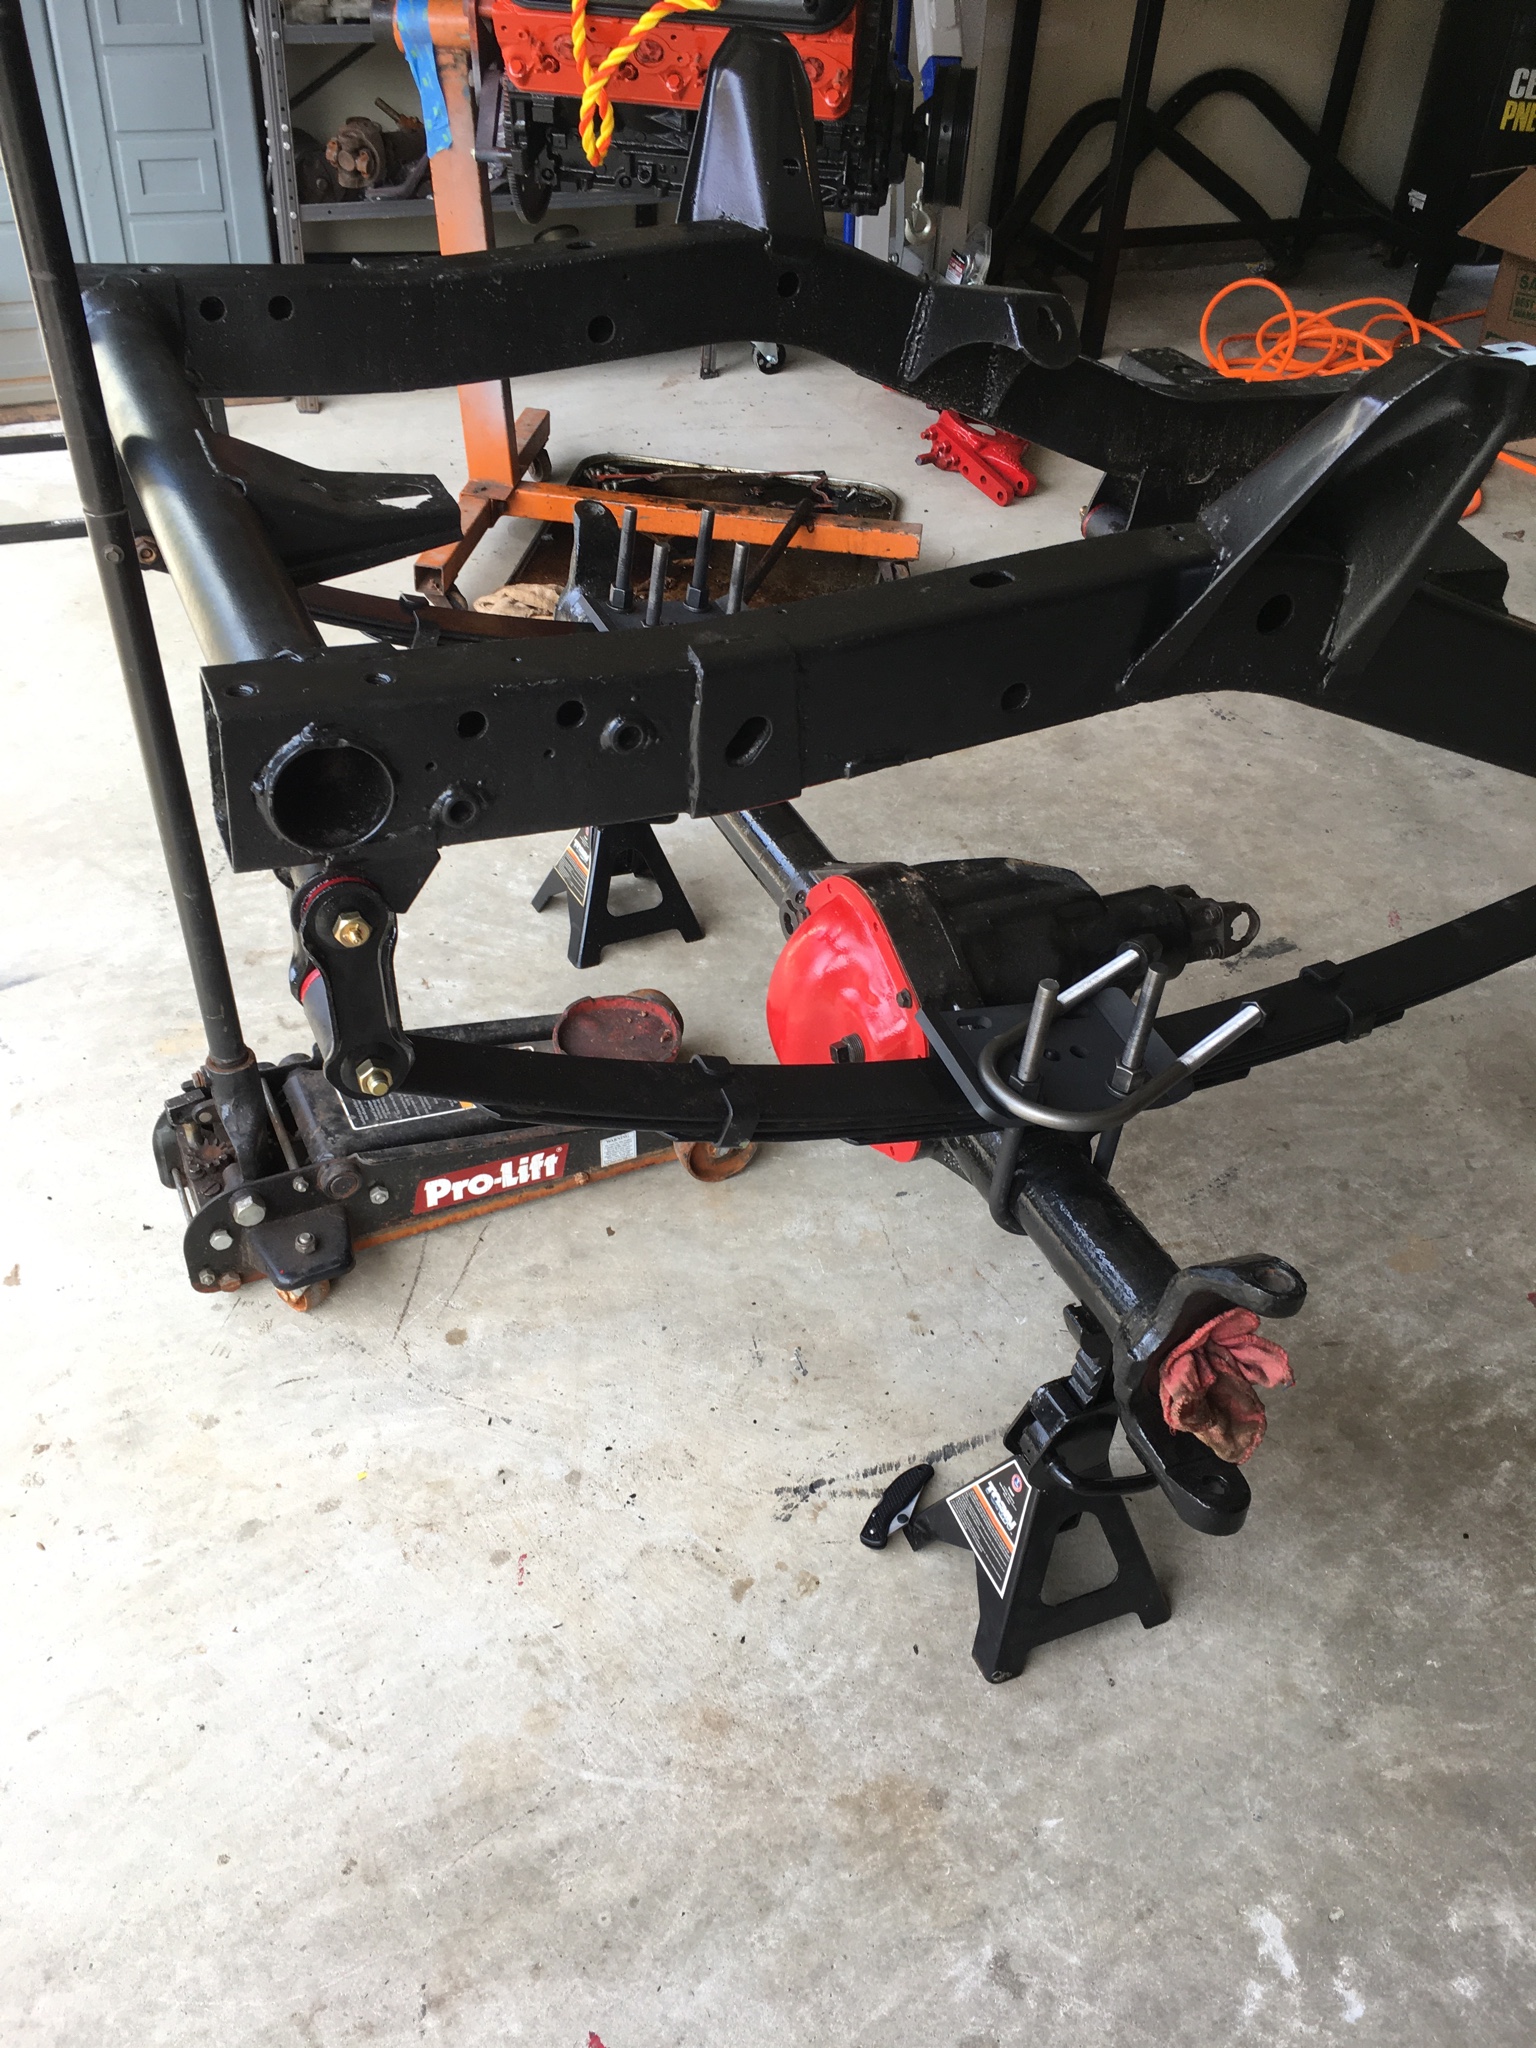
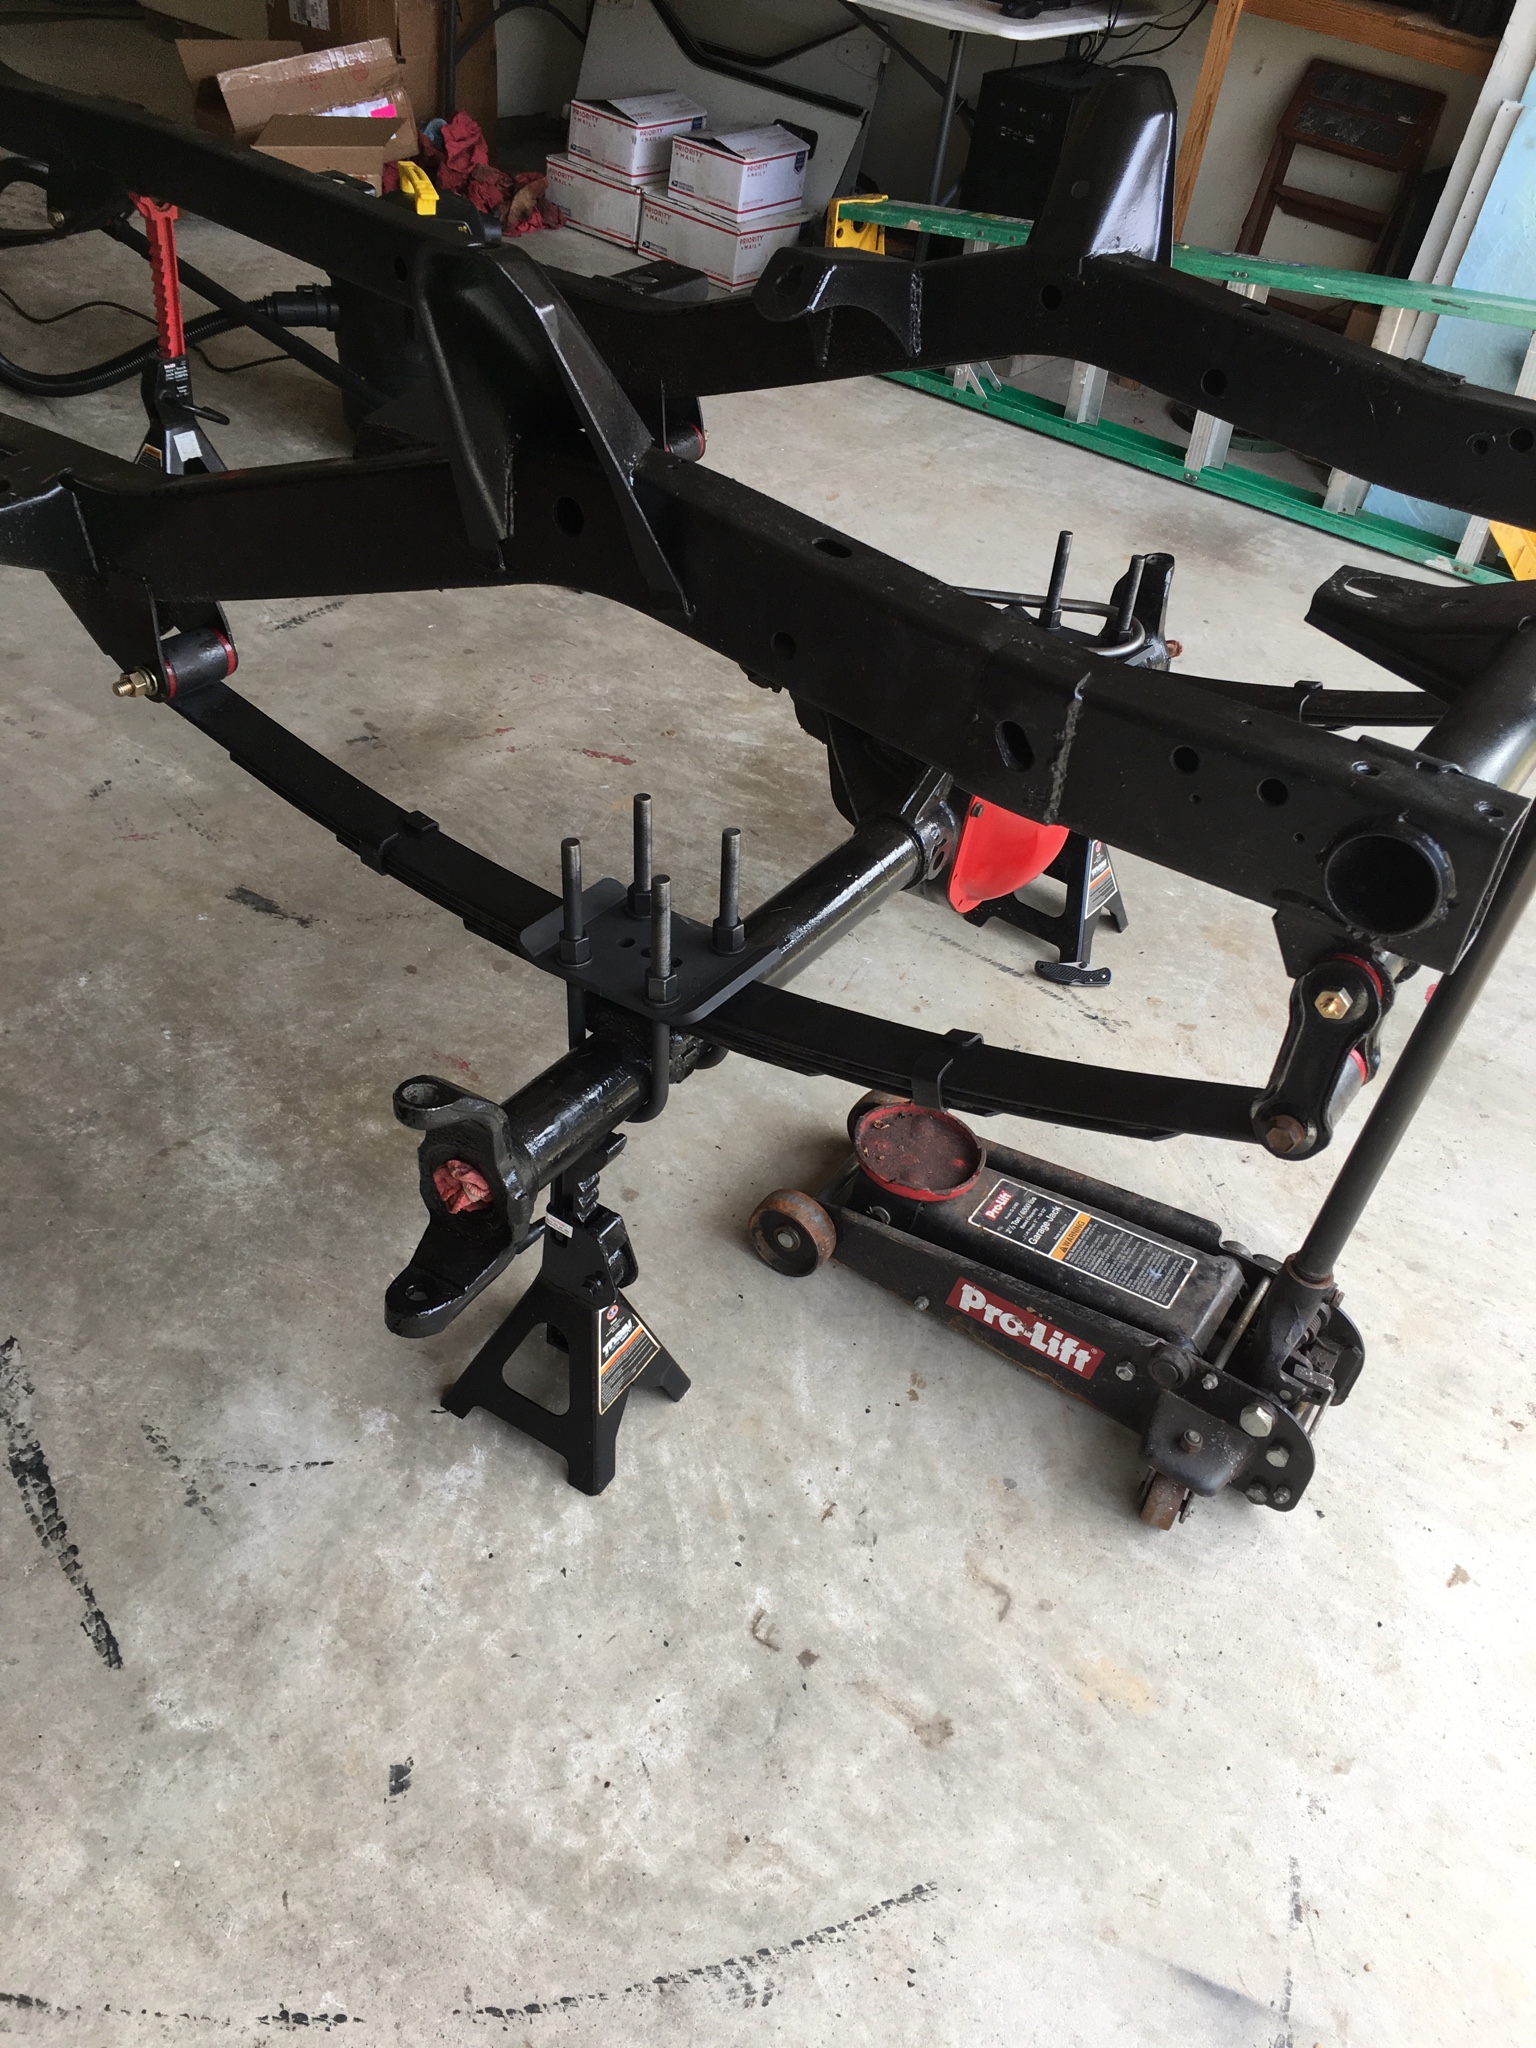
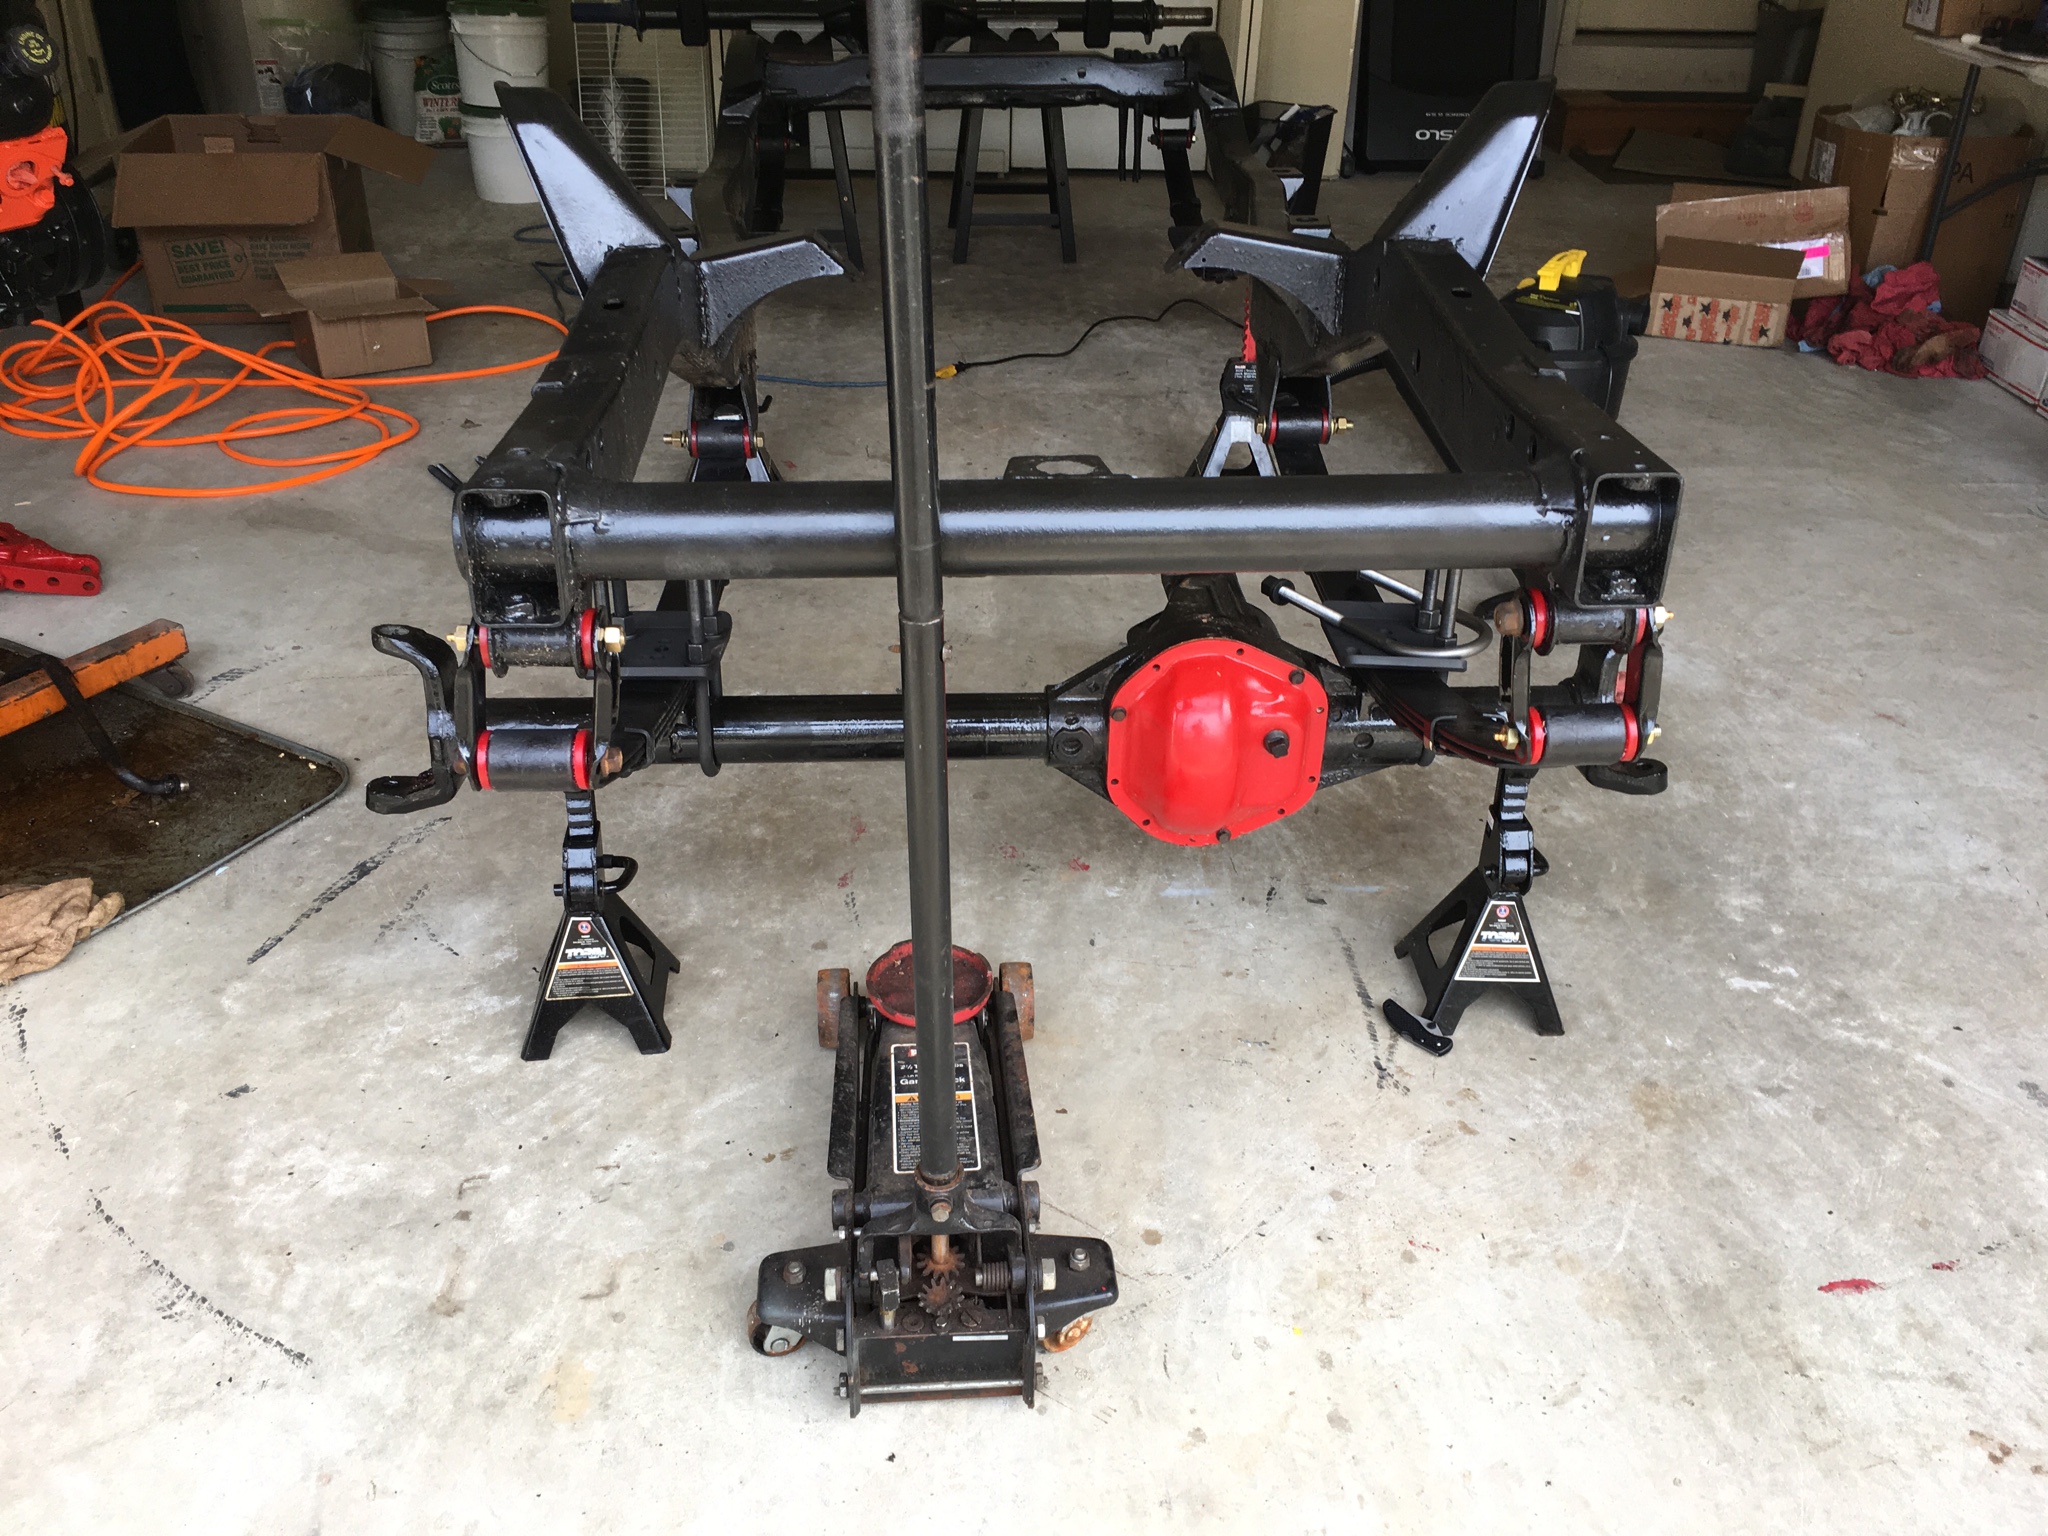
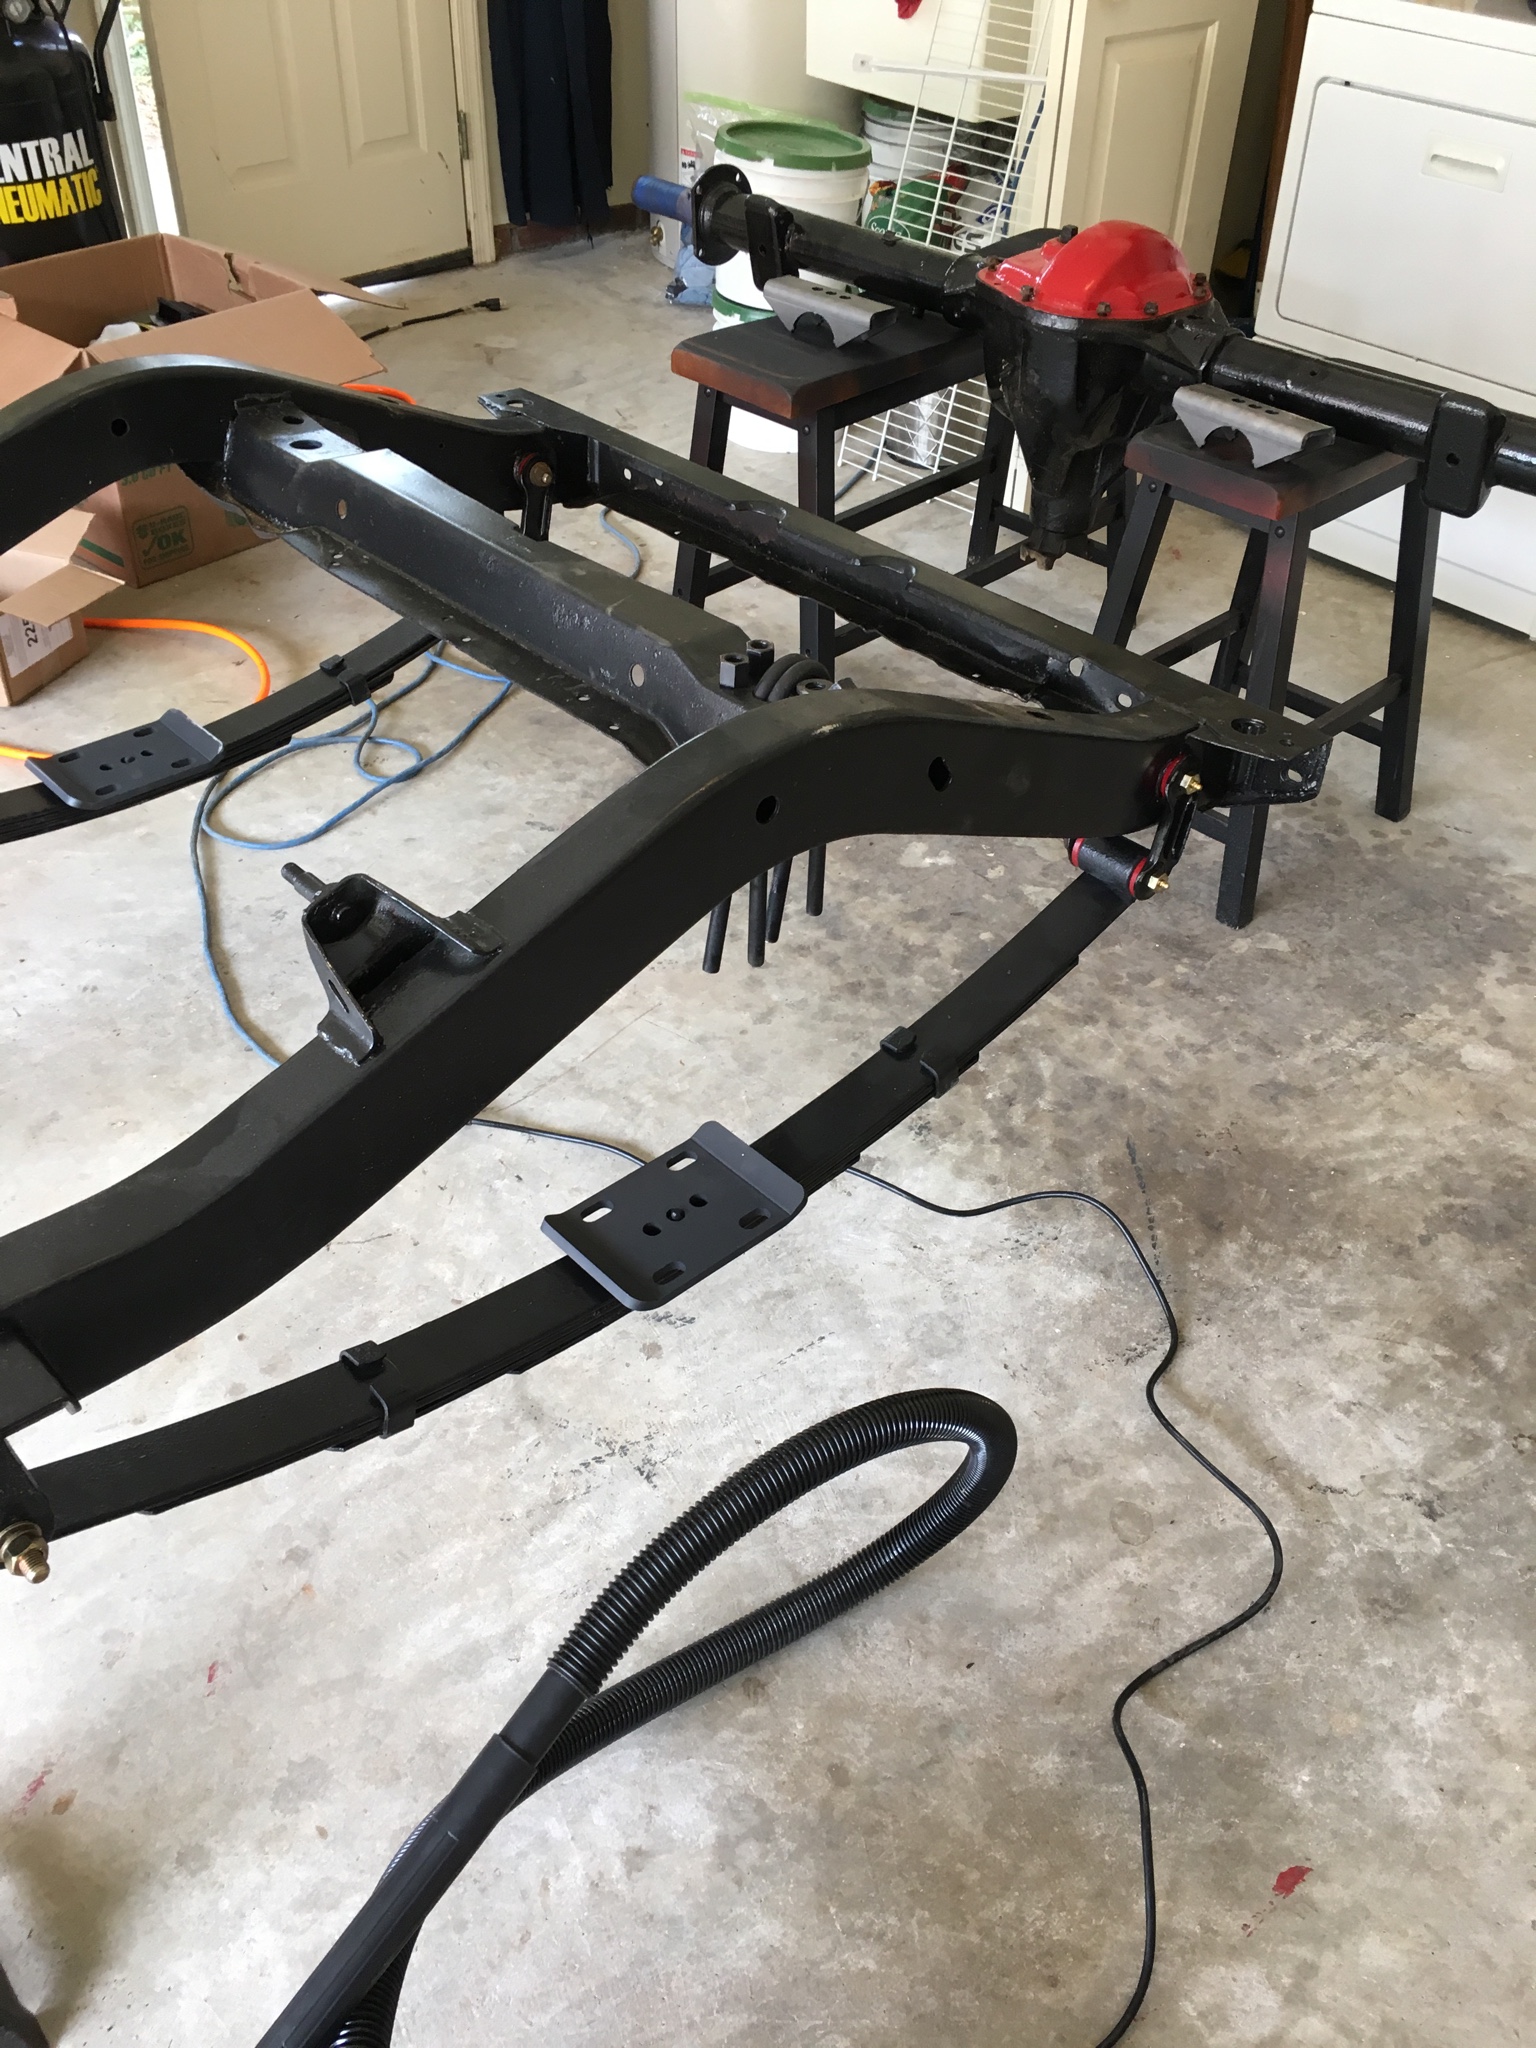
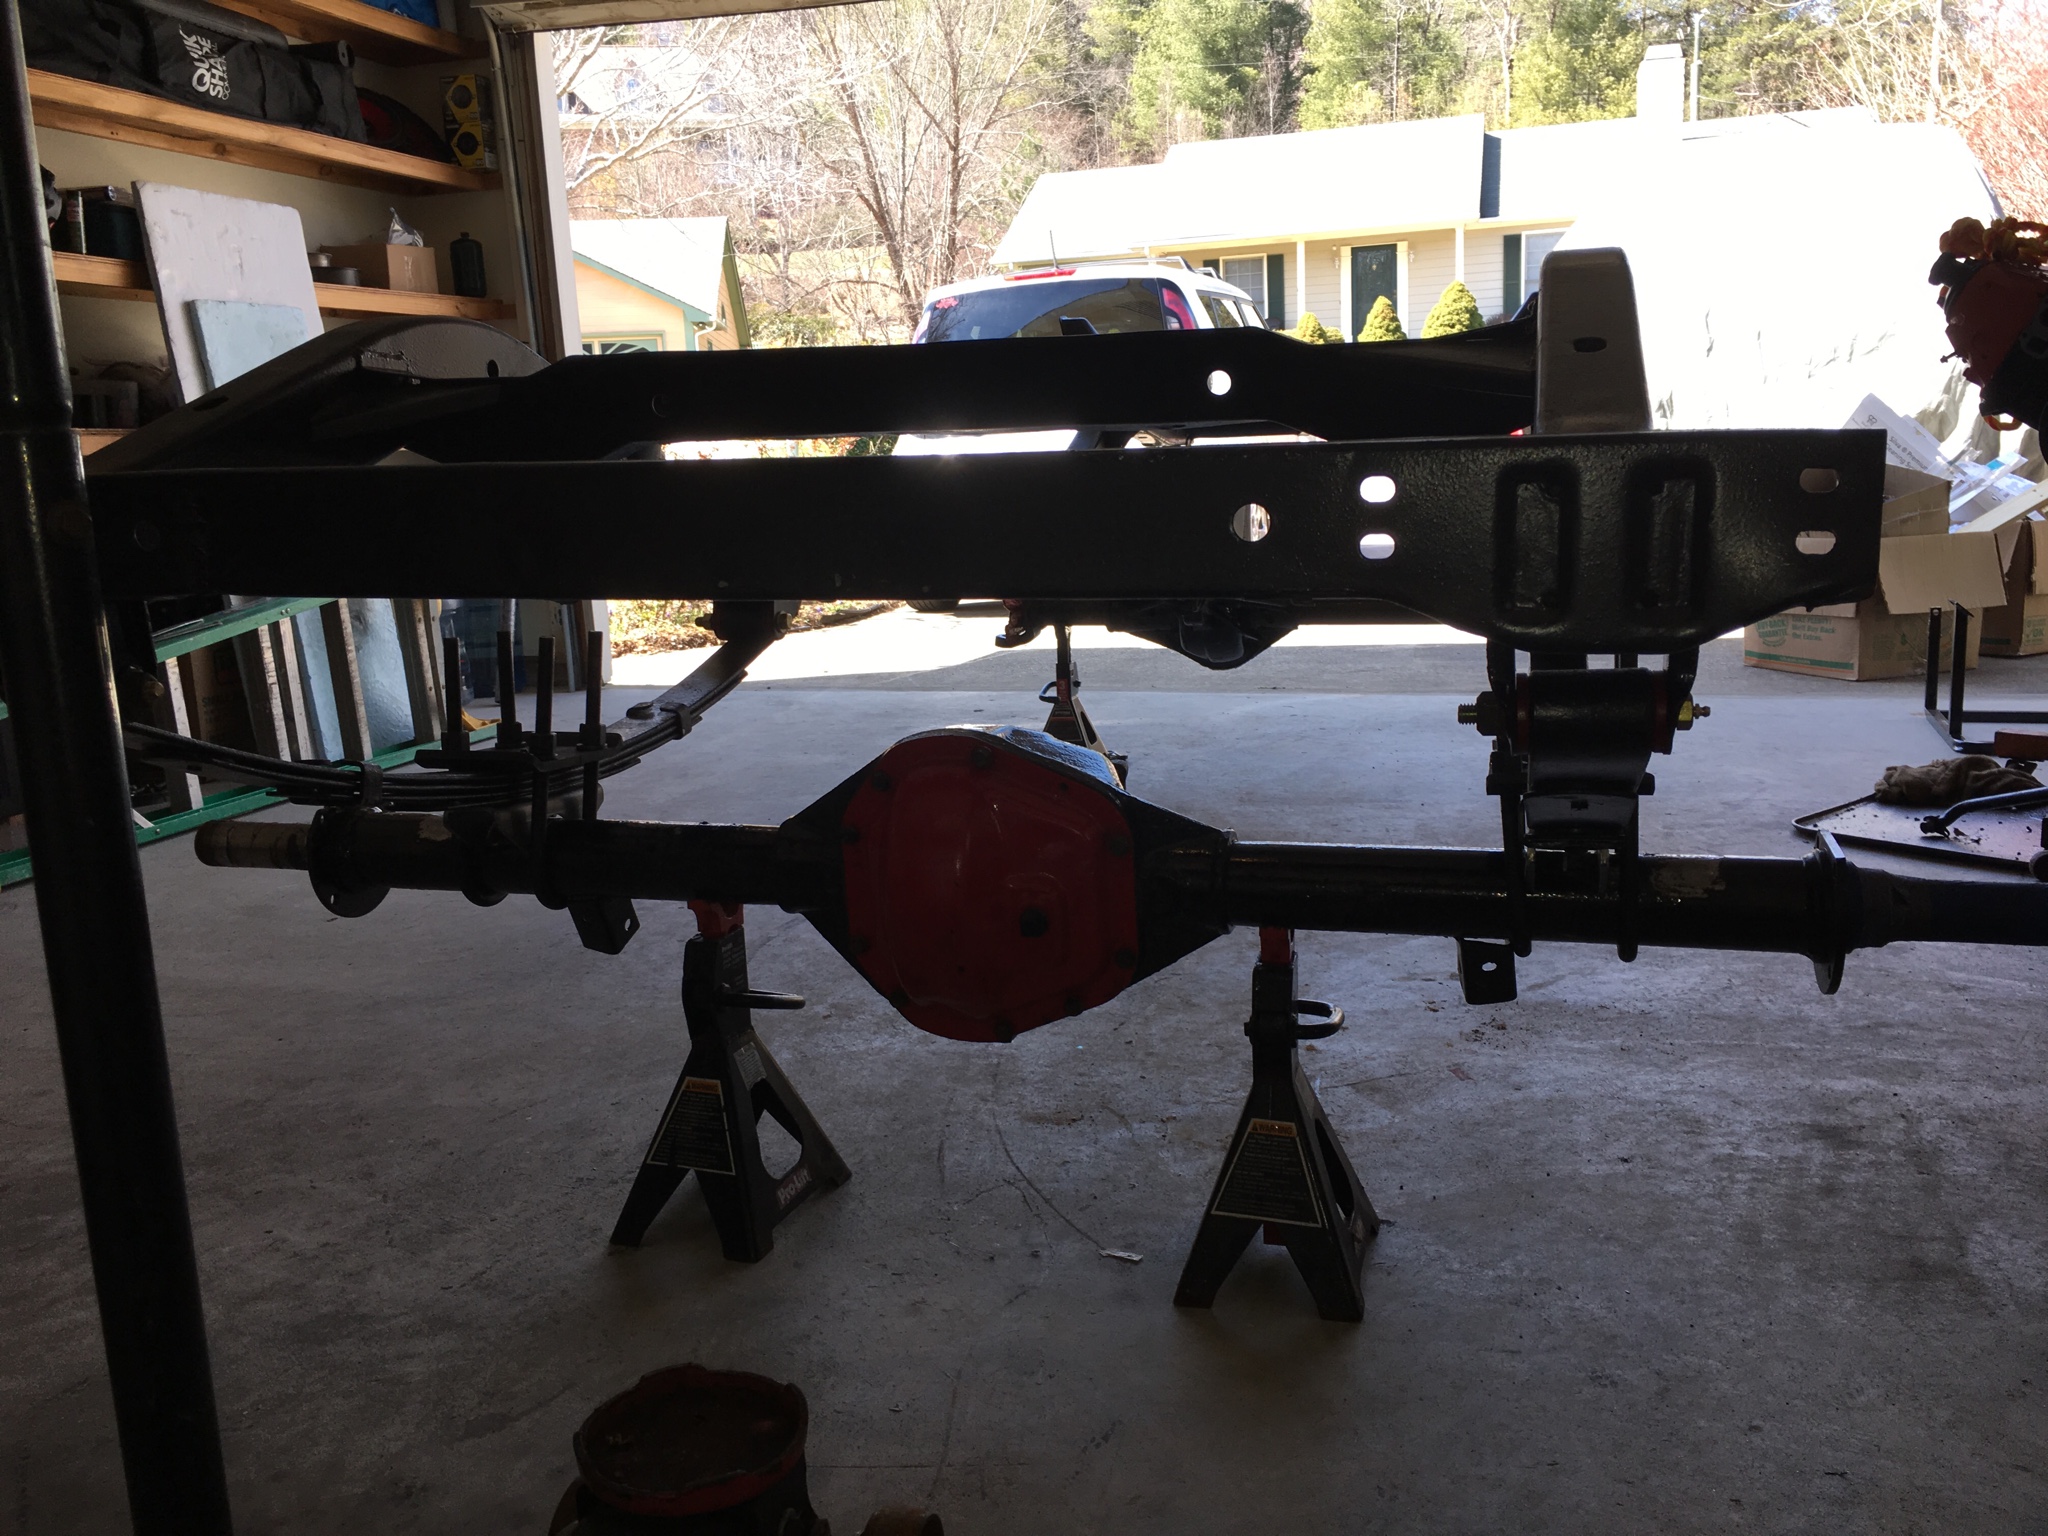
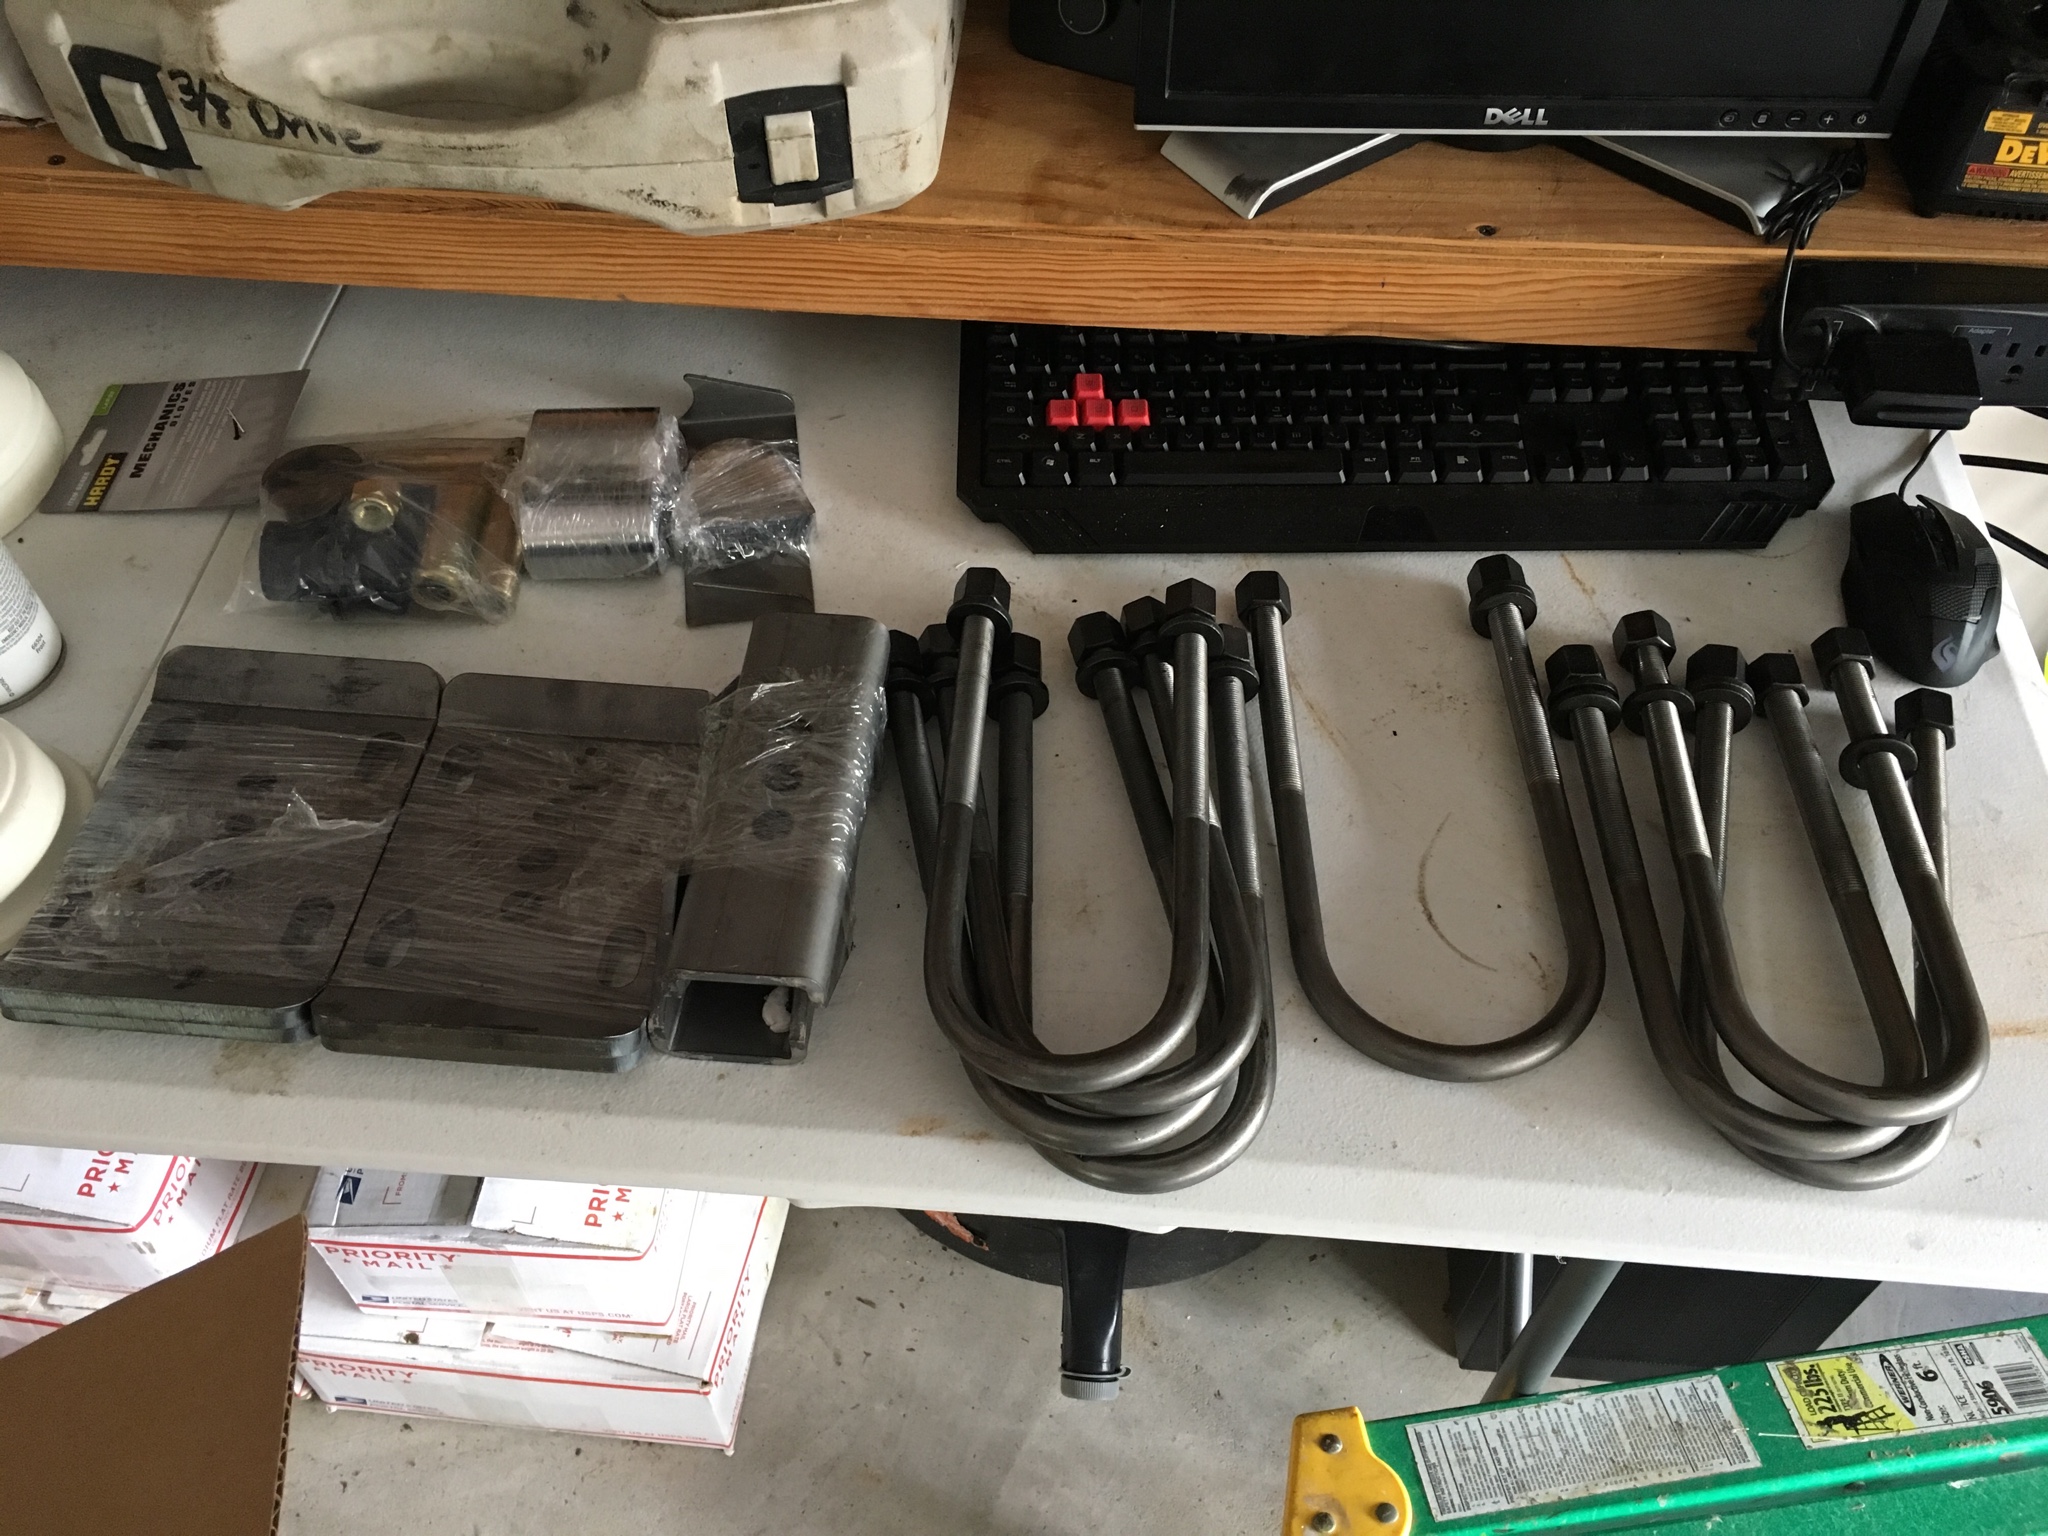
Why not just use a clocking ring for the 231? You are still using the ax15 aren't you?honestly just need to clean the tape scum off the heads, install the new pickup oring (with lube packing), put the oil pan back on with a new gasket, then drill the back of the trans (clock the np231) and order the bh adapter from novak (with t/o bearing and clutch kit) and im ready for a huge bolt on party! *some welding may apply* lol
Why not just use a clocking ring for the 231? You are still using the ax15 aren't you?
I forgot the way to your house. I blame it on the Alaskan thunderfuck. What do we need to accomplish?
Vender on here @4wheelsupply that sells one for Dana 300 will work have it on mineHaving trouble finding a place selling one. Found one place that said it was but included other tcase bolt patterns that it fit. turned out the guy was wrong after demanding measurements. found another and they wanted 200+ bones for a piece of metal... Id rather drill the back of the ax15 for the price of electricity for the drill.
This is NC4x4, not that other forum you're on...and he did some bj work for me.
This is NC4x4, not that other forum you're on...