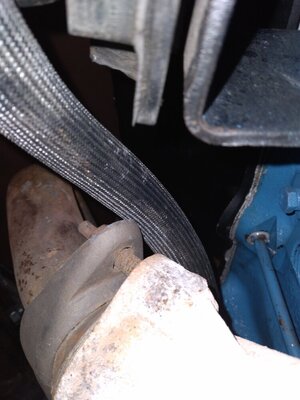
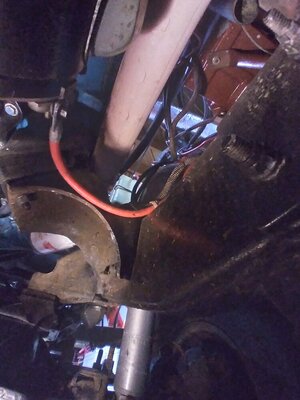
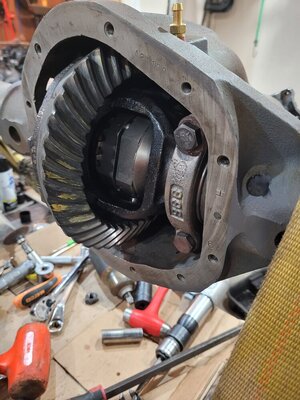
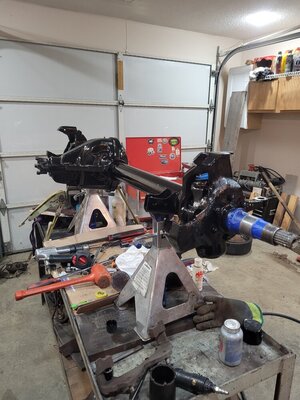
It took me five freaking hours to replace my leaking RTV gasketed rear diff cover with a lube locker yesterday.
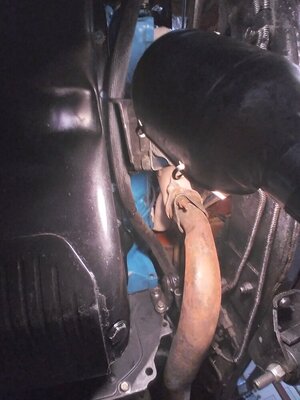
Removed the cover, cleaned the mating surface on the Barnes diff cover, wiped the center section out and cleaned that mating surface, lined the gasket up, threw the diff cover up there, started the easy bolts (bottom 7), got the two outer top bolts in, and the center top would not go in. I could get a few threads started then it would bind up like it was cross threaded. Dammit.
Took the cover back off, tried the bolt, couldn't get it started. Brought out the tap, cleaned it up, threw the diff cover back up there, started the easy bolts (bottom 7), got one outer top bolt in, now the center and the right top would not go in. WTF!?!
Took the cover back off, tried the bolt, couldn't get it started. Brought out the tap, cleaned all the threads up, ran the bolts through a die, threw the diff cover back up there, started the easy bolts (bottom 7), got one outer top bolt in, now the center and the right top would not go in. Ran the tap in the holes with the diff cover up there, had to wiggle the two bolts to get them started right and they finally went in. Fuuuuuuu that was annoying.
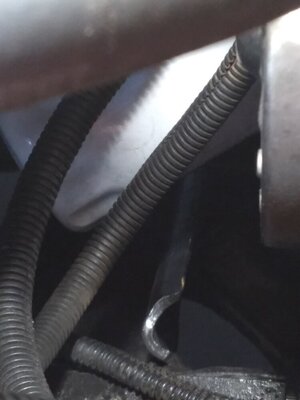
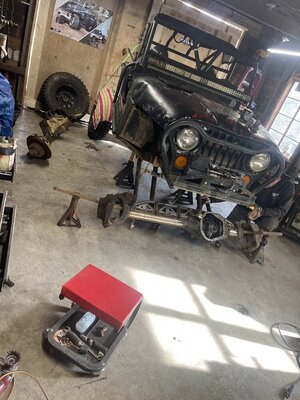
I should have jacked the Jeep up so I could access those top bolts easier, but I was trying to do it "quickly" in the middle of the day. With the 20 gallon tank in the top bolts are hard to get to, compounded by the larger Barnes diff cover. There's about 1" of clearance between the diff and the gas tank.
View attachment 389499View attachment 389500
On the bright side the diff doesn't leak anymore. Now to get the D300 to stop leaking....


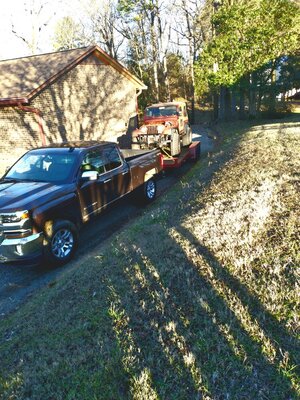
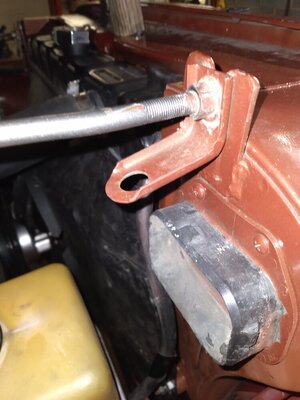
I REALLY need to replace that bumper cap or find an aftermarket winch bumper that actually looks good...
 There's 12 of us and about 30 spots.